Give your friends $10 off their first order!
Refer a FRIEND








A project from our live show MY PODCAST - Catch my latest updates broadcast 12th January 2026 · 01/12/2026 · watch it from 31:00
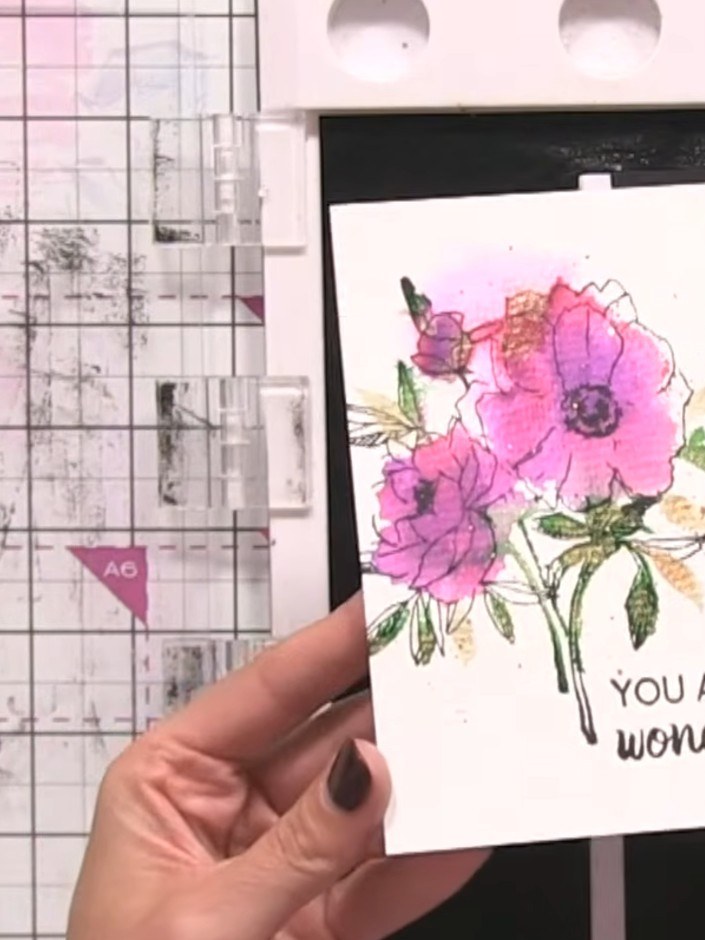
Create a beautiful watercolour-effect greeting card featuring pink and purple flowers with metallic gold accents. Using a two-part lamination stamp system, you'll build up realistic painted layers with ink pads and water spray, then add a black outline stamp and the sentiment 'You are so wonderful'. This elegant technique combines stamping with watercolour effects to achieve a hand-painted look without needing painting skills.
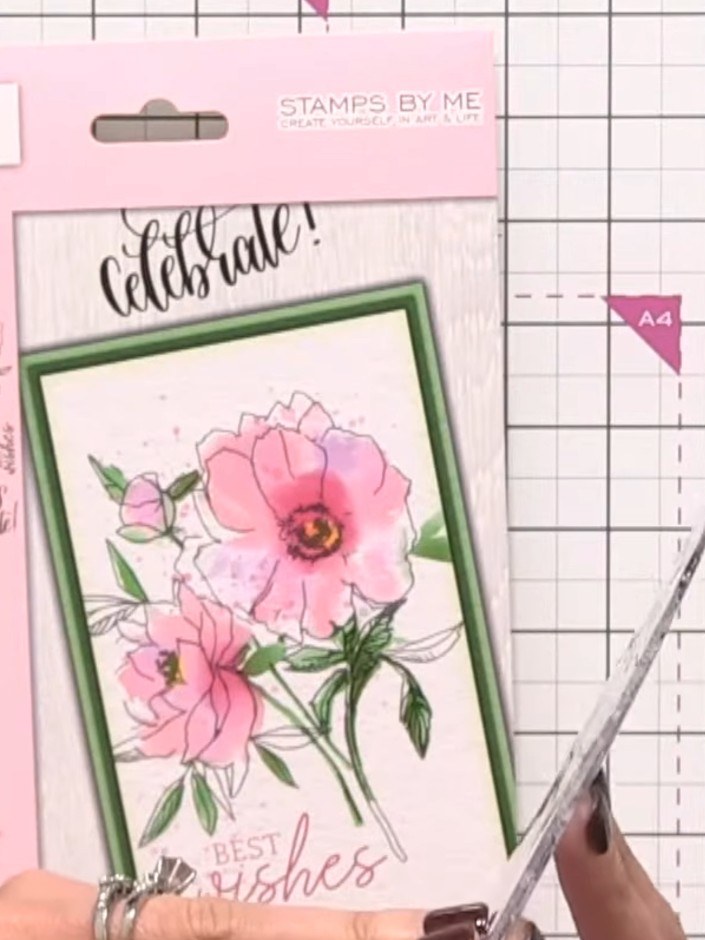
Position the solid (coloured) part of the lamination stamp on watercolour card stock, placing it slightly off to the side to leave room for a sentiment.
▶ watch this step (32:00)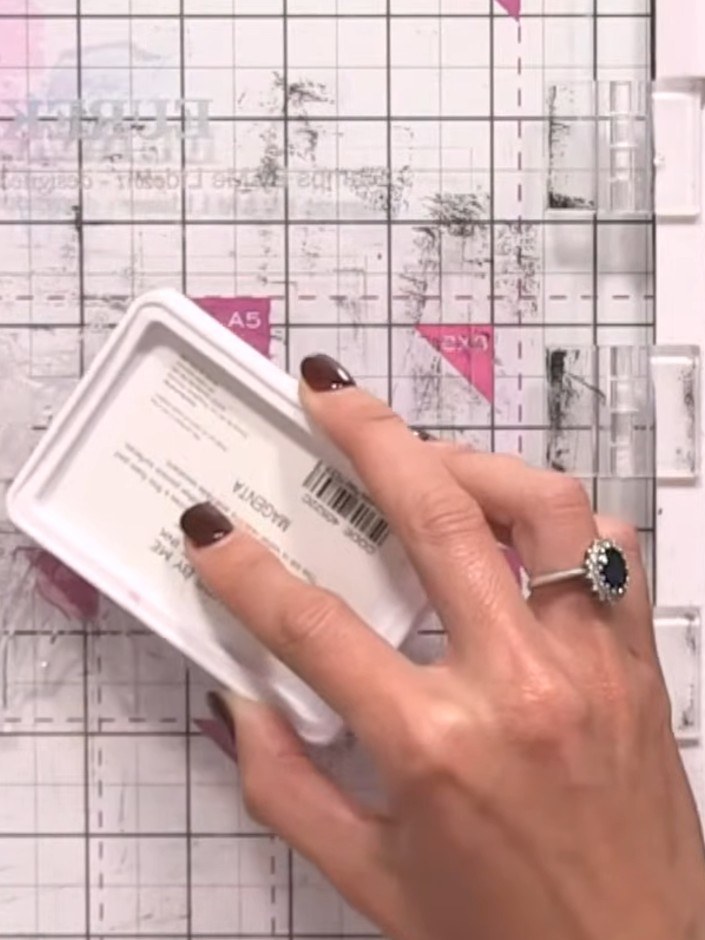
Tap the corner of the pink ink pad directly onto the flower head areas of the stamp to apply colour to those sections only.
▶ watch this step (33:45)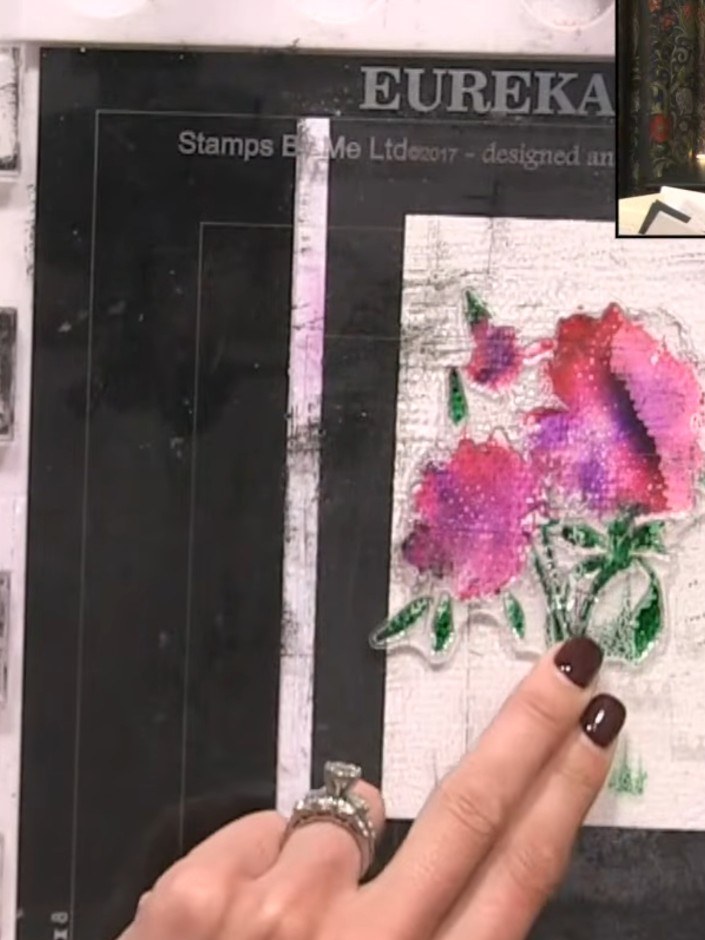
Add purple ink to the middle of the flowers using a blending tool or sponge to create colour blending and depth between the pink and red areas.
▶ watch this step (34:00)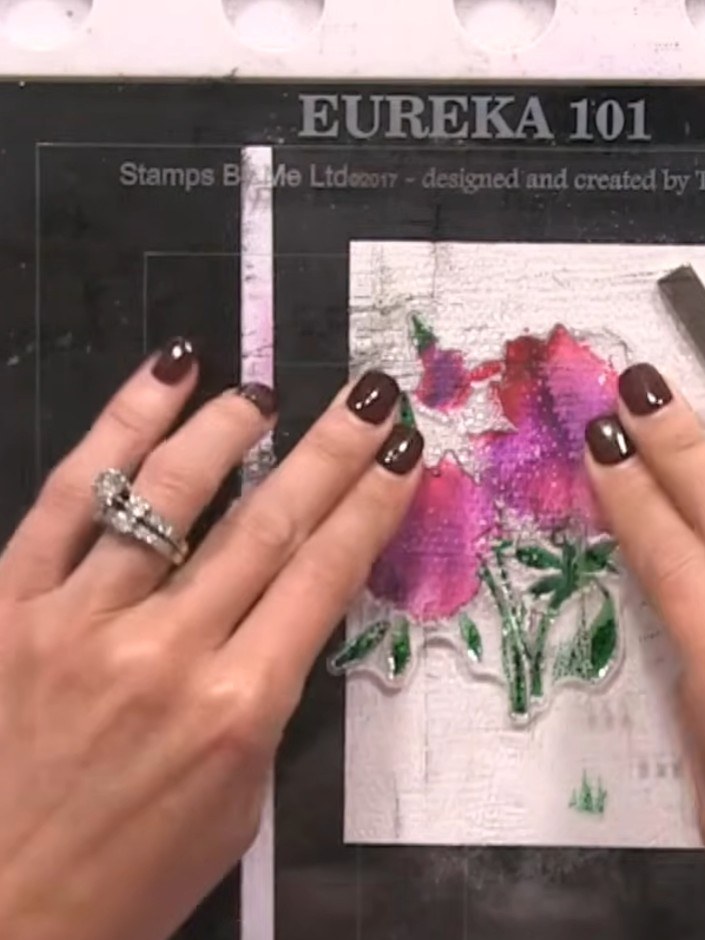
Using a green ink pad, apply colour to all the leaf areas of the stamped floral design.
▶ watch this step (34:15)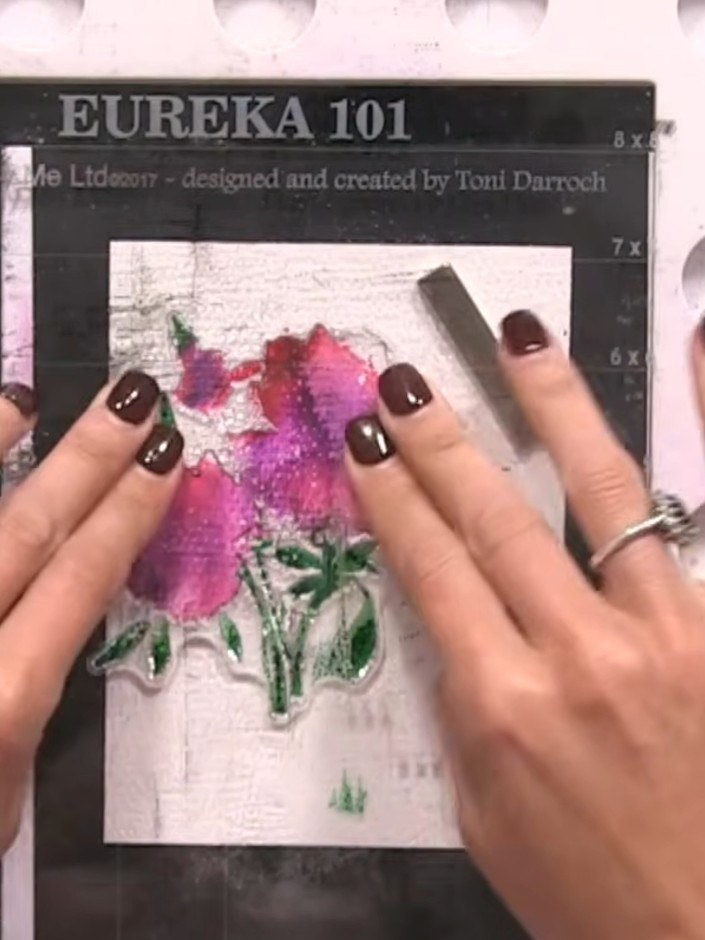
Spray the inked stamp two or three times with water from a spray bottle to allow the pink and purple colours to blend and bleed naturally on the white card.
▶ watch this step (35:00)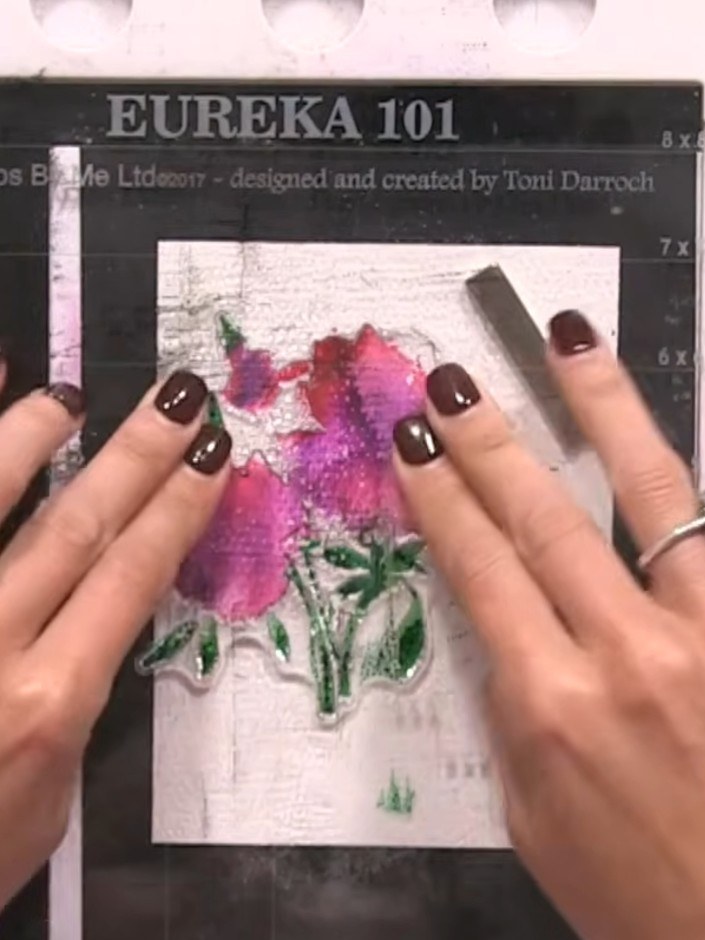
Whilst the card is still wet, use a brush to apply metallic gold watercolour paint to the centre of the flowers, adding shimmer and dimension to your design.
▶ watch this step (35:30)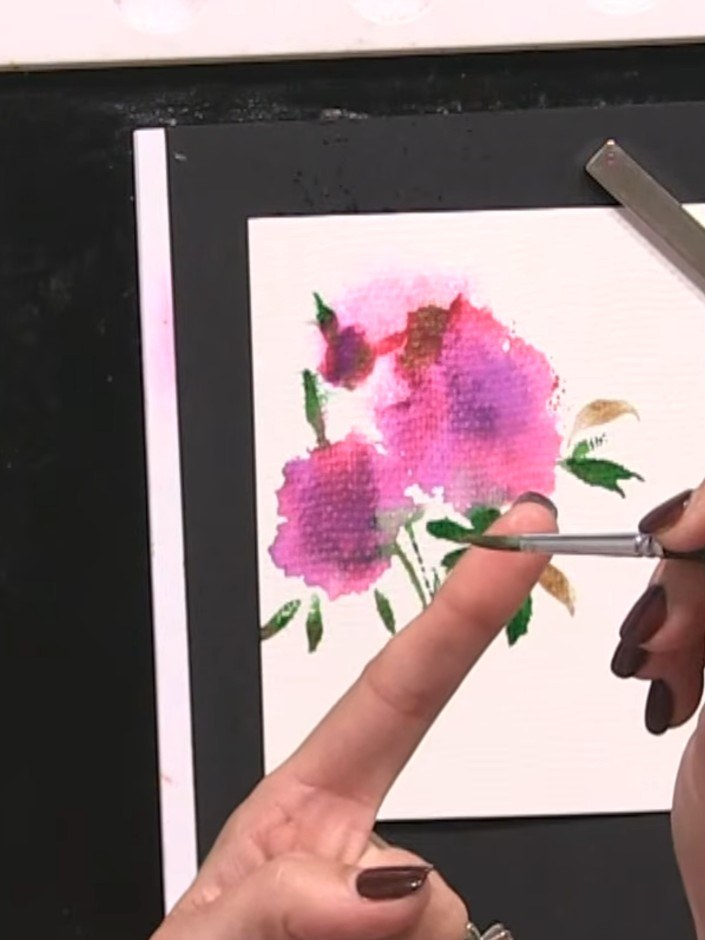
Optional: paint additional gold leaves freehand using a fine brush and the toe-belly-toe technique (tip of brush, belly, back to tip) to enhance the floral design.
▶ watch this step (37:00)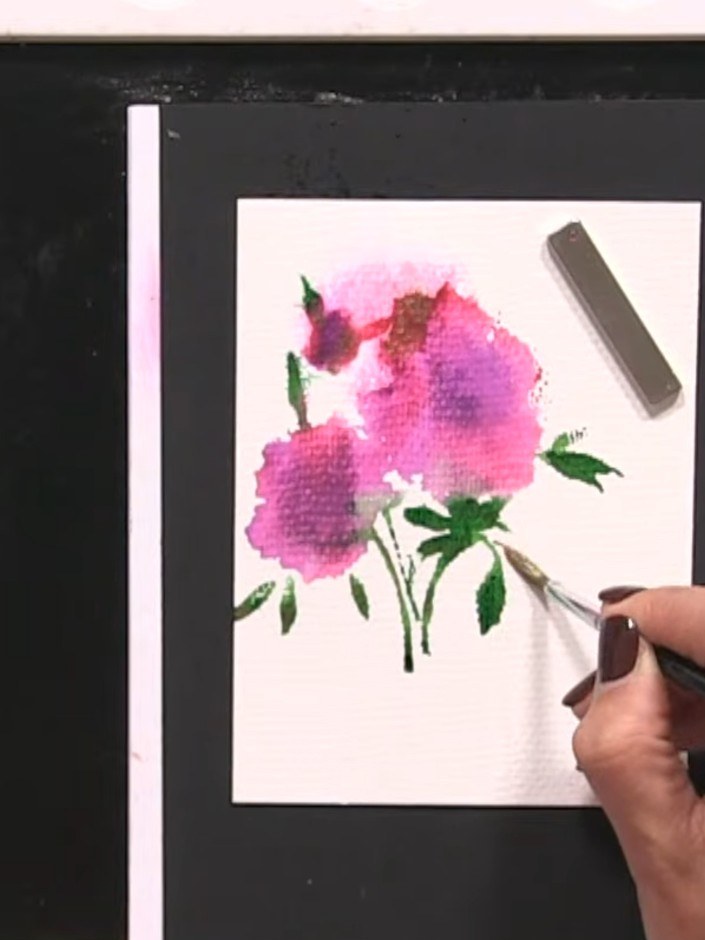
Once the watercolour base is completely dry, take the outline detail part of the lamination stamp and carefully line it up over the coloured flowers, positioning it to match the shapes beneath.
▶ watch this step (38:00)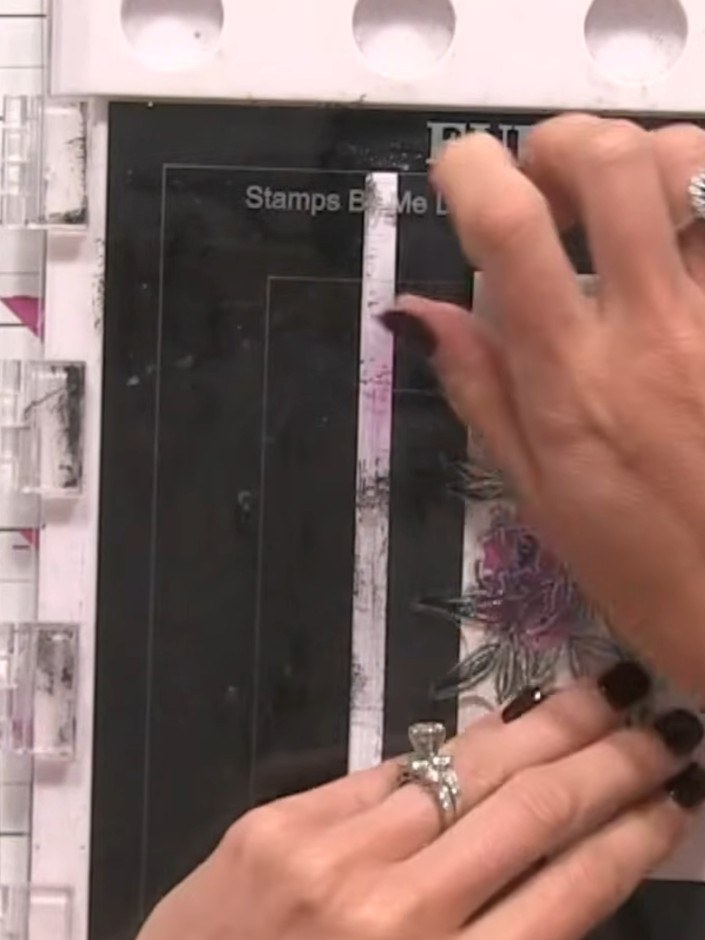
Stamp the outline portion of the floral design using a black ink pad over the laminated image. Don't worry about perfect alignment - the freehand effect adds to the artistic watercolour look.
▶ watch this step (41:15)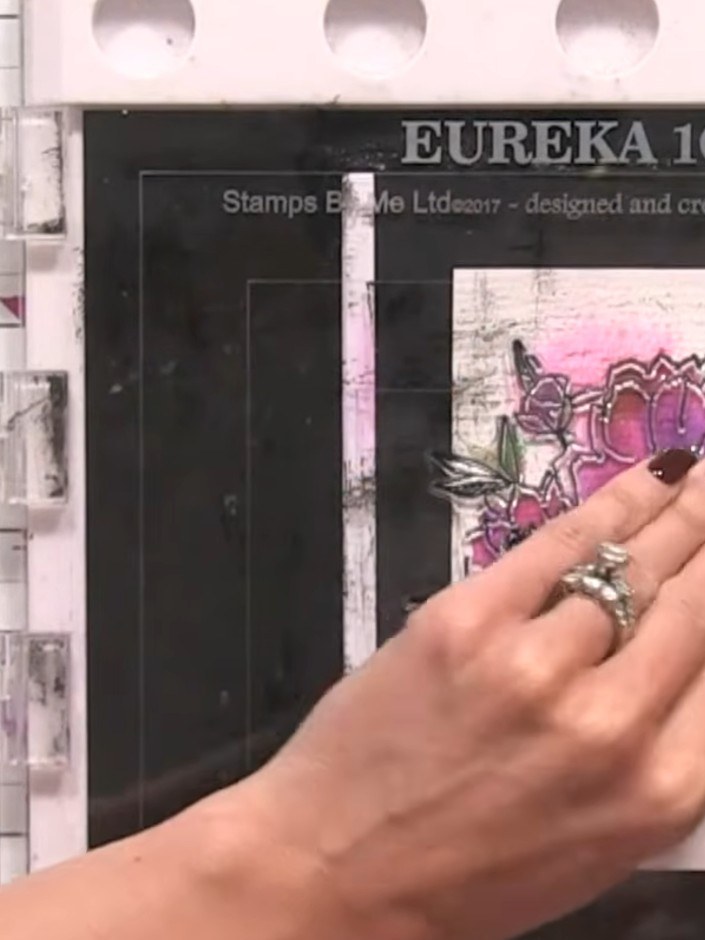
Apply gold embossing powder over the stamped flower outline. Heat set the embossing powder using a heat tool to create raised gold details.
▶ watch this step (42:45)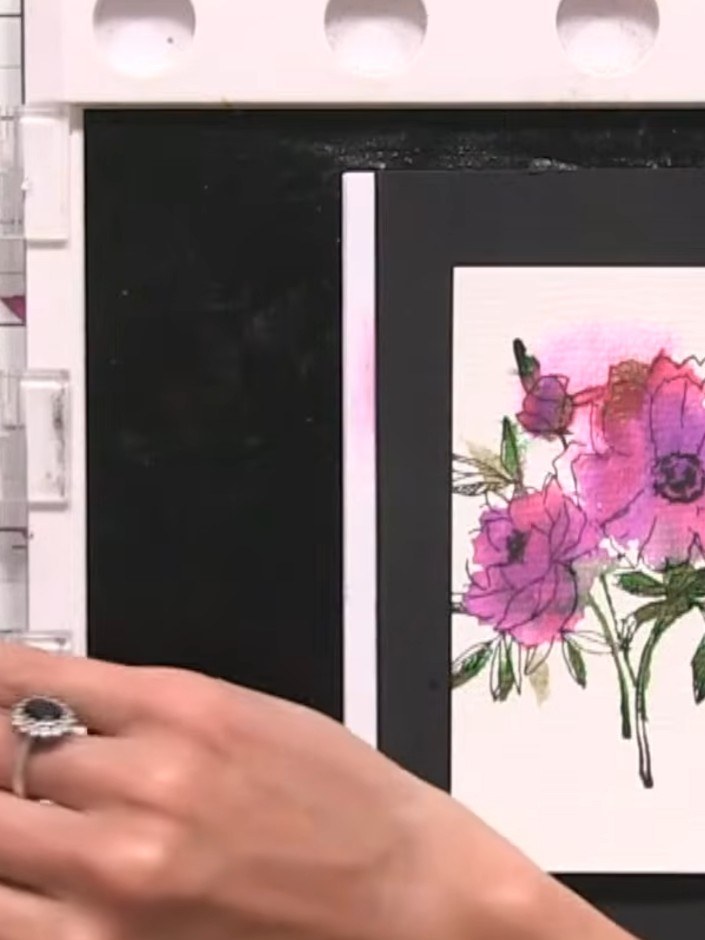
Add a sentiment stamp to the bottom of the floral panel. Mount the completed panel onto a black card base to finish your card.
▶ watch this step (43:00)Written up from the show itself. See every guide from our shows · free how-to guides · watch live on My Telly
