Give your friends $10 off their first order!
Refer a FRIEND








Prices change straight away. Every language is our own translation, not Google.
A project from our live show CRAFTY THURSDAY - Join Toni for her latest show - Broadcast 15th January 2026 · 01/15/2026
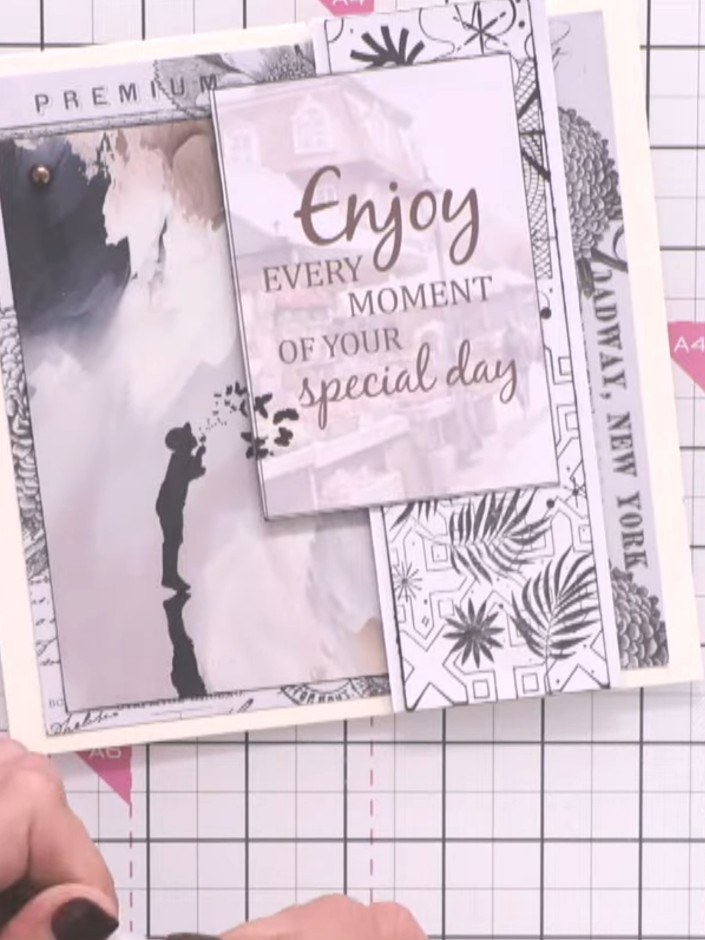
Create an elegant layered card in sophisticated cream and coffee tones featuring a stamped boy figure and sentiment text. This monochromatic design uses black ink edging to define each layer without heavy matting, creating subtle depth and visual interest. The result is a refined, understated card perfect for special occasions.
 1
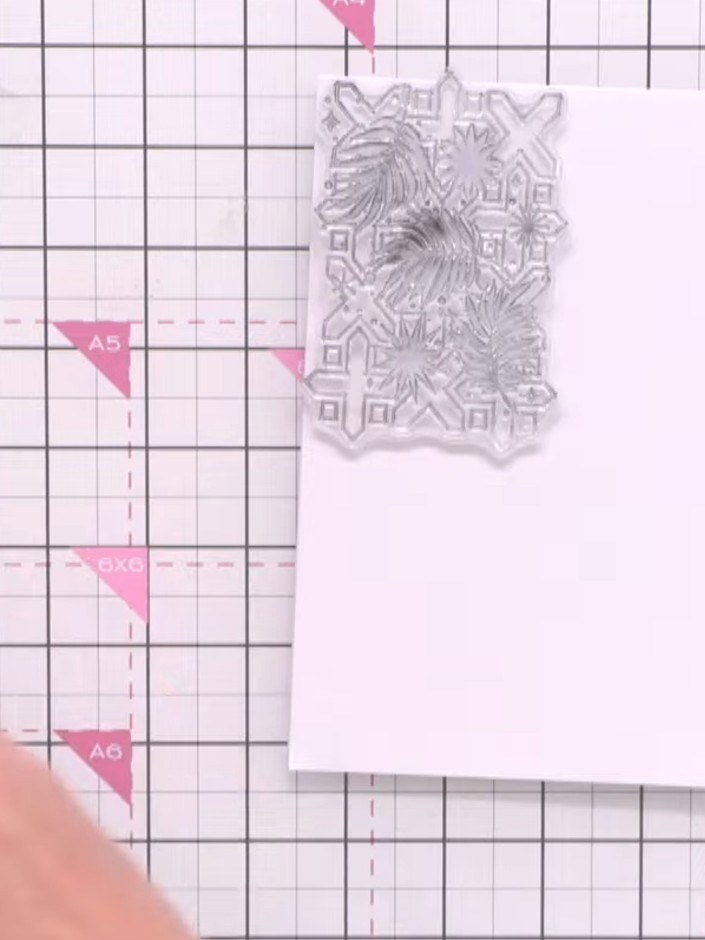
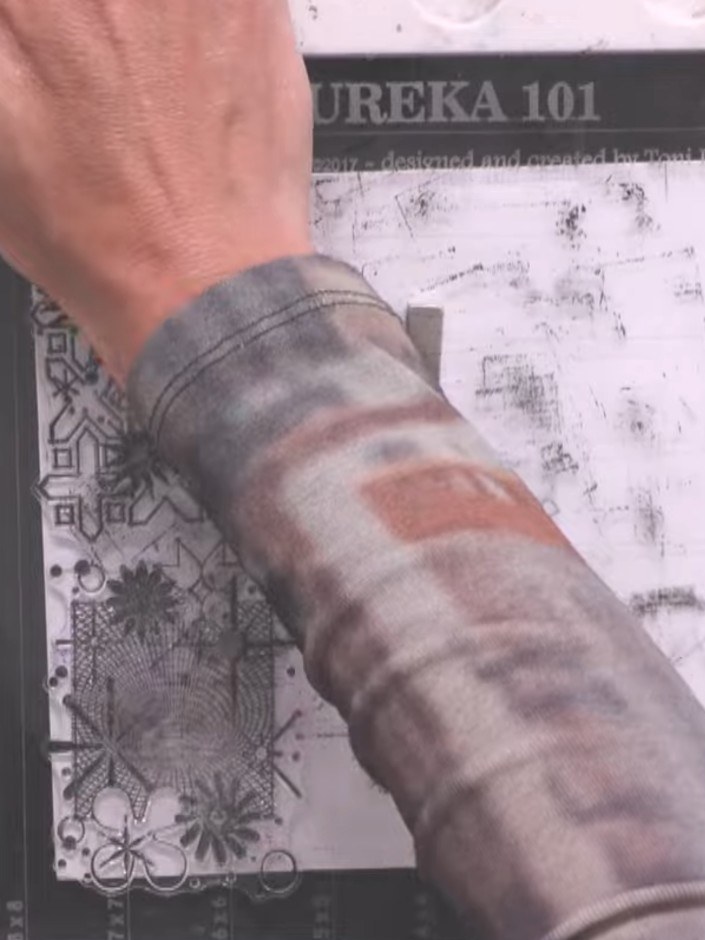
Take a piece of white card stock and stamp background stamps in black ink to create textured panels. Position the stamps on the white card and press firmly to transfer the design.
 2
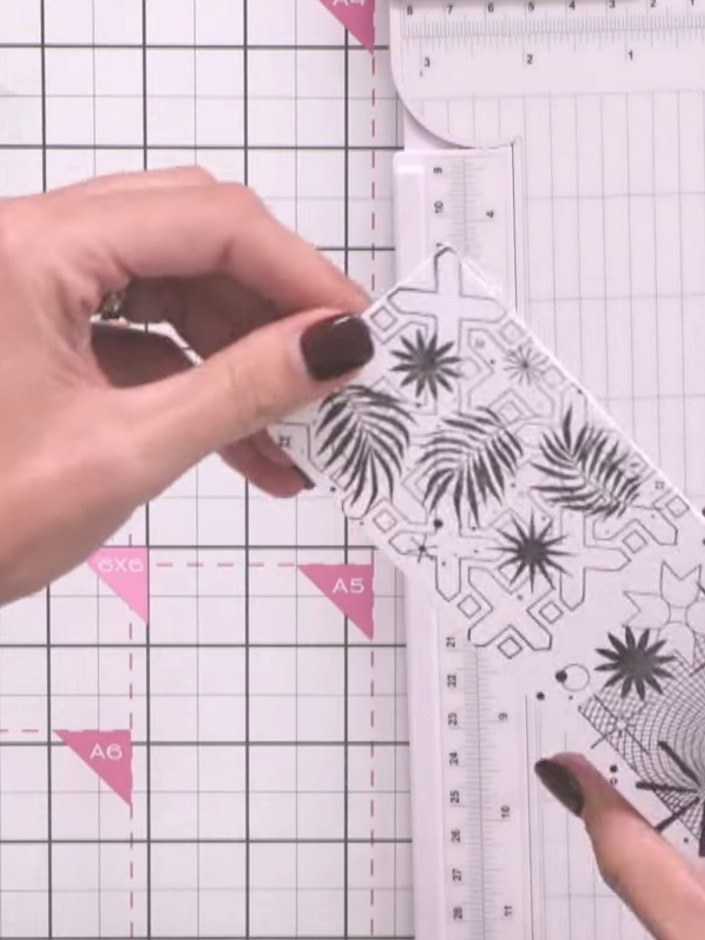
Trim the stamped panel down using a craft cutter to create a smaller, more defined piece.
 3
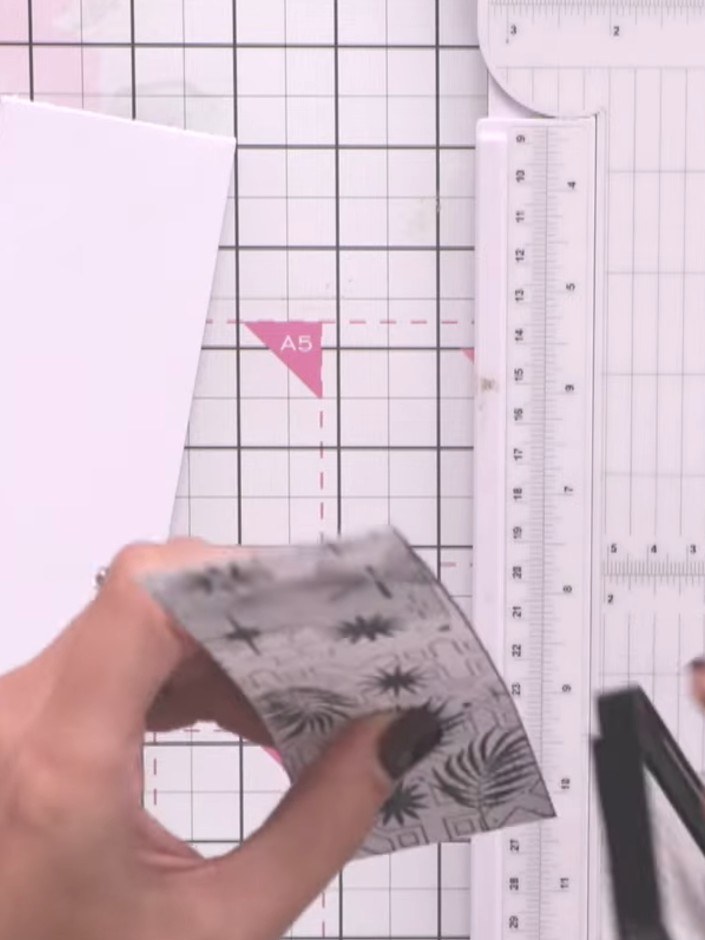
Edge the trimmed panel with black ink pad along all sides to create a border effect.
 4
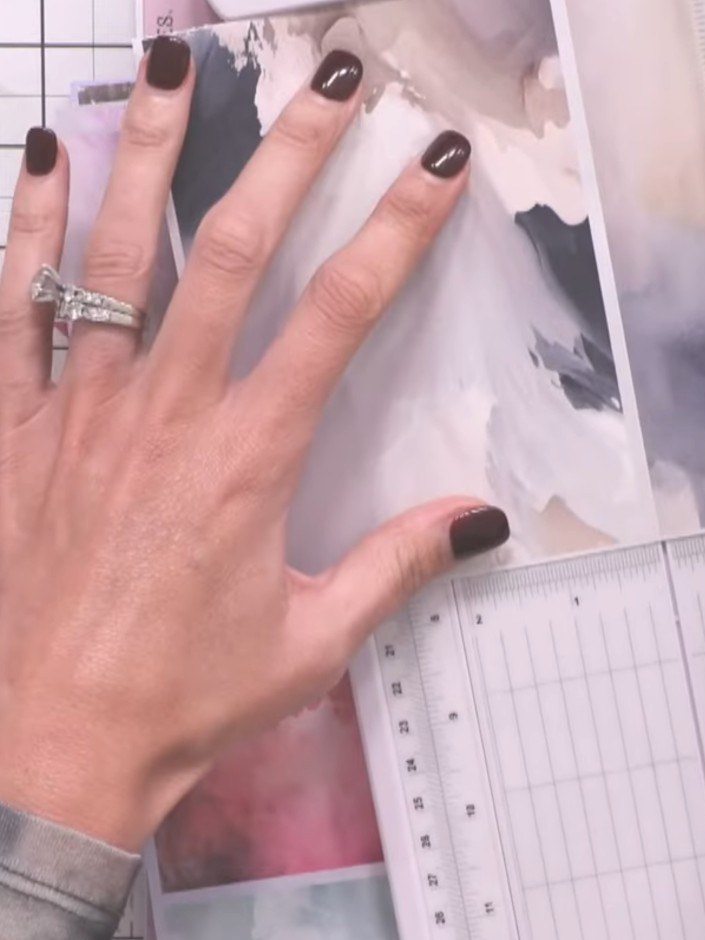
Adhere the stamped and edged panel to your white card base using glue or double-sided tape, ensuring it is centred.
 5
Select patterned papers from the bundle in coordinating cream and coffee tones. Cut them to size using your paper trimmer.
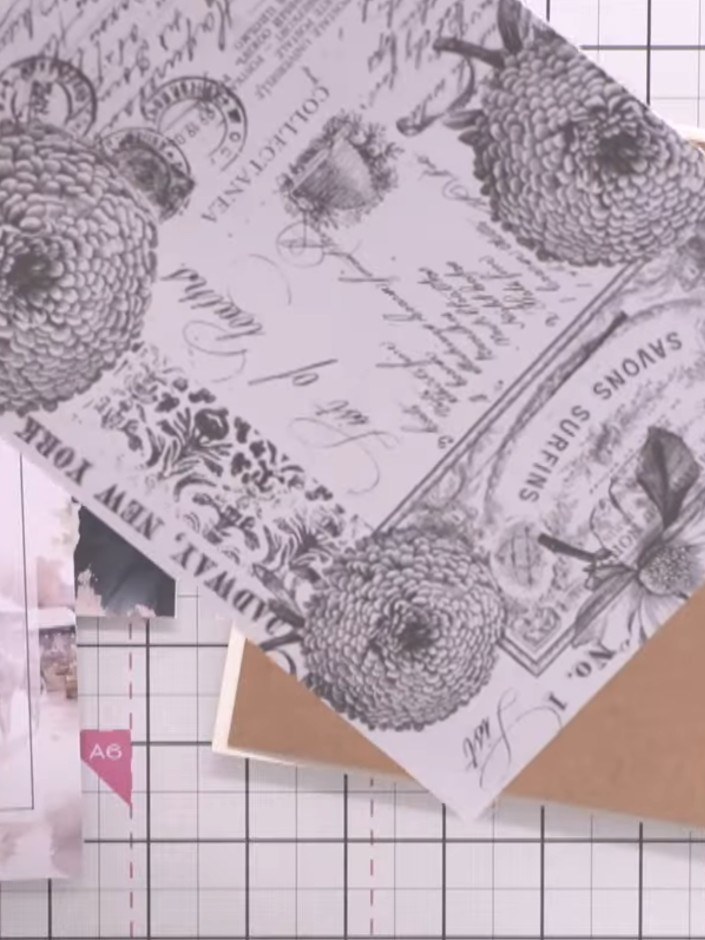 6
Layer the patterned paper pieces onto your kraft card base, positioning them diagonally to create visual interest. Place the floral vintage-style paper at an angle across the card.
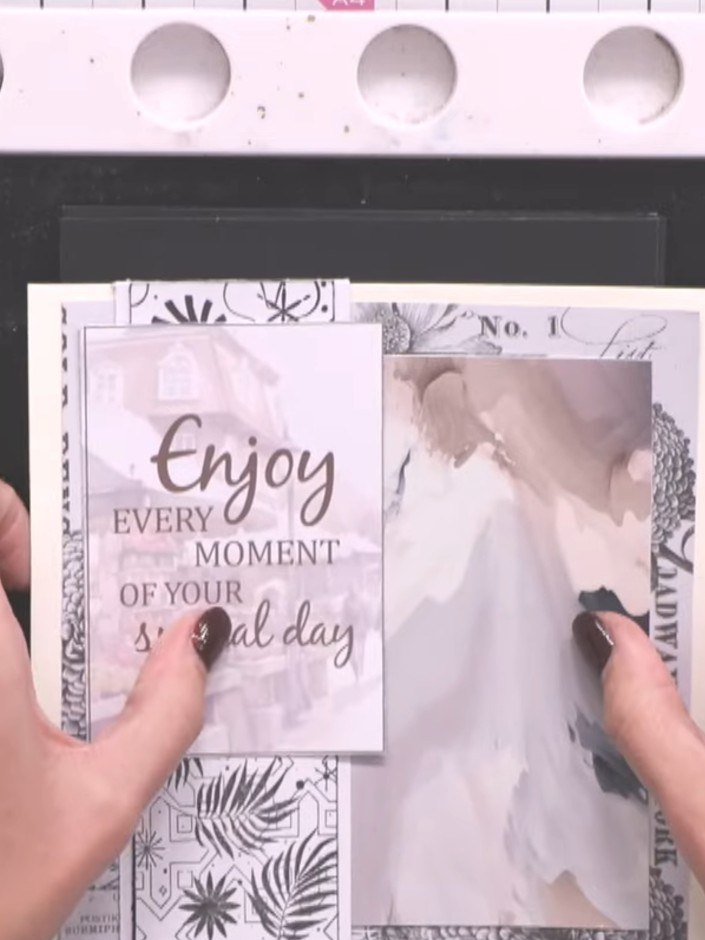 7
Stamp the boy figure from the stamp set in black ink, positioning it to overlap slightly onto the sentiment paper on the right side of the card.
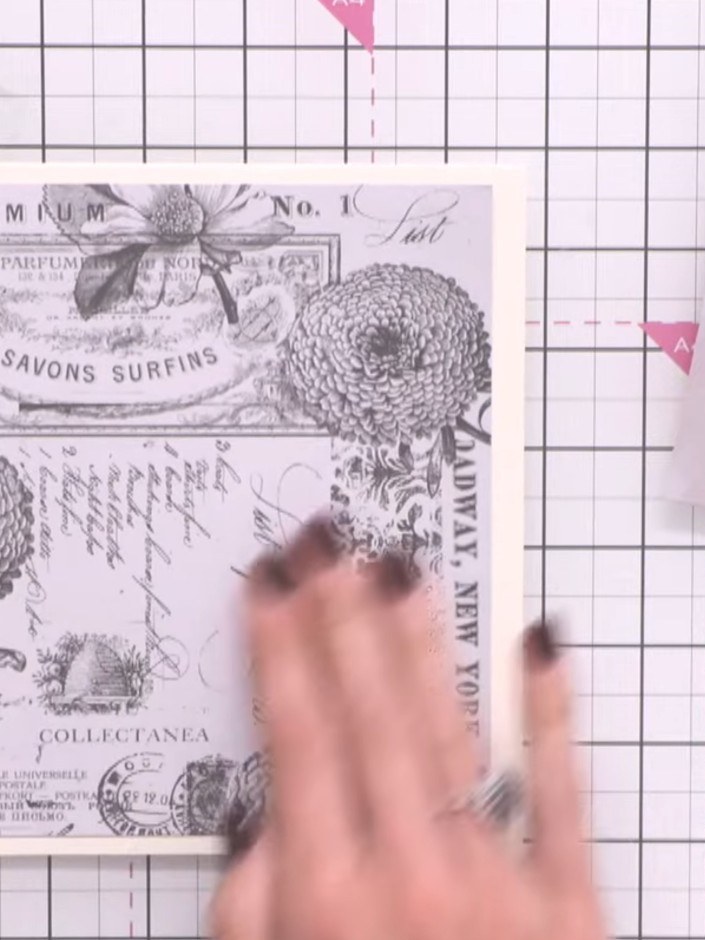 8
Edge the layered papers with black ink using an ink pad to define the edges and prevent them looking flat. Add pearl embellishments in brown or black tones along the card in a simple line for subtle sparkle. Position them decoratively to enhance the design.
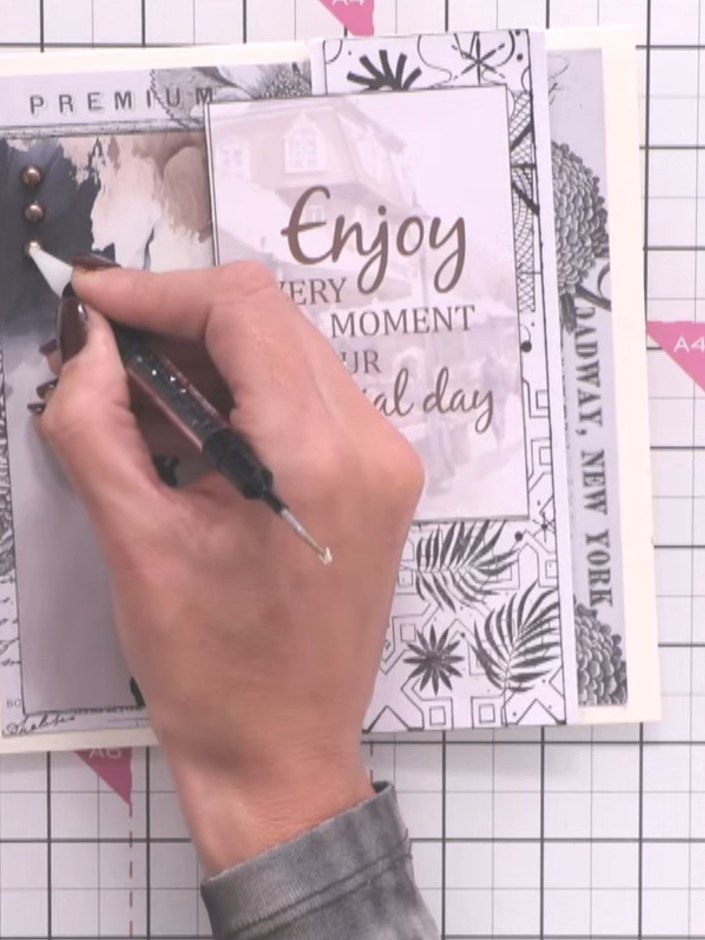 9
Optionally outline the stamped boy silhouette with a black gel pen to add definition. Add additional sparkle details with the gel pen to finish the card.
Share your make with the Stamps By Me community - and keep this guide for next time.
Written up from the show itself. See every guide from our shows · free how-to guides · watch live on My Telly · the previous layout