Give your friends $10 off their first order!
Refer a FRIEND








A project from our live show MY PODCAST - Catch my latest updates broadcast 19th January 2026 · 01/19/2026 · watch it from 32:45
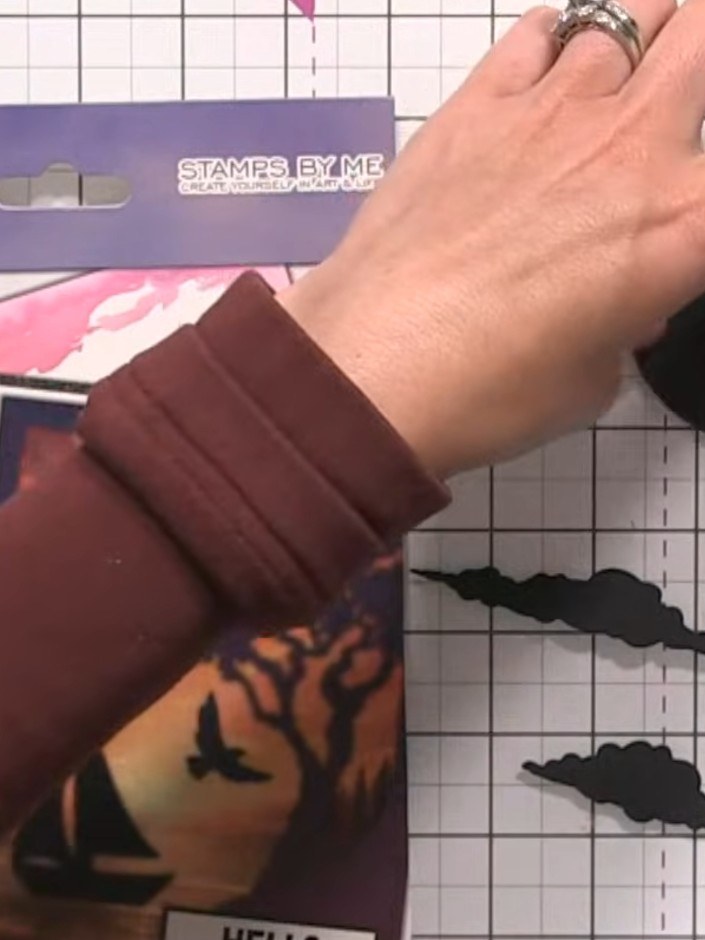
Create a stunning layered card featuring a delicate tree silhouette die-cut that frames a dreamy landscape scene. Using the Moonlit Skies die set and the We Can Dream paper collection, you'll craft an elegant design with a black tree frame that creates a window effect, revealing beautiful ombre skies and a peaceful lakeside scene behind. This sophisticated card combines die-cutting and layering techniques to achieve a professional, gallery-worthy finish.
 Stamps By Me - Moonlit Skies Die Set - 210125CSEE IT
 Stamps By Me - Set the Scene Die Set - 210125DSEE IT
 Stamps By Me - We Can Dream - 5 X 7 Paper Pad - 040124CSEE IT
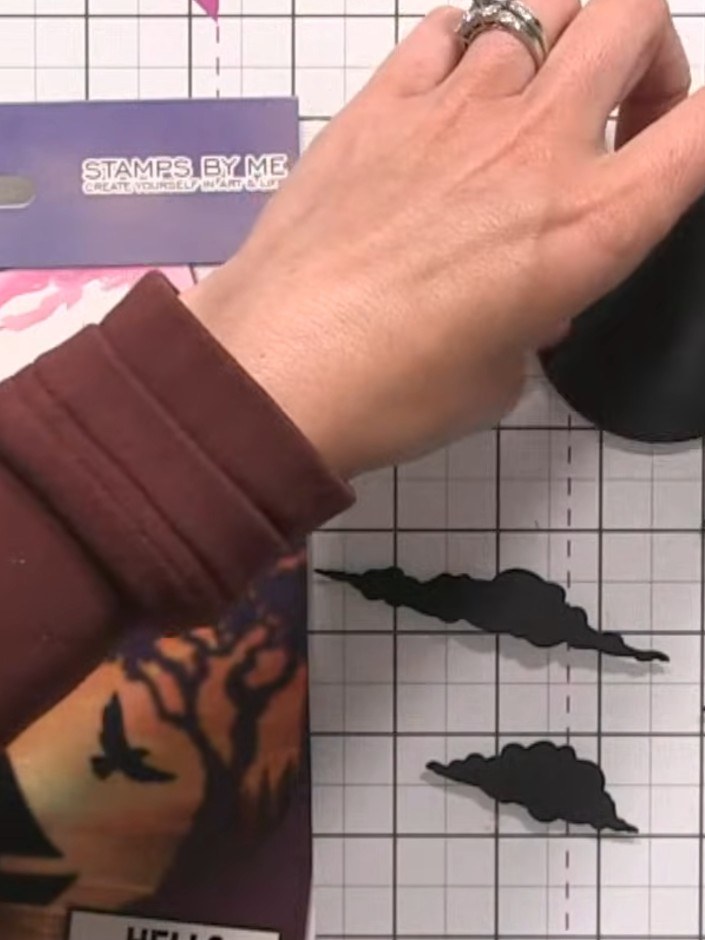
Cut the tree die from the Moonlit Skies die set using black card stock. Position the large tree die on black card and run through your die-cutting machine.
▶ watch this step (33:00)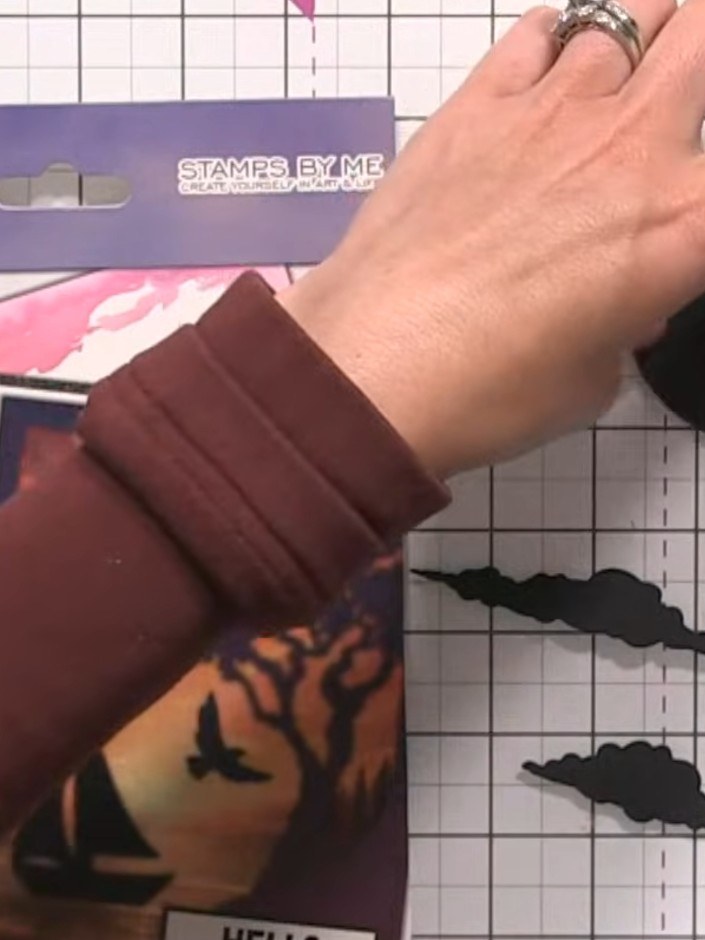
Cut the decking die piece from black card stock to create a wooden pathway effect. Die-cut the birds, twigs, clouds and stars from black card stock as well.
▶ watch this step (33:30)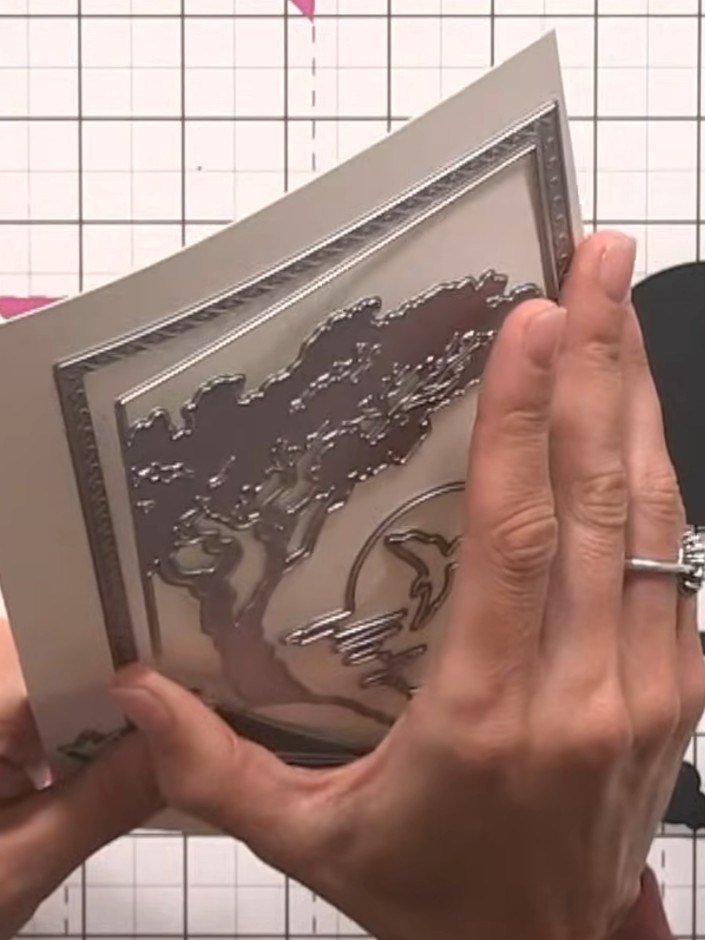
Die-cut the moon from black cardstock using the moon die from the Moonlit Skies die set. Place the die-cut moon on an embossing mat and run it through your die-cutting machine to add texture and dimension to the surface.
▶ watch this step (34:00)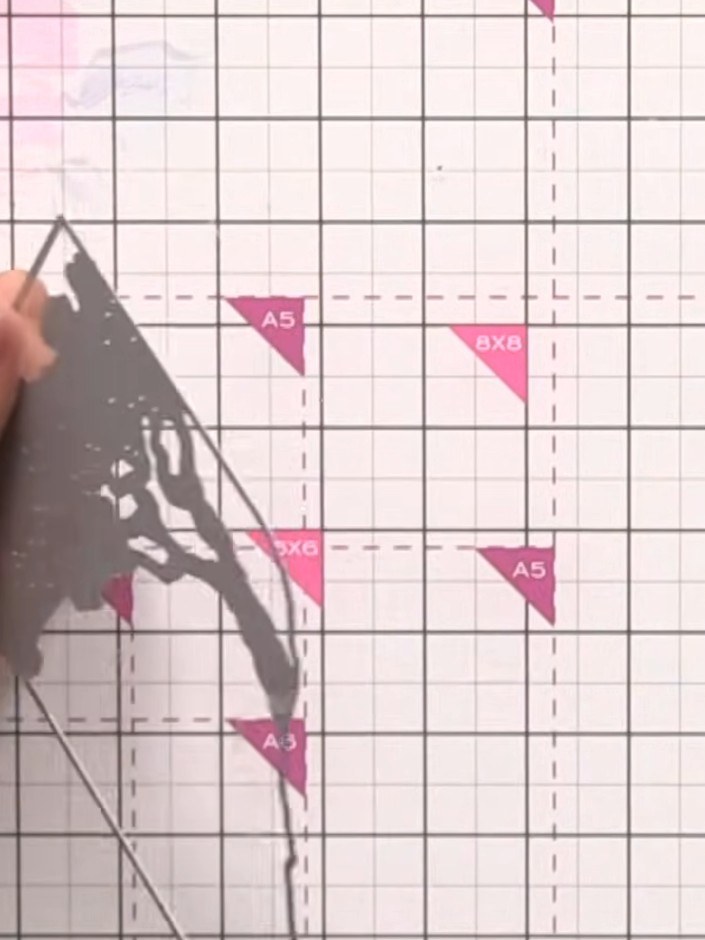
Die-cut the bird and twig designs from black card stock using the dies from the Moonlit Skies die set. Run the dies through your die-cutting machine to create the intricate cut-out shapes.
▶ watch this step (34:15)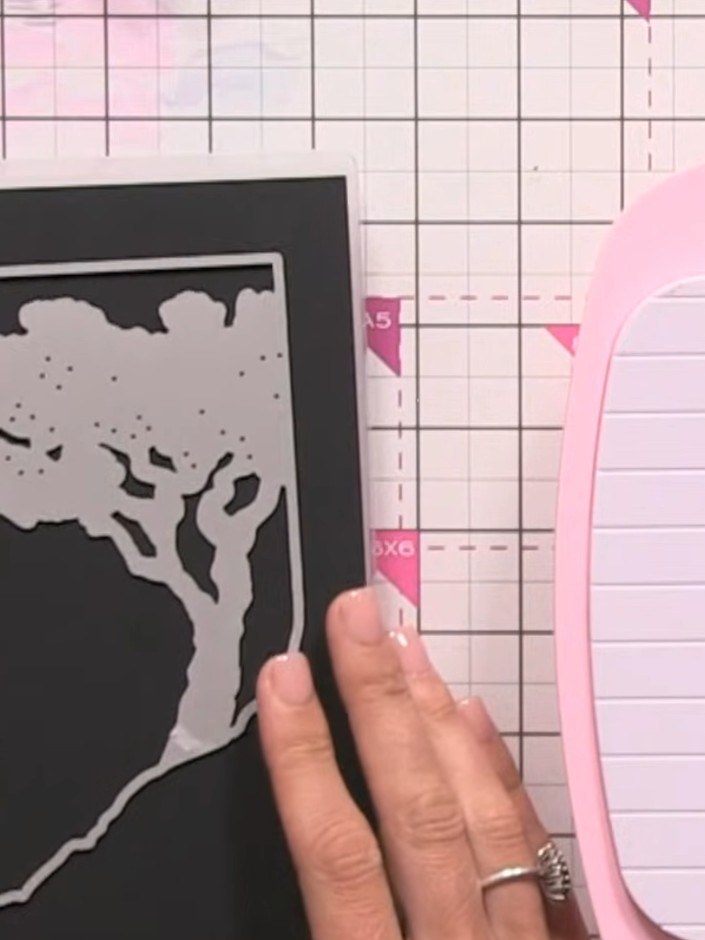
Die-cut the cloud and tree design from black card stock using the Moonlit Skies die set. The die creates a decorative frame with a tree silhouette, clouds, and stars.
▶ watch this step (34:30)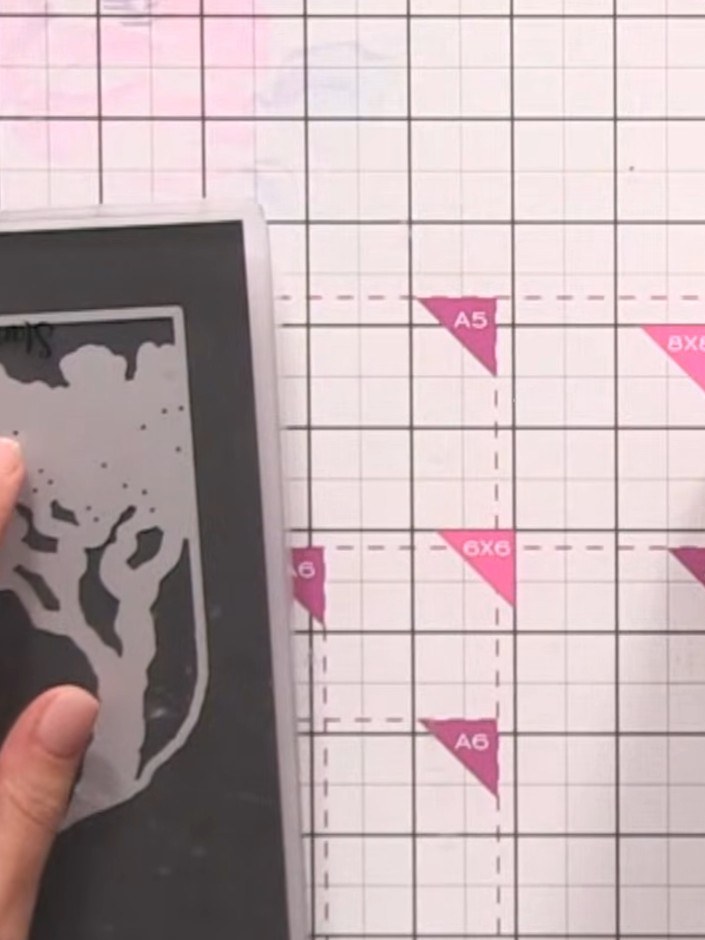
Select the outside frame die from the Set the Scene die set. Use this die to cut a frame from pink cardstock to create a mat for your card.
▶ watch this step (39:30)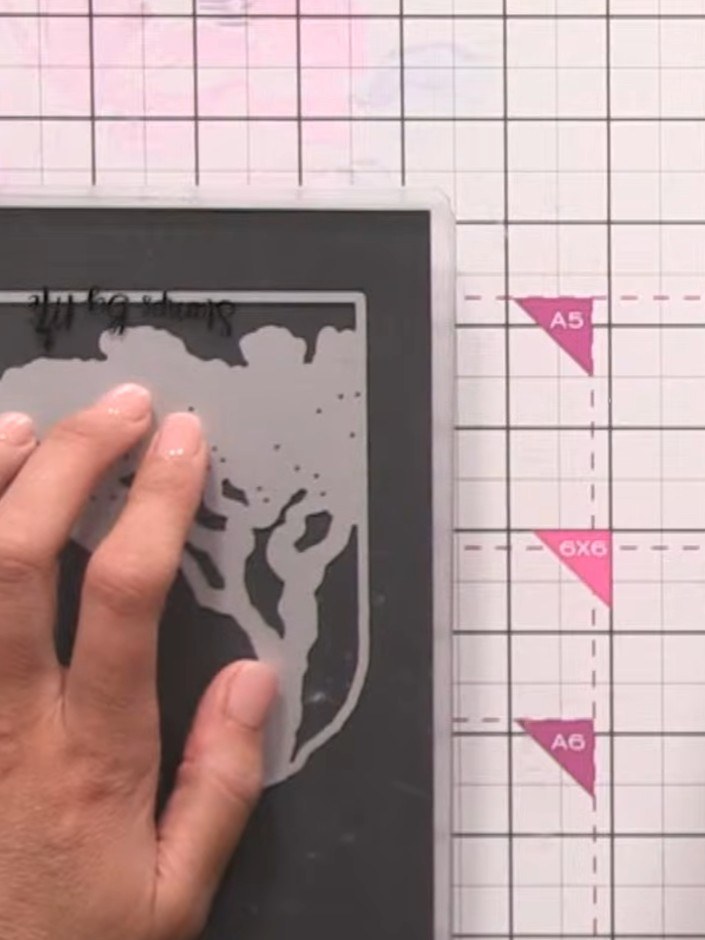
Select an ombre paper from the We Can Dream collection to use as your background layer for the card.
▶ watch this step (40:00)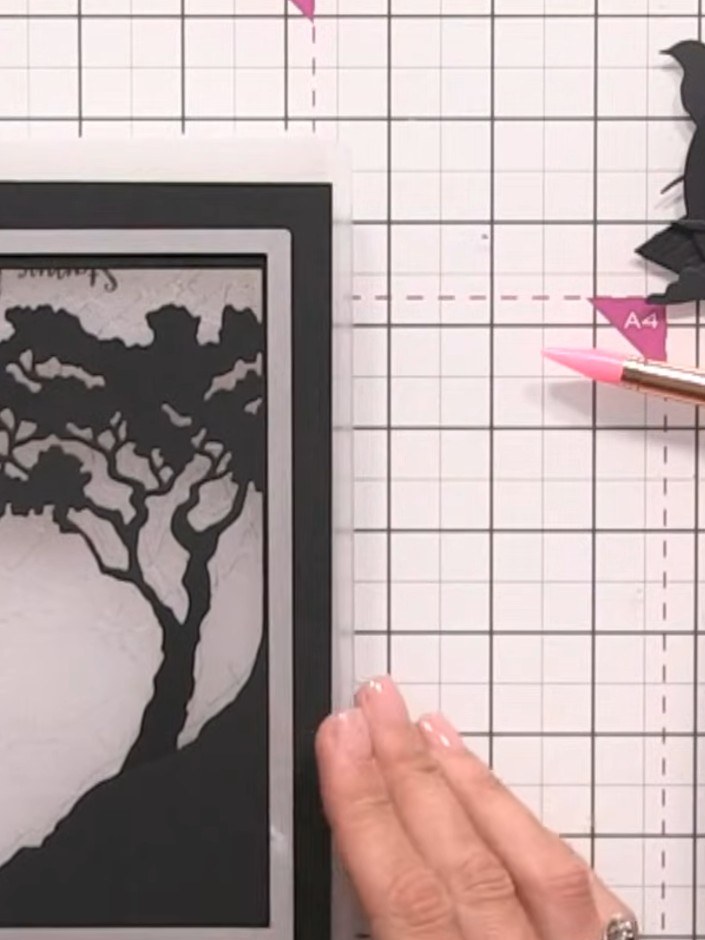
Layer the black die-cut tree frame onto the ombre background paper, positioning it to frame the scenic elements. Add the additional black frame pieces around the edges to create a layered border effect.
▶ watch this step (44:00)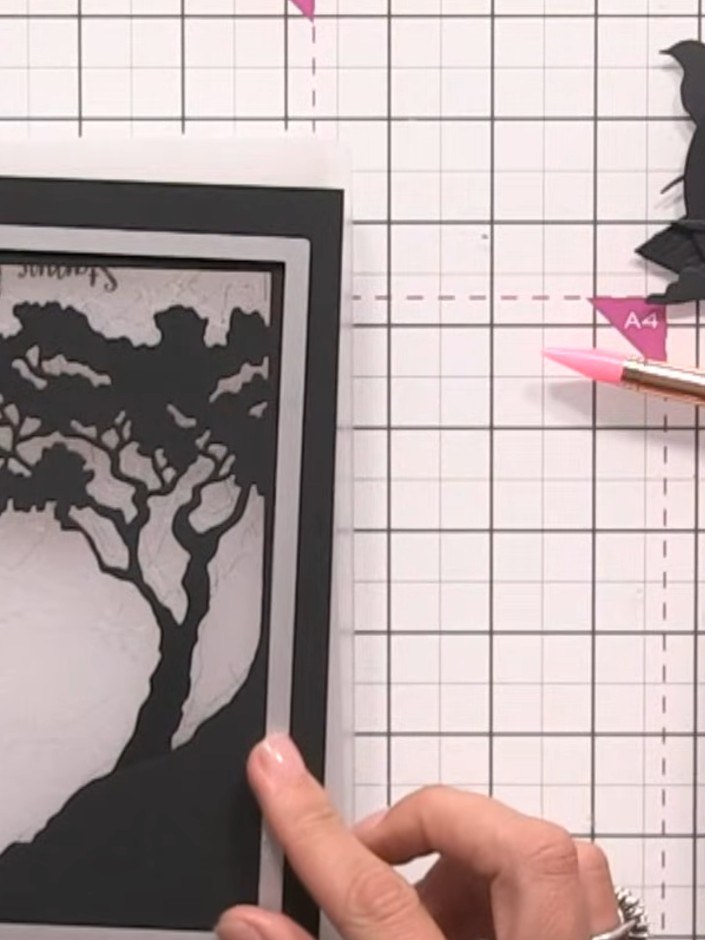
Mount the completed layered tree frame piece onto a white card blank, ensuring an even white border is visible around all edges for contrast.
▶ watch this step (44:15)Written up from the show itself. See every guide from our shows · free how-to guides · watch live on My Telly