Give your friends $10 off their first order!
Refer a FRIEND








A project from our live show HOBBYMAKER TV - Join Toni for her latest show - Broadcast 29th January 2026 · 01/29/2026 · watch it from 51:45
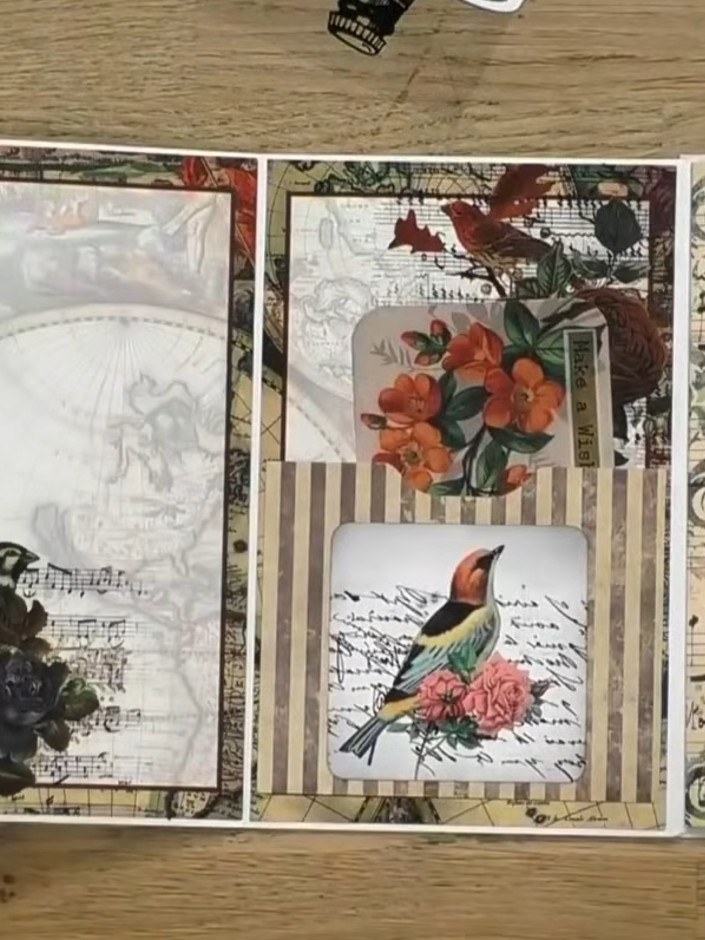
Create a stunning memory album featuring beautiful floral designs in pink, coral and green tones. This project uses pre-cut pages with pockets, flaps and decorative toppers that simply pop out and assemble together. The finished album showcases charming botanical illustrations including sunflowers, roses and strawberries, perfect for preserving your precious memories.
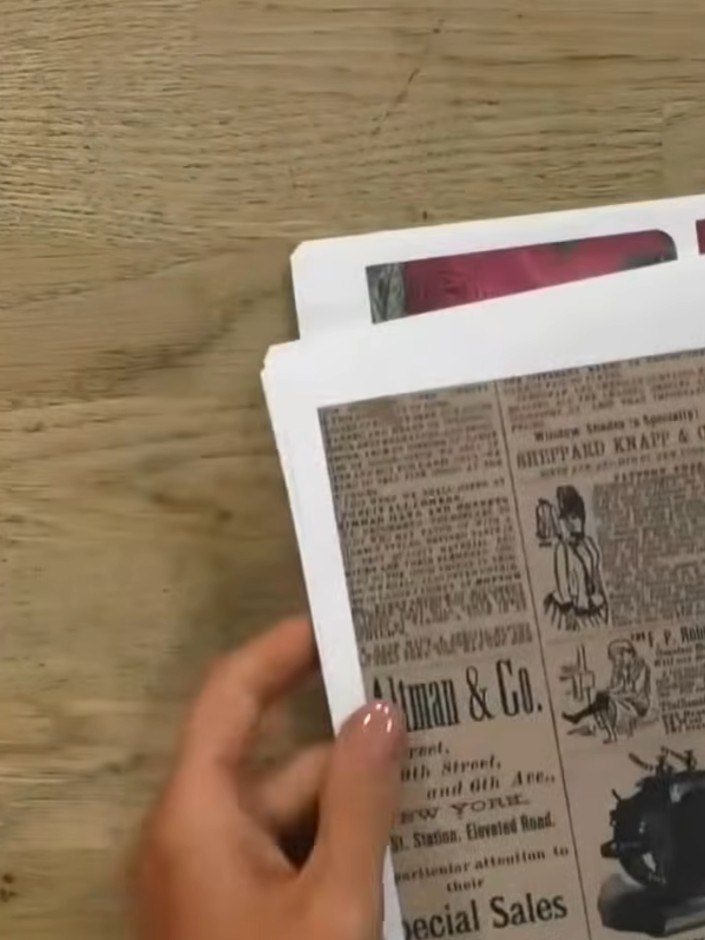
Remove the pre-cut pages from the block by gently popping them out one at a time. Hold the block firmly and carefully push each page out from the backing.
▶ watch this step (52:00)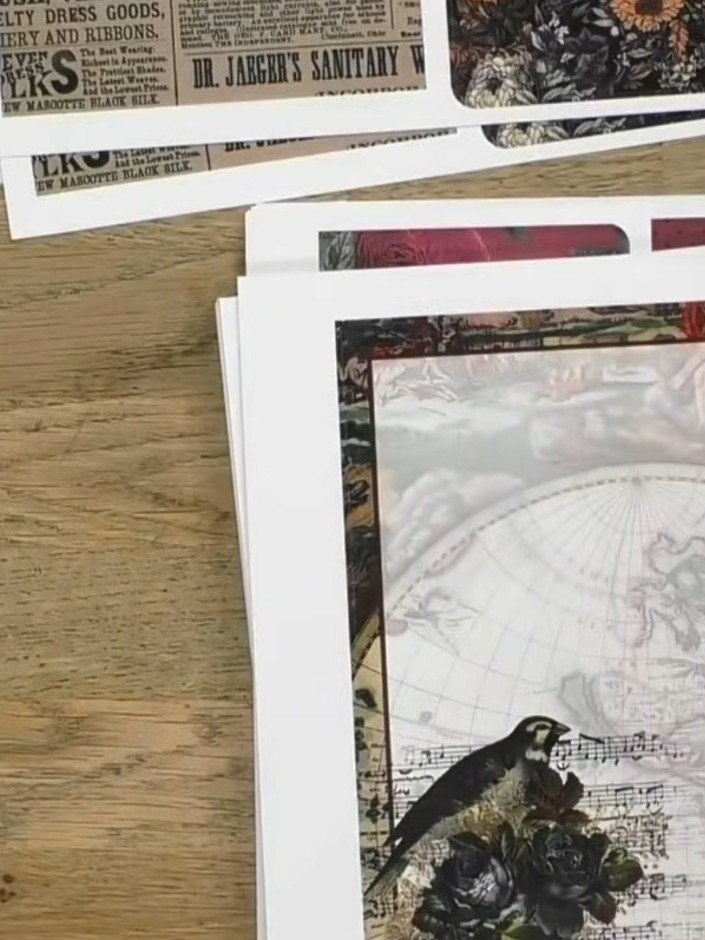
Lay out all your popped-out pieces on a flat surface to see the variety of pockets, flaps, and embellishments available. Arrange the decorative panels featuring birds, flowers, and vintage designs to view the different options. This allows you to plan your album layout before assembly.
▶ watch this step (52:15)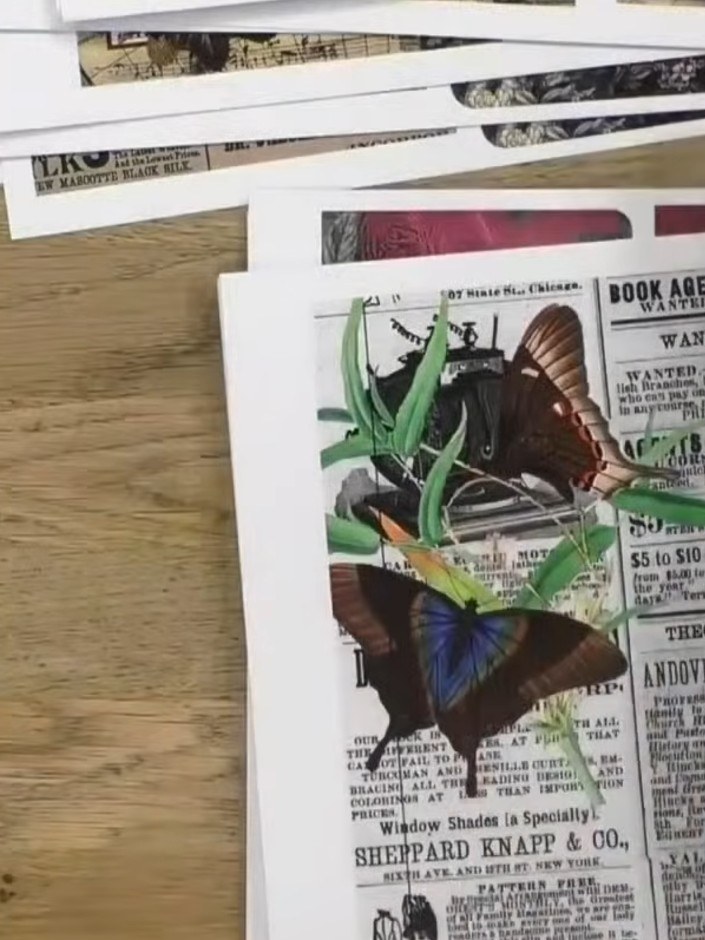
Arrange your album pages and embellishments in any order you prefer. Layer decorative elements such as butterflies, flowers, and vintage newspaper prints onto the pages. There is no set instruction for placement, so create your own unique arrangement.
▶ watch this step (52:30)
Score down the centre of any pages marked with a fold line using a bone folder or scoring tool. The grey dotted paper shows where the fold line should be scored.
▶ watch this step (53:00)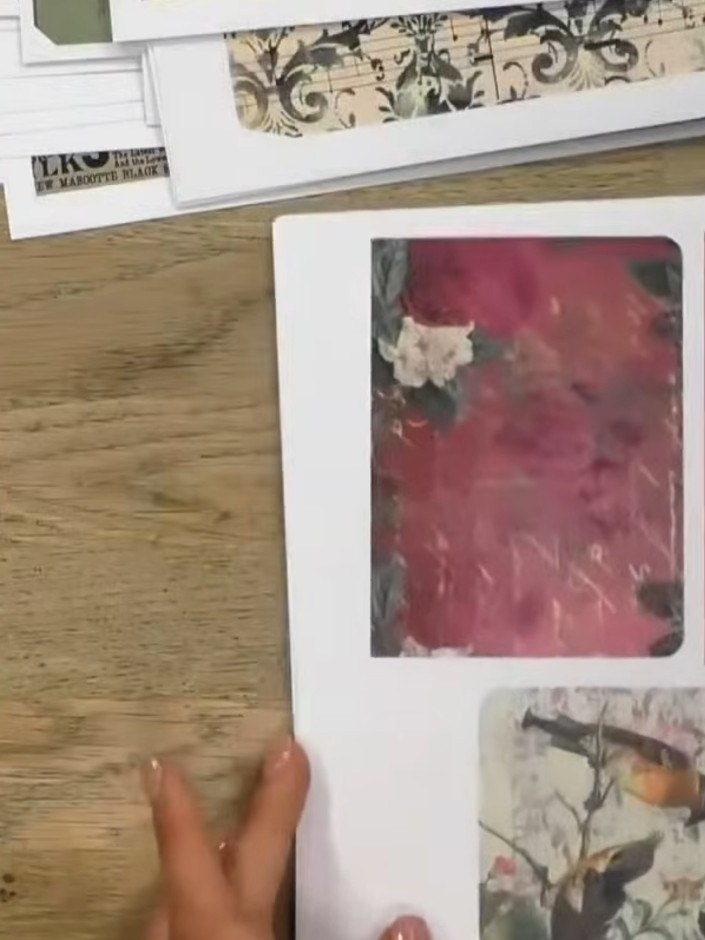
Attach the decorative pockets, flaps, and toppers to your album pages using adhesive. Position them over the edges of your chosen pages to create your desired layout, layering the floral and patterned pieces as you wish.
▶ watch this step (53:15)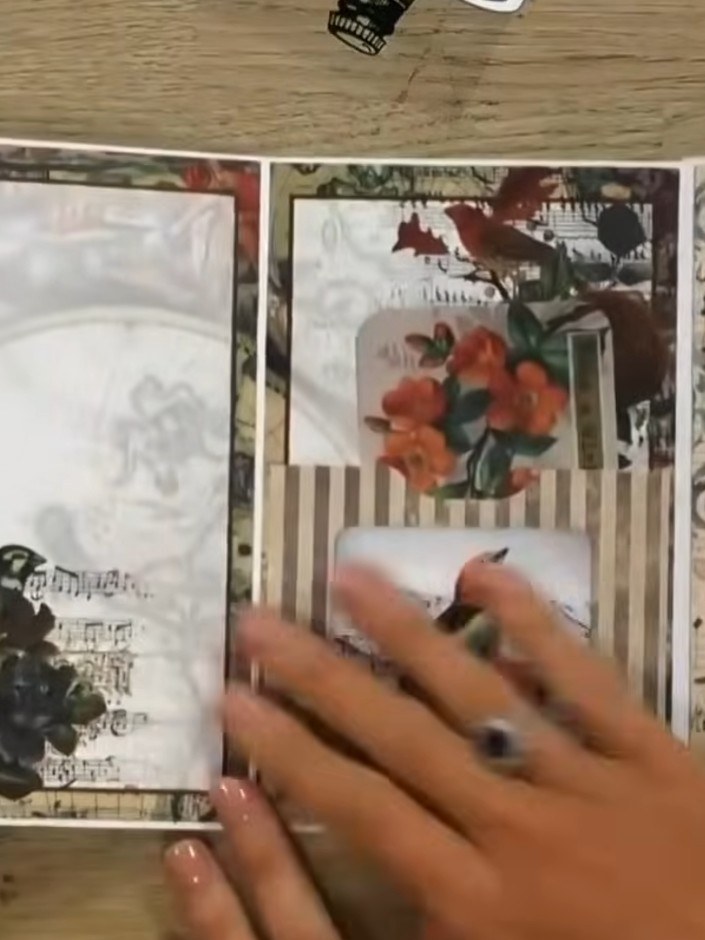
Add photographs, journaling, or other memorabilia into the pockets and behind the flaps throughout your album. Personalise each page by tucking items into the various compartments and layered sections.
▶ watch this step (54:00)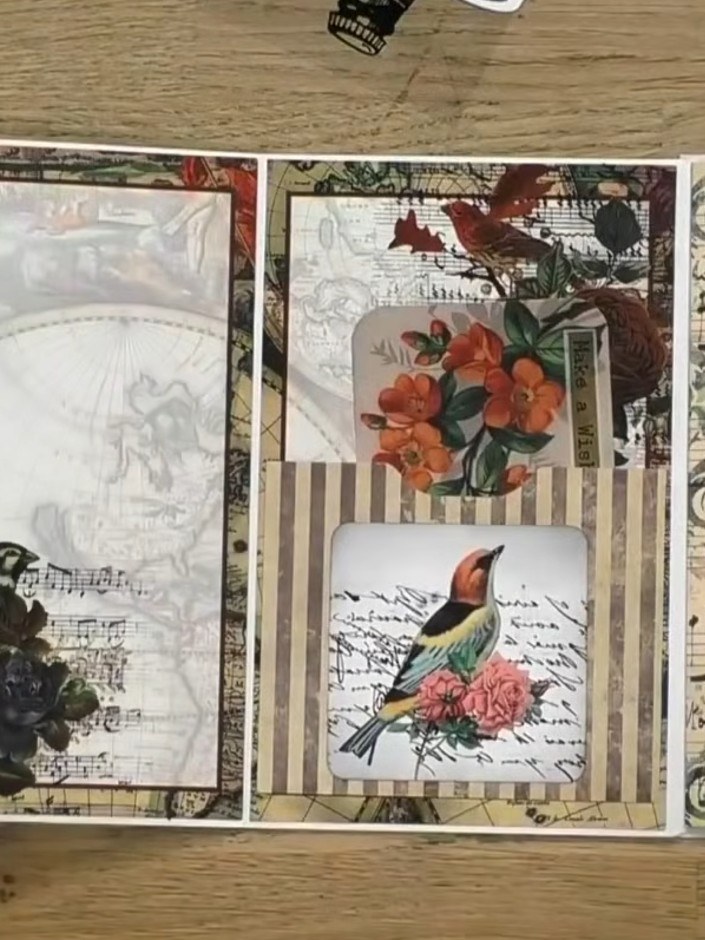
Use any leftover embellishments from your album project to create coordinating toppers on card stock for future card-making. Layer the vintage-style images, birds, flowers and decorative papers to create ready-to-use card panels.
▶ watch this step (54:30)Written up from the show itself. See every guide from our shows · free how-to guides · watch live on My Telly