Give your friends $10 off their first order!
Refer a FRIEND








A project from our live show MY PODCAST - Catch my latest updates broadcast 9th February 2026 · 02/09/2026 · watch it from 28:45
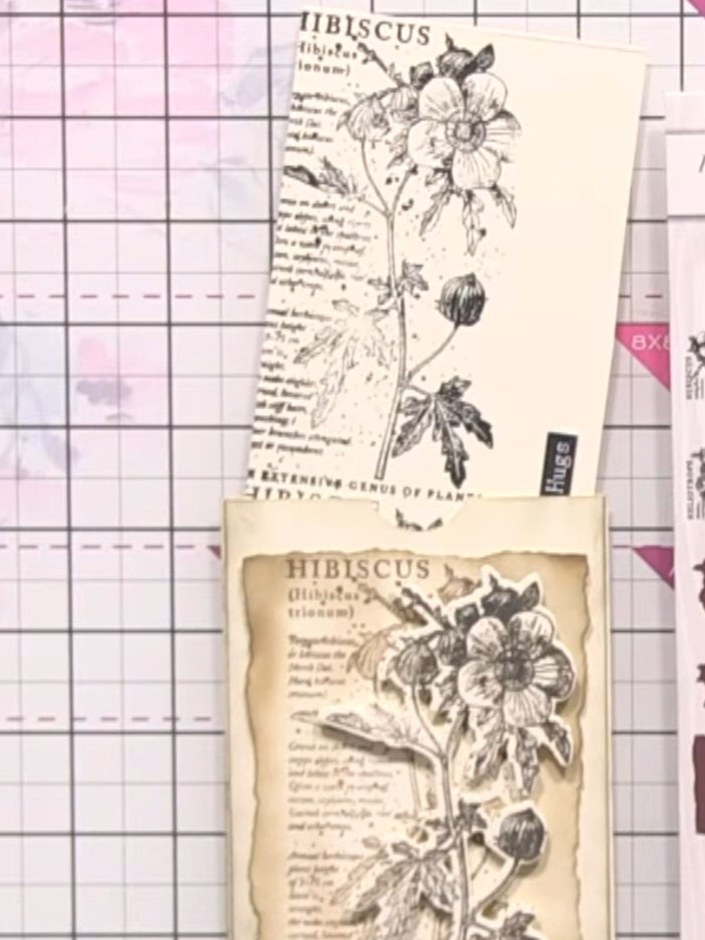
Create a vintage-style card featuring a hibiscus flower with a seed packet effect, paired with a coordinating wallet insert. The design uses layered stamping in brown and black ink on cream cardstock to create depth and an aged, botanical look. This project combines stamping, die-cutting and distressing techniques for a sophisticated vintage aesthetic.
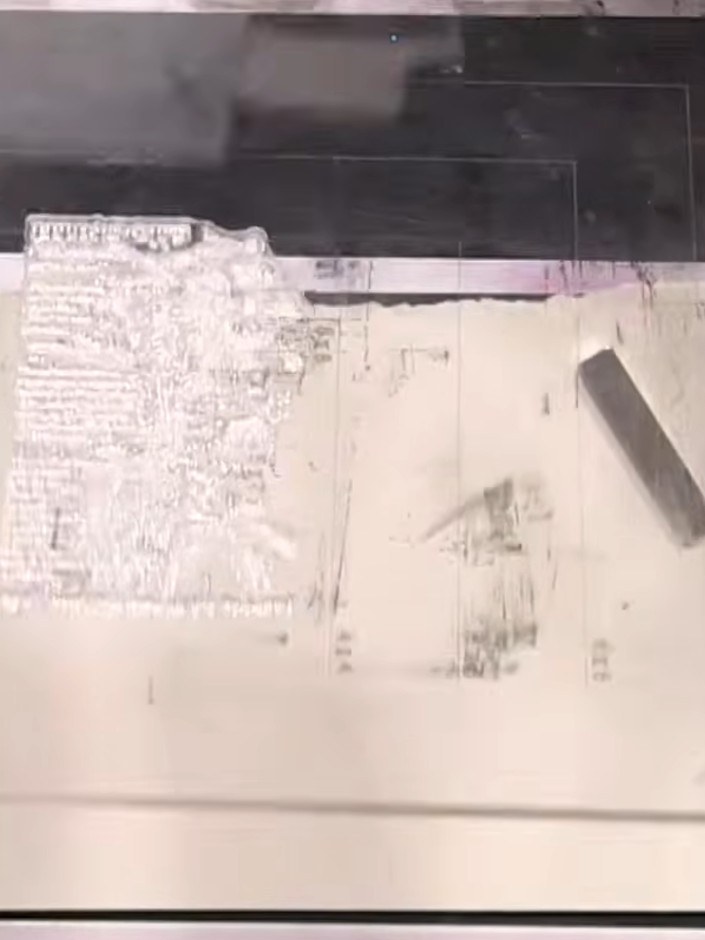
Stamp the hibiscus flower image onto cream cardstock using brown walnut stain distress oxide ink. Ensure the image is clearly stamped with good coverage.
▶ watch this step (29:15)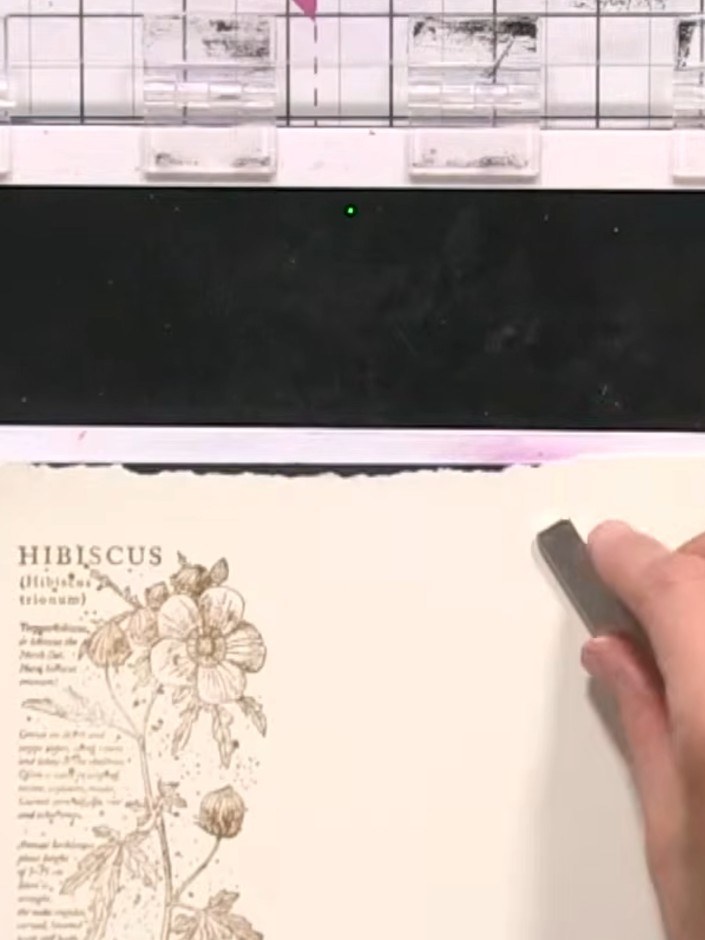
Stamp the hibiscus image a second time onto a separate piece of cream cardstock using the brown ink pad.
▶ watch this step (31:00)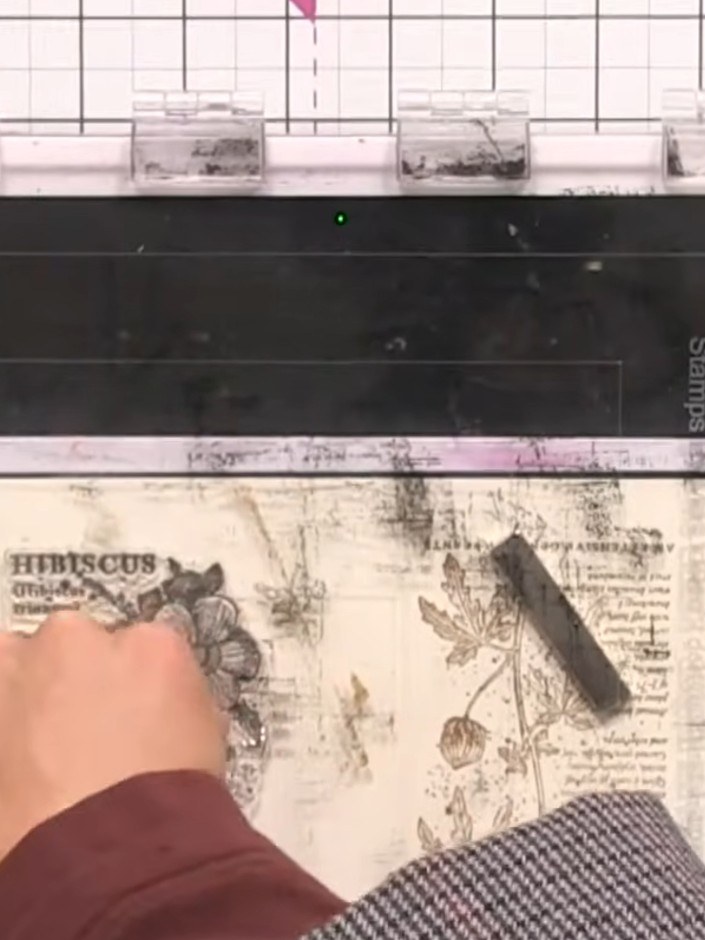
Apply black ink to the stamp pad and add black ink to one side of the second stamped image, blending it in a circular motion to create a darker edge.
▶ watch this step (32:15)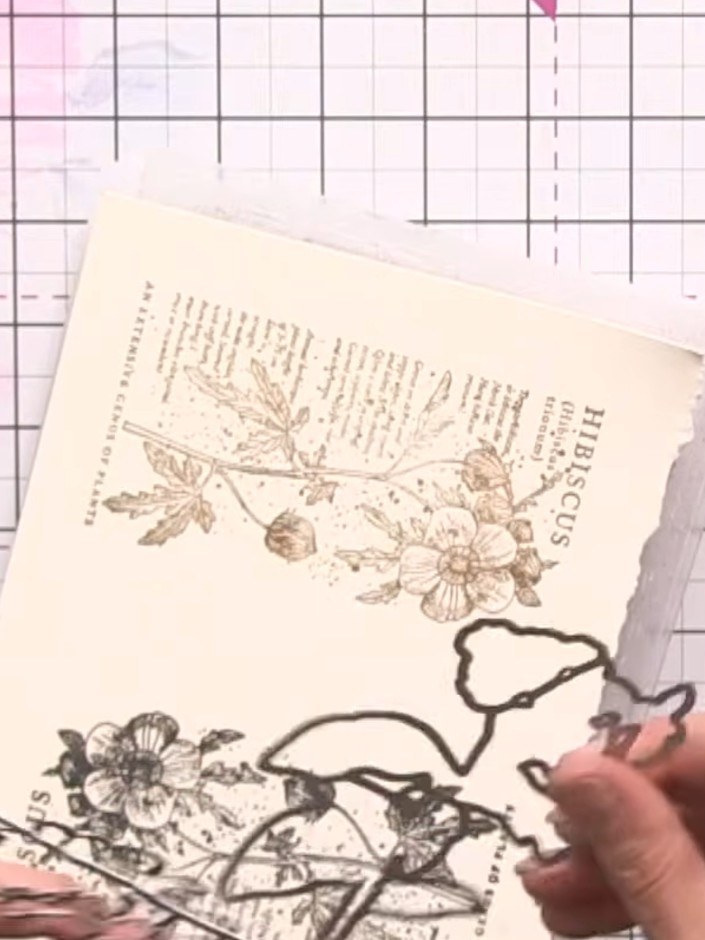
Use the coordinating die to cut out the flower from the brown-stamped image, leaving the exterior sketchy edge intact.
▶ watch this step (33:45)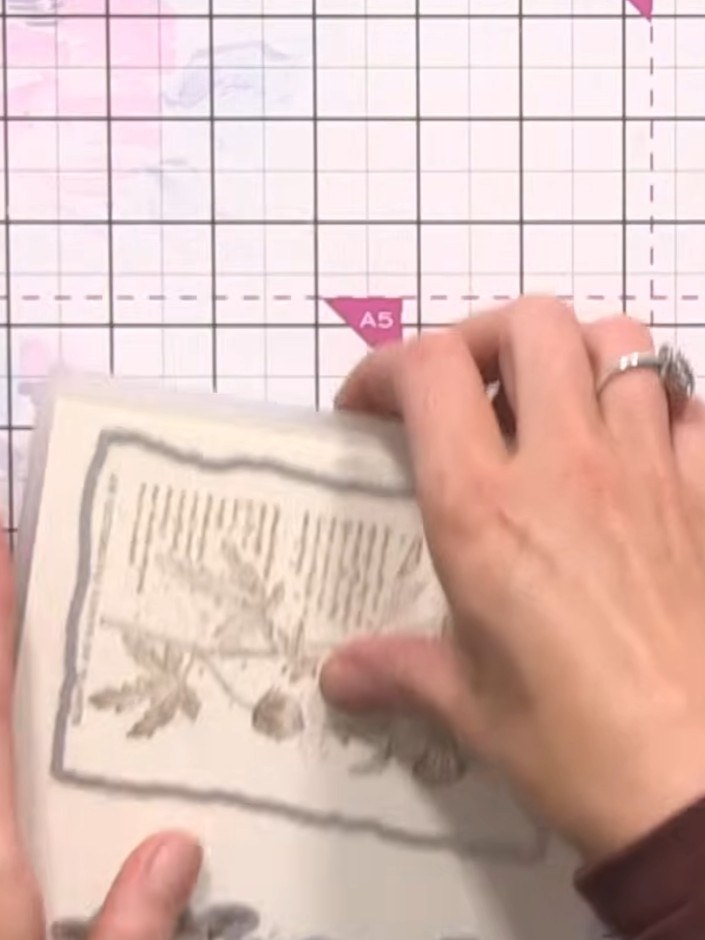
Cut out the flower and exterior from the black-inked image using your die-cutting machine. Trim carefully around the stamped designs to separate the two motifs.
▶ watch this step (34:45)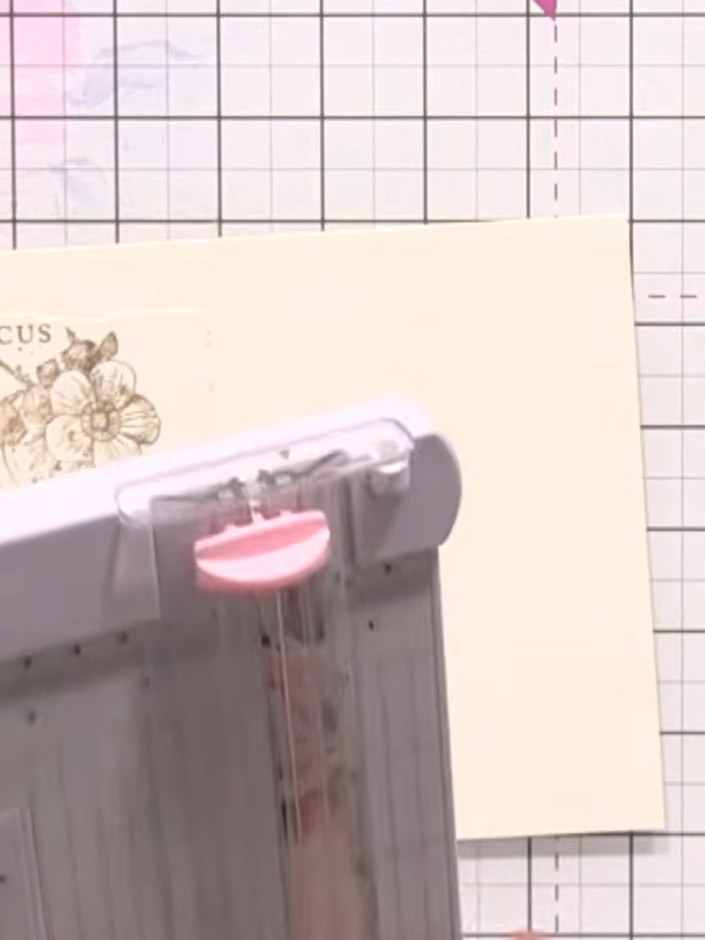
Score lines down the centre of your cream card blank at half-inch intervals using a scoring tool to create the fold lines for the wallet structure.
▶ watch this step (36:30)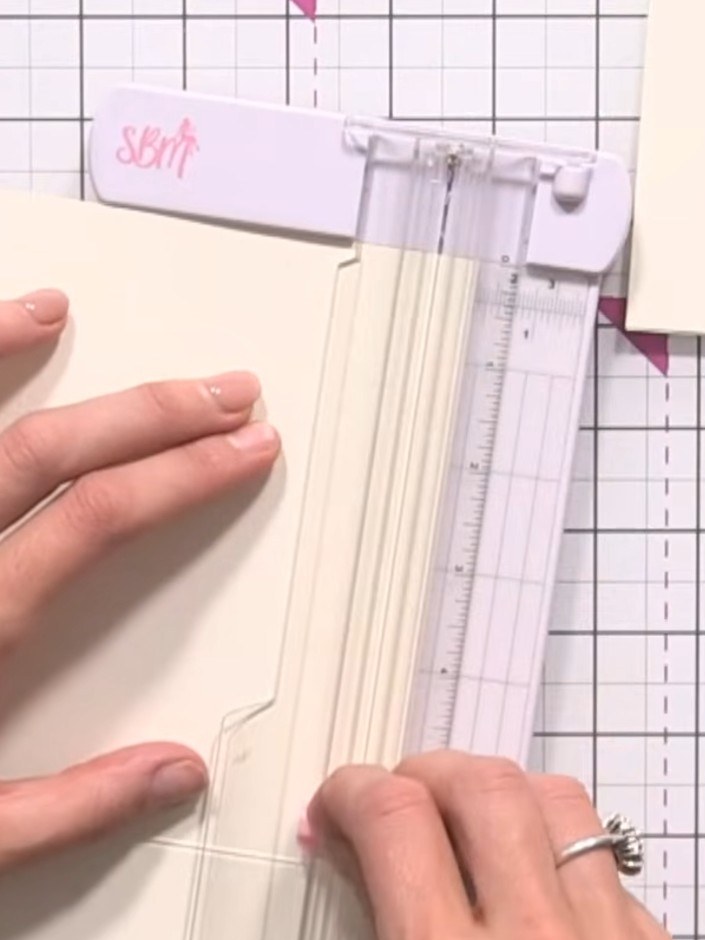
Trim away the back flap and side flaps of the card blank using scissors to create the wallet pocket shape.
▶ watch this step (38:30)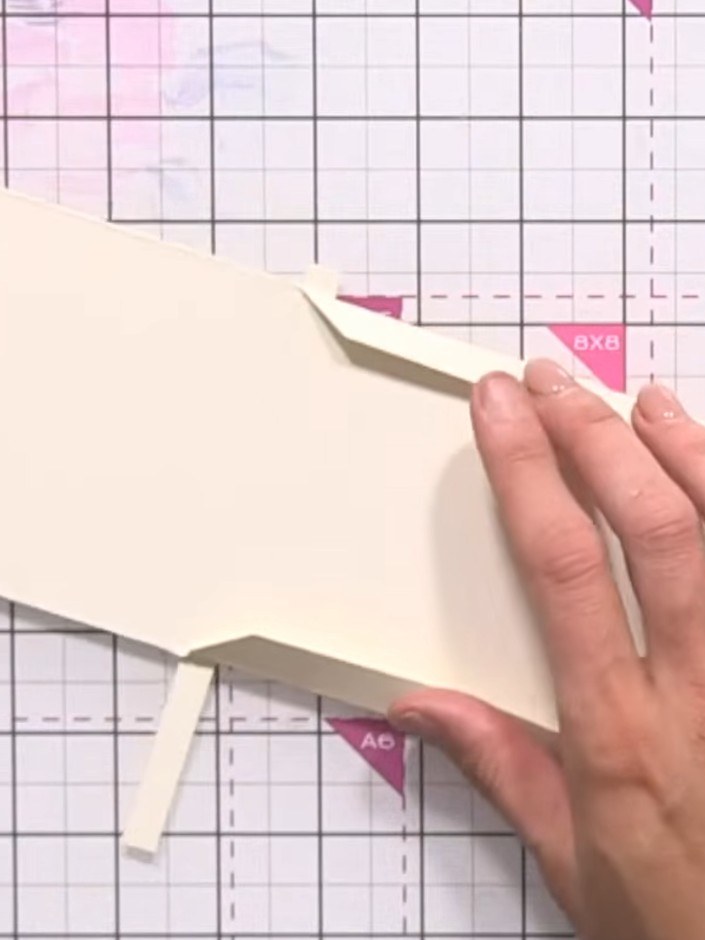
Chamfer off the edges of the wallet piece to reduce bulk where it will fold. This creates a bevelled edge that will help the card fold more smoothly.
▶ watch this step (39:30)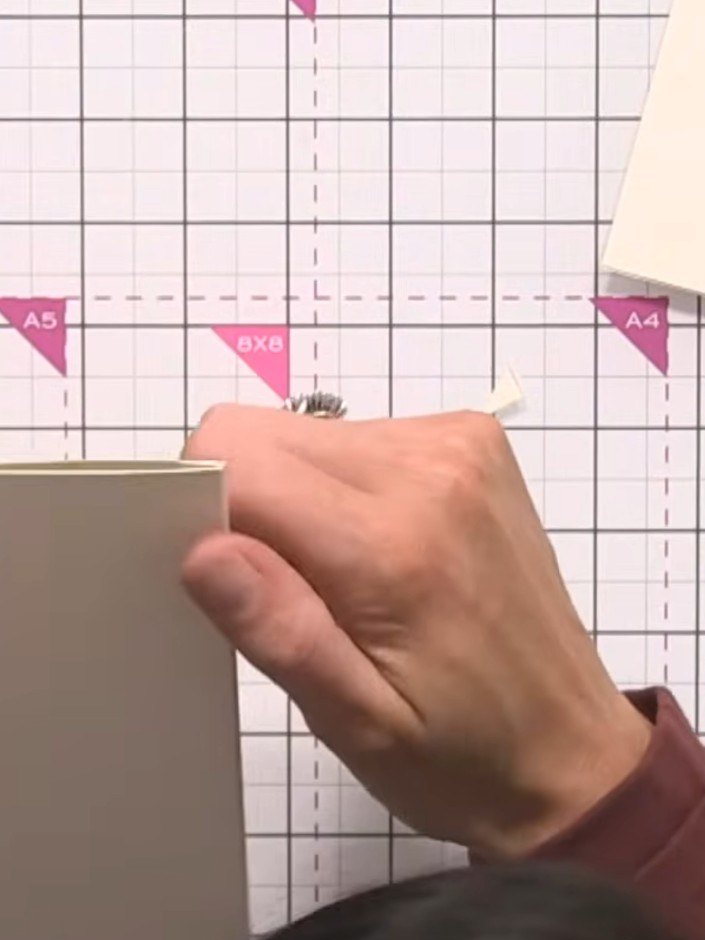
Punch a hole through both layers at the top centre of the wallet to create a pocket detail.
▶ watch this step (40:00)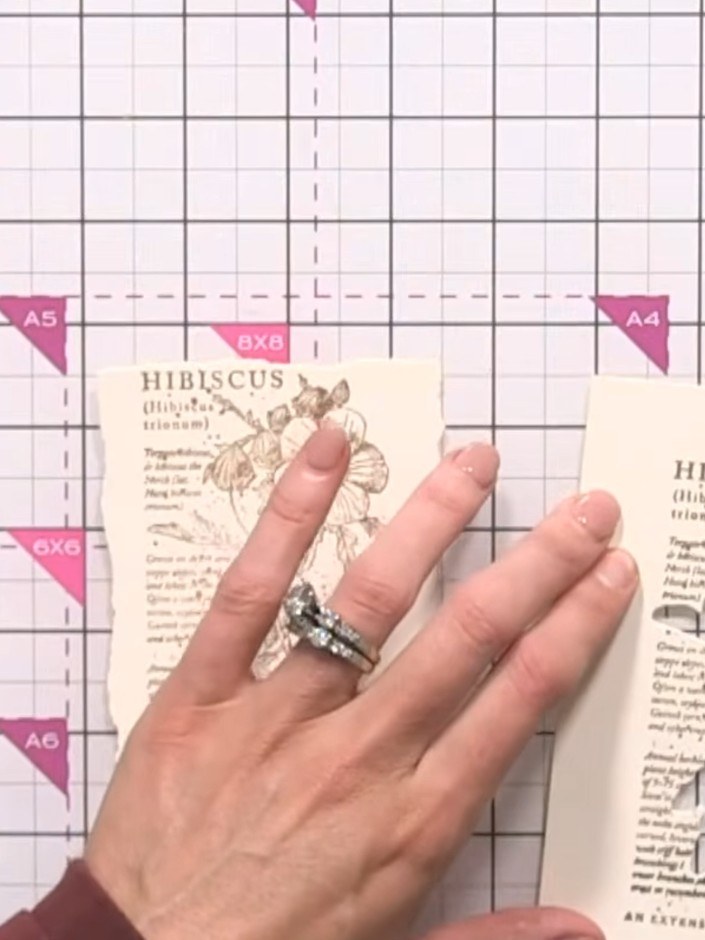
Using a blending brush, blend brown distress ink around the edges of the wallet insert to create a vintage distressed effect.
▶ watch this step (41:30)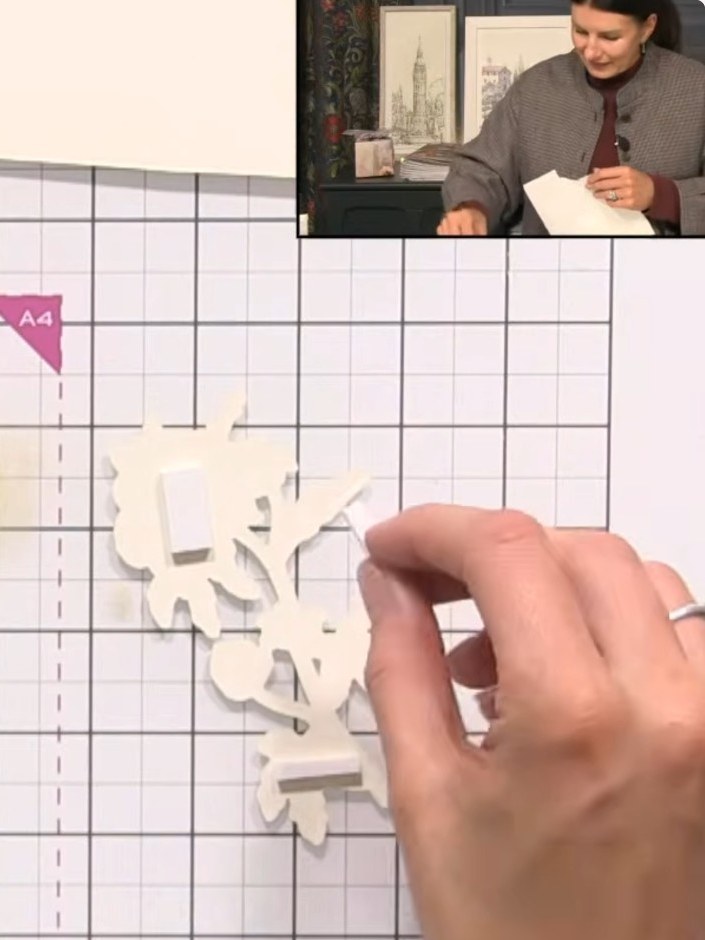
Adhere the cut-out white flower pieces to the front of the wallet, layering them to create dimension.
▶ watch this step (44:15)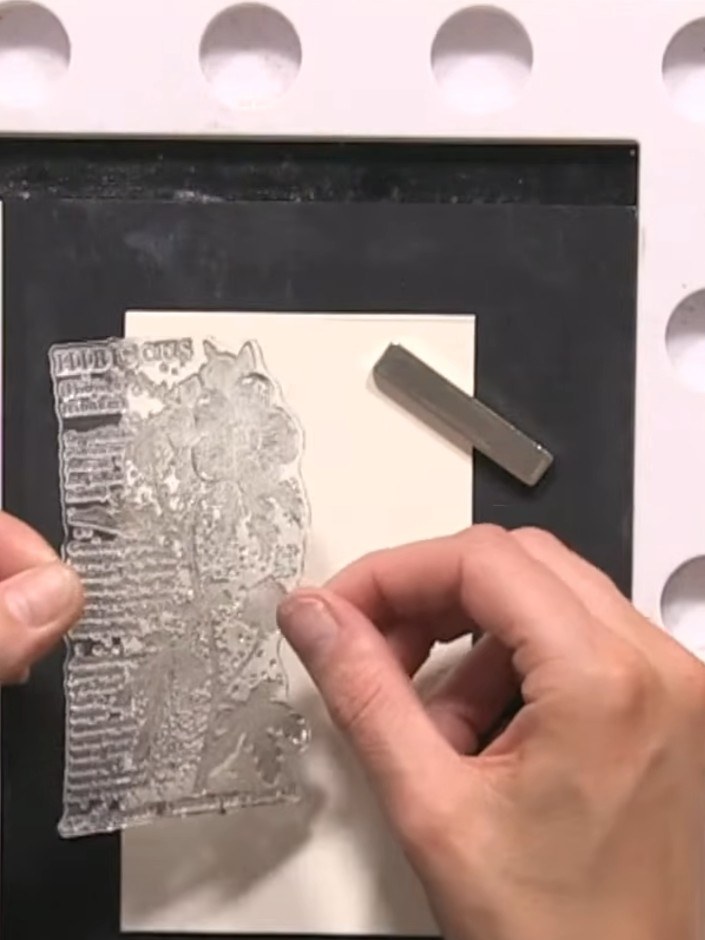
Stamp the hibiscus design on the left side of the interior card piece, positioning it off the edge so it appears to flow in from the side. Repeat the stamp lower down to create a flowing design down one side of the card.
▶ watch this step (46:00)Written up from the show itself. See every guide from our shows · free how-to guides · watch live on My Telly
