Give your friends $10 off their first order!
Refer a FRIEND








A project from our live show ONE DAY SPECIAL - Join Toni for her brand new launch - Broadcast 13th February 2026 · 02/13/2026 · watch it from 29:15
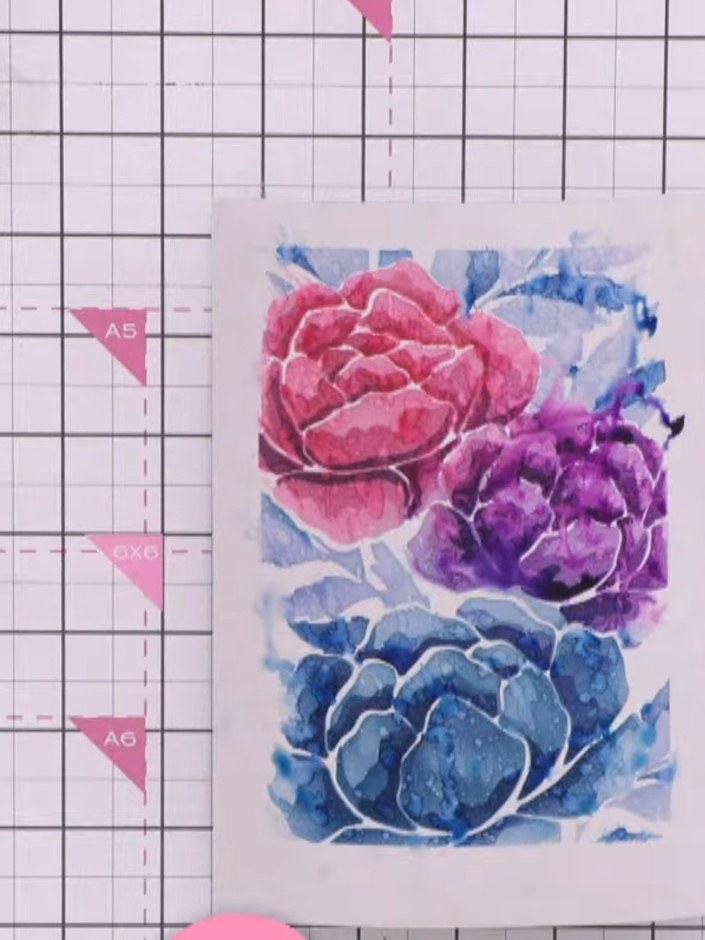
Create a stunning 5x7 inch card featuring beautiful layered peonies in pink, purple and teal. Using the Pretty Peony stencils and dies, you'll blend multiple ink colours together to build up depth and dimension. Finish with a water spray technique for an artistic, textured watercolour effect.
 Stamps By Me - Stencils and Die Set - Pretty Peony - 070824ASEE IT
 3D Foam Pads 2MM Thick Double Sided Foam Pads - 130226GSEE IT
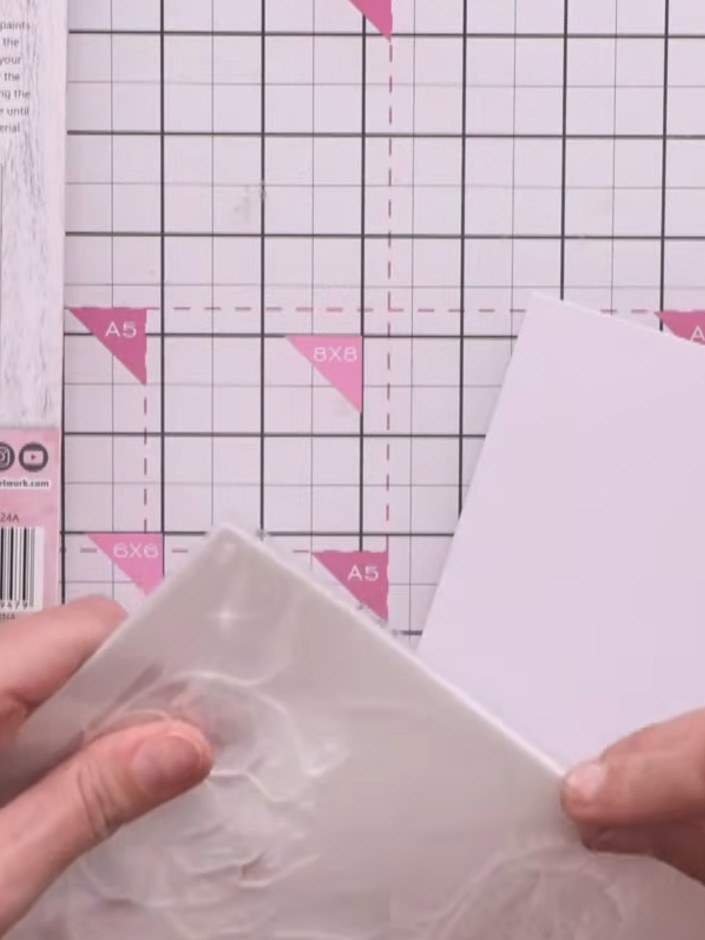
Line up the first stencil (numbered 5) with the top corner of your white card, aligning it with the edge.
▶ watch this step (31:45)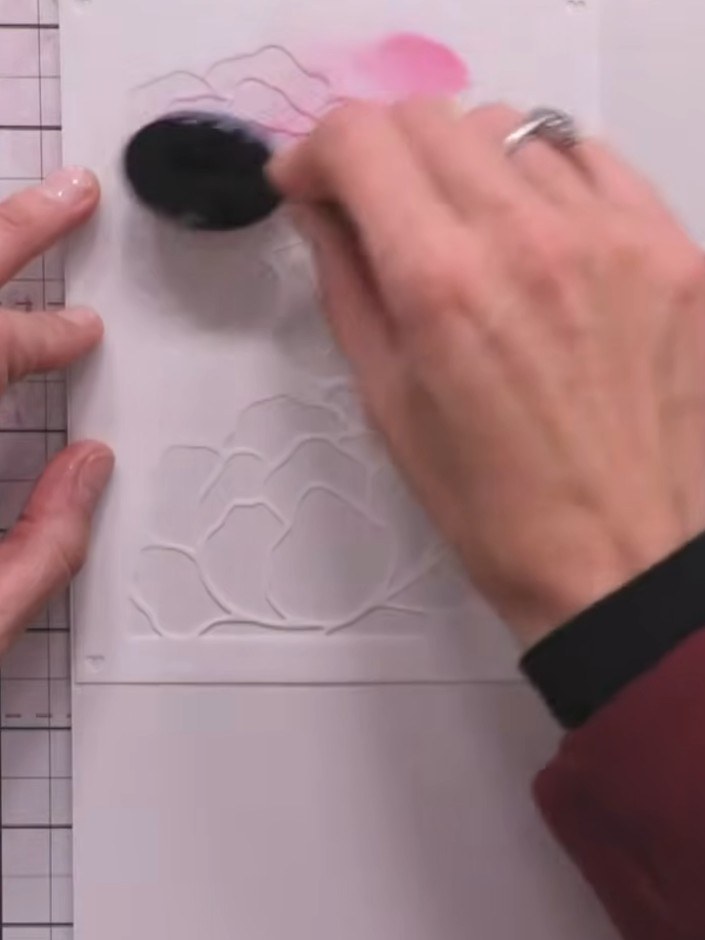
Using a blending brush, apply Fandango ink from the magenta ink pad to the top flower section of the embossed stencil. Press firmly to achieve rich, vibrant colour coverage.
▶ watch this step (35:45)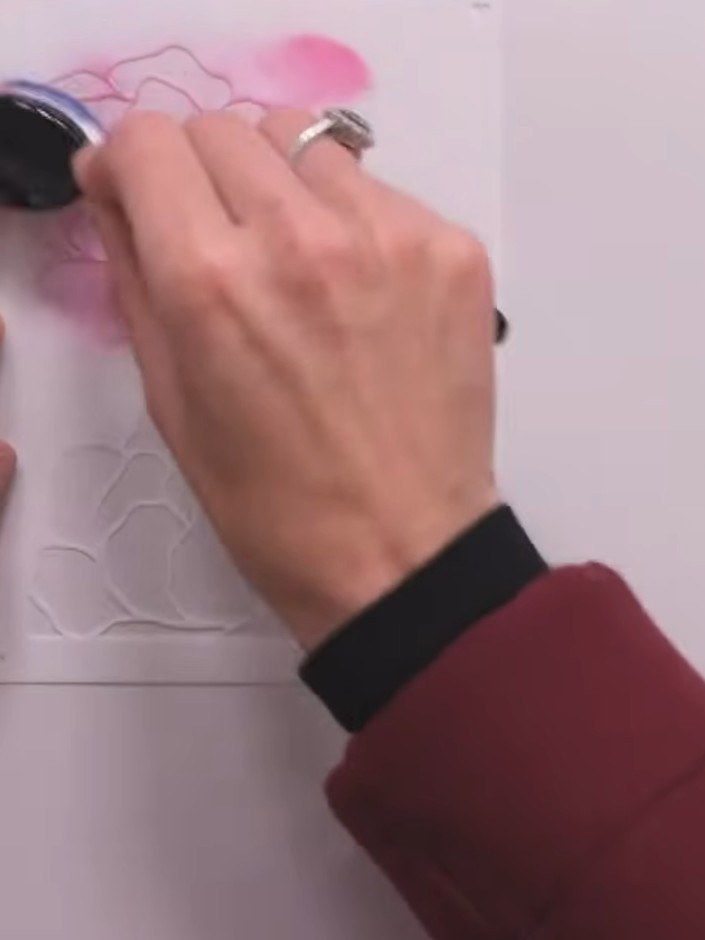
Rinse the first stencil layer under lukewarm water to clean it. Position the second layer of the Pretty Peony stencil over the embossed design and apply Fandango pink ink using a blending tool.
▶ watch this step (36:15)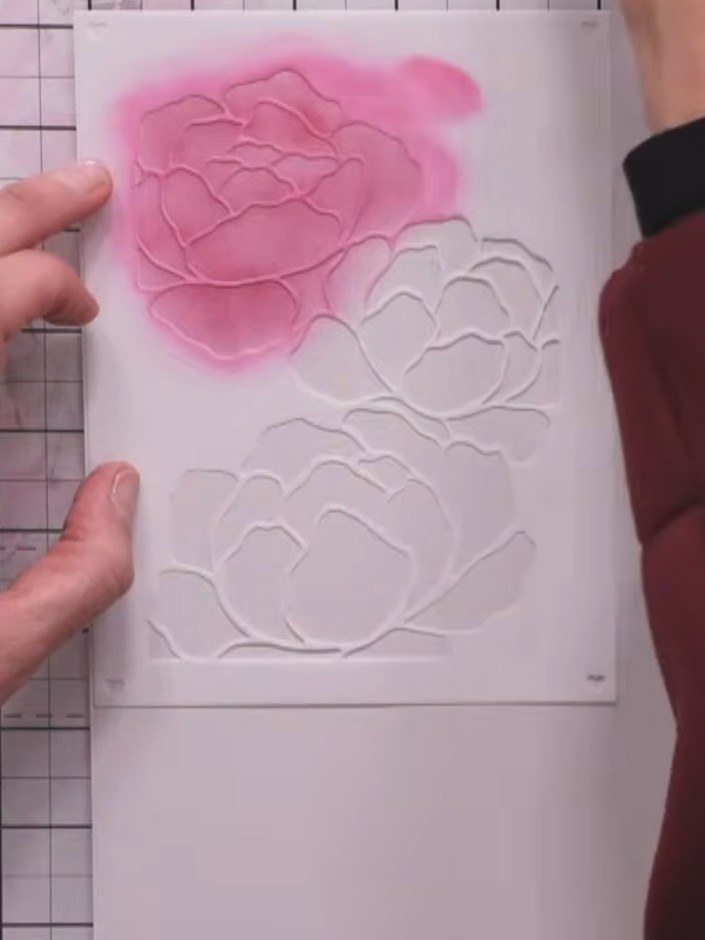
Ink the middle flower section using purple ink. Press down firmly with your brush to apply the colour evenly across the stencilled area.
▶ watch this step (37:00)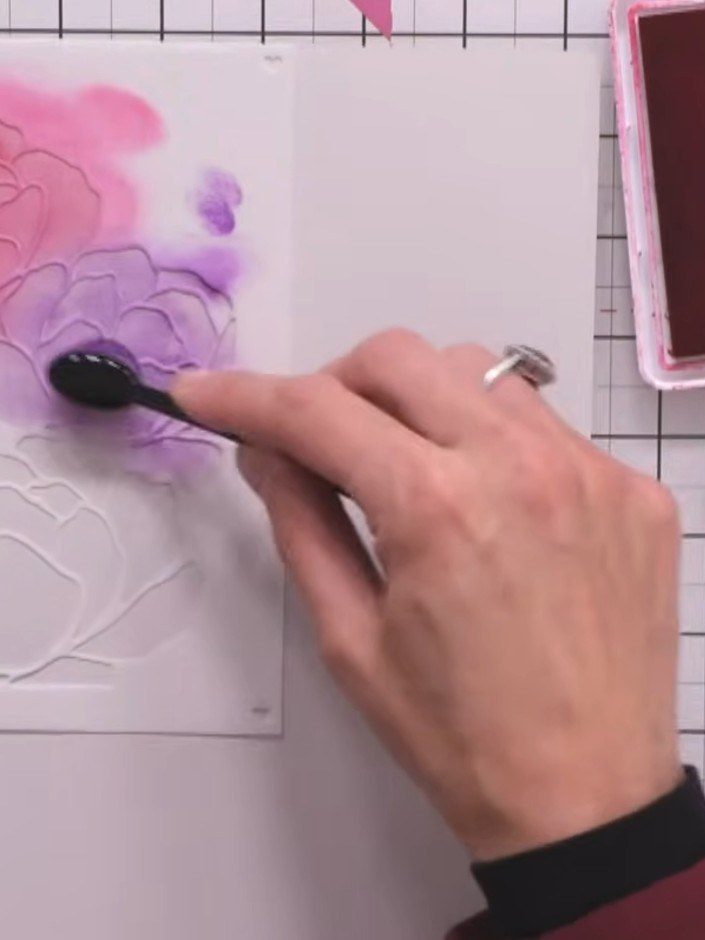
Position the third stencil layer over the bottom flower and apply teal ink using a pouncing motion with your blending brush to build up colour intensity.
▶ watch this step (37:30)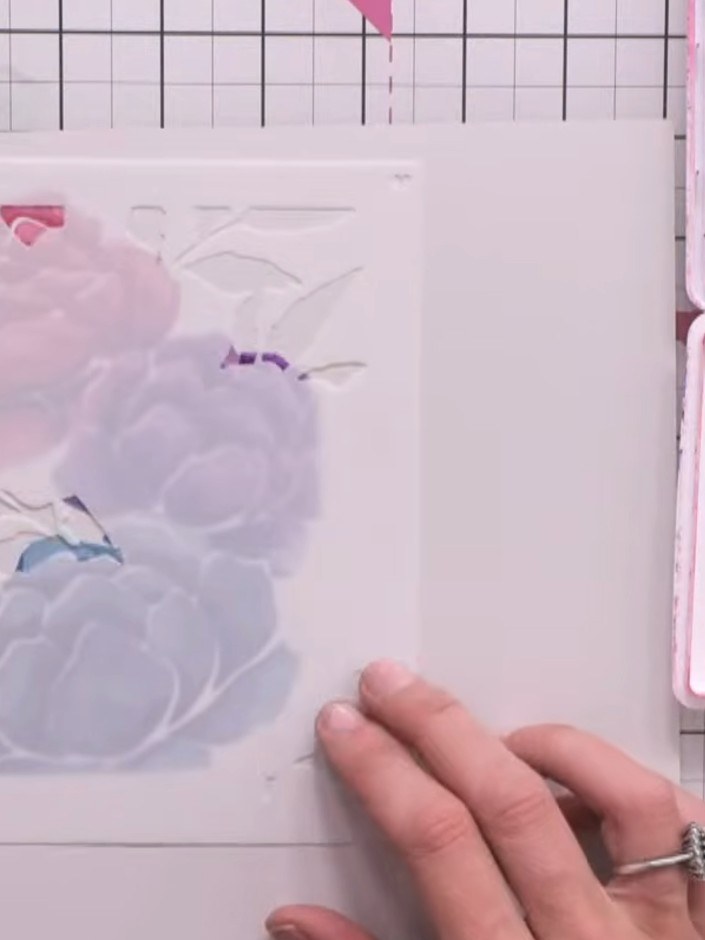
Position the leafy stencil layers over your card and apply light teal ink using a blending tool, pressing gently to create background foliage detail behind the peonies.
▶ watch this step (41:45)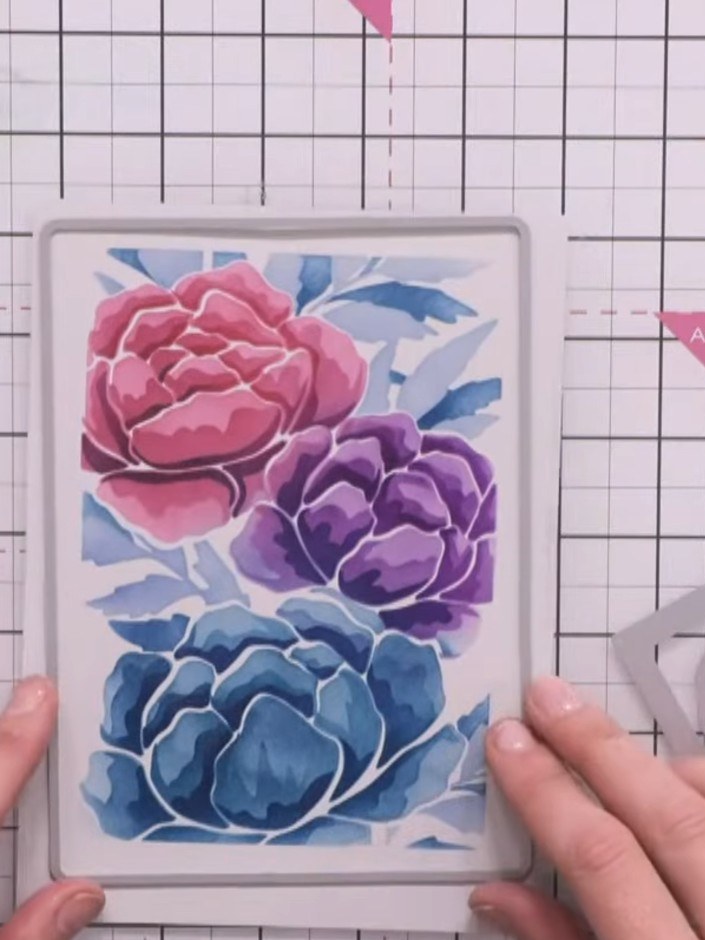
Trim the inked card roughly with scissors to remove excess white card around the floral design.
▶ watch this step (44:15)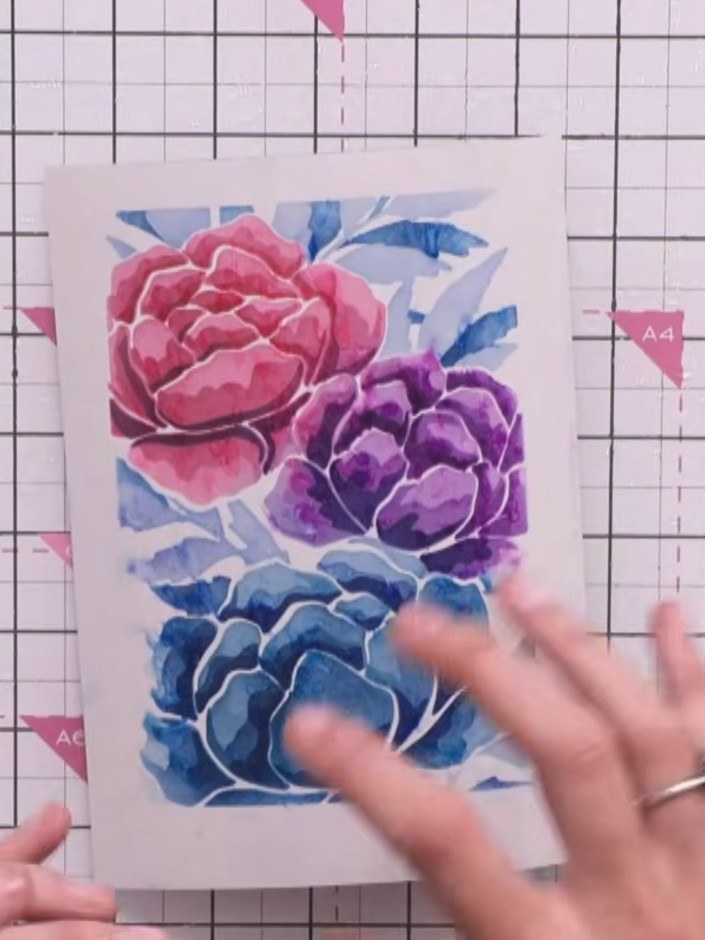
Spray the finished stencil work with water and gently shake the card to loosen the design and create a watercolour, abstract effect.
▶ watch this step (45:00)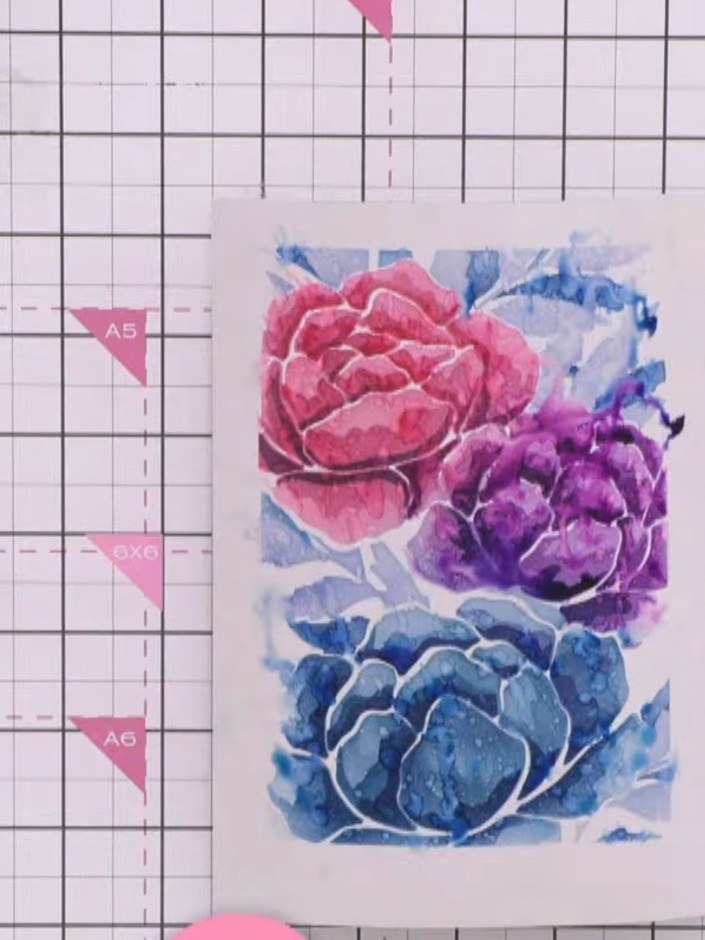
Die-cut a white card layer using the outline die from the Pretty Peony set to create a frame around your stamped artwork.
▶ watch this step (46:30)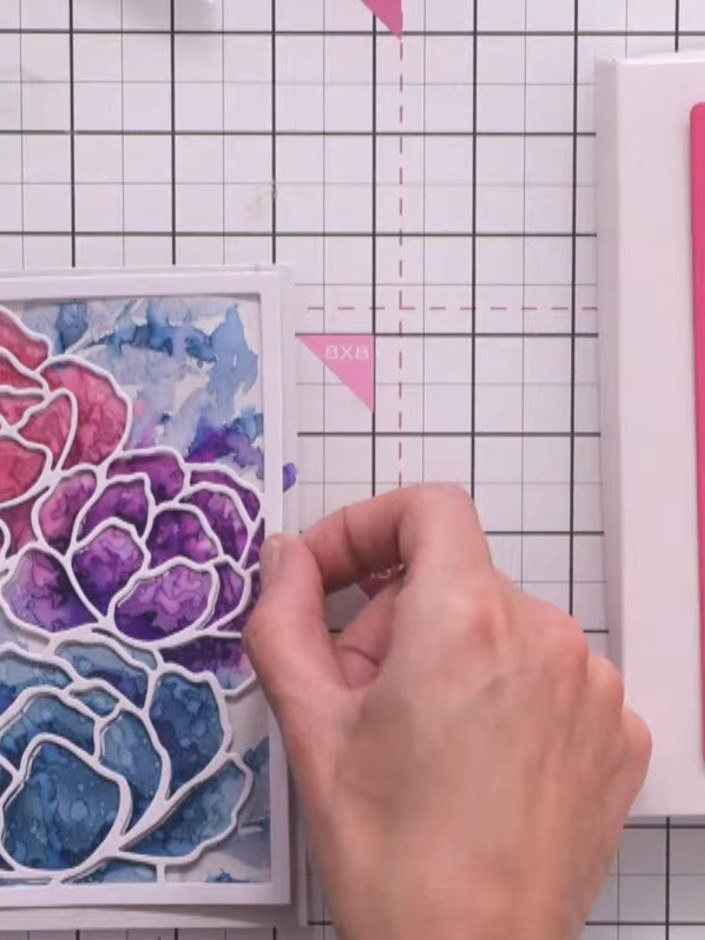
Layer the white die-cut peony frame on top of your stencilled artwork panel to bring out all the floral detail and create dimension.
▶ watch this step (59:00)Written up from the show itself. See every guide from our shows · free how-to guides · watch live on My Telly