Give your friends $10 off their first order!
Refer a FRIEND








Prices change straight away. Every language is our own translation, not Google.
A project from our live show HOBBYMAKER TV - Join us for the latest show - Broadcast 3rd April 2026 · 04/03/2026 · watch it from 22:00
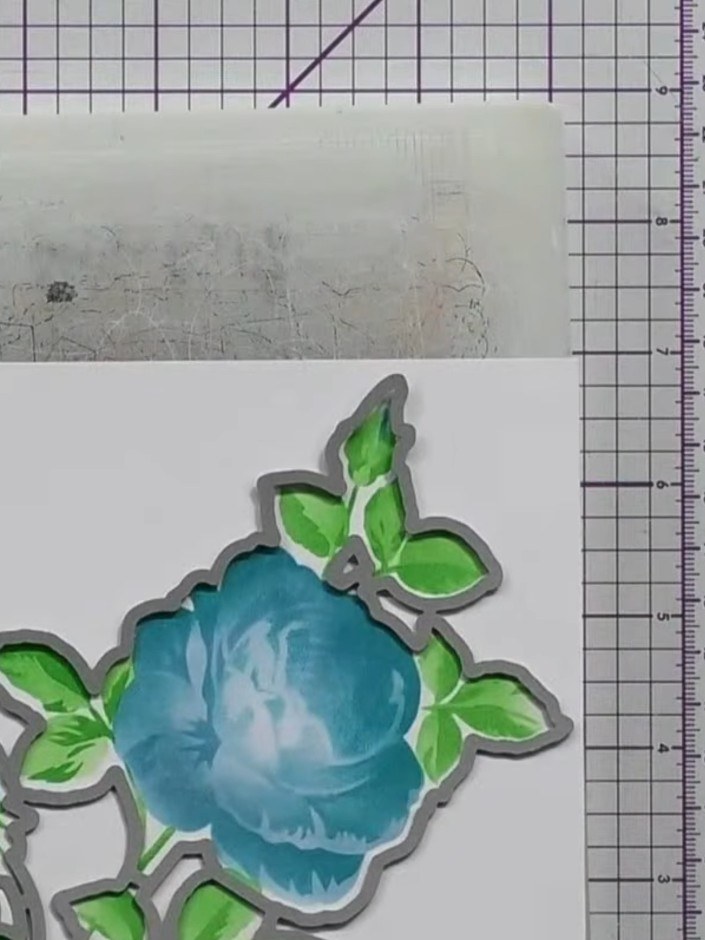
Create a stunning multi-layered floral card featuring beautiful blue roses with vibrant green foliage. Using layering stencils and ink blending techniques, you'll build depth and dimension with carefully applied ink colours in stages. The result is a professional-looking botanical design with a striking colour palette and elegant die-cut finish.
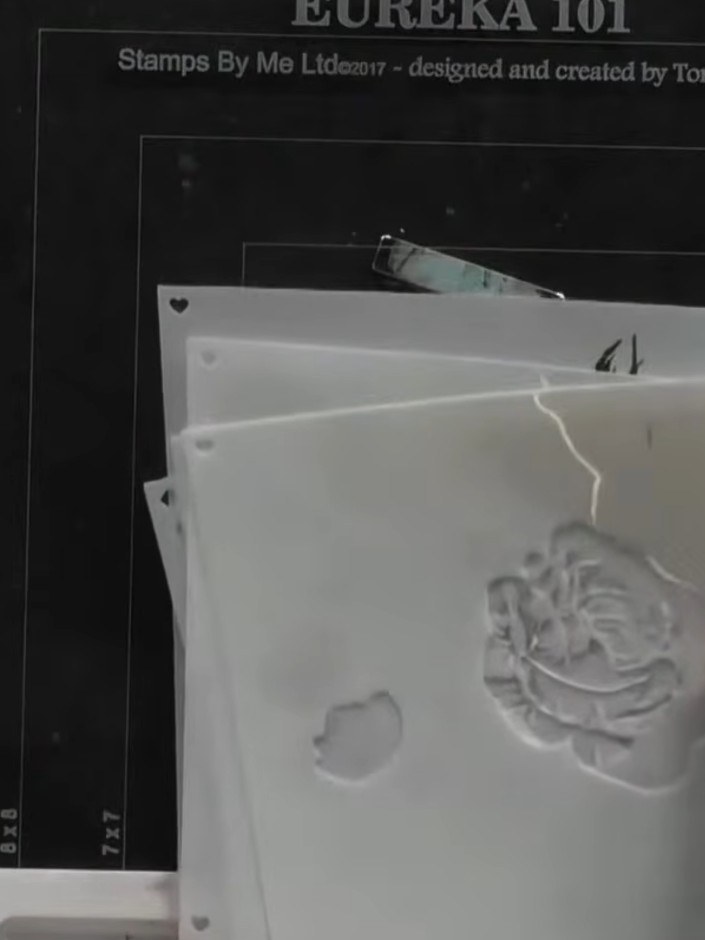
Secure your first layering stencil (marked with number 1) to your white card using the magnets on your stamping platform, aligning the heart registration marks in the corners.
▶ watch this step (25:00)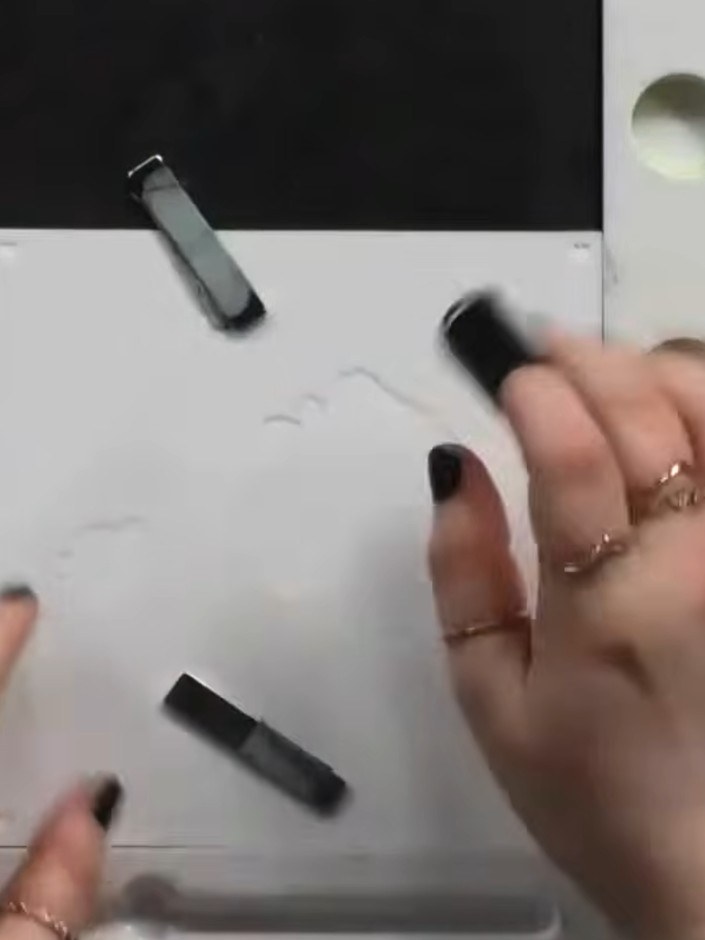
Apply your first ink colour to the stencil using a dabber, working from the edges inward. Use gentle dabbing motions to build up the colour gradually and avoid excess ink bleeding under the stencil.
▶ watch this step (26:00)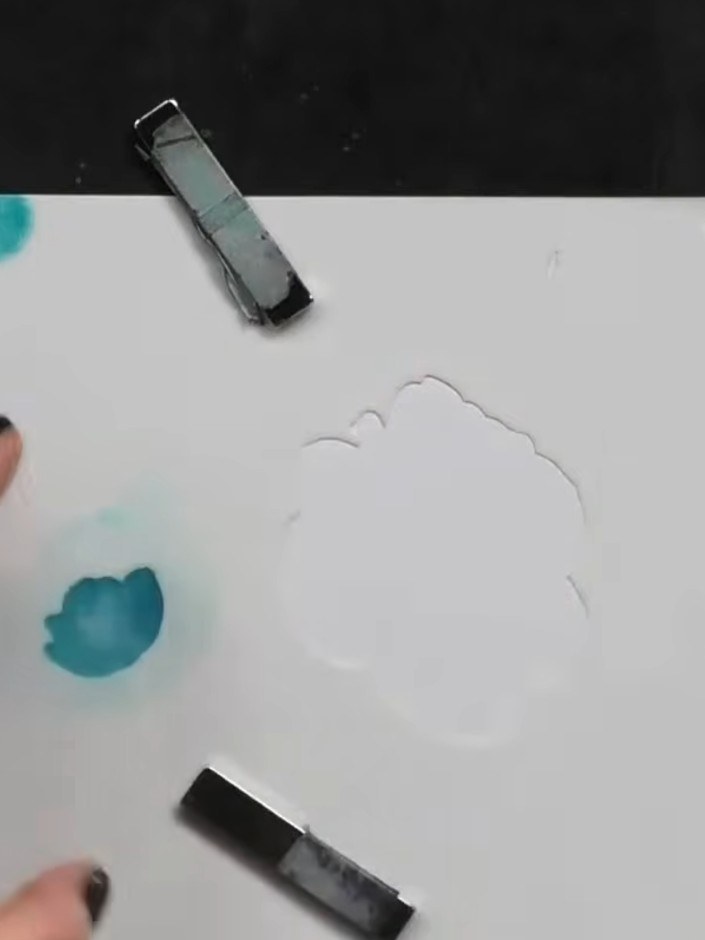
Lift the first stencil carefully. Line up the second stencil (marked number 2) over your blended ink, using the small heart guides in the corners to align it precisely with the first layer.
▶ watch this step (26:30)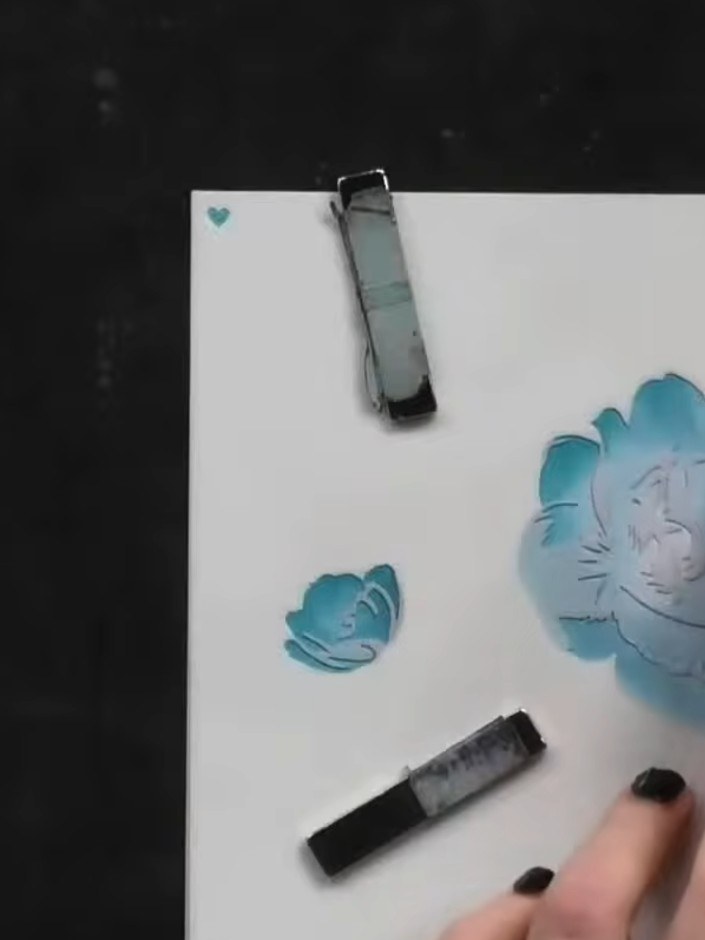
Apply a darker shade of blue ink over the same rose stencil, focusing on building depth and dimension. Blend the darker colour gradually to create a layered effect on the petals.
▶ watch this step (27:00)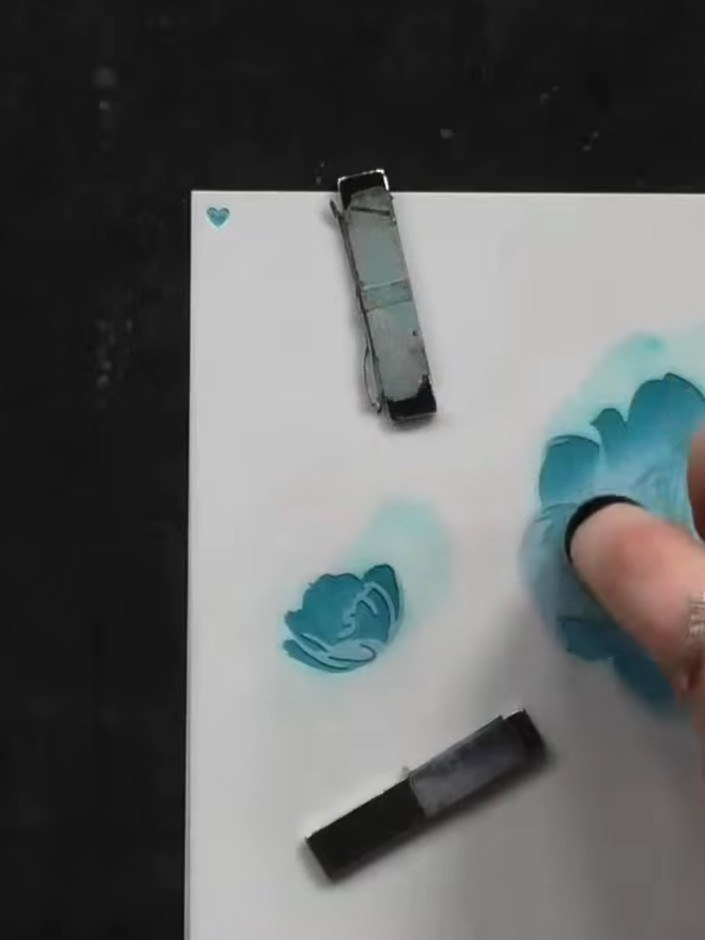
Position the third stencil layer over your card. Apply teal ink through the stencil using a blending tool to create the foliage elements.
▶ watch this step (27:45)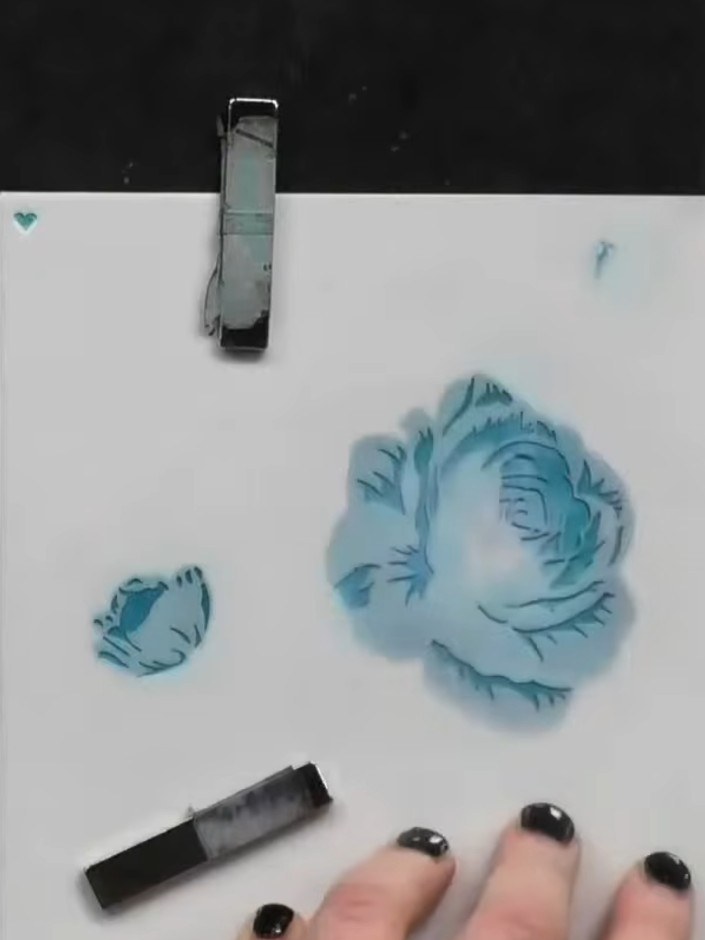
Apply the fourth stencil layer using a darker green ink, varying the pressure and coverage to create natural-looking shading on the rose. Build up the colour gradually for depth and dimension.
▶ watch this step (28:30)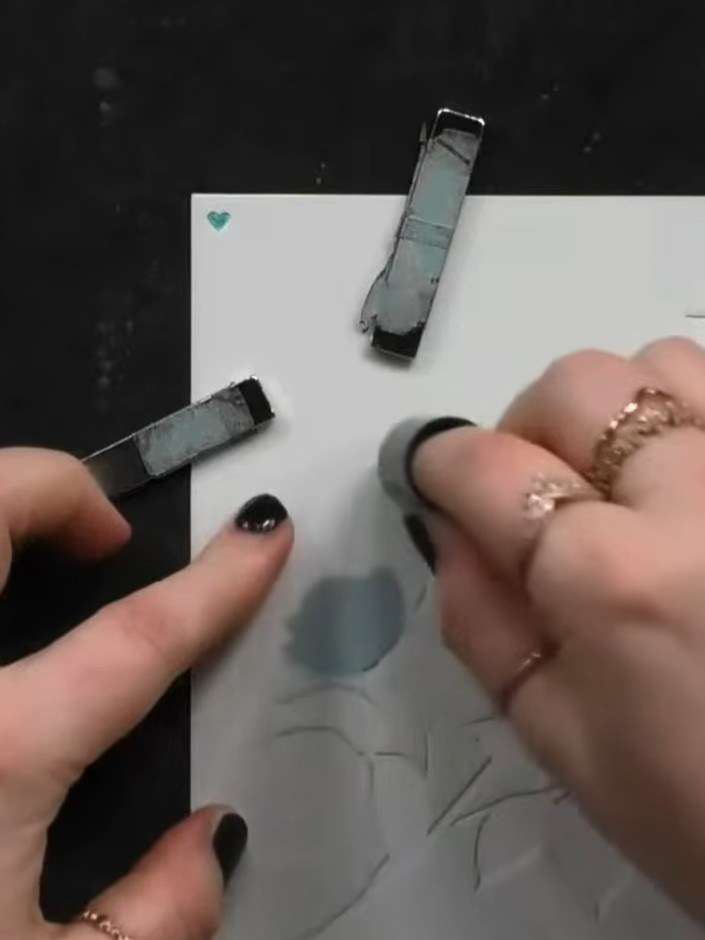
Position the final detail stencil over the flower design and blend a darker shade of ink through it to add definition to the flower centres and leaf details.
▶ watch this step (29:00)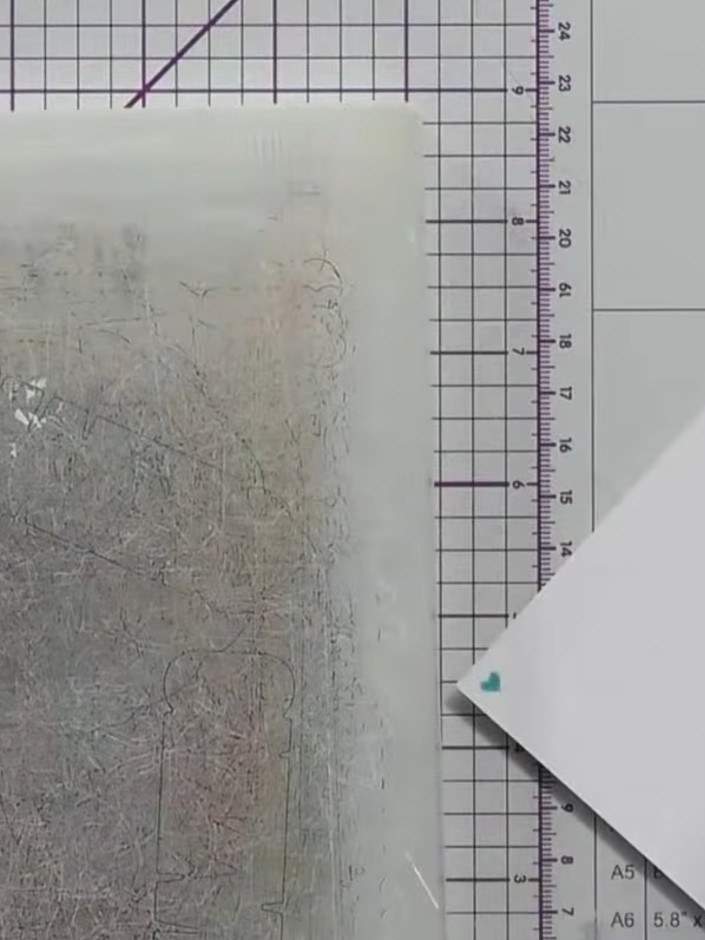
Die-cut the completed stencilled image using the coordinating die from the Classic Rose bundle. Align the die carefully over the coloured image, securing with low-tack tape if needed to ensure precise cutting.
▶ watch this step (31:30)Written up from the show itself. See every guide from our shows · free how-to guides · watch live on My Telly


