Give your friends $10 off their first order!
Refer a FRIEND








A project from our live show HSN PRODUCT INSPIRATION - Join me for a fun filled show broadcast 20th October 2026 · 10/20/2026 · watch it from 1:48:00
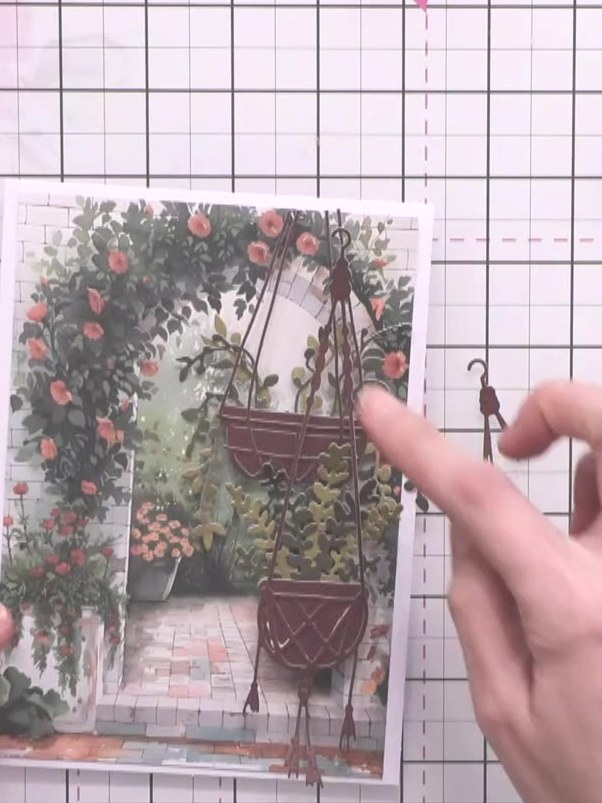
Create a charming garden scene card featuring hanging baskets suspended from an archway adorned with climbing roses. This dimensional design uses patterned papers in soft greens, pinks and browns to build a romantic garden pathway, with die-cut hanging baskets layered at different heights to add depth and perspective. The finished card combines stamping, die-cutting and paper layering techniques to achieve a beautiful vintage garden aesthetic.
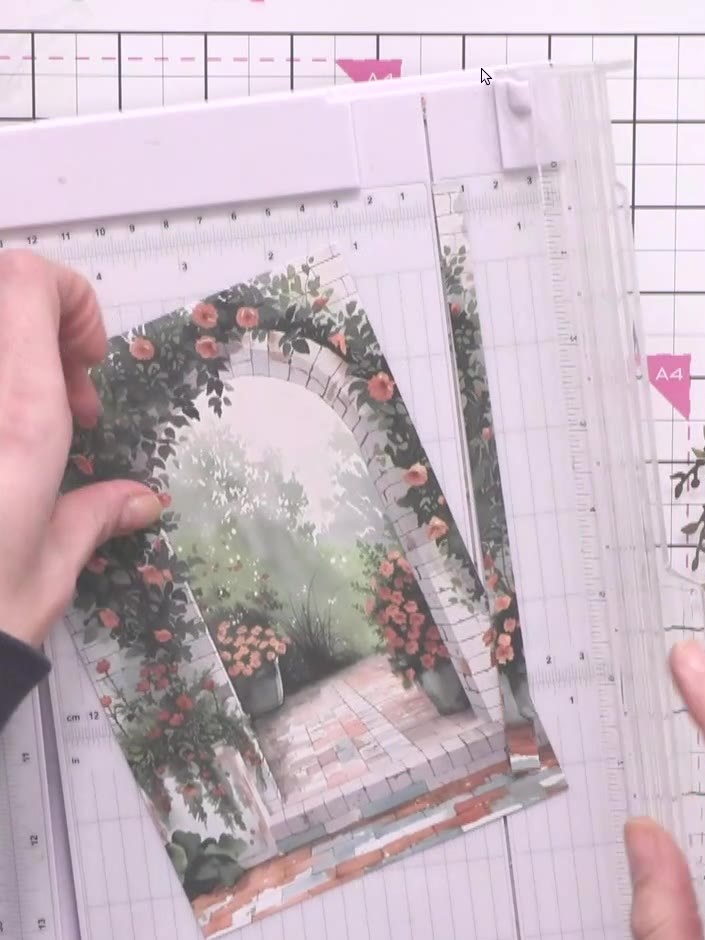
Trim the garden scene pattern paper to fit your A4 card base. Apply adhesive to the back of the pattern paper and attach it to the front of your white card base, smoothing it down firmly.
▶ watch this step (1:50:00)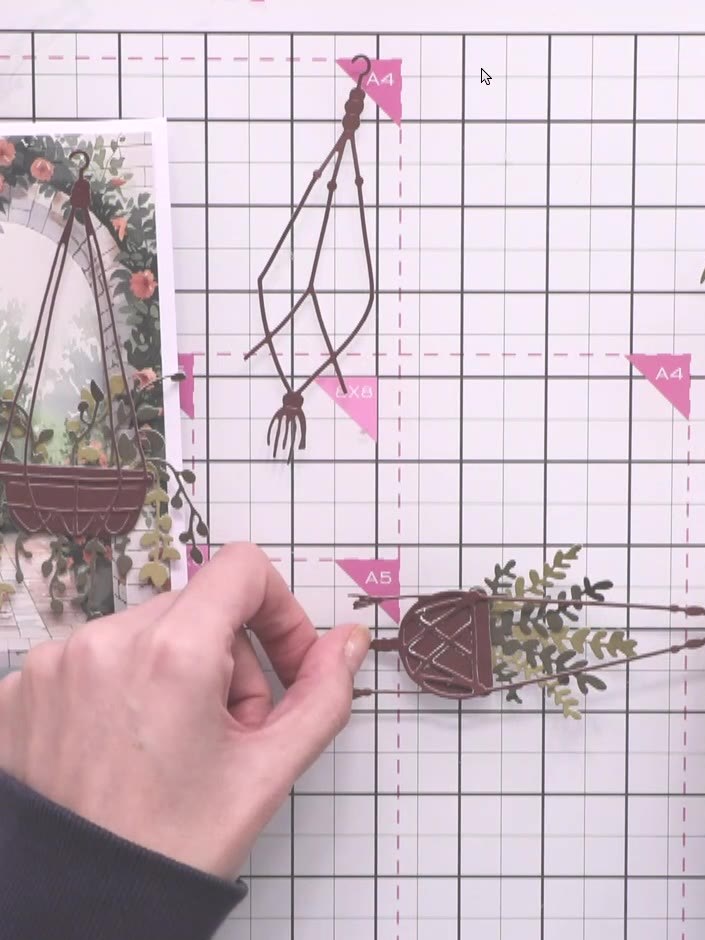
Cut out the first hanging basket from brown cardstock. Position it on the card front with the arch slightly offset from centre, allowing the design to sit naturally within the garden scene composition.
▶ watch this step (1:50:30)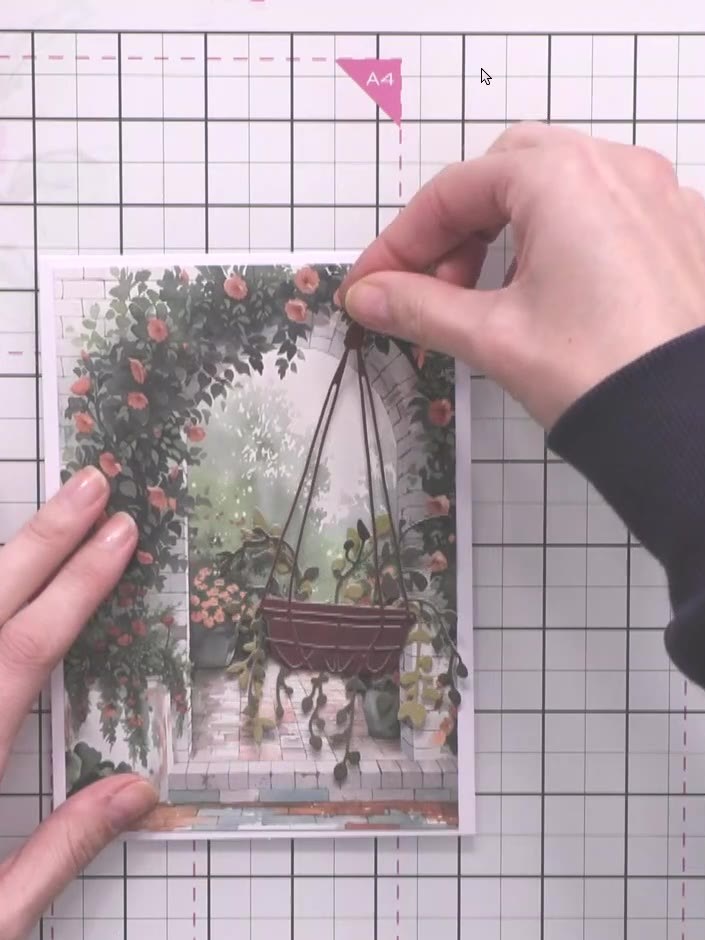
Position the first hanging basket element on your card and glue it in place. Hold it steady whilst the glue dries to ensure a secure bond.
▶ watch this step (1:51:00)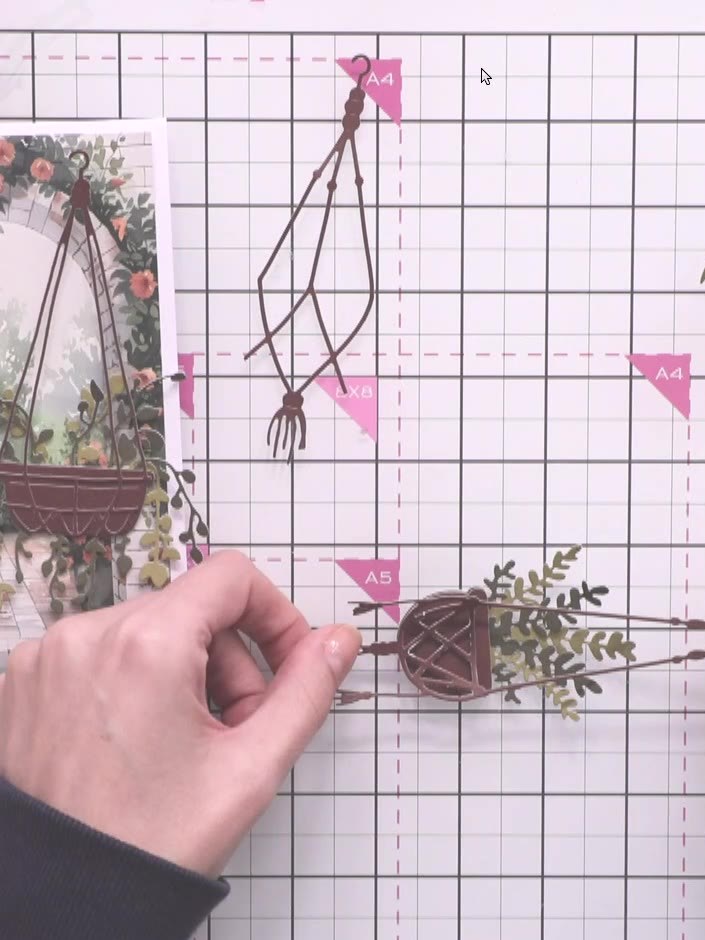
Cut a second hanging basket from a different shade of brown cardstock. This will create variation in your garden scene with multiple hanging baskets.
▶ watch this step (1:51:30)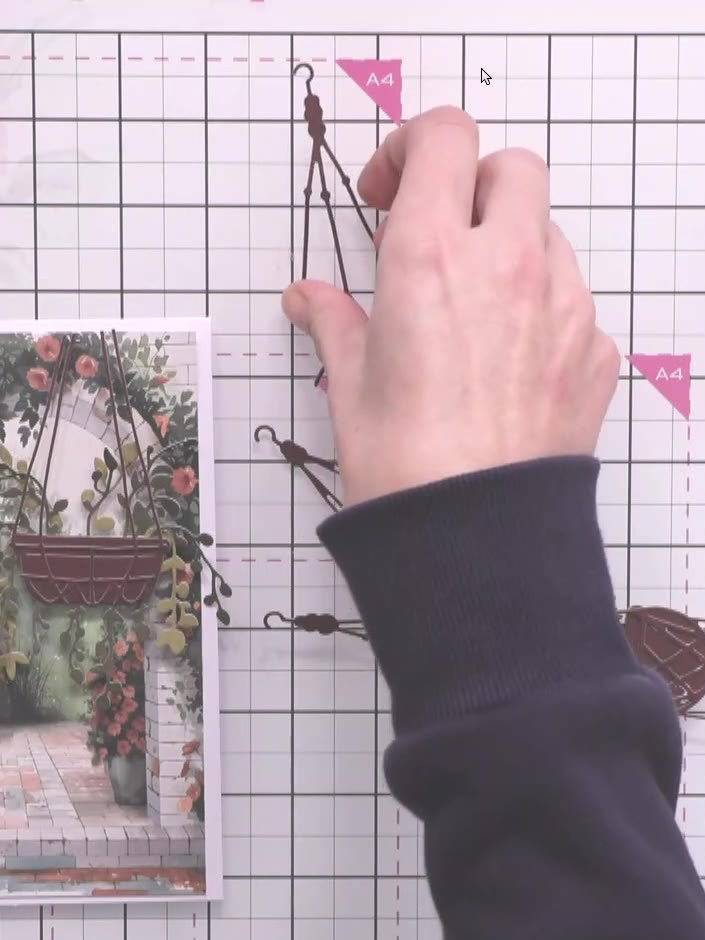
Trim the top of the second hanging basket piece so it sits higher in the composition. Position it on the card to check the placement before adhering.
▶ watch this step (1:52:00)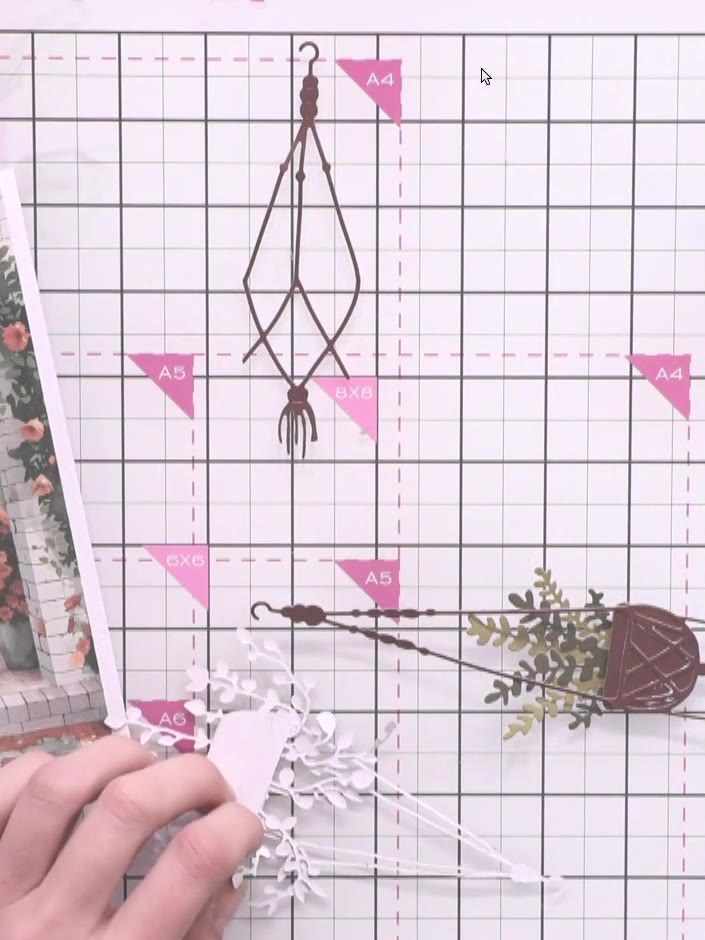
Position the second hanging basket flat on the card front, slightly offset to one side. The basket should be placed lower and to the right of the first hanging basket.
▶ watch this step (1:52:15)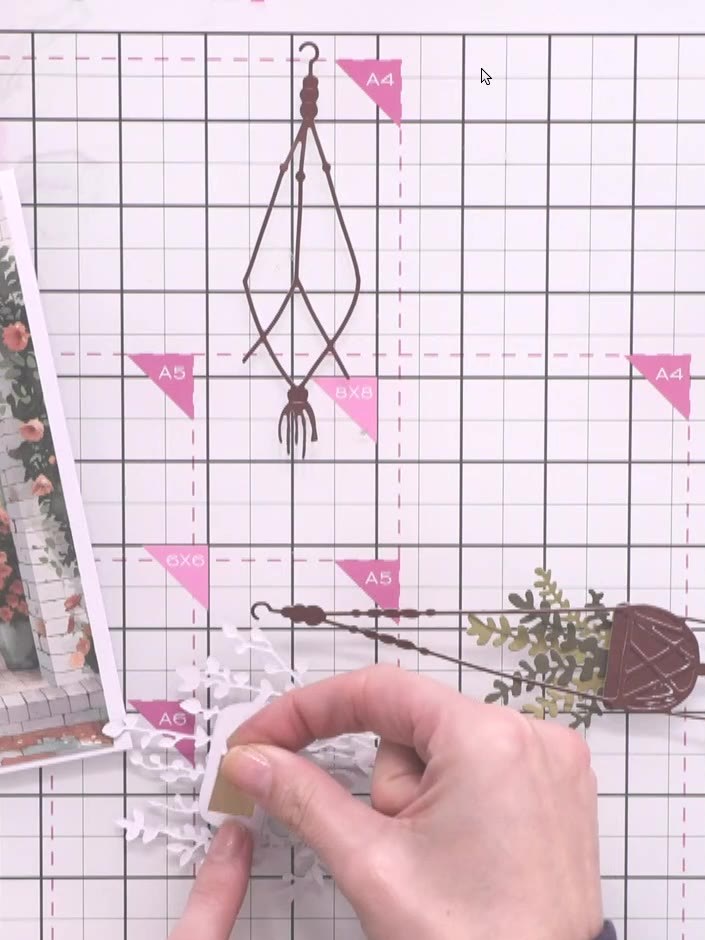
Cut out a third hanging basket element. Position it at a different height on the card to create depth and perspective in your garden scene.
▶ watch this step (1:52:45)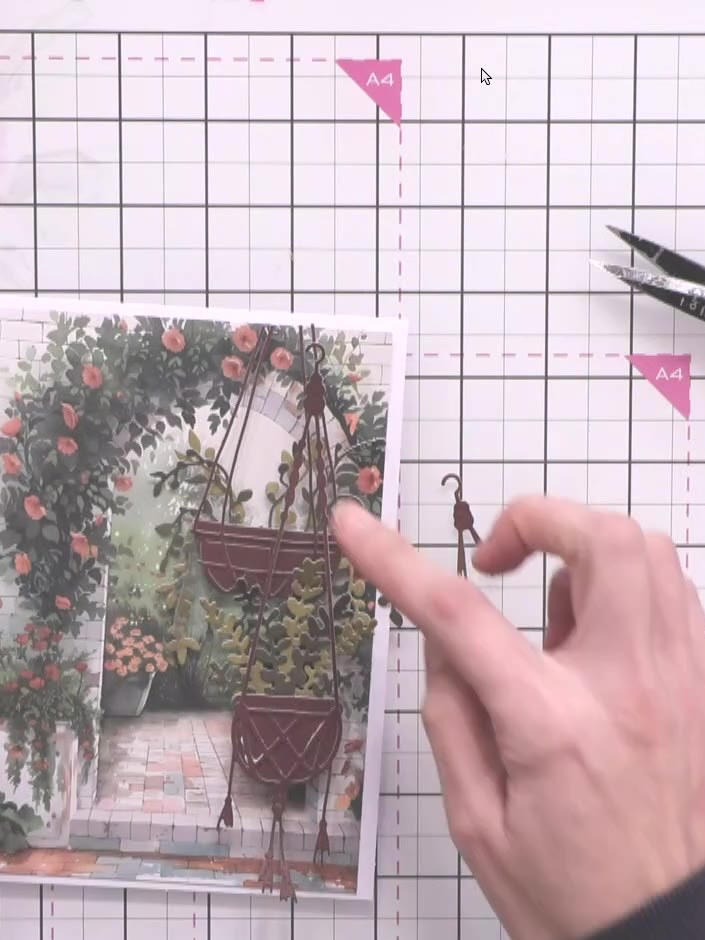
Apply a small foam pad to the back of the third hanging basket. Position it on the card to raise it slightly above the surface, creating dimension.
▶ watch this step (1:53:00)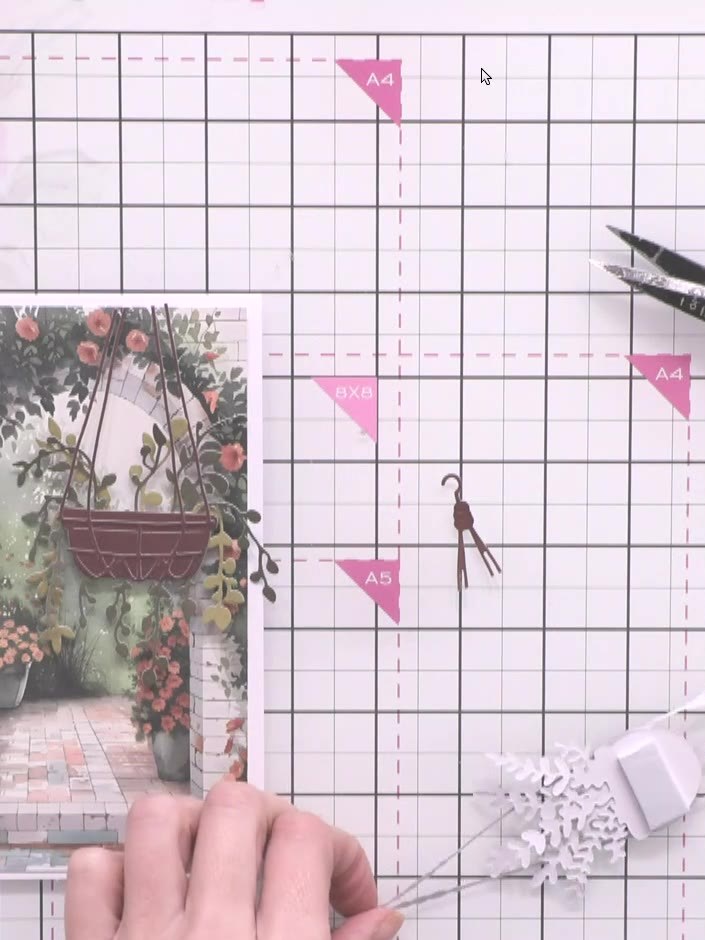
Glue all the hanging basket pieces in place on the card, positioning them at varying heights and slightly offset from each other to create visual interest and depth.
▶ watch this step (1:53:30)Written up from the show itself. See every guide from our shows · free how-to guides · watch live on My Telly