QUICK LINKS

info@howtocraftnetwork.com
We just got smarter - shop and watch with the SBM appGET THE APPWatch us live on your smart TVSEE HOWDiscover our dedicated IPTV channel - go to my-telly.comWATCHCollect loyalty points on every orderFIND OUT MORE
Welcome to the How to Craft Network
 
SBM SHOP
FOLLOW US
GIVE YOUR FRIENDS $10 OFF REFER A FRIEND › DISCOVER MY-TELLY.COM › WE JUST GOT SMARTER GET THE APP › AWARD WINNING CHANNEL ON YOUR TV › JOIN THE CLUB FOR SAVINGS ›
 

Macramé Hanging Basket with Layered Pot Card

A project from our live show HSN PRODUCT INSPIRATION - Join me for a fun filled show broadcast 20th October 2026 · 10/20/2026 · watch it from 1:19:00
Macramé Hanging Basket with Layered Pot Card - the finished project
The finished project
Recorded videoOffers on screen may no longer be valid - find out more at HSN.com

Create a charming dimensional hanging basket card featuring a macramé-style basket with layered plant pots nestled inside. This realistic hanging garden design combines brown basket tones with green foliage, creating a three-dimensional effect perfect for nature lovers. The project uses die-cutting and layering techniques to build depth and dimension.
DOWNLOAD THIS GUIDE (PDF)

Step by step

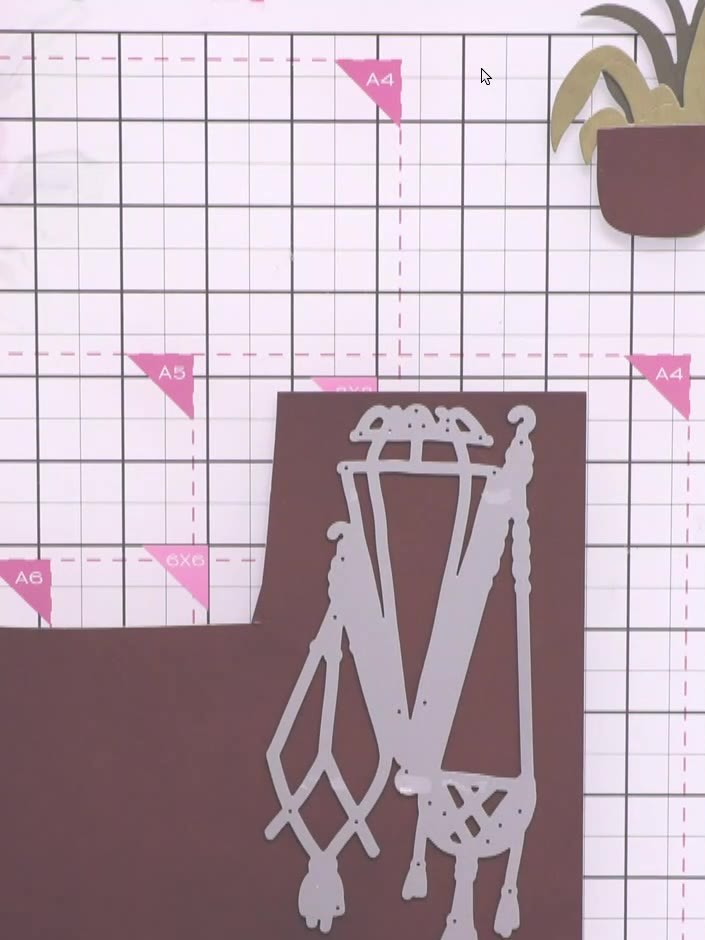
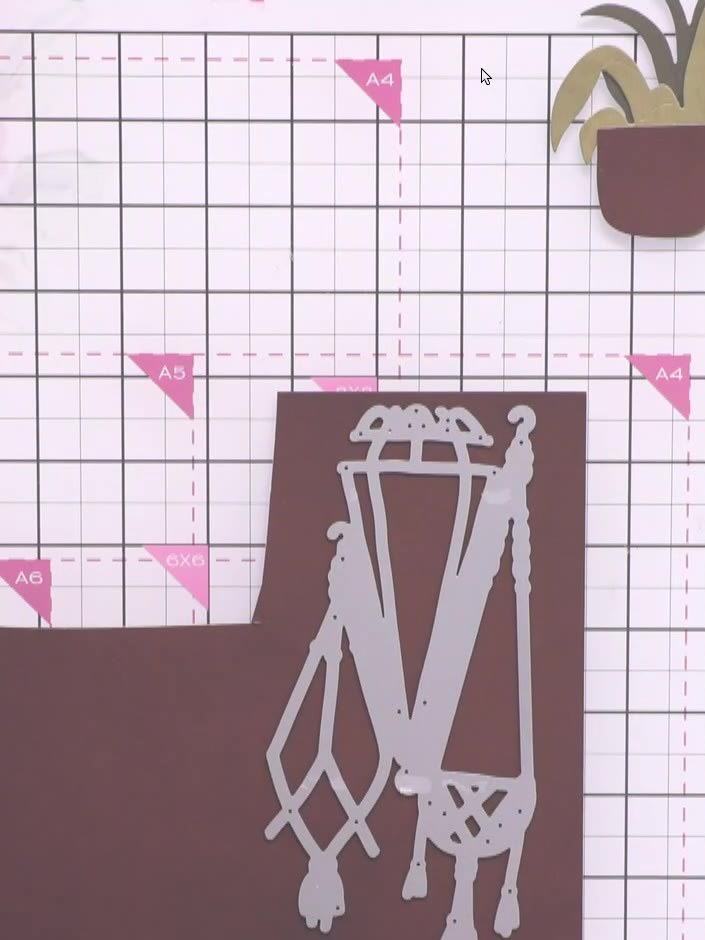
  1. Step 1: Cut the macramé hanging basket die from brown cardstock. Position the die on your brown cardstock and run it t

    Cut the macramé hanging basket die from brown cardstock. Position the die on your brown cardstock and run it through your die-cutting machine.

    ▶ watch this step (1:19:30)
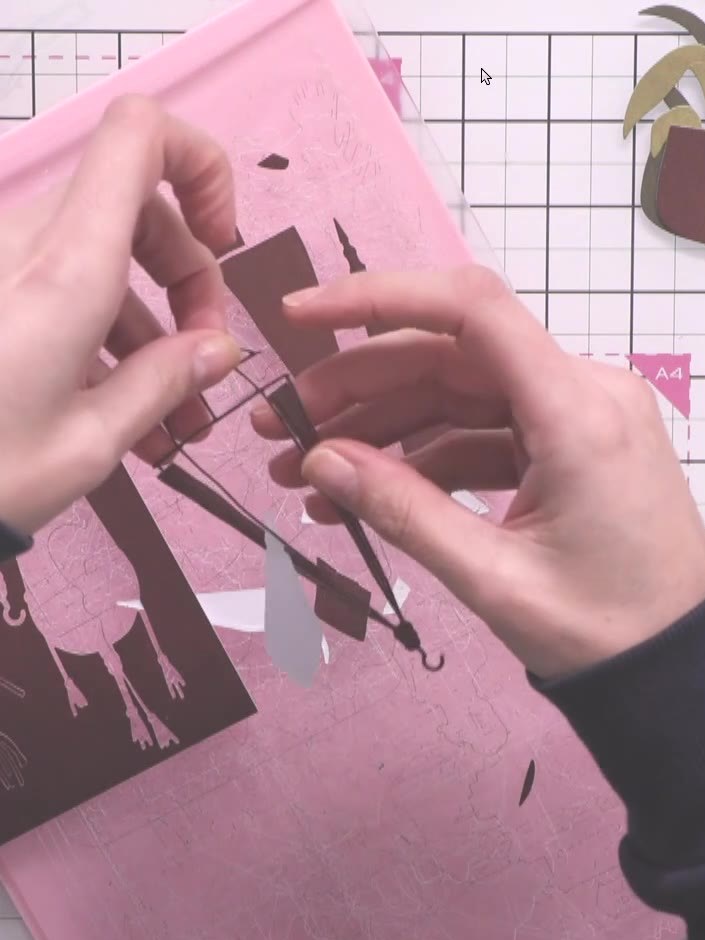
  2. Step 2: Carefully pop out all the small pieces from the brown basket die-cut, including the tassels and decorative ele

    Carefully pop out all the small pieces from the brown basket die-cut, including the tassels and decorative elements. Remove each piece gently to avoid tearing the cardstock.

    ▶ watch this step (1:22:30)
  3. Cut three layered pot pieces from the die set in different shades of green cardstock. Use the pot shapes to create dimension for your hanging basket design. ▶ watch 1:23:30
  4. Glue the three pot layers together in order, starting with the brown pot base, then the gold/tan middle layer, and finally the darker brown top piece. Layer them to create dimension, ensuring each piece is aligned and securely adhered. ▶ watch 1:24:00
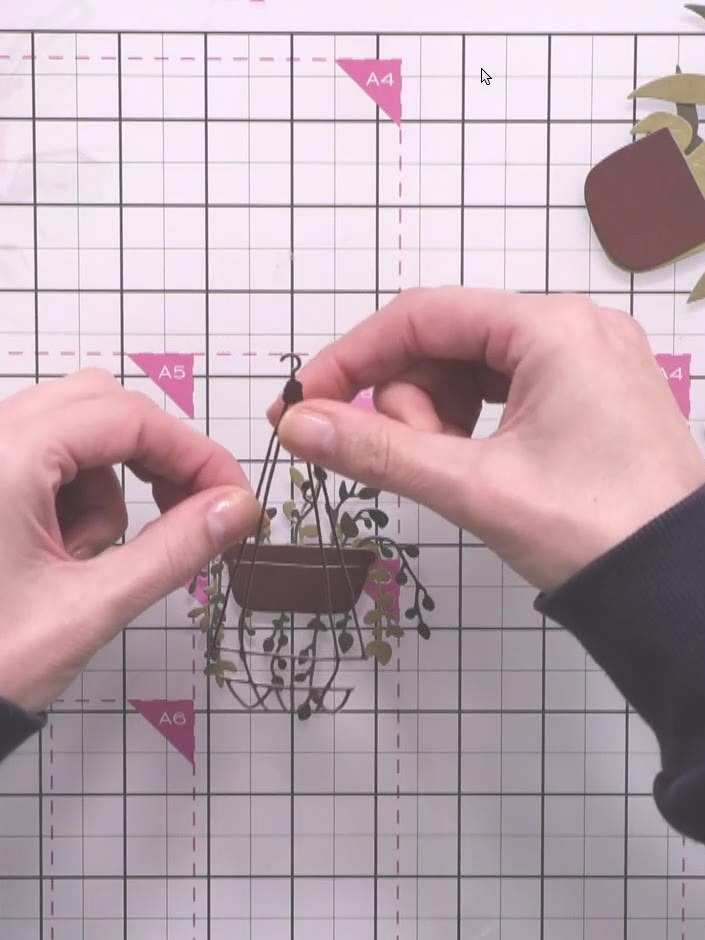
  5. Step 5: Position the layered pot element inside the macramé basket opening, placing it centrally so it sits within the

    Position the layered pot element inside the macramé basket opening, placing it centrally so it sits within the wire basket frame.

    ▶ watch this step (1:24:30)
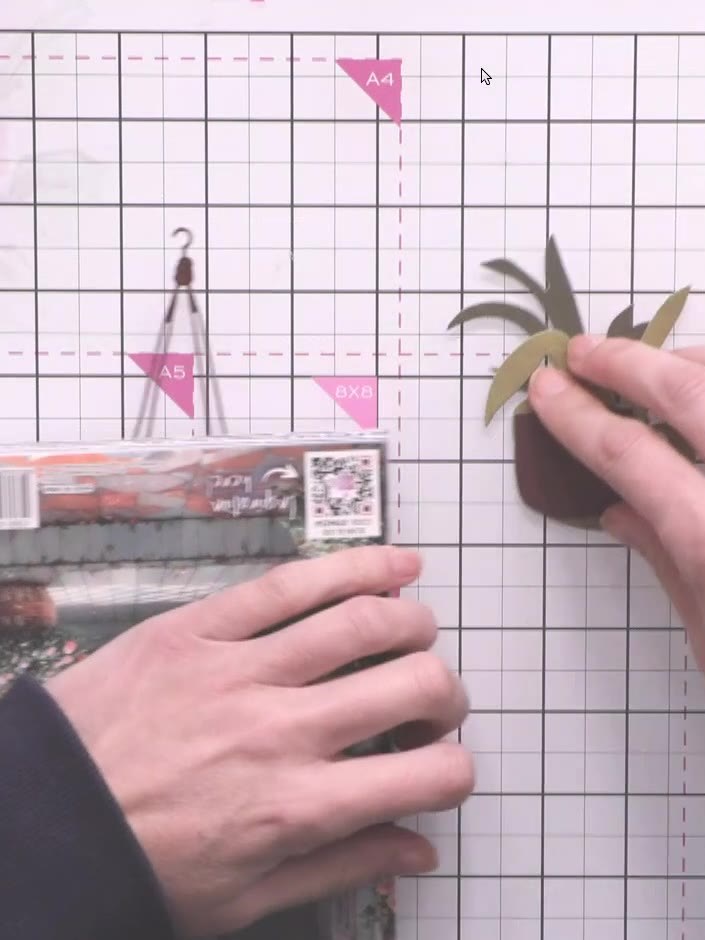
  6. Step 6: Manipulate the die-cut basket and plant pieces to add dimension. Gently bend and curve some of the leaves and

    Manipulate the die-cut basket and plant pieces to add dimension. Gently bend and curve some of the leaves and stems whilst keeping others straight to create a natural, layered appearance.

    ▶ watch this step (1:25:00)
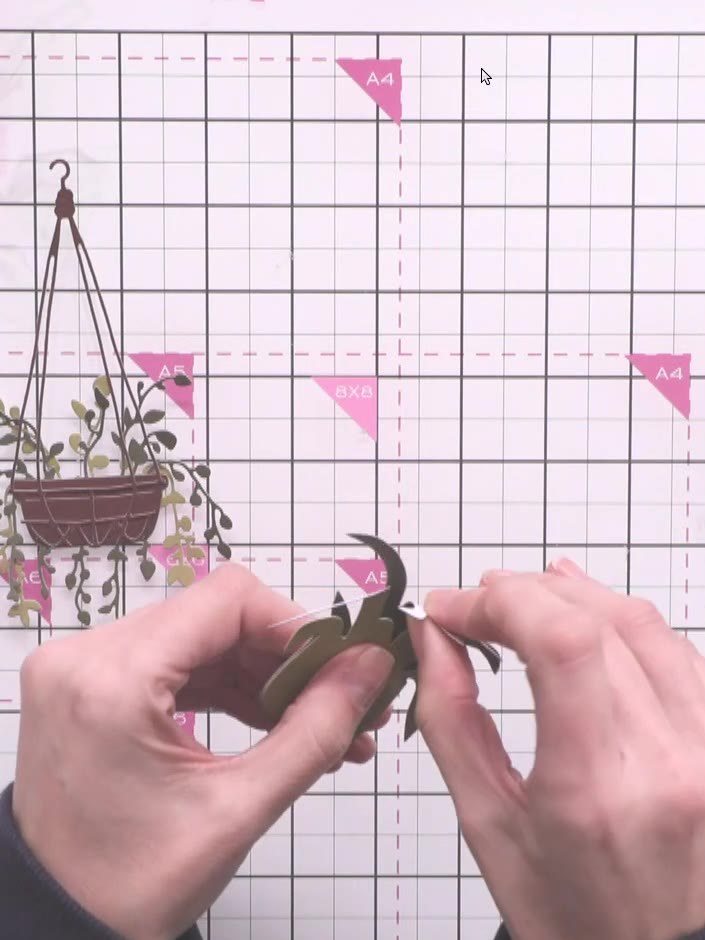
  7. Glue the complete macramé hanging basket assembly onto your white card base. Position it centrally on the card, ensuring all the layered elements are secure. ▶ watch 1:25:30
  8. Step 8: Add small floral filler pieces around the brown pot inside the hanging basket. Tuck the stems in around the po

    Add small floral filler pieces around the brown pot inside the hanging basket. Tuck the stems in around the pot to create a full, voluptuous arrangement.

    ▶ watch this step (1:26:00)

Tips from the show

More from this show

Written up from the show itself. See every guide from our shows · free how-to guides · watch live on My Telly







