Give your friends $10 off their first order!
Refer a FRIEND








A project from our live show HOBBYMAKER TV - Join us for the latest show - Broadcast 2 p.m. (UK) 7th May 2026 · 05/07/2026 · watch it from 25:30
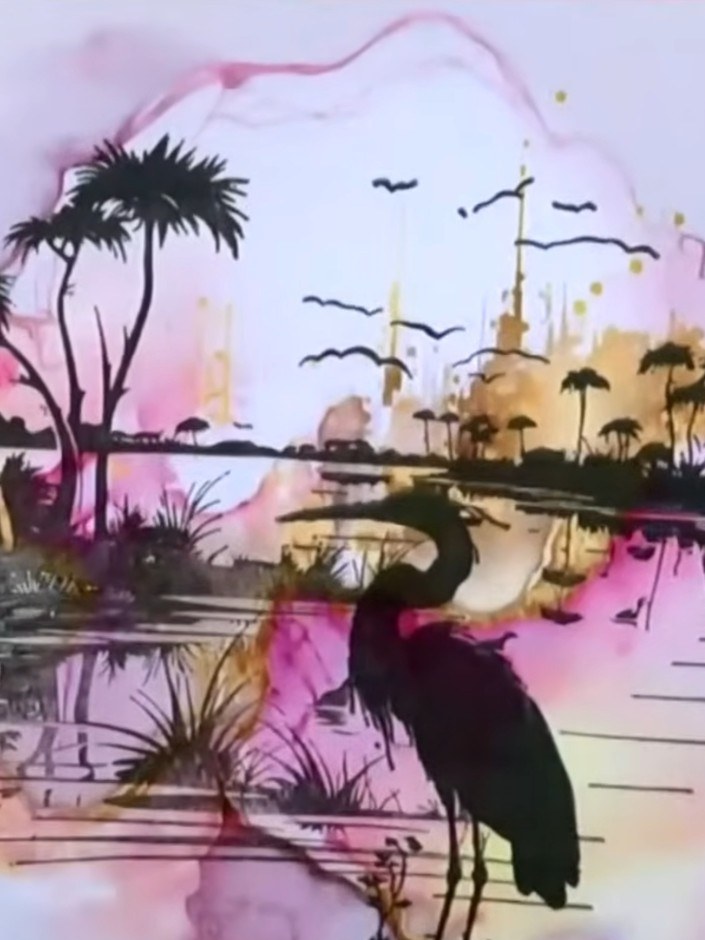
Create a beautiful lakeside scene card featuring herons and water reflections using the Reflection Collection stamps. This elegant design uses layered stamping to build depth and perspective, with birds silhouetted against a serene waterscape complete with reeds and atmospheric details. The technique produces a professional-looking scene without the need for complex ink blending or acetate overlays.
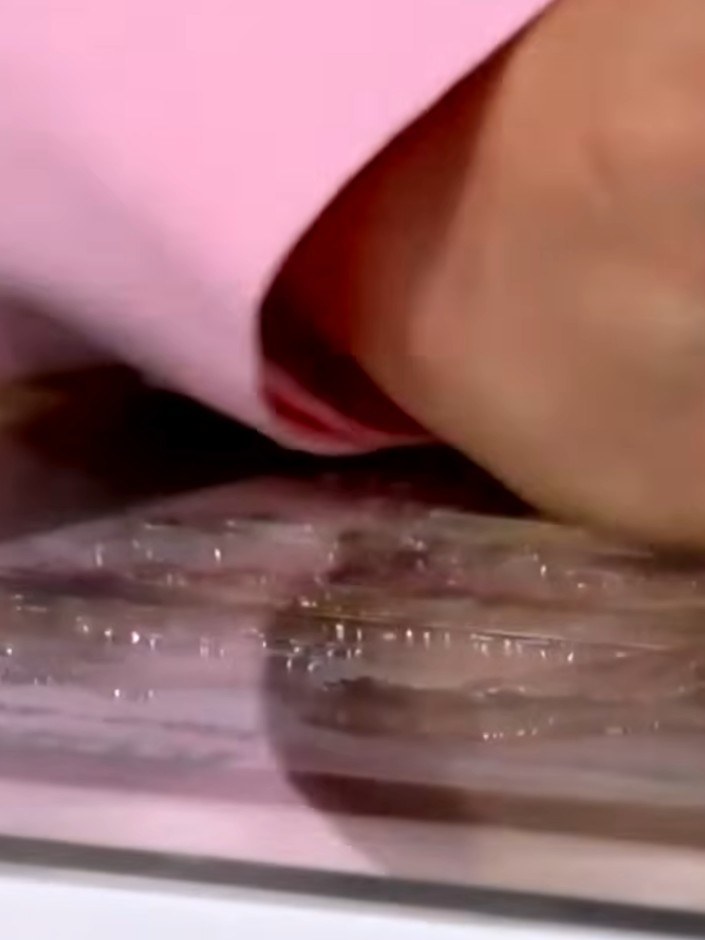
Re-ink the top portion of the stamp with solid black ink and stamp it again in exactly the same position over the previous image. This creates a darker reflection effect at the top of the scene.
▶ watch this step (27:30)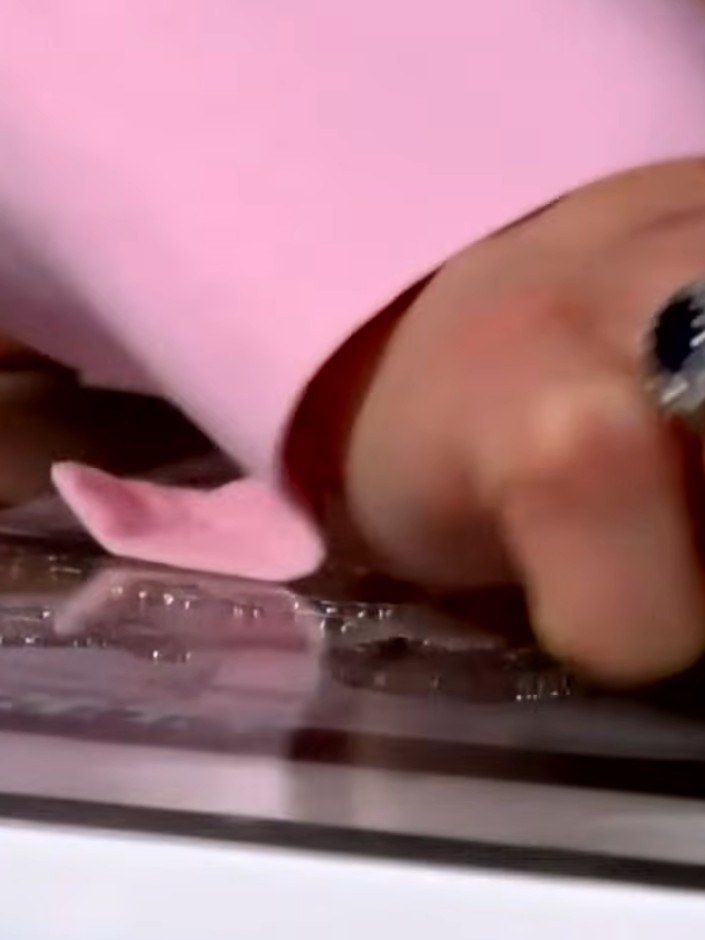
Stamp the bird image onto the card using solid black ink. Position the bird in the foreground area as if it's watching over the water.
▶ watch this step (28:00)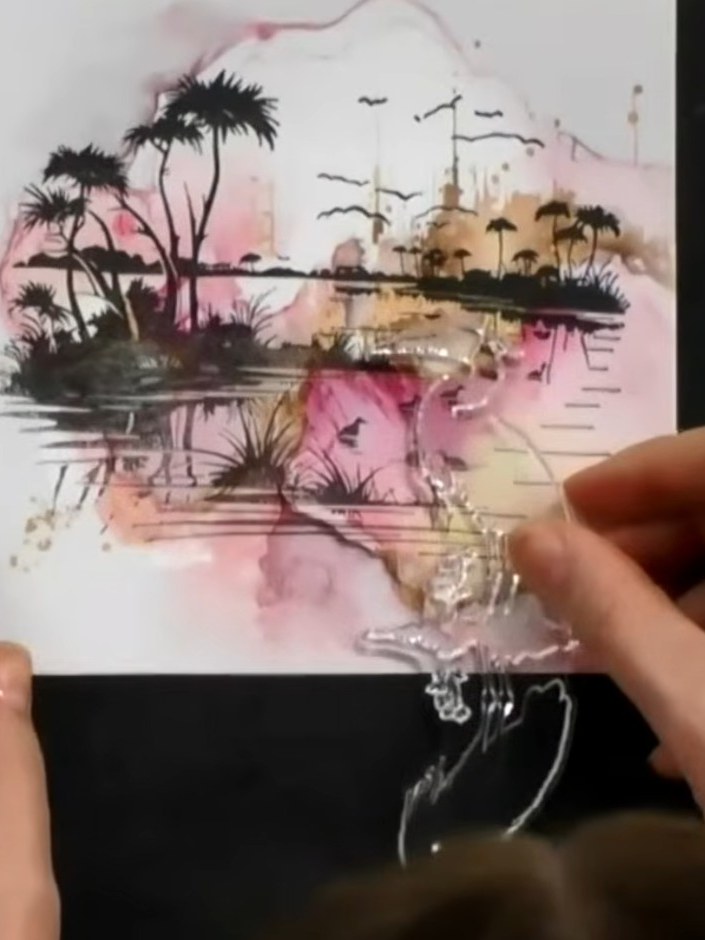
Stamp the bird image again in the same position using darker ink to create more depth and make the bird stand out more prominently against the background.
▶ watch this step (28:45)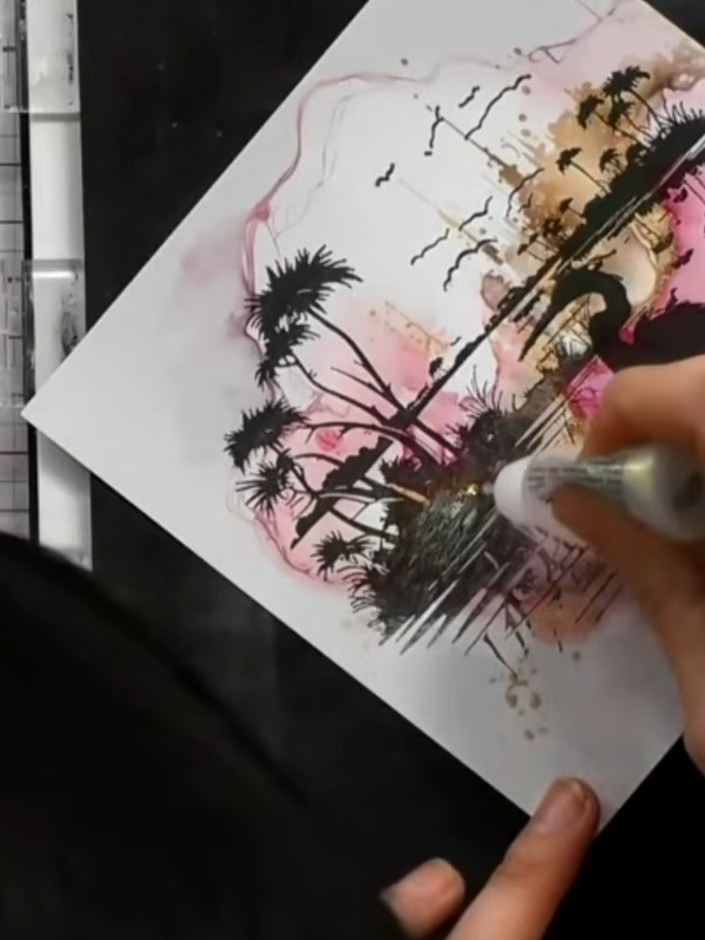
Apply glitter glue randomly across the water area of the card to create a sparkling, reflective quality to the lake scene.
▶ watch this step (31:00)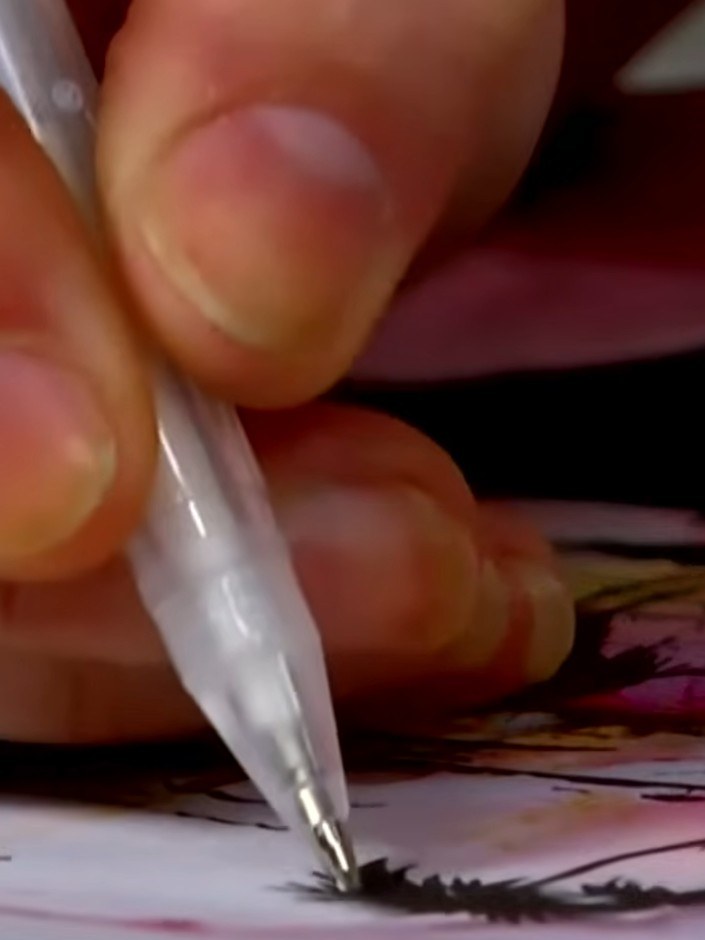
Using a white gel pen, add small highlights to the black silhouette of the bird to create extra detail and dimension.
▶ watch this step (31:30)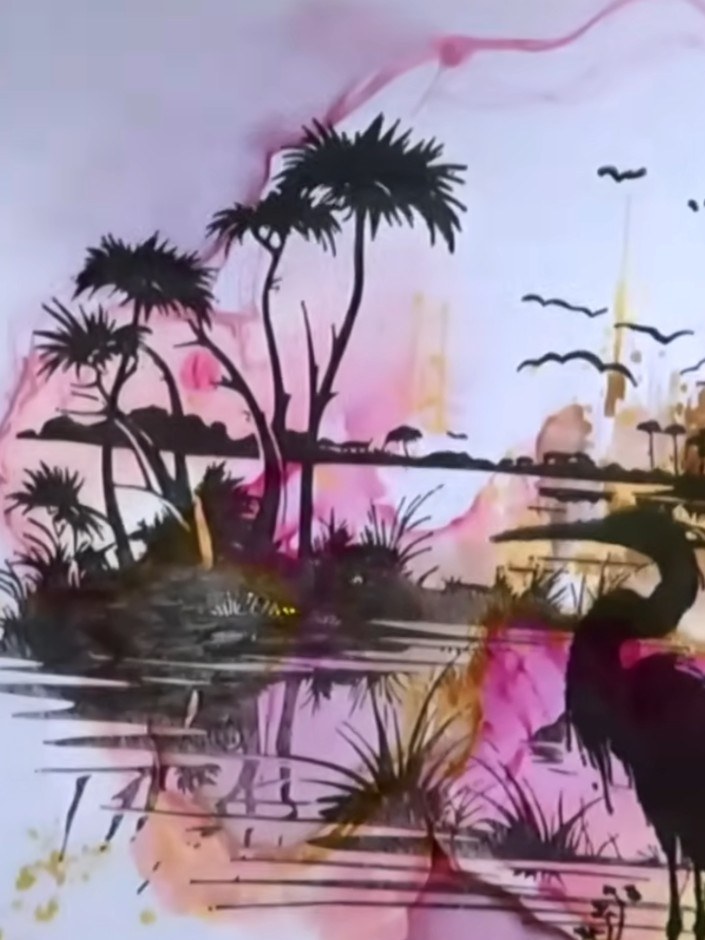
Mount the completed stamped and coloured piece onto your card base. Add a sentiment stamp in the corner if desired to finish your lake scene card.
▶ watch this step (32:00)Written up from the show itself. See every guide from our shows · free how-to guides · watch live on My Telly