Give your friends $10 off their first order!
Refer a FRIEND








Prices change straight away. Every language is our own translation, not Google.
A project from our live show THE THURSDAY DROP - Latest Products from Toni - Broadcast 10th September 2026 · 09/10/2026 · watch it from 37:00
Create a striking Halloween-themed card featuring a glamorous high-heeled shoe design from the Wickedly Stylish collection. This elegant card showcases a fussy-cut shoe topper with decorative wings, layered with 3D foam pads against a black painted background on a pale pink card base with a black frame mat. Add sparkle with glitter glue edging for a wickedly stylish finish perfect for Halloween greetings.
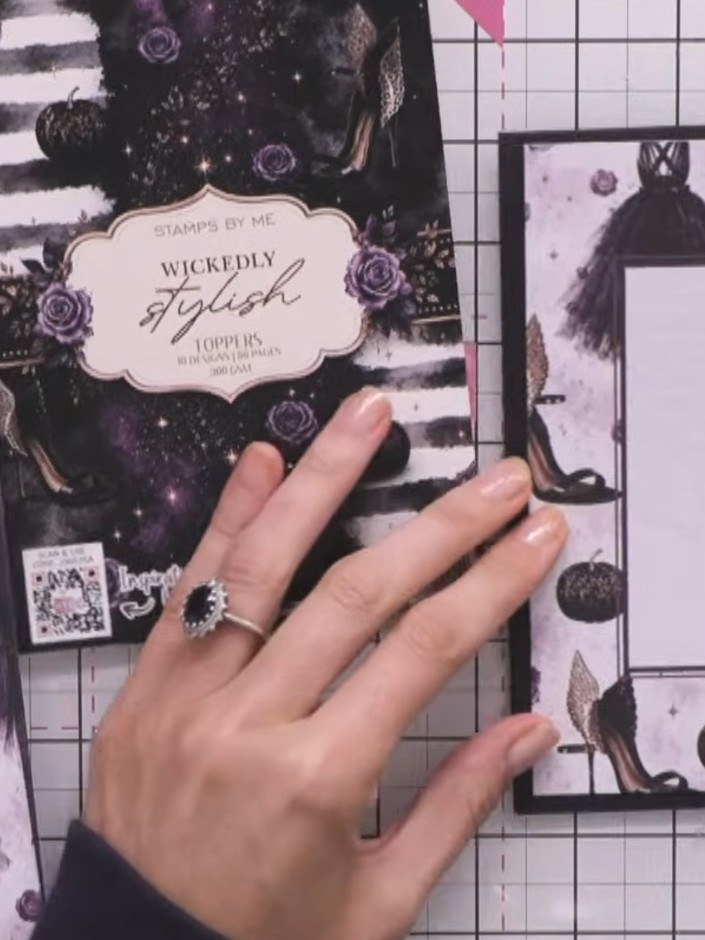
Select a patterned frame topper from the Wickedly Stylish kit and trim it to size. Mount the trimmed topper onto a black card base.
▶ watch this step (37:30)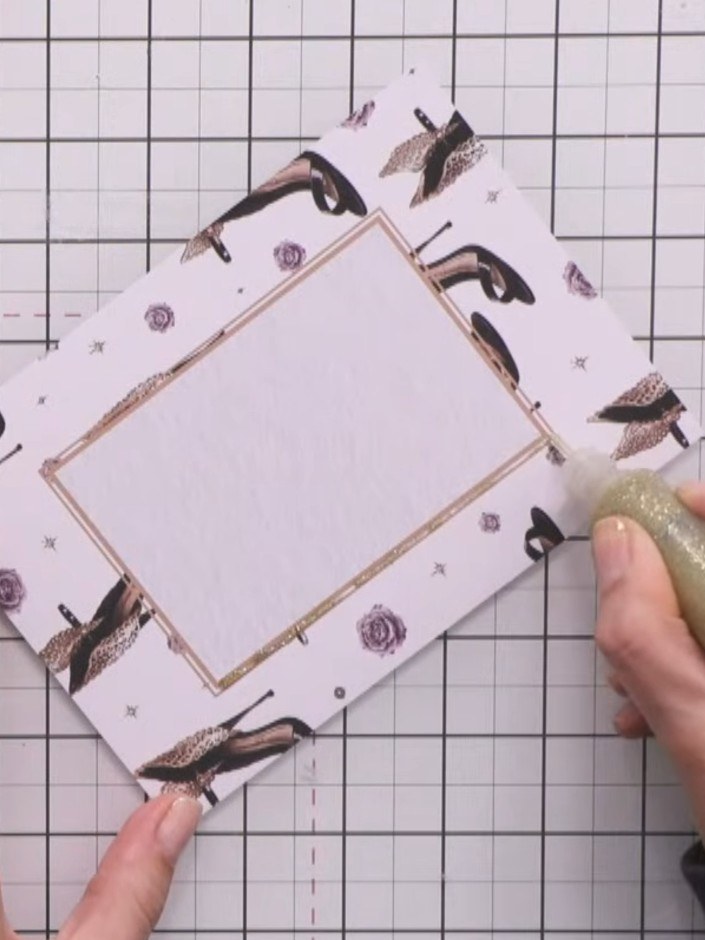
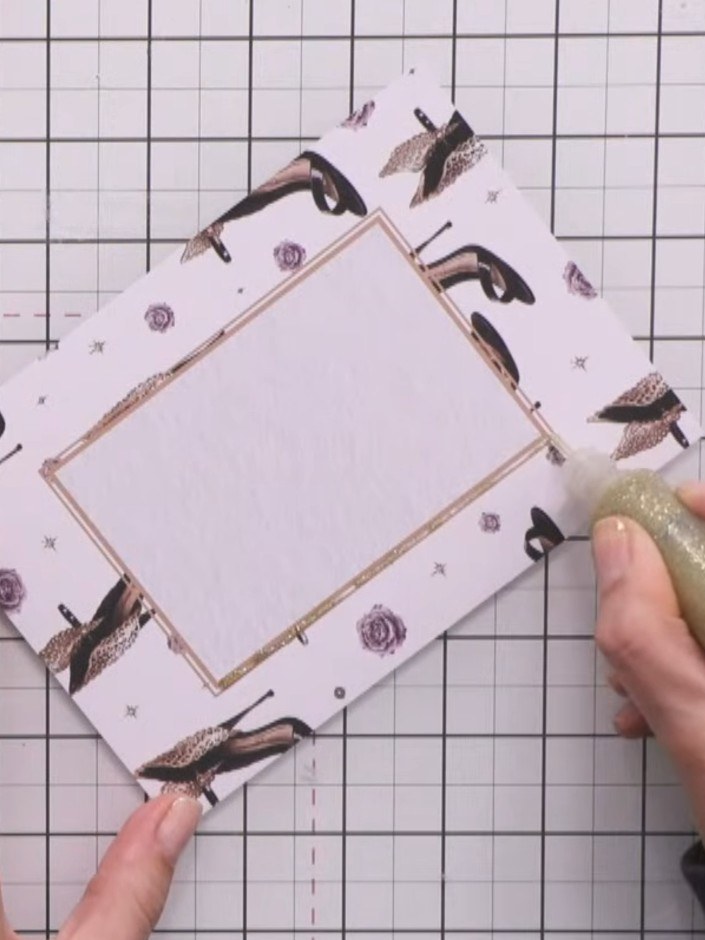
Apply glitter glue around the edges of the gold frame to add sparkle and dimension. Use a bottle with a fine applicator tip for precision. Allow the glue to dry completely.
▶ watch this step (39:15)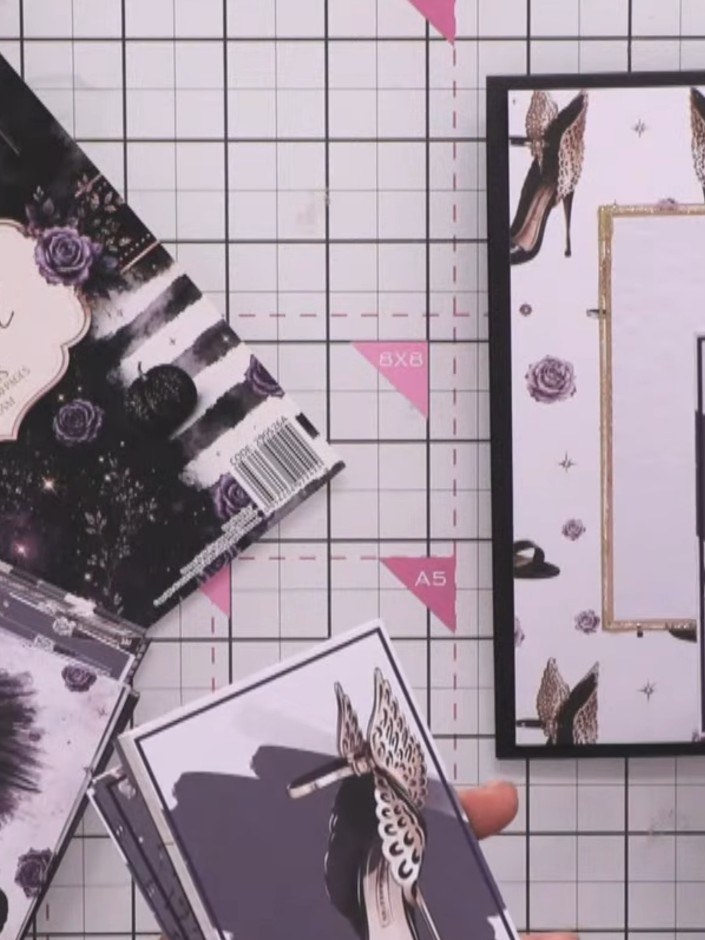
Carefully fussy-cut around the outline of a shoe topper from the paper pad, leaving the heel attached to the back panel for stability.
▶ watch this step (40:45)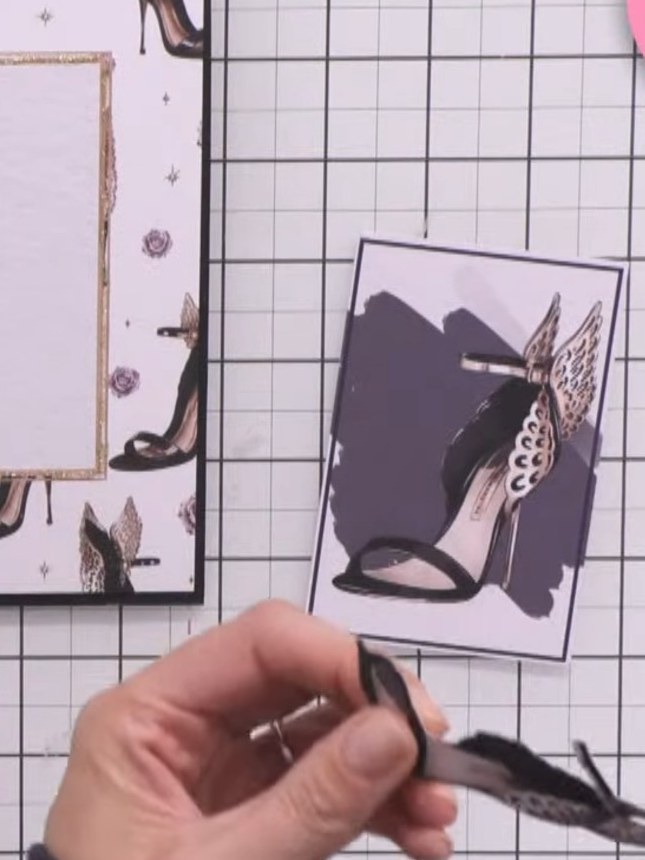
Blend a dark ink around the edges of the white card panel to remove the harsh white edge and create depth.
▶ watch this step (42:30)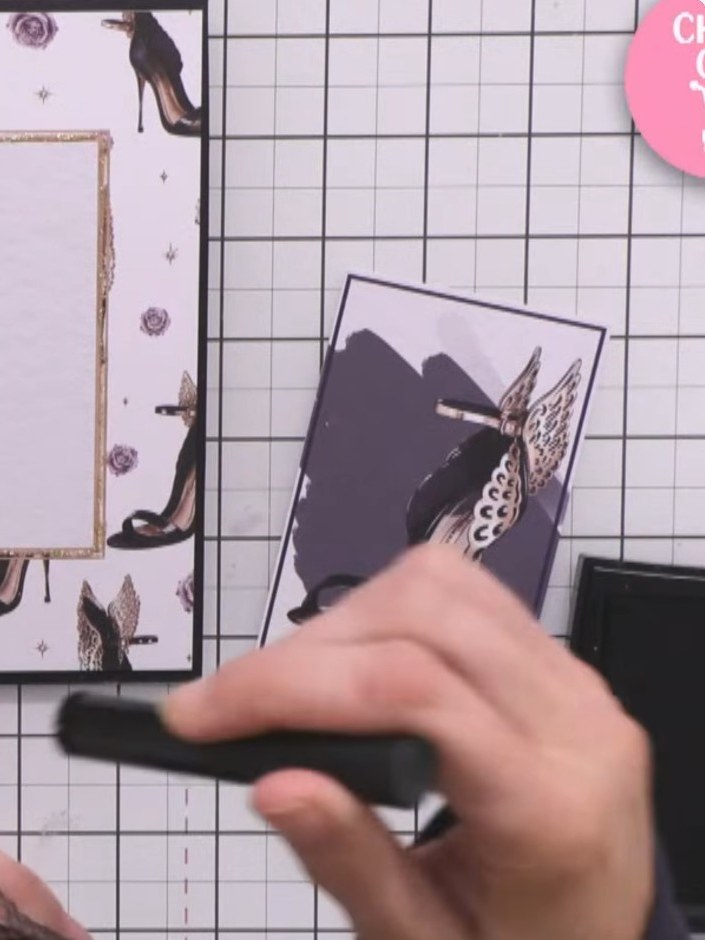
Apply 3D foam pads to the back of the fussy-cut shoe topper. This will raise the shoe element proud from the card surface for added dimension.
▶ watch this step (43:00)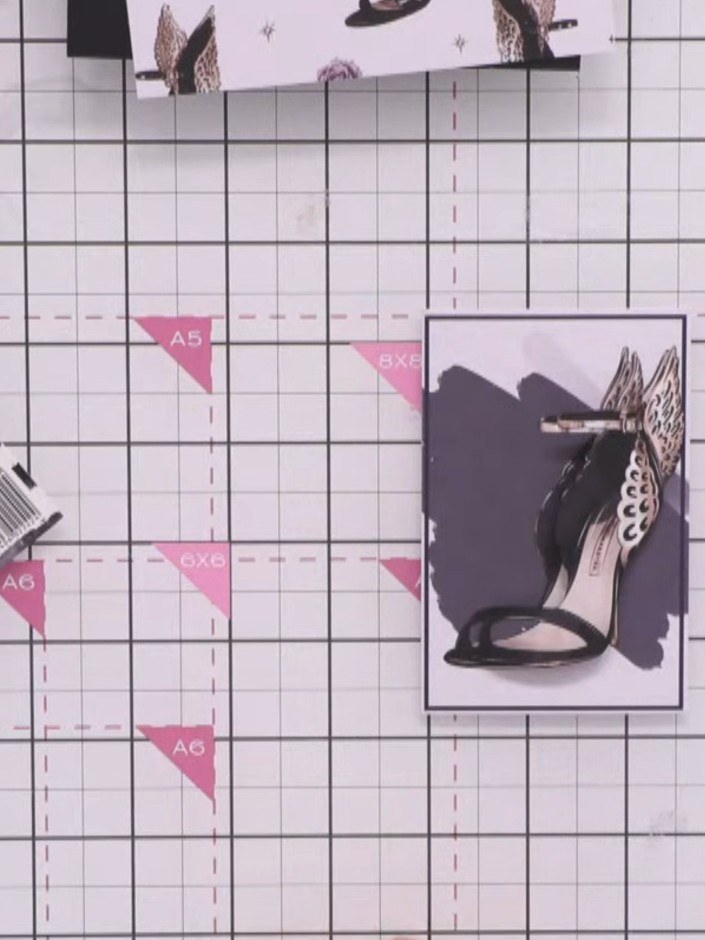
Position the shoe topper on the card front, allowing the dimensional elements to stand proud. The shoe should be centred on the card with the decorative wing and heel details visible.
▶ watch this step (43:45)Written up from the show itself. See every guide from our shows · free how-to guides · watch live on My Telly



