Give your friends $10 off their first order!
Refer a FRIEND








A project from our live show SUNDAY IS FOR CRAFT - Join Toni for her weekend SHOW - Broadcast 27th September 26 · 09/27/2026 · watch it from 32:30
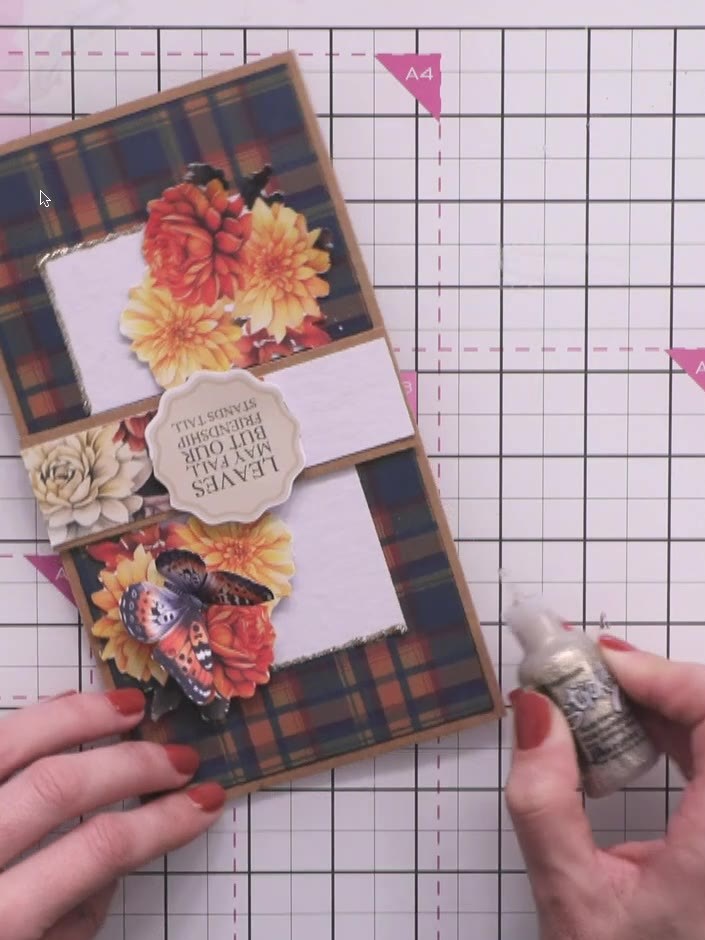
Create a beautiful DL-sized card featuring autumnal fussy-cut flowers and a butterfly arranged in a cascading design on a warm tartan background. This project from the Golden Harvest card kit combines layered die-cut elements with dimensional foam pads and sparkle embellishments for an elegant harvest-themed greeting. The design showcases rich oranges, yellows and browns with a sentiment panel, perfect for autumn celebrations.
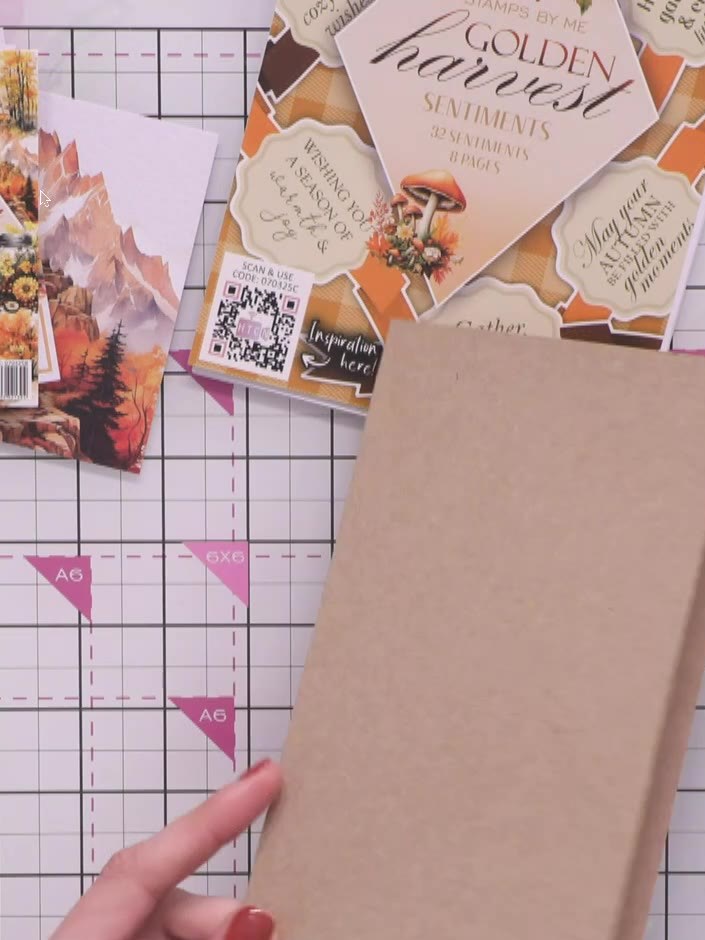
Score and fold a piece of kraft-coloured card stock to create a DL-sized card blank.
▶ watch this step (33:30)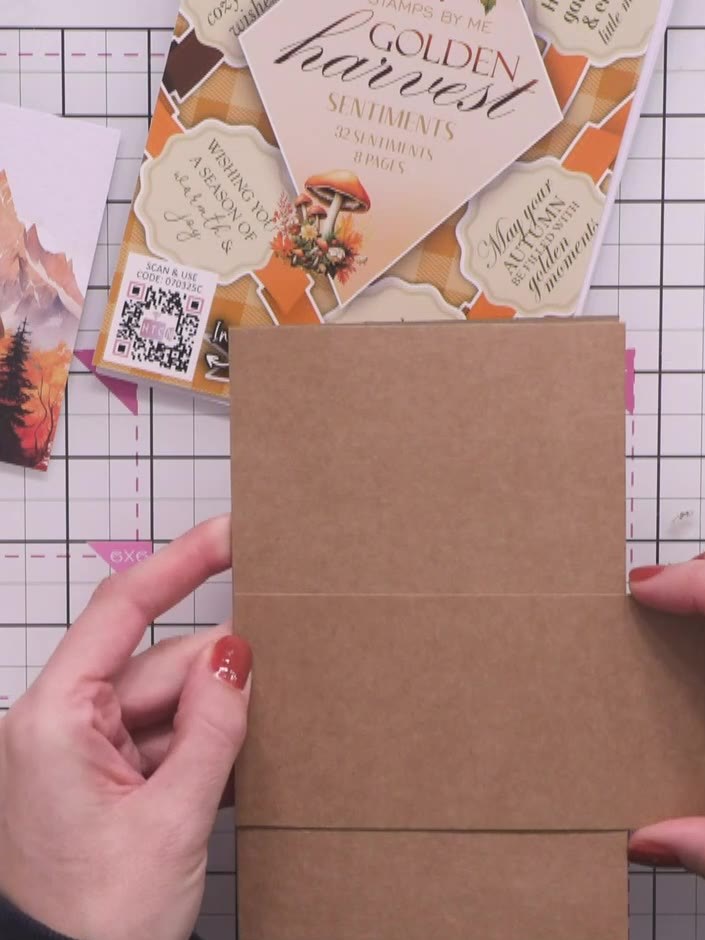
Trim the kraft card blank to your desired width, keeping the darker brown colour on the outside edge for visual impact.
▶ watch this step (33:45)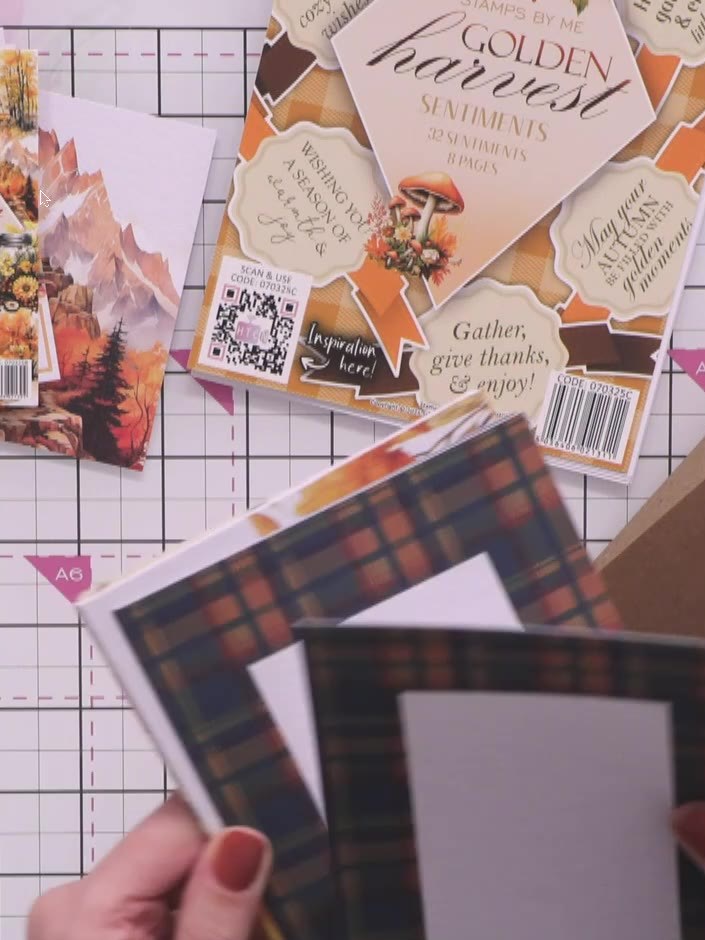
Select a topper panel with a white aperture and tartan pattern. Trim the panel down by removing excess from each side to fit your DL card base.
▶ watch this step (34:00)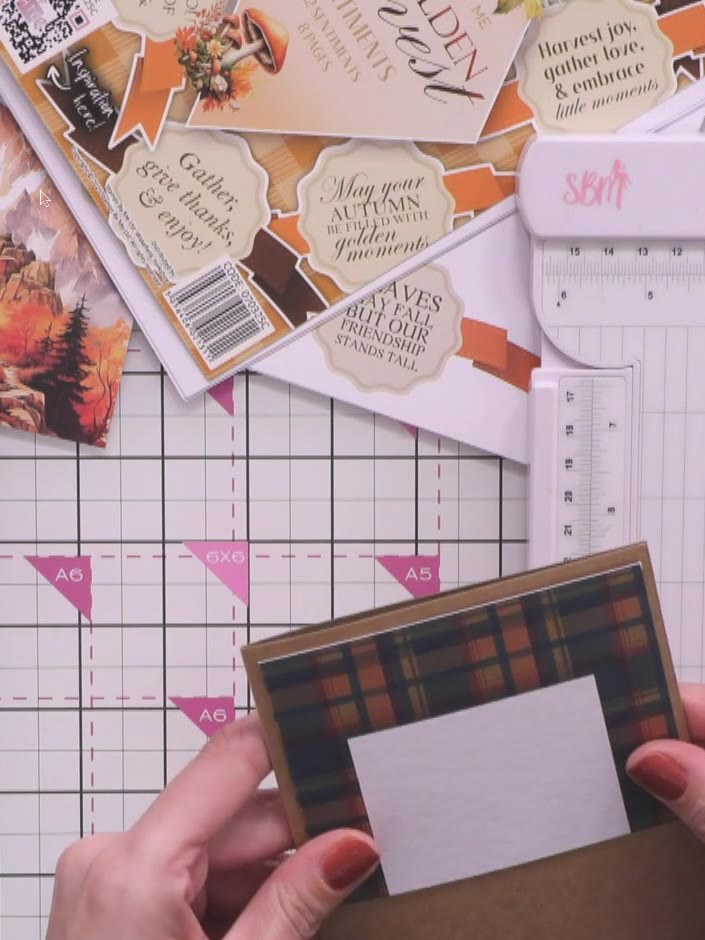
Cut the tartan topper panel in half horizontally. Position one section at the top and one at the bottom of your kraft card base.
▶ watch this step (35:15)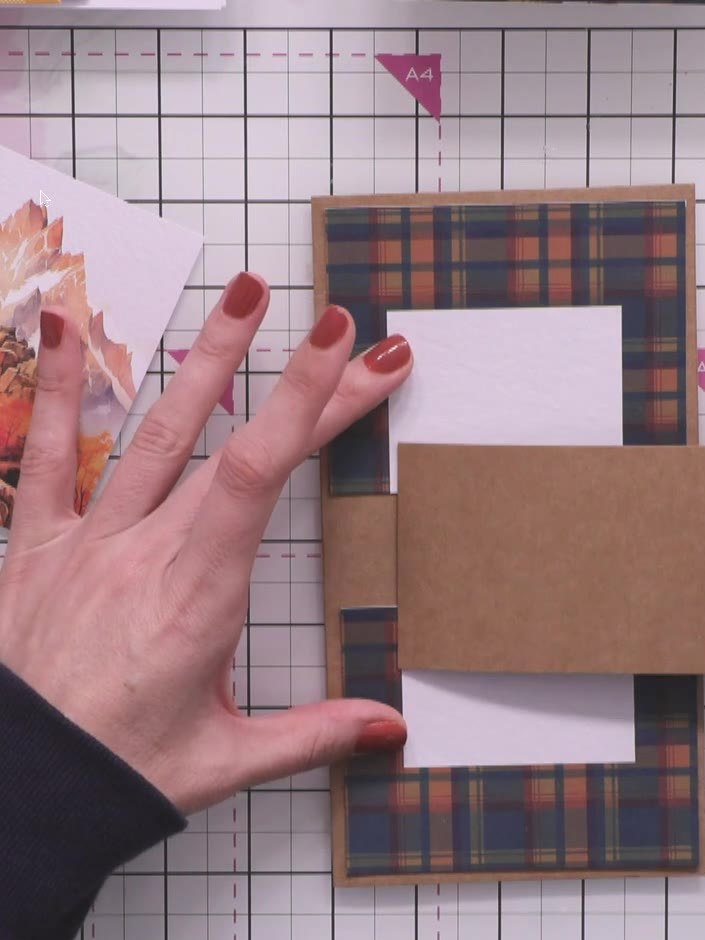
Ink the white edges of your card panels with black ink using an ink pad to neaten the appearance and create a professional finish.
▶ watch this step (36:00)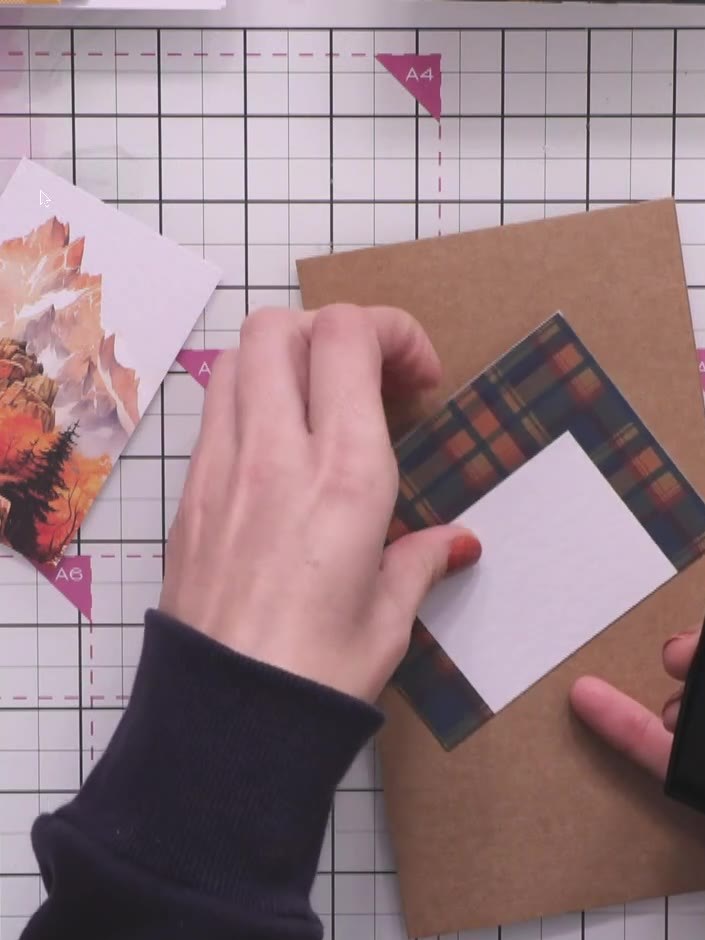
Adhere the top and bottom topper sections to your kraft card base using adhesive. Position the tartan-bordered white panels at the top and bottom of the card front, leaving space in the centre.
▶ watch this step (36:30)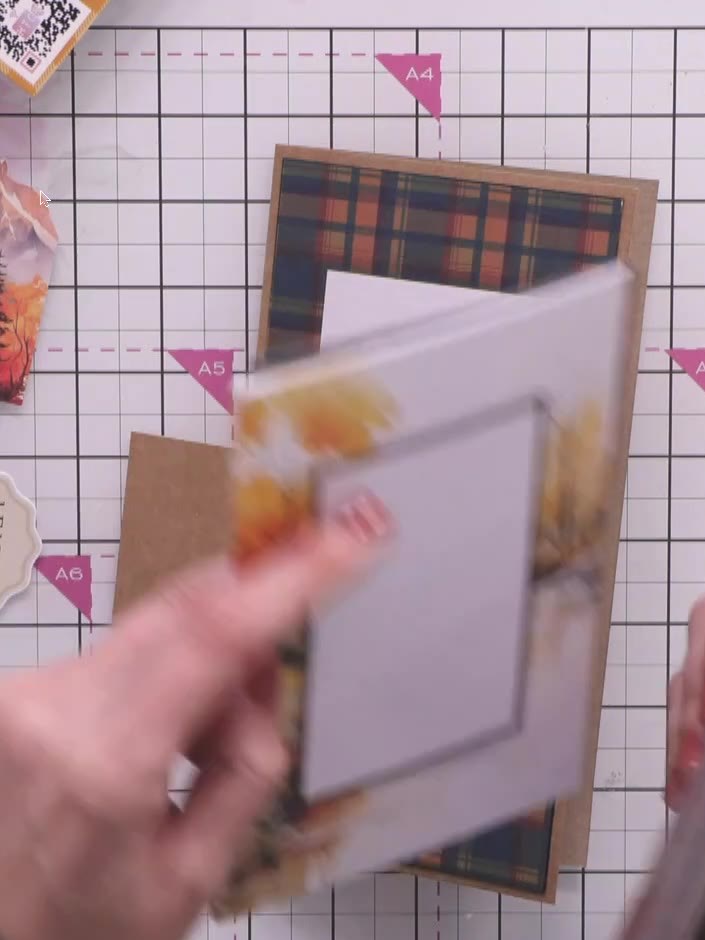
Fussy-cut flowers and a butterfly from the topper sheets, carefully cutting around the designs. Work slowly and precisely to preserve the details of each floral element.
▶ watch this step (48:00)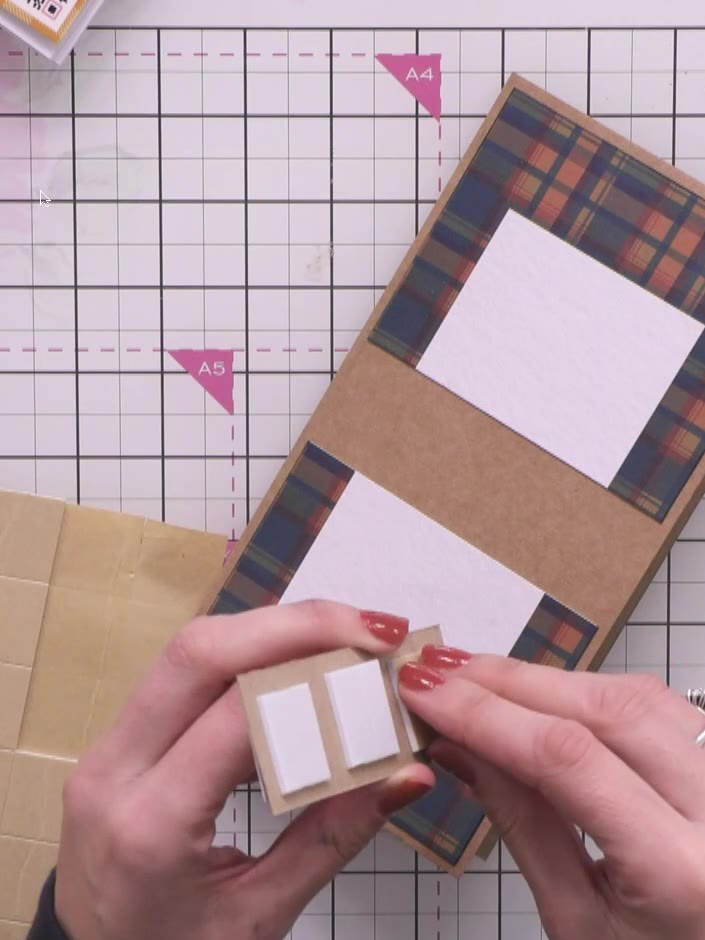
Arrange the fussy-cut floral elements in a cascading pattern down the centre of your card front, using foam pads to add dimension between the layers.
▶ watch this step (51:00)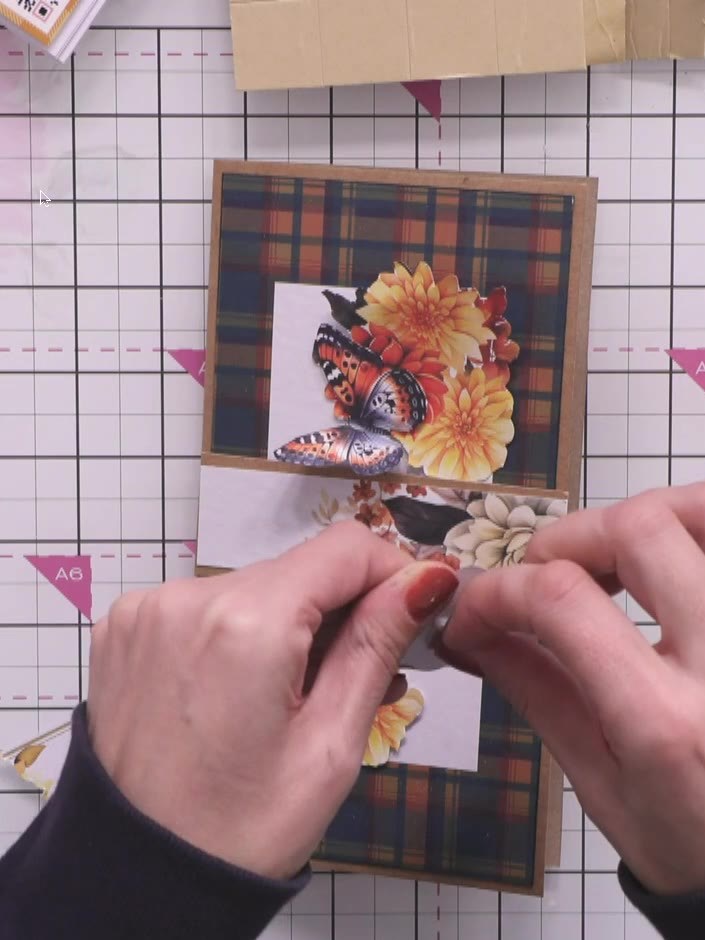
Die-cut or trim a sentiment from the preprinted sentiment sheets included in the kit. Position the sentiment on the middle panel of your card.
▶ watch this step (55:30)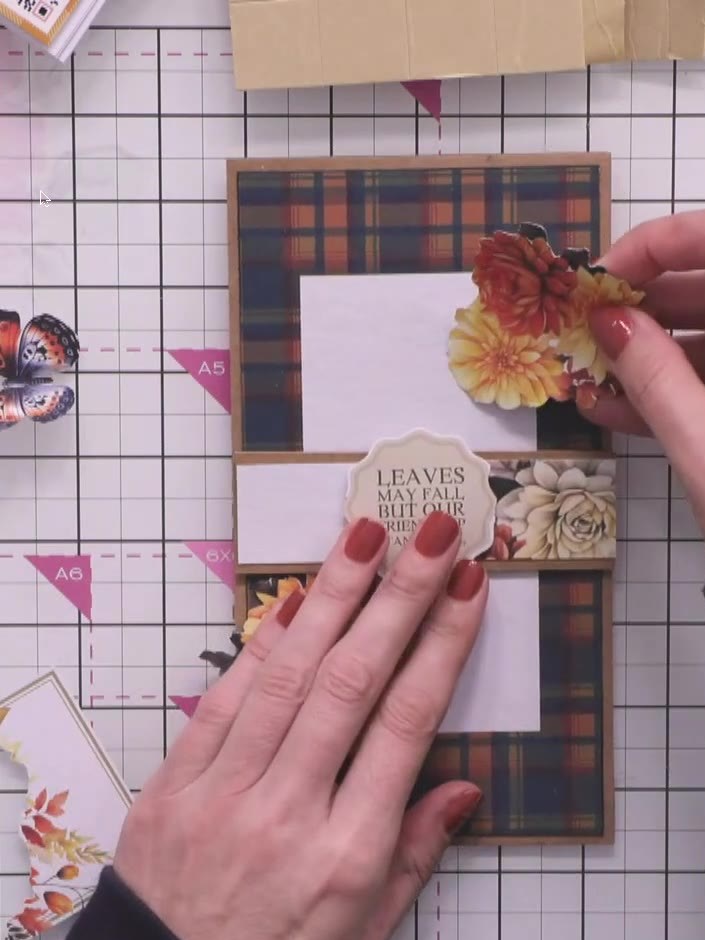
Adhere the scalloped sentiment piece to the centre of the card front, positioning it over the white panel to balance the design with the floral cluster above.
▶ watch this step (56:00)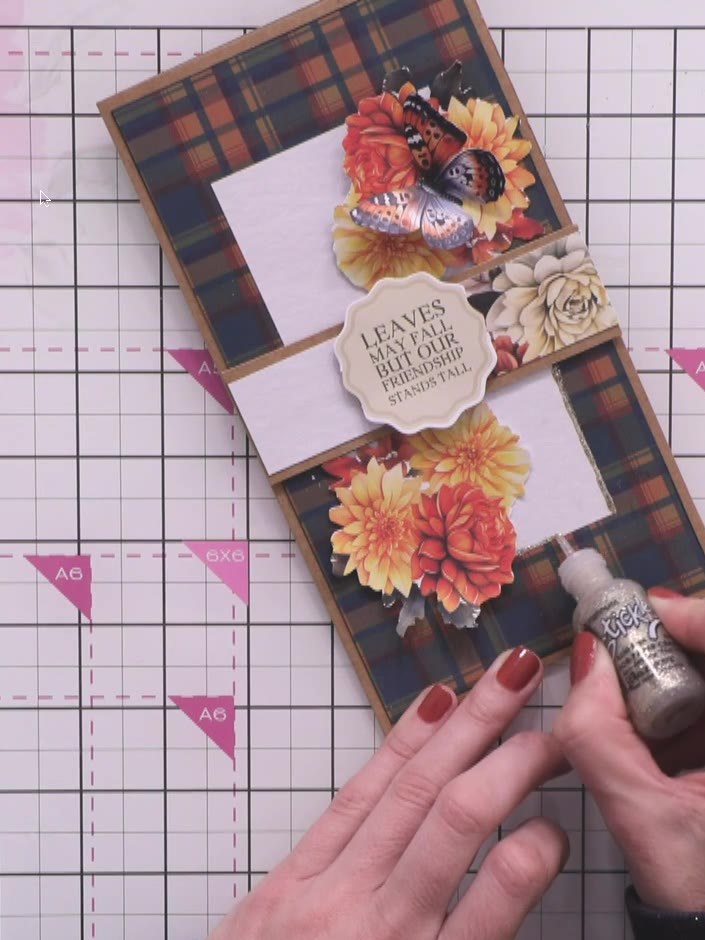
Apply platinum glitter glue (Ranger Stickles) around the tartan frame border and to the butterfly embellishment to add sparkle and finishing detail to your card.
▶ watch this step (58:00)Written up from the show itself. See every guide from our shows · free how-to guides · watch live on My Telly
