Step 1 of 7
Using the Nesting dies, die cut the largest one from white card. Take a sheet from the paper pack and die cut the next size down.








Prices change straight away. Languages are translated by Google.
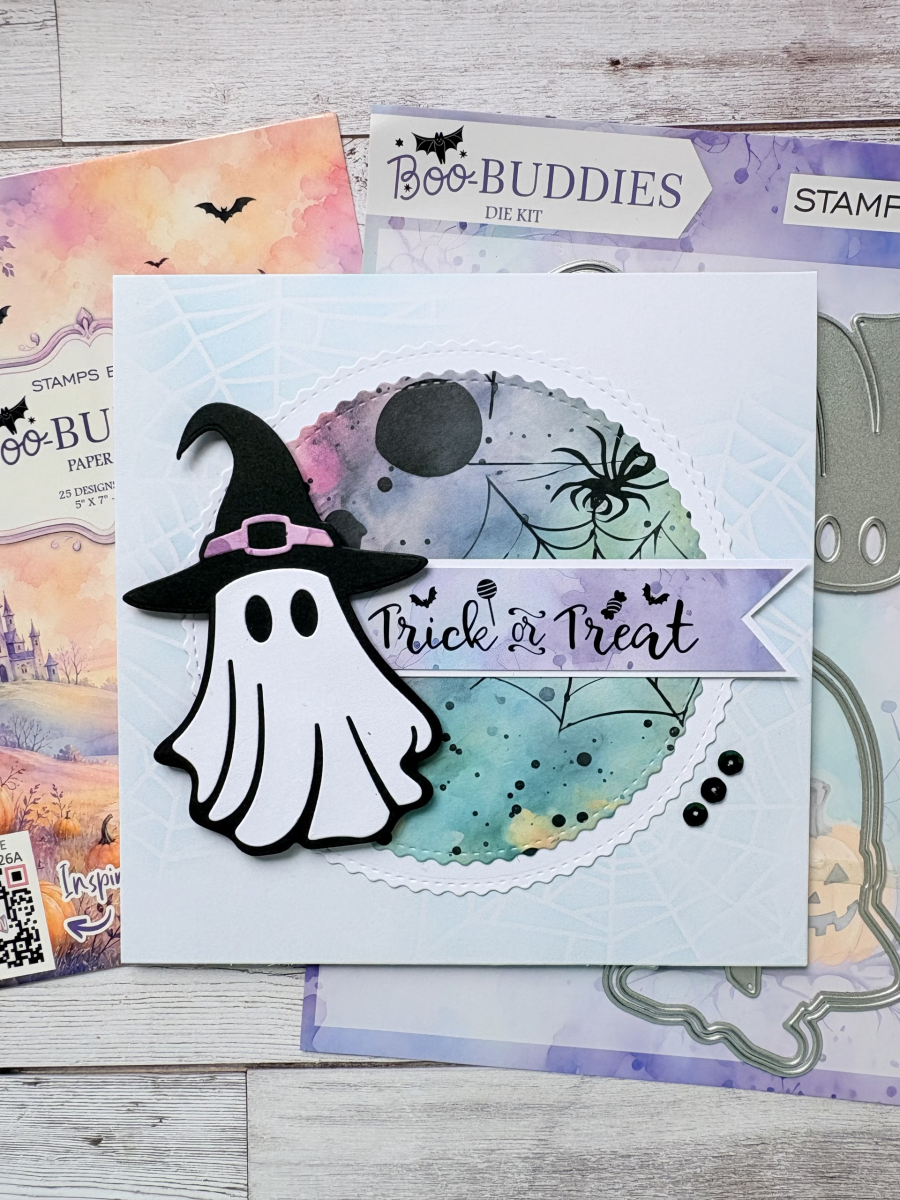
Using the Nesting dies, die cut the largest one from white card. Take a sheet from the paper pack and die cut the next size down.
Die cut the ghost from the set, using white, black and coloured cardstock and adhere the pieces together.
Take the card blank and lightly ink through the web stencil using Peacock Feathers Distress Ink.
Adhere both of your die cut circles to your card blank.
Select the sheet of paper from the pack that has the sentiment Trick Or Treat at the top and trim. Use the punch to create the banner. Repeat using white card ensuring it is slightly larger.
Adhere the sentiment flat to the card and add the ghost using foam pads to create some dimension.
To finish, add 3 sequins to the lower right of the card.
Share your make with the Stamps By Me community - and keep this guide for next time.
Prefer the previous layout? Open the old page.