Give your friends $10 off their first order!
Refer a FRIEND








Prices change straight away. Every language is our own translation, not Google.
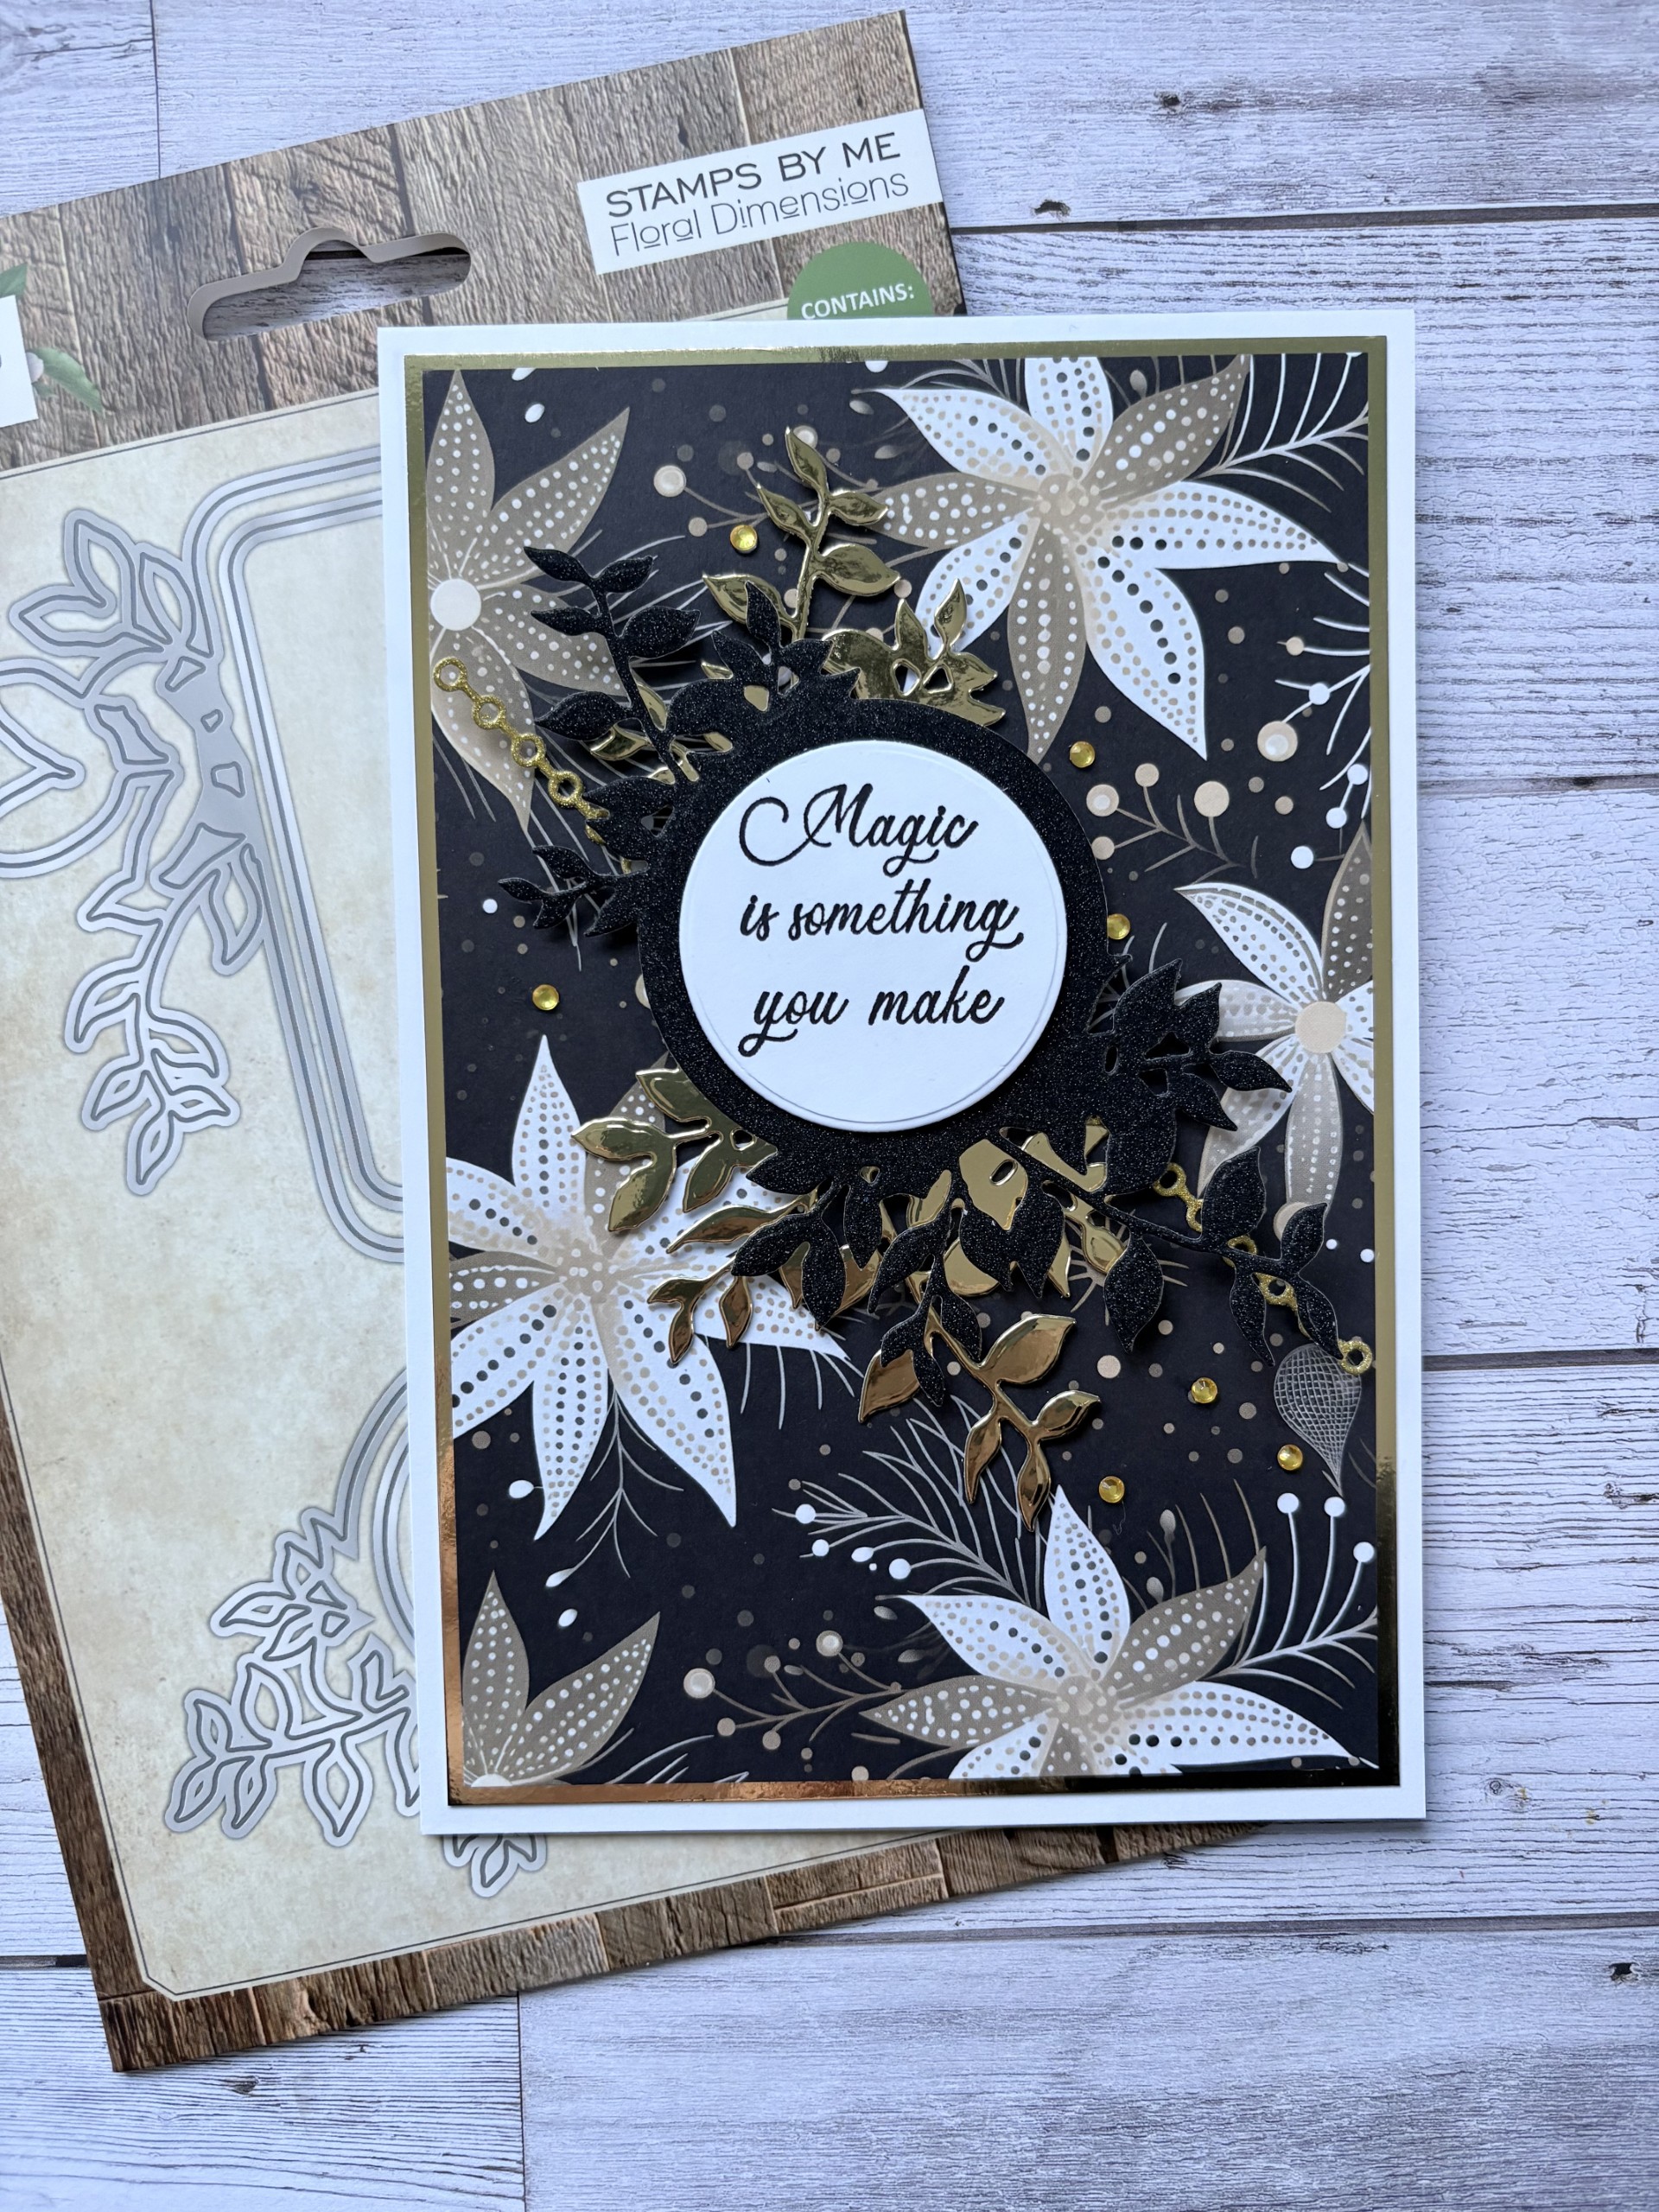
WHAT YOU WILL NEED:
[click image to enlarge] 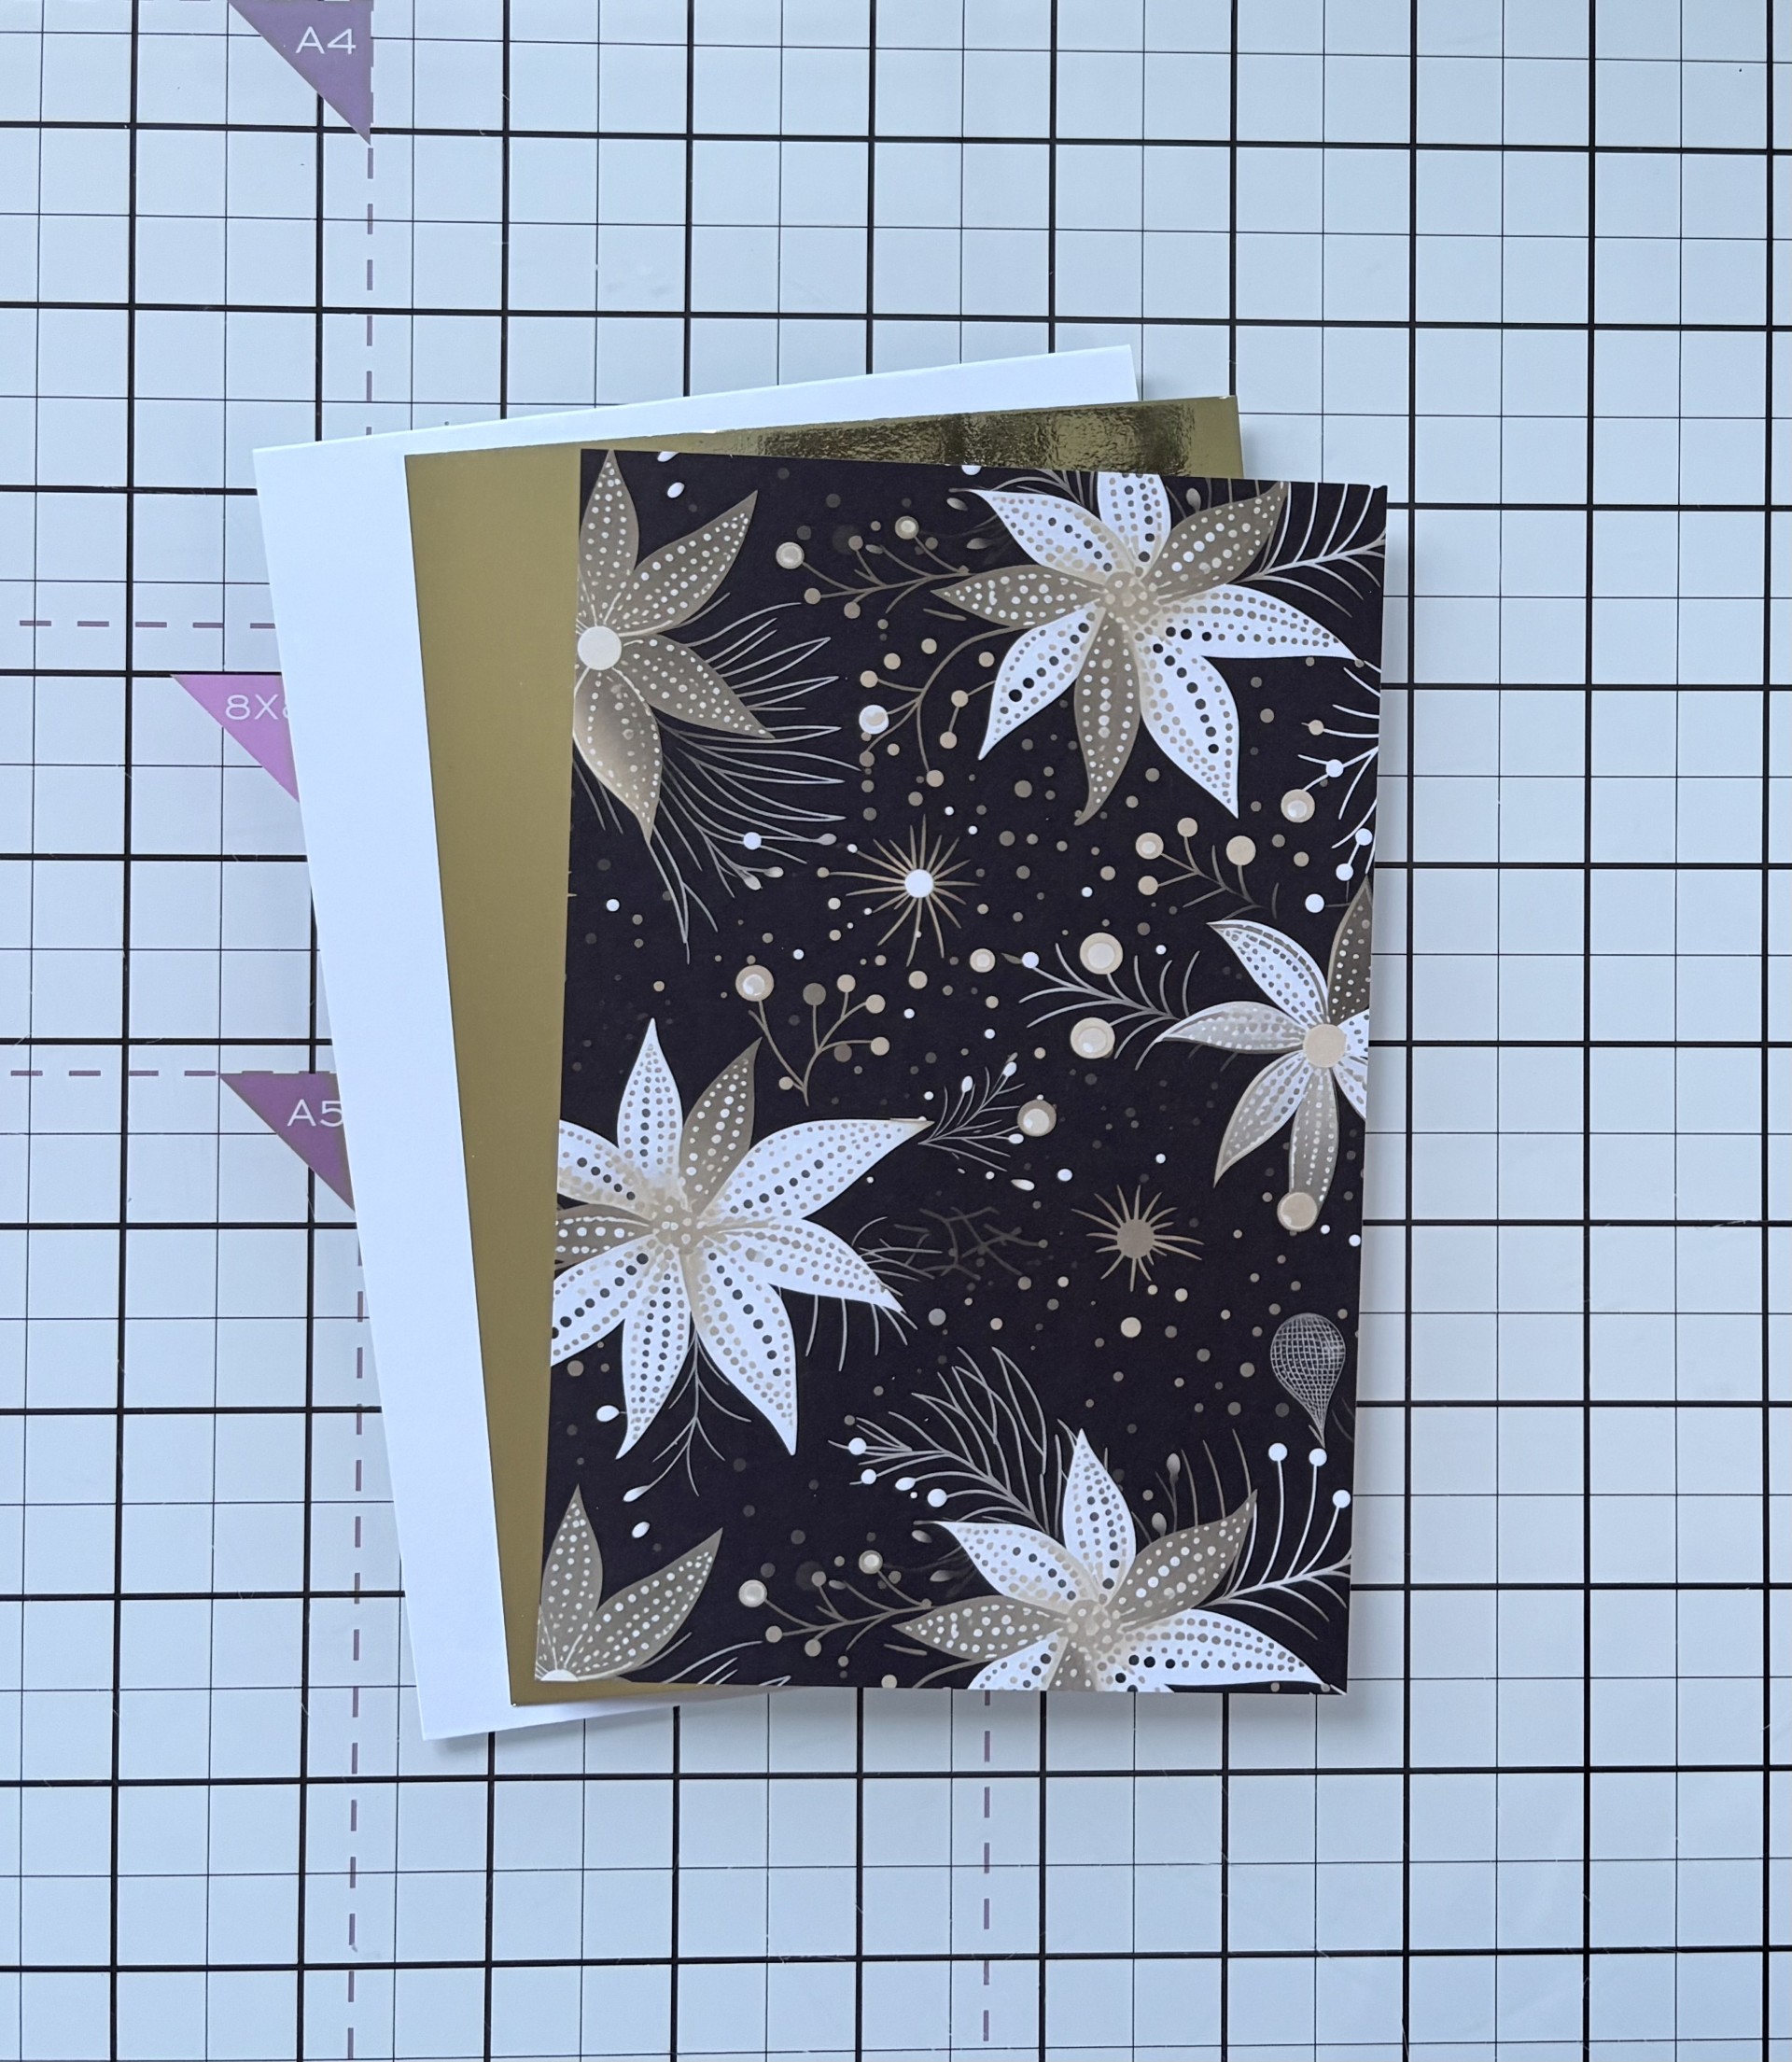
|
Cut a piece of the Mirri card to 4 3/4’ x 6 3/4’ .
Select a piece of the patterned paper from the Starlight & Snowflakes pad and trim to
4 1/2’ x 6 3/4’ .
|
|
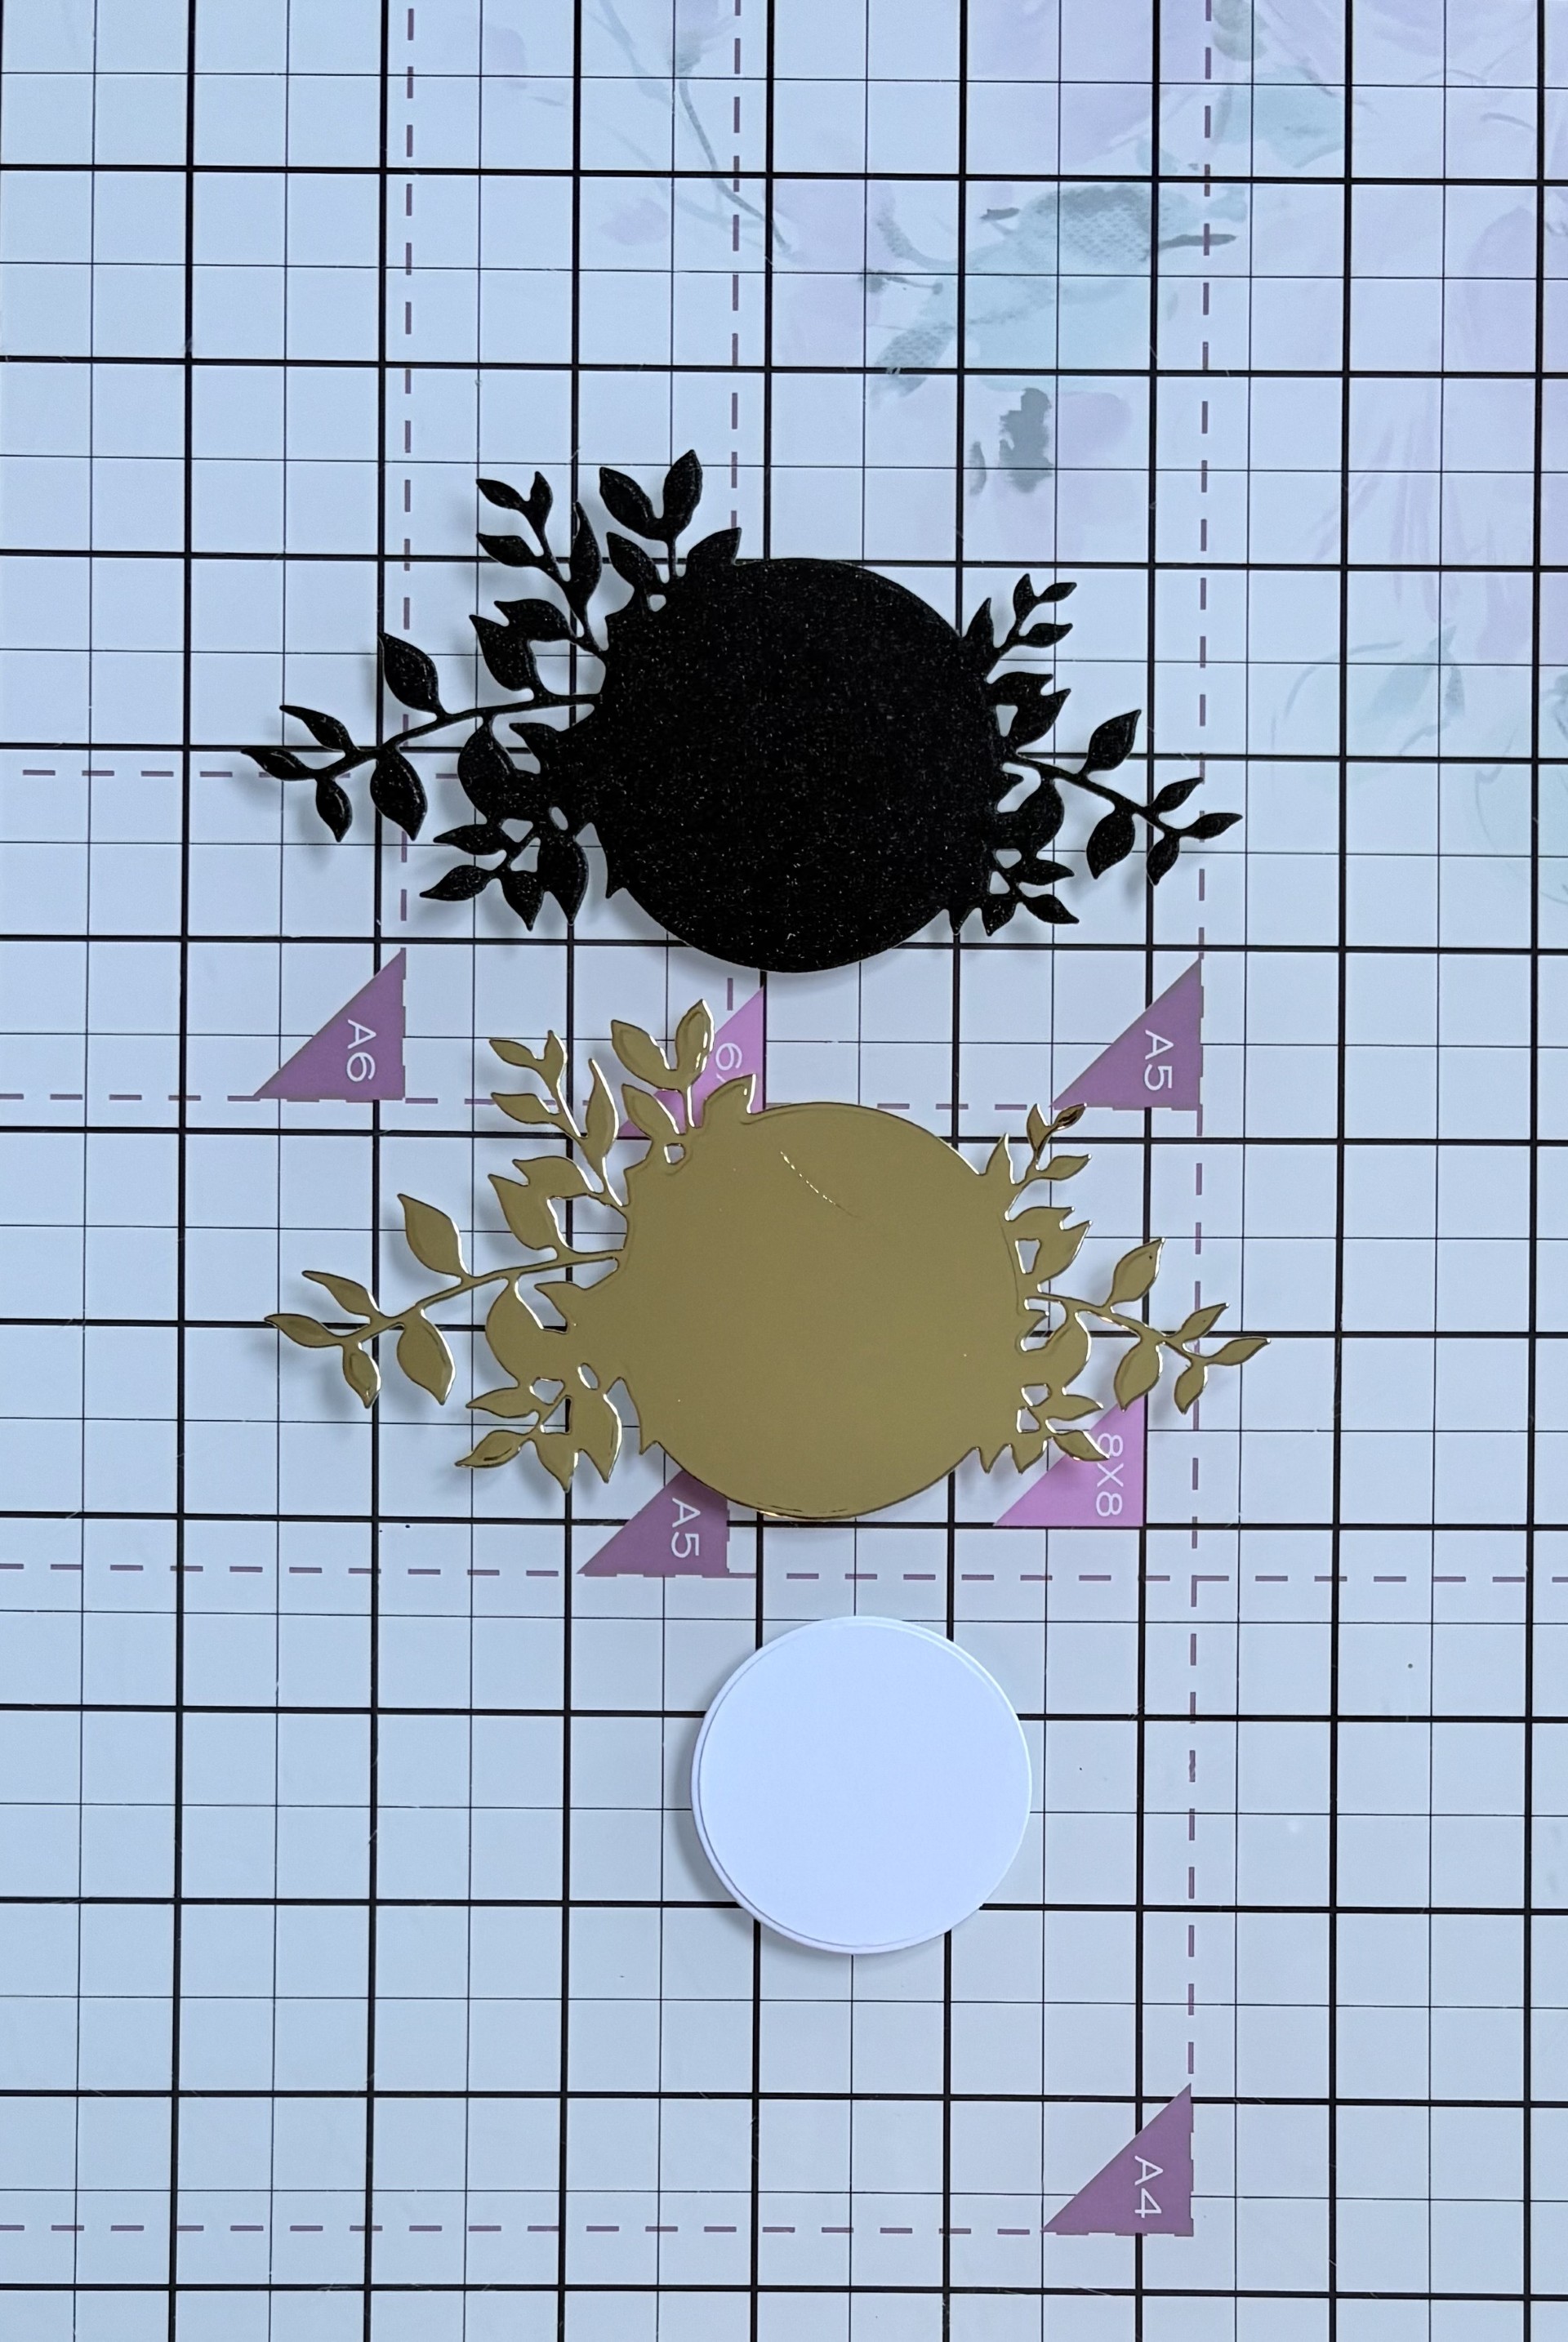
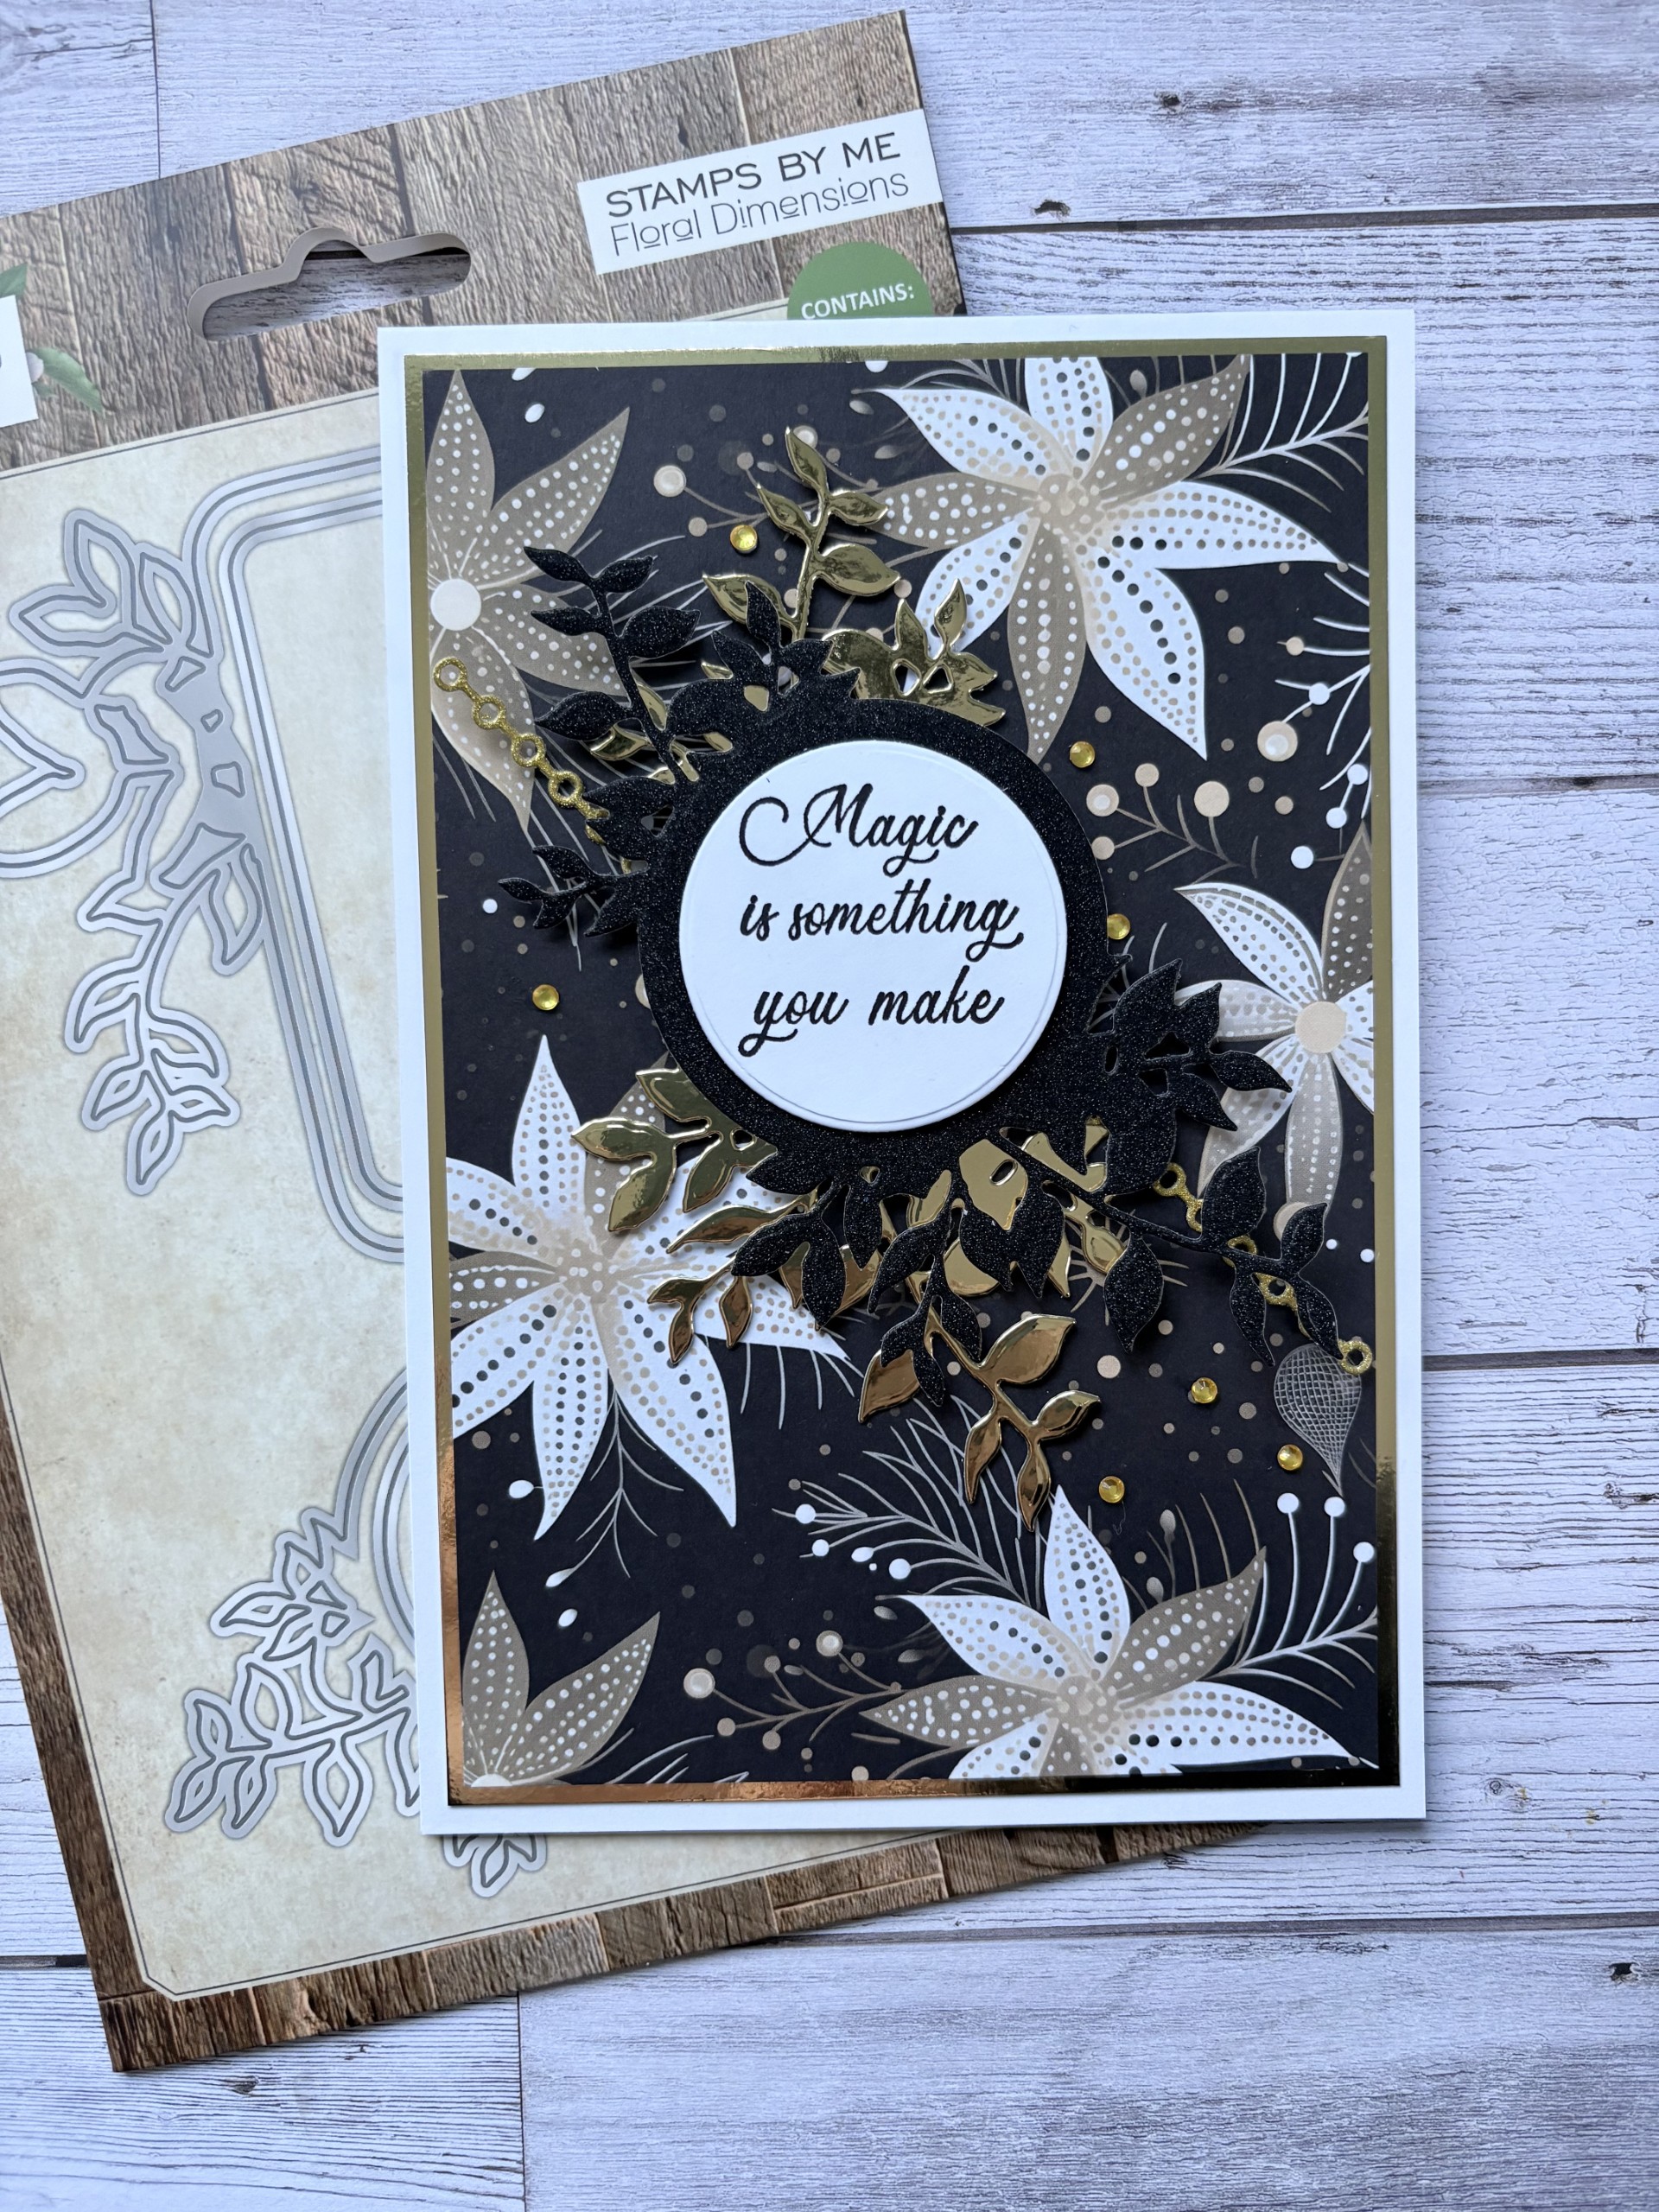
Using the Foliage Banners, die cut a white circle and the round Foliage Banner out of black glitter card & also gold Mirri card. |
|
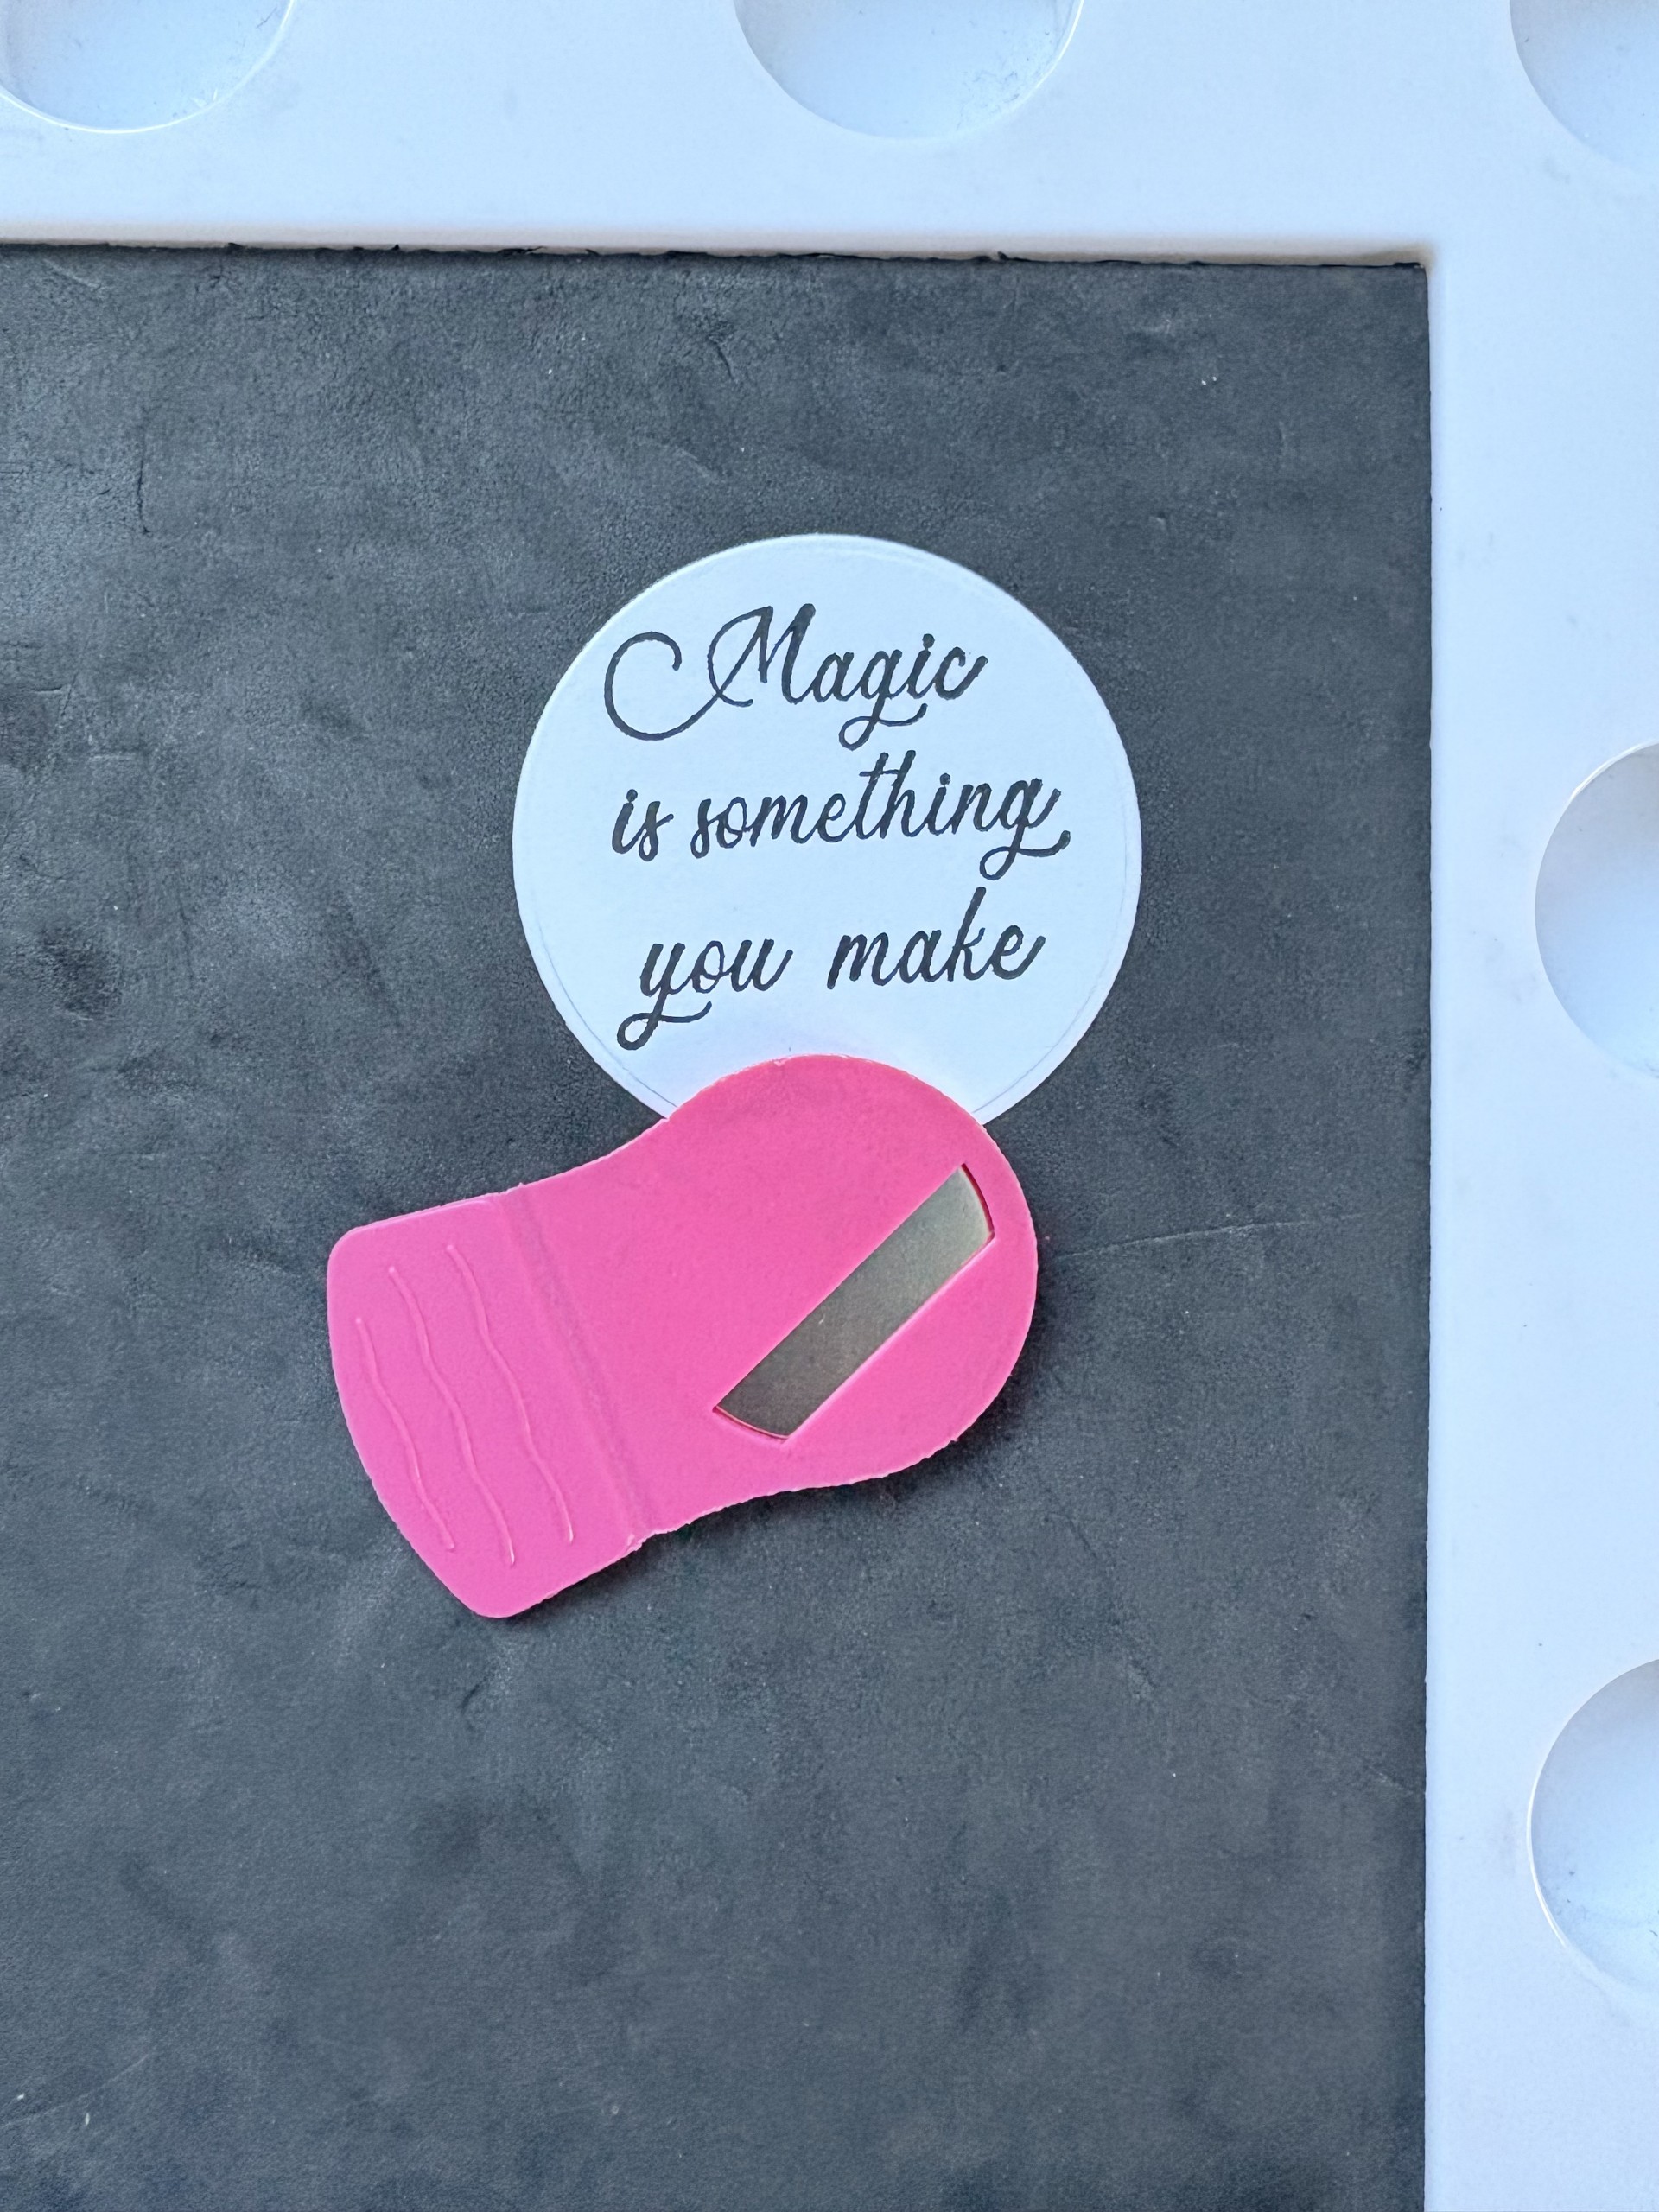
Stamp your chosen sentiment using the Midnight Ink, onto the white circle. |
|
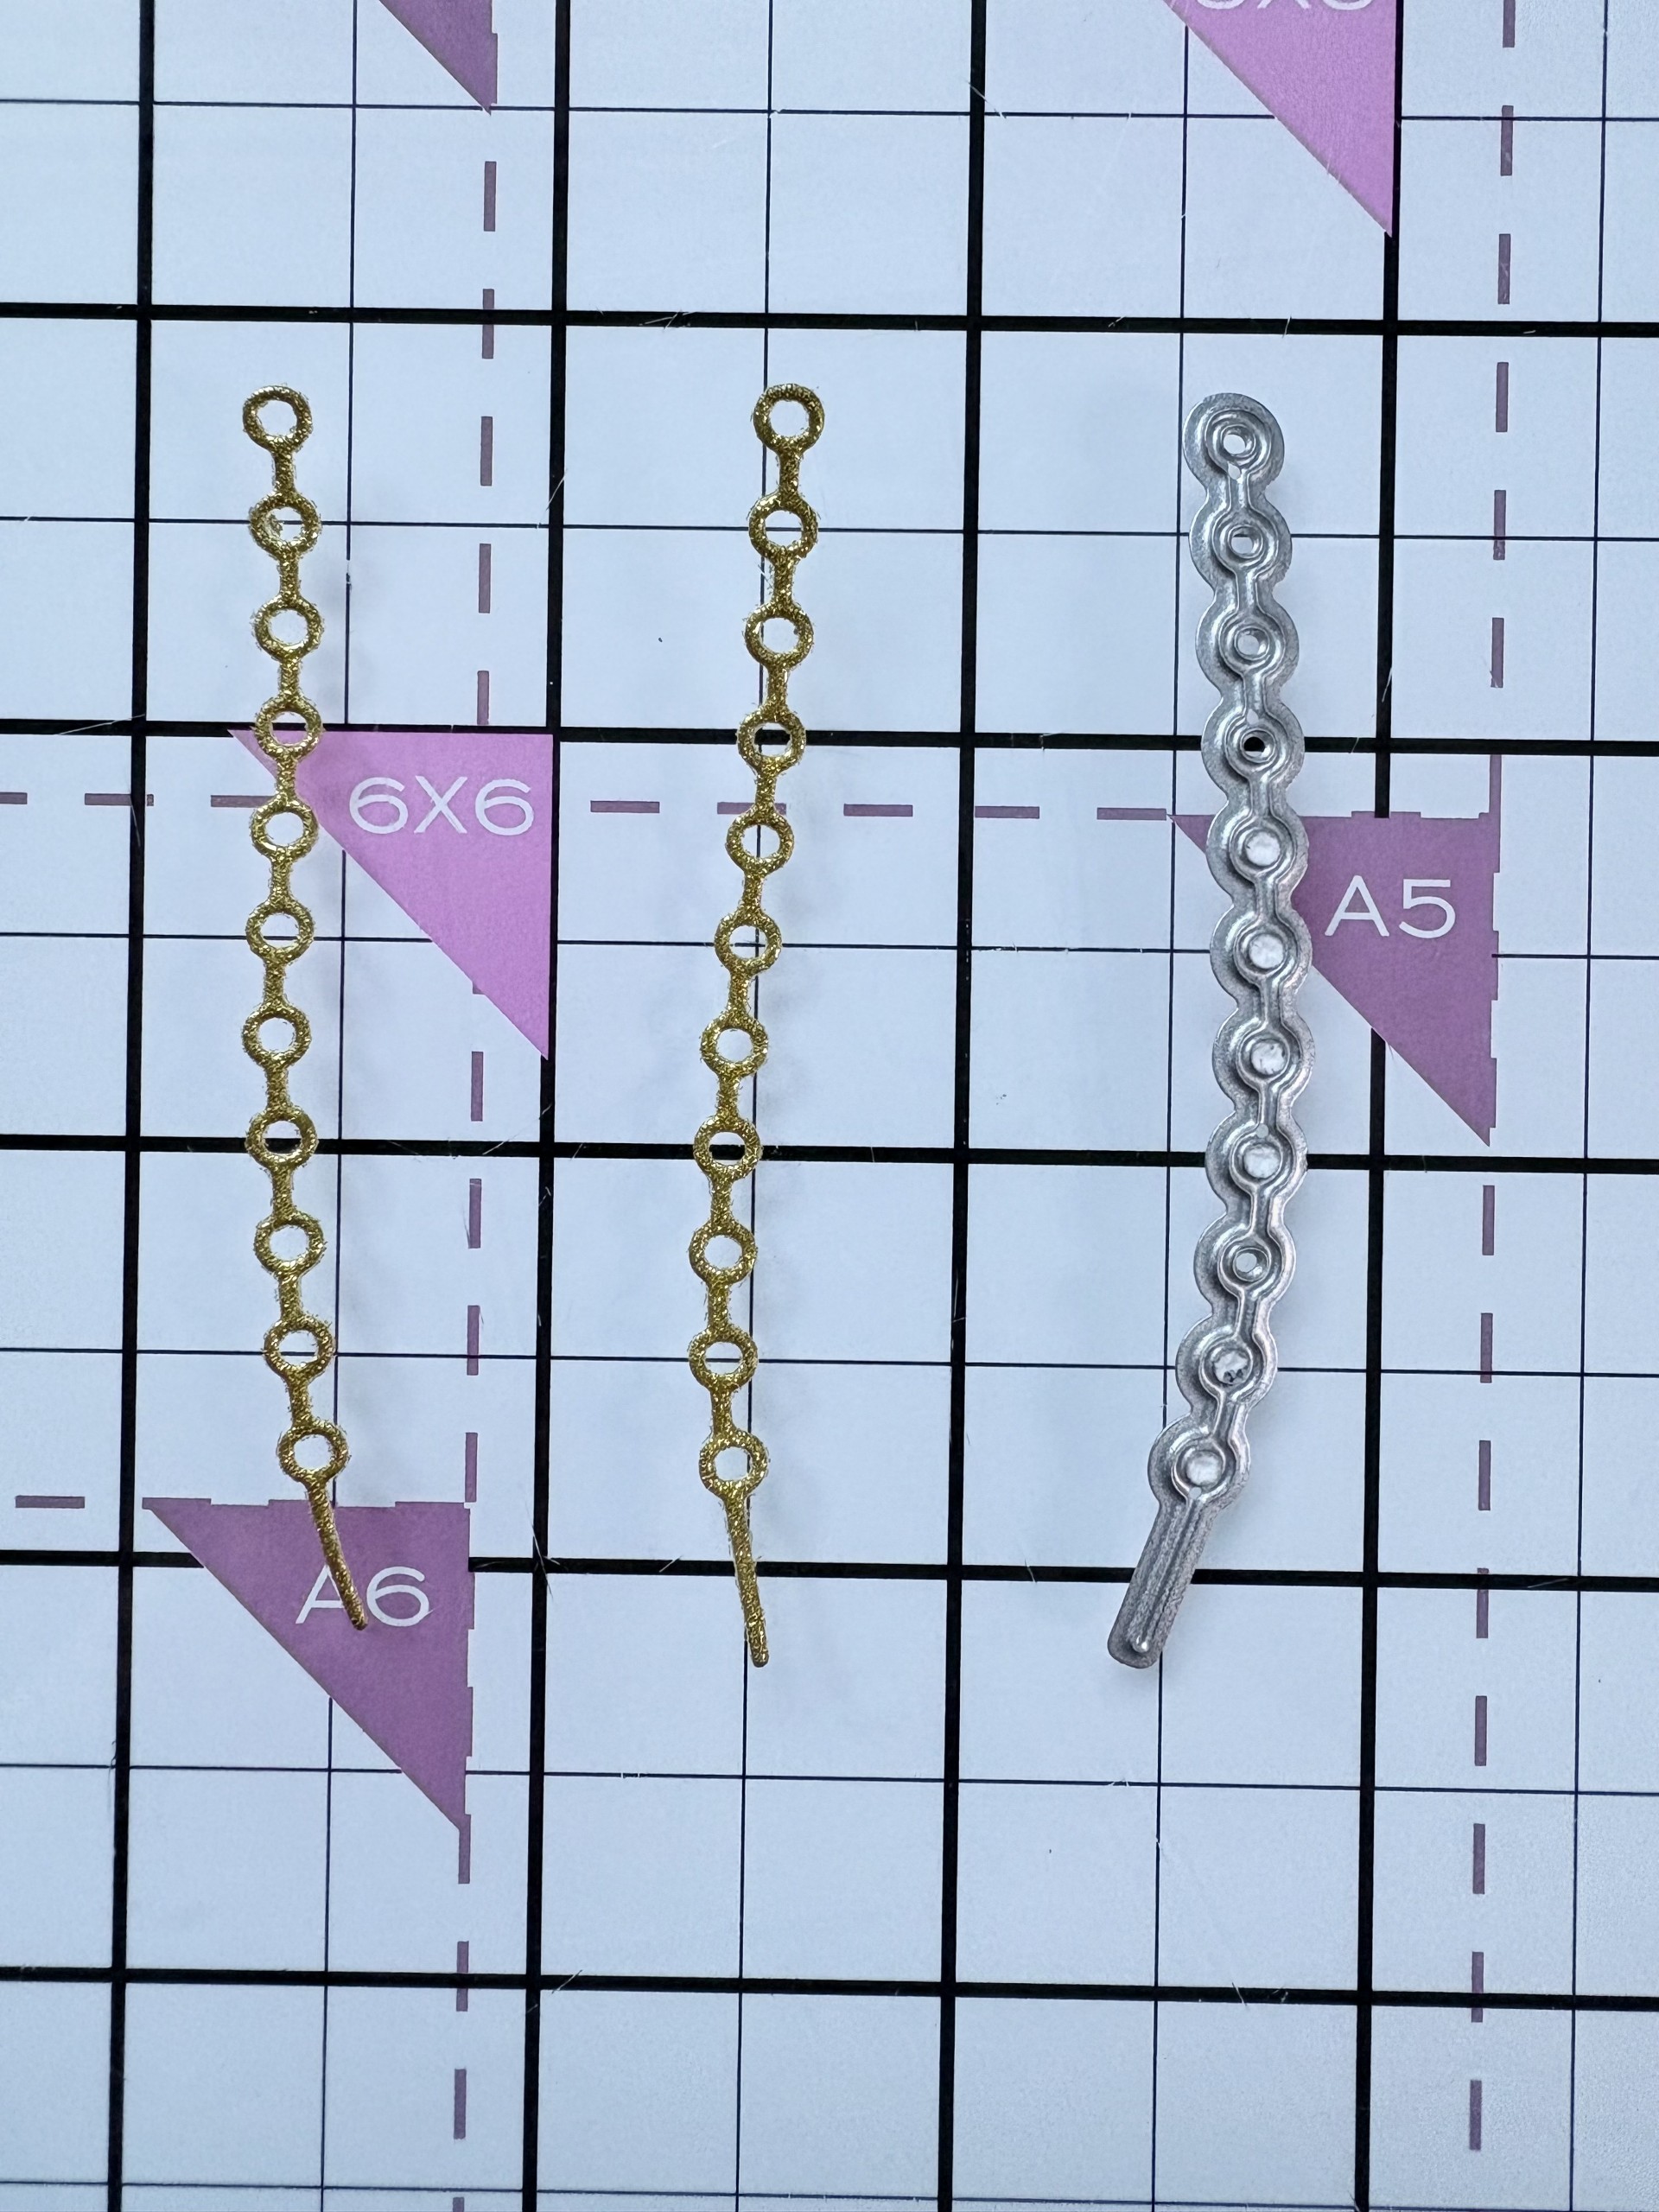
Die cut 2 of the dies from the Adornments set, out of gold glitter card. |
|
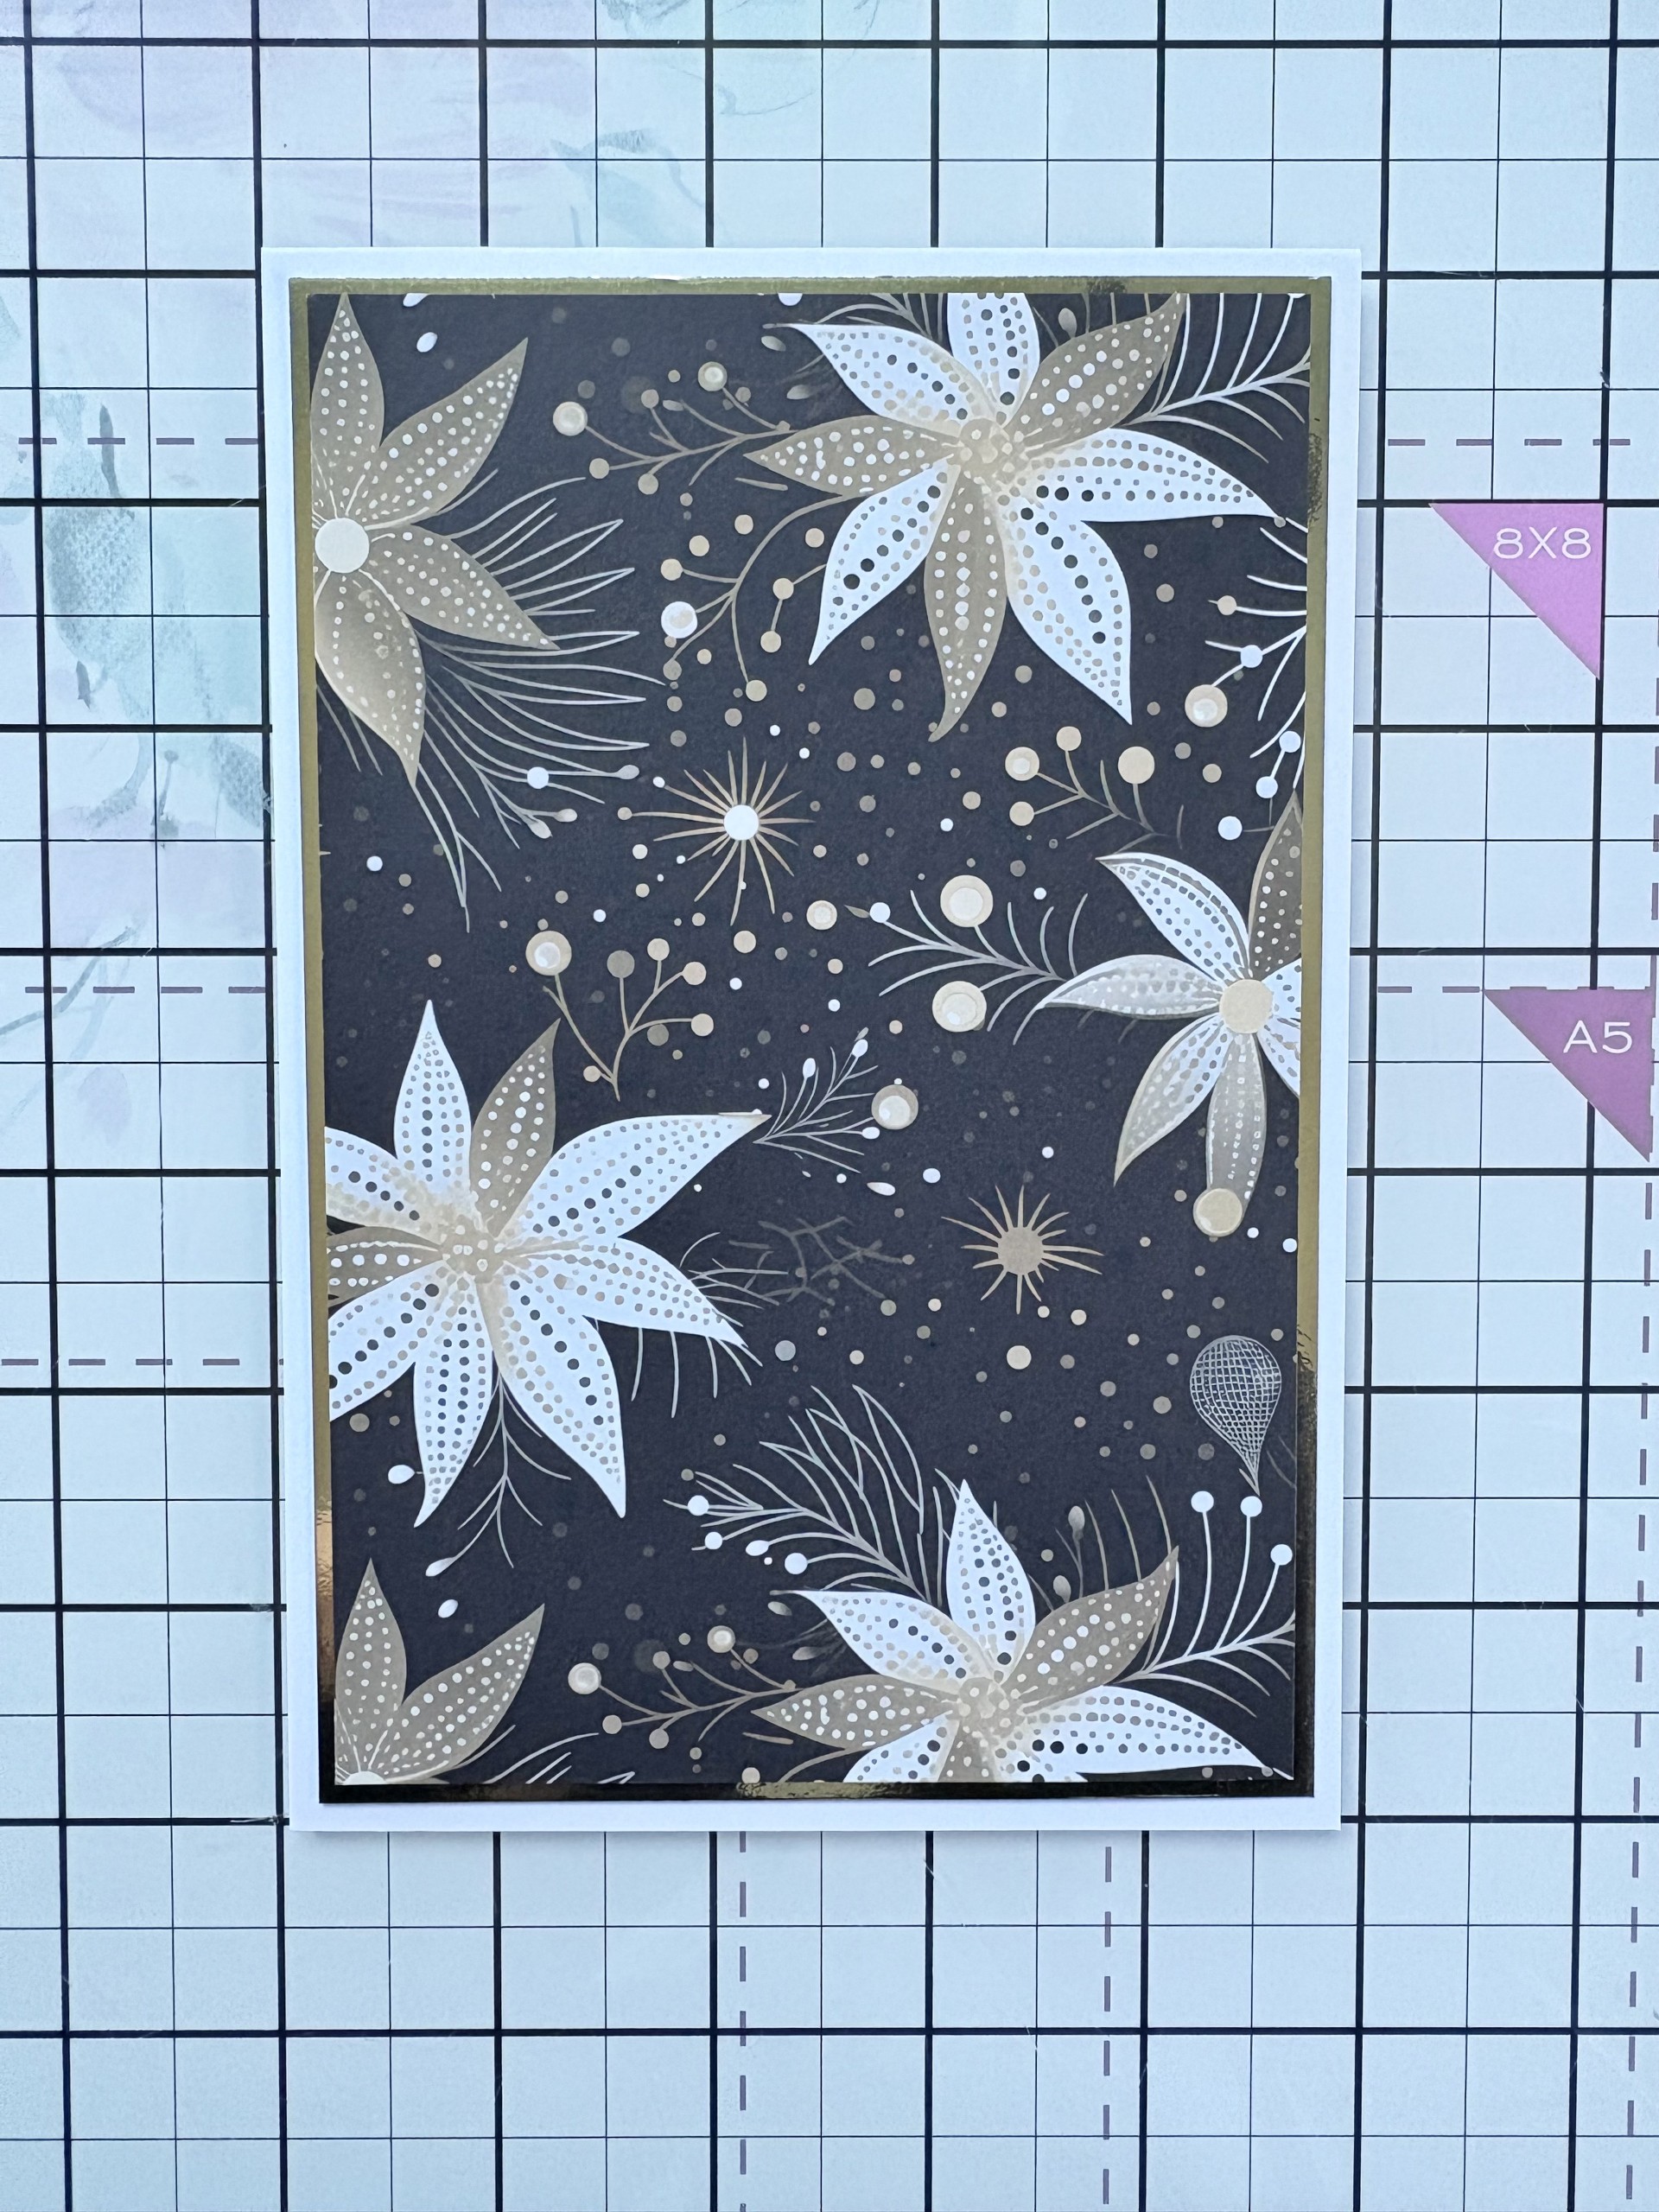
Matt & layer the patterned paper and mirri card onto the card blank. |
|
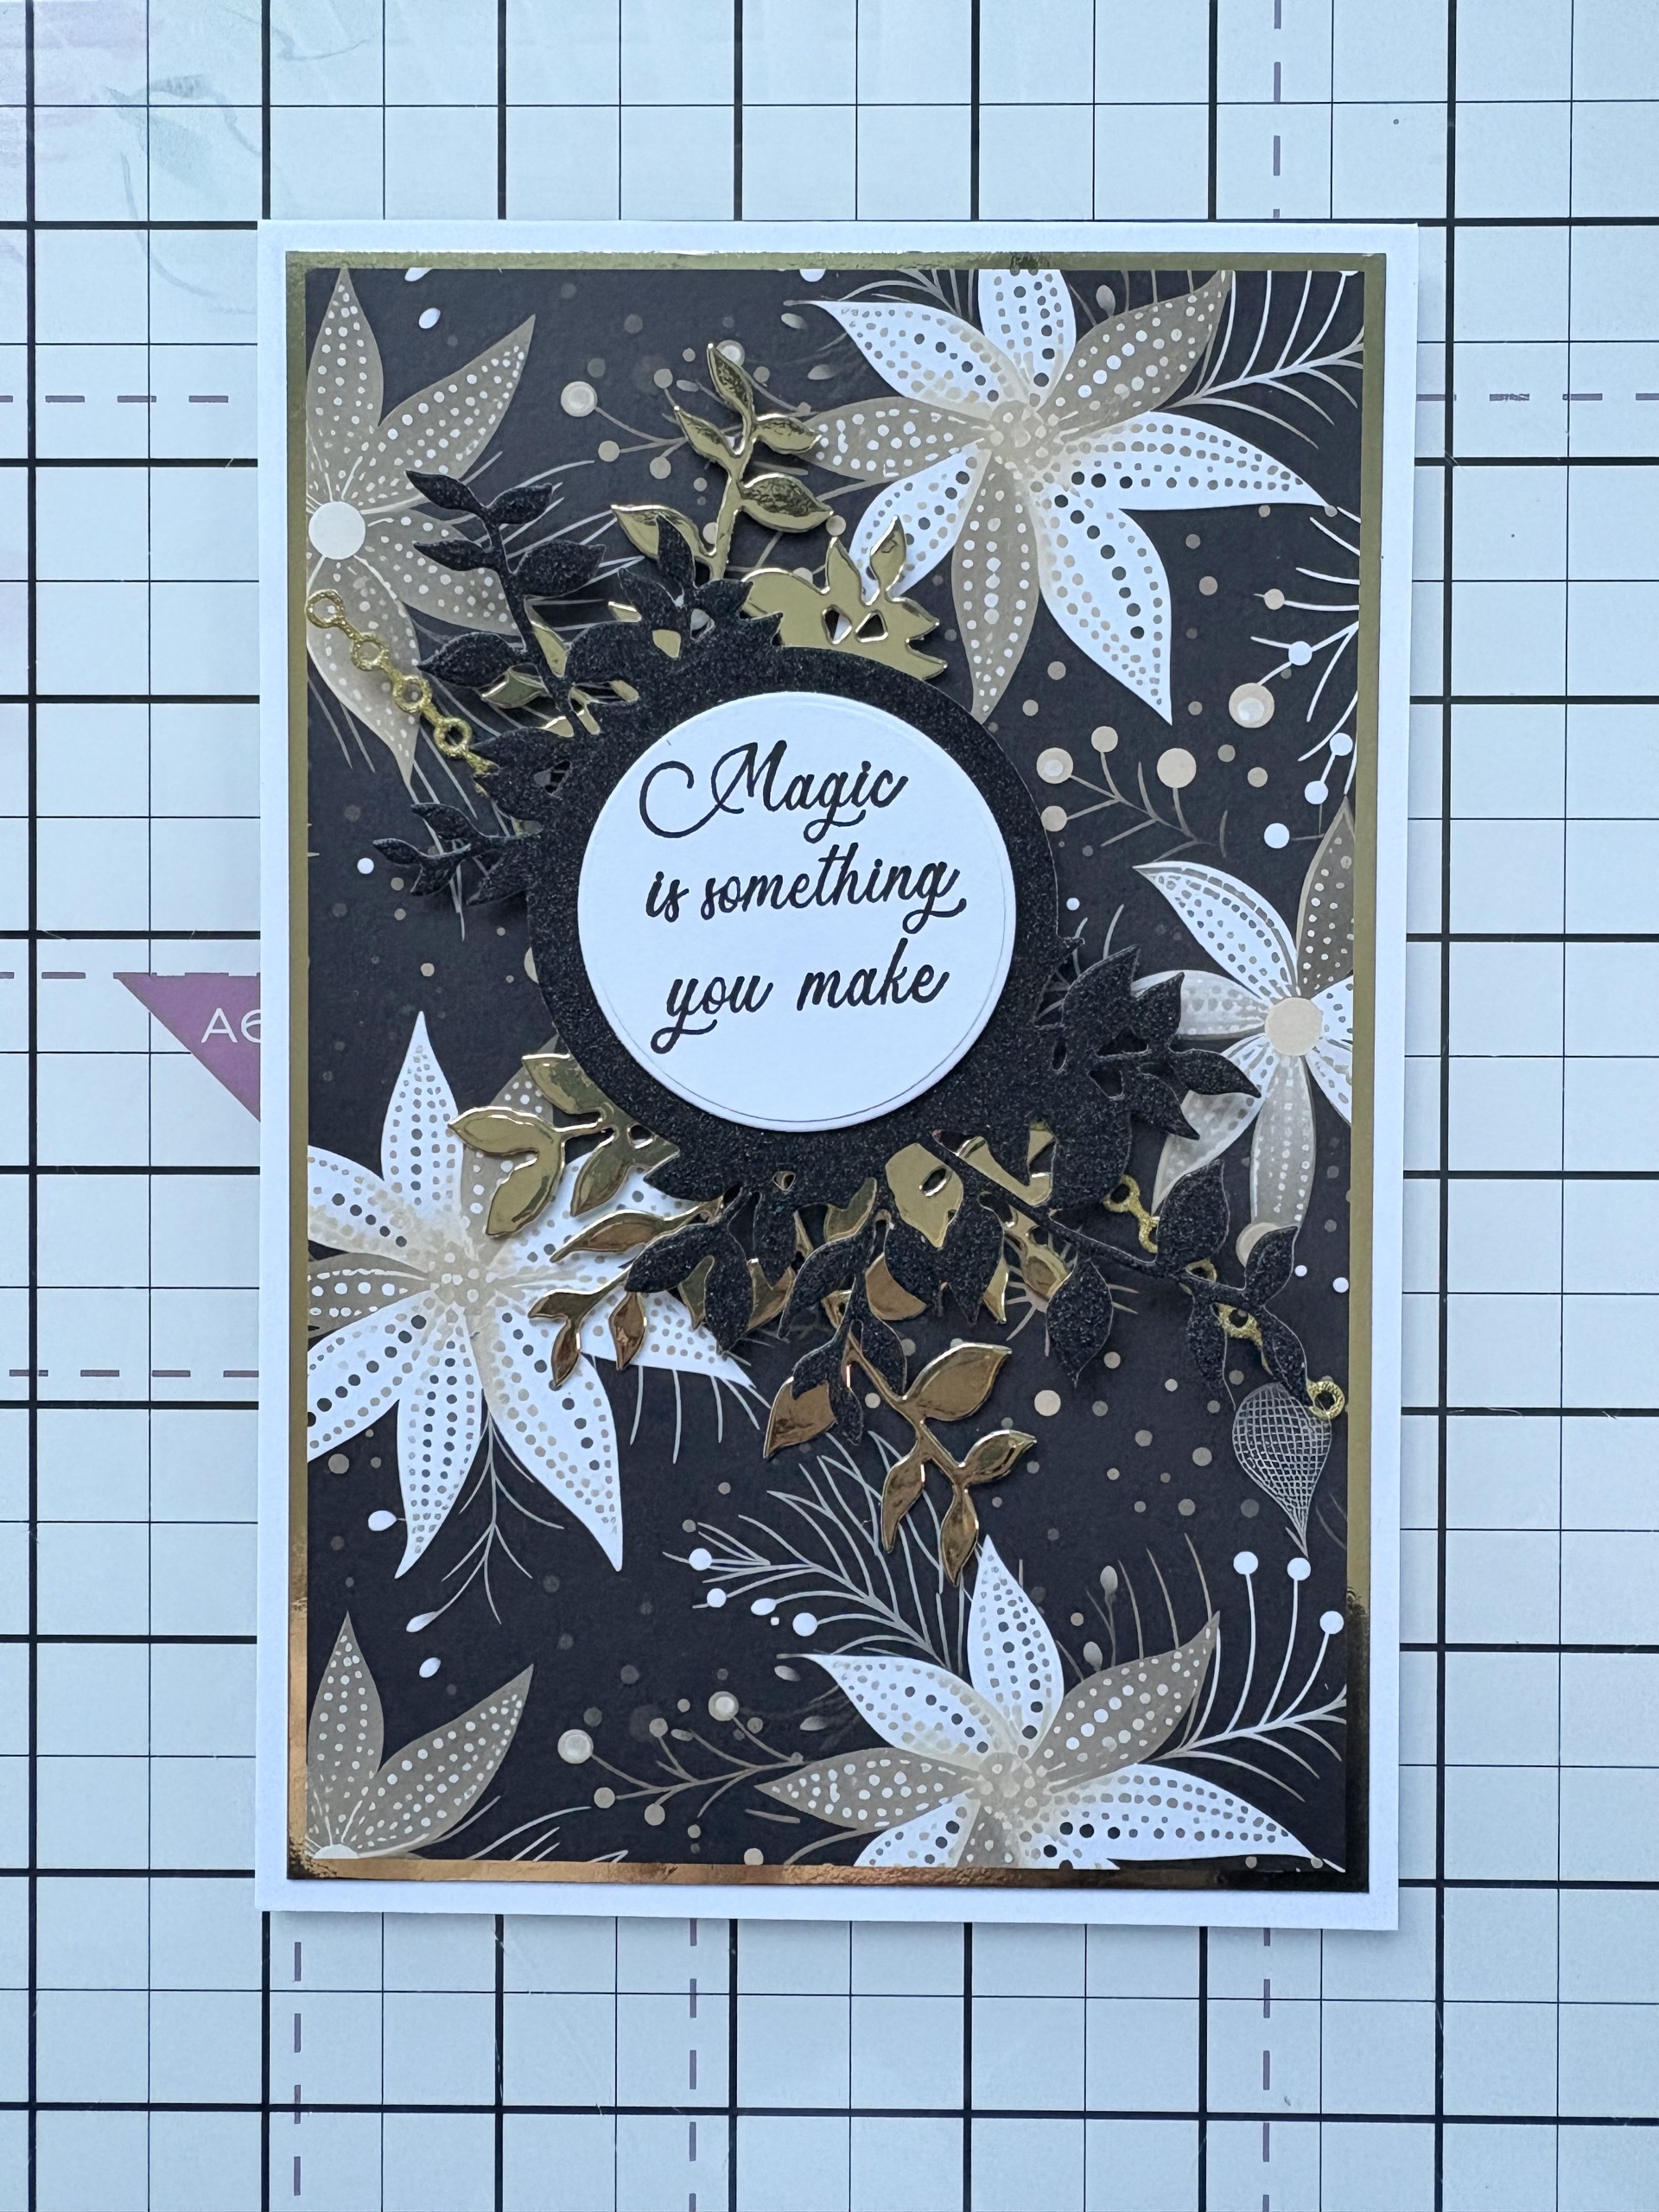
Glue the banner dies and stamped sentiment together using silicone glue and then to your card. Glue the small adornments cut from glitter card under the banner. |
|
For a finishing touch add some gold gems. |