Give your friends $10 off their first order!
Refer a FRIEND








Prices change straight away. Every language is our own translation, not Google.
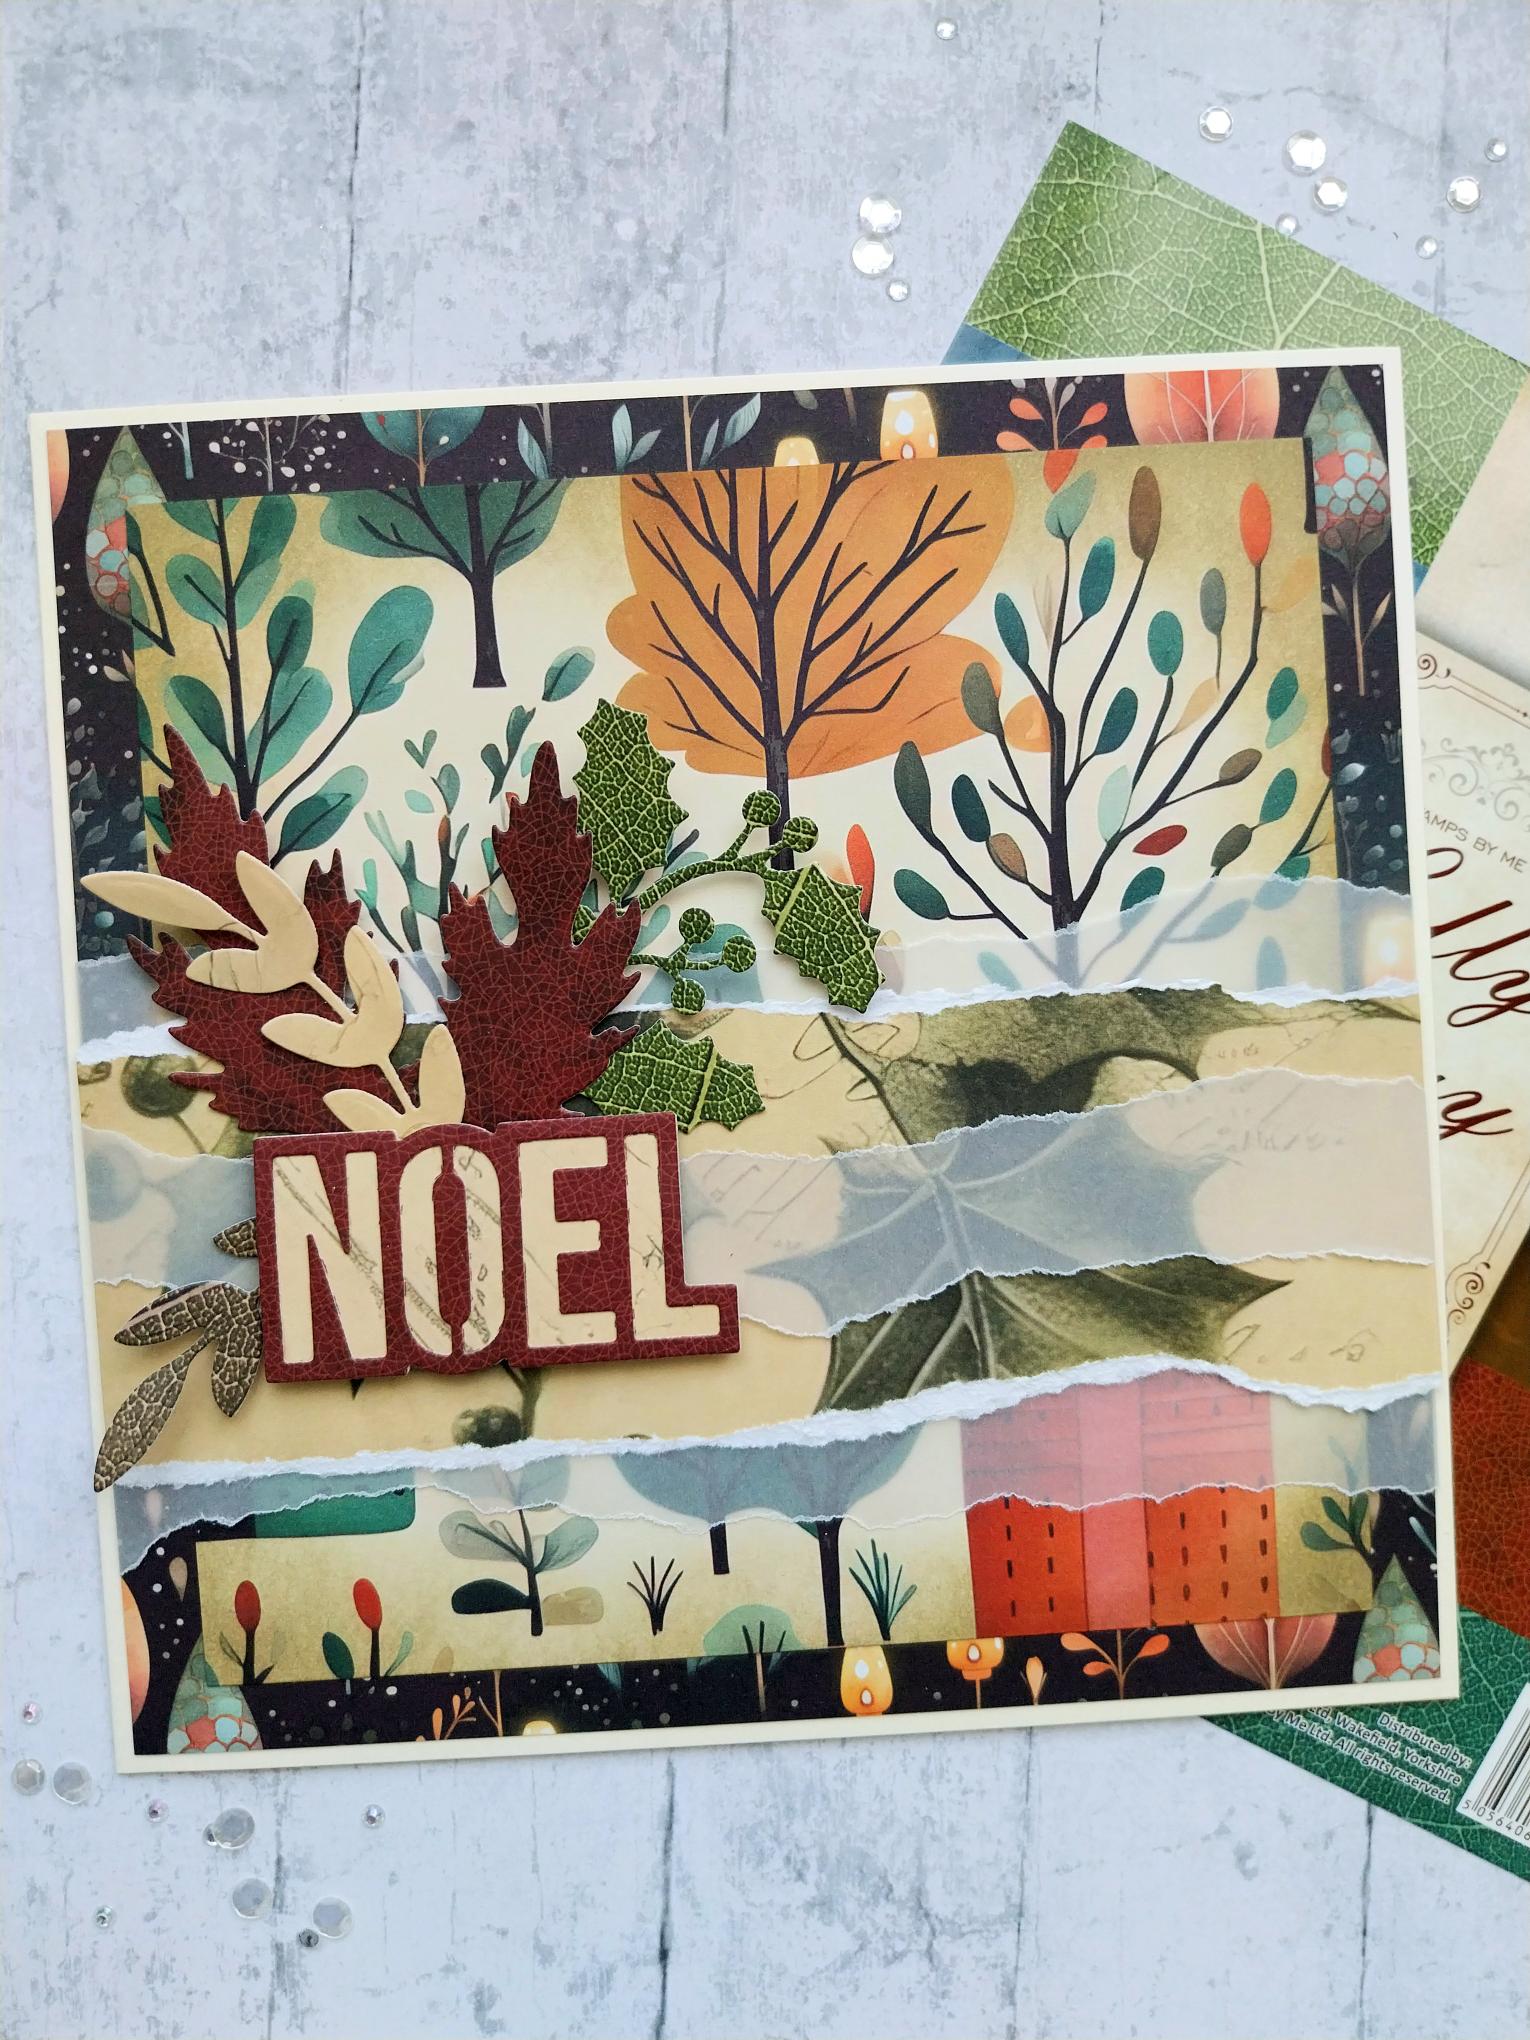
WHAT YOU WILL NEED:
Cream Card blank 7 x 7"
Vellum
Holly & Berry The Complete Kit
Festive Baubles Die Set
Distress Oxide/ Ink Pad: Frayed Burlap
Blending brush
SBM A3 Magnetic glass mat
Paper Trimmer
Glue
Foam pads
Die Cutting machine
[click image to enlarge] 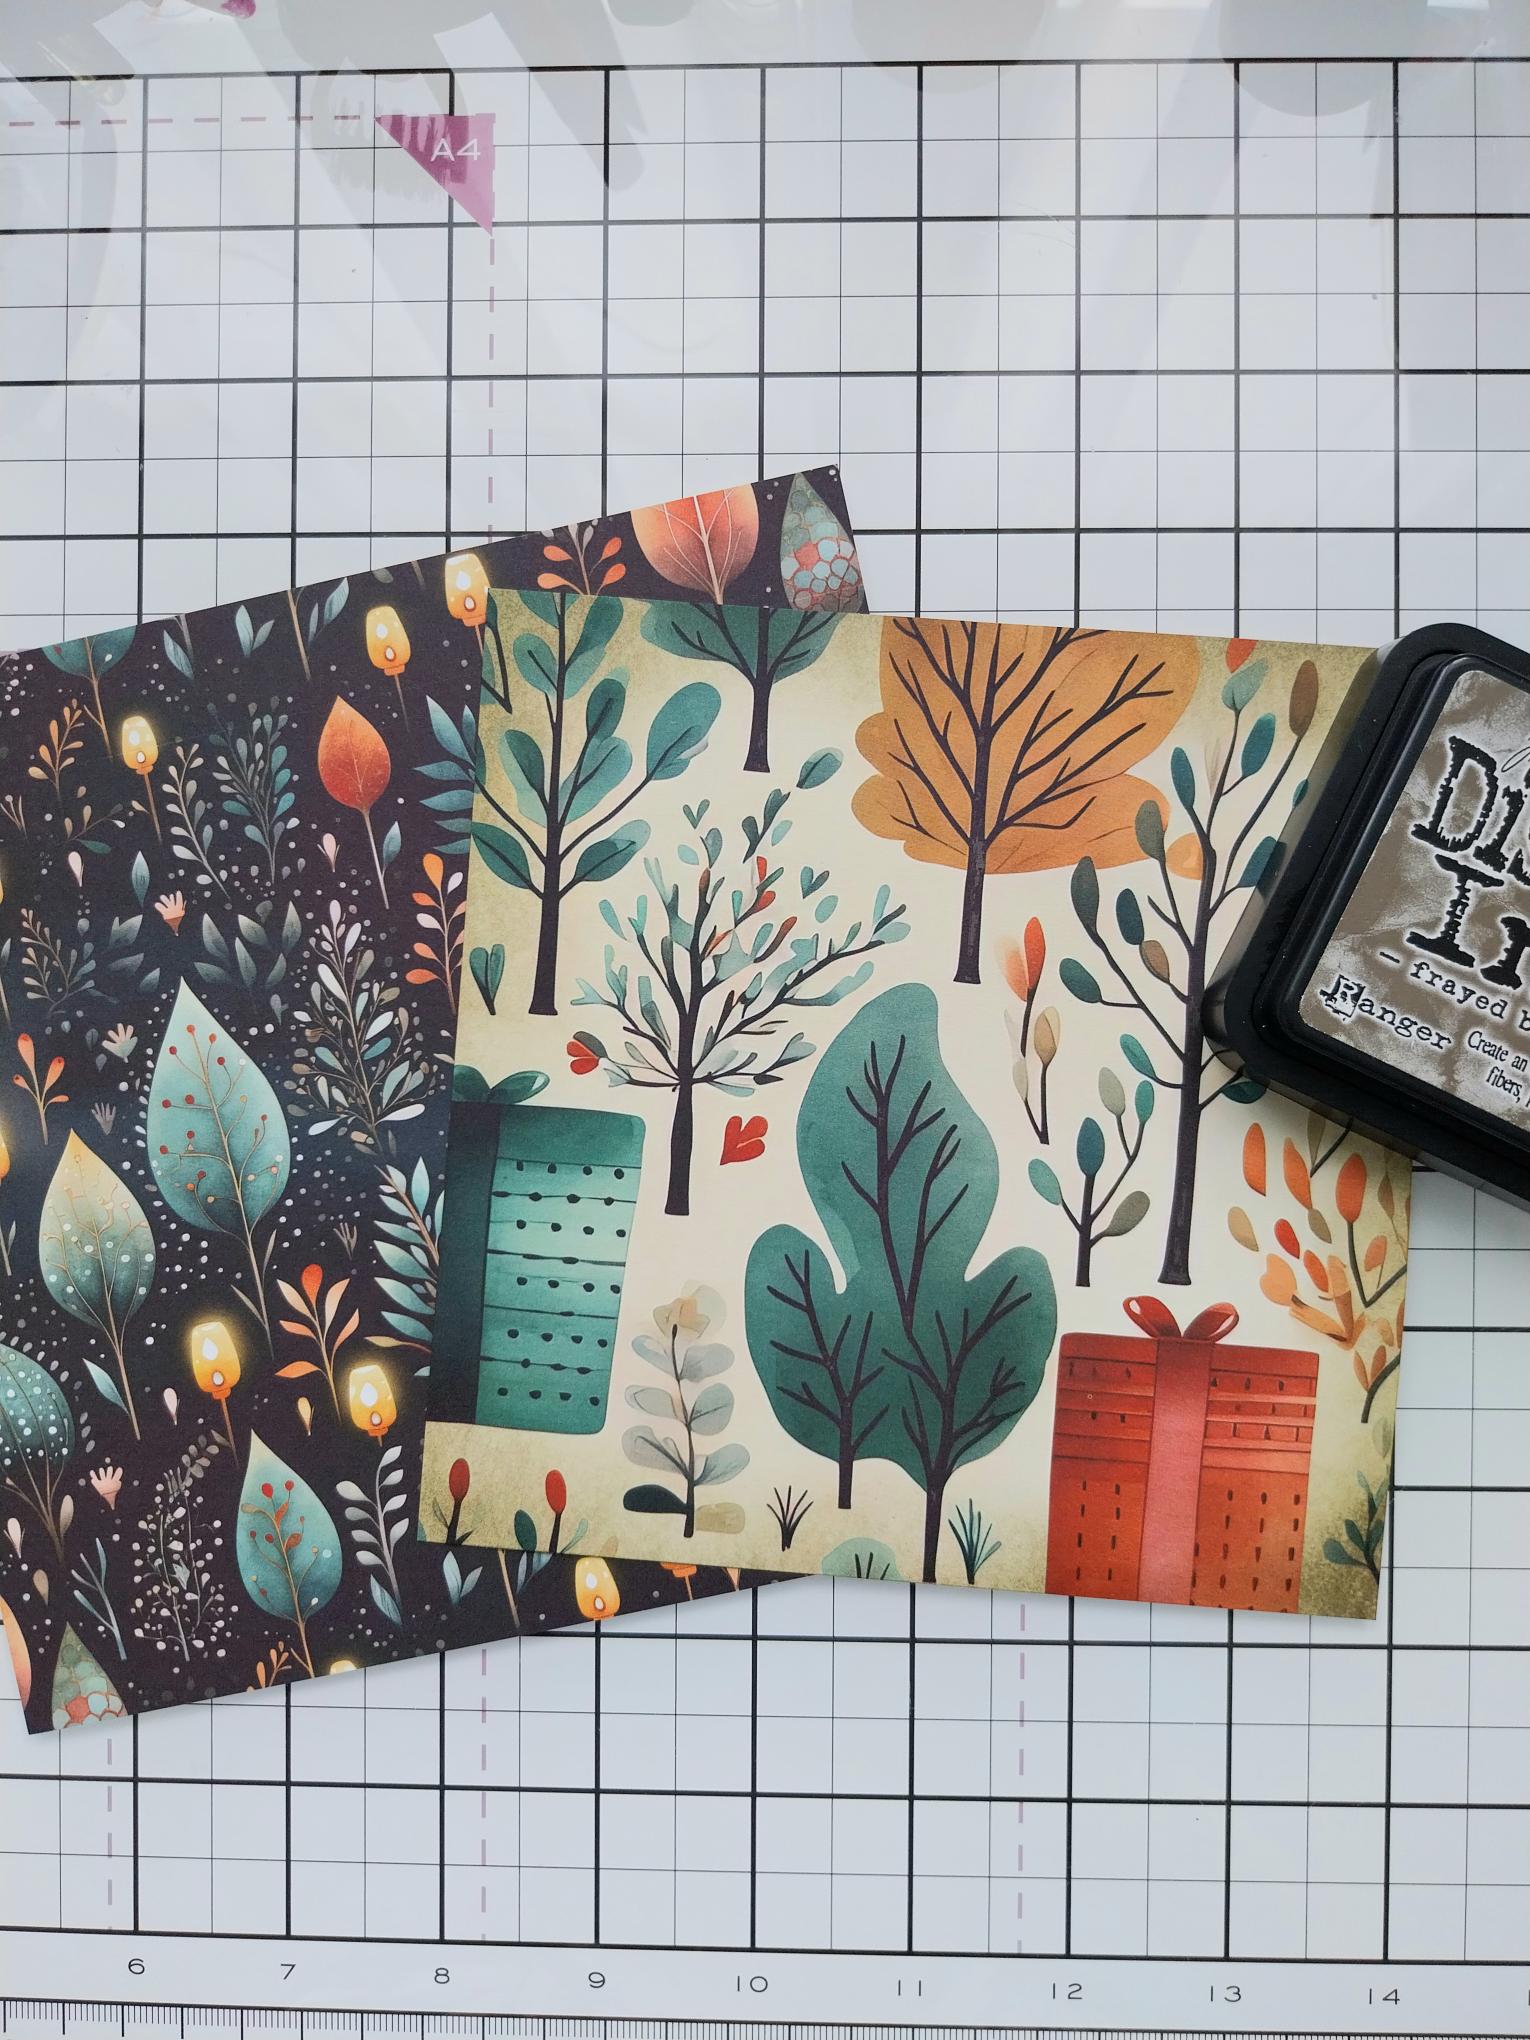
|
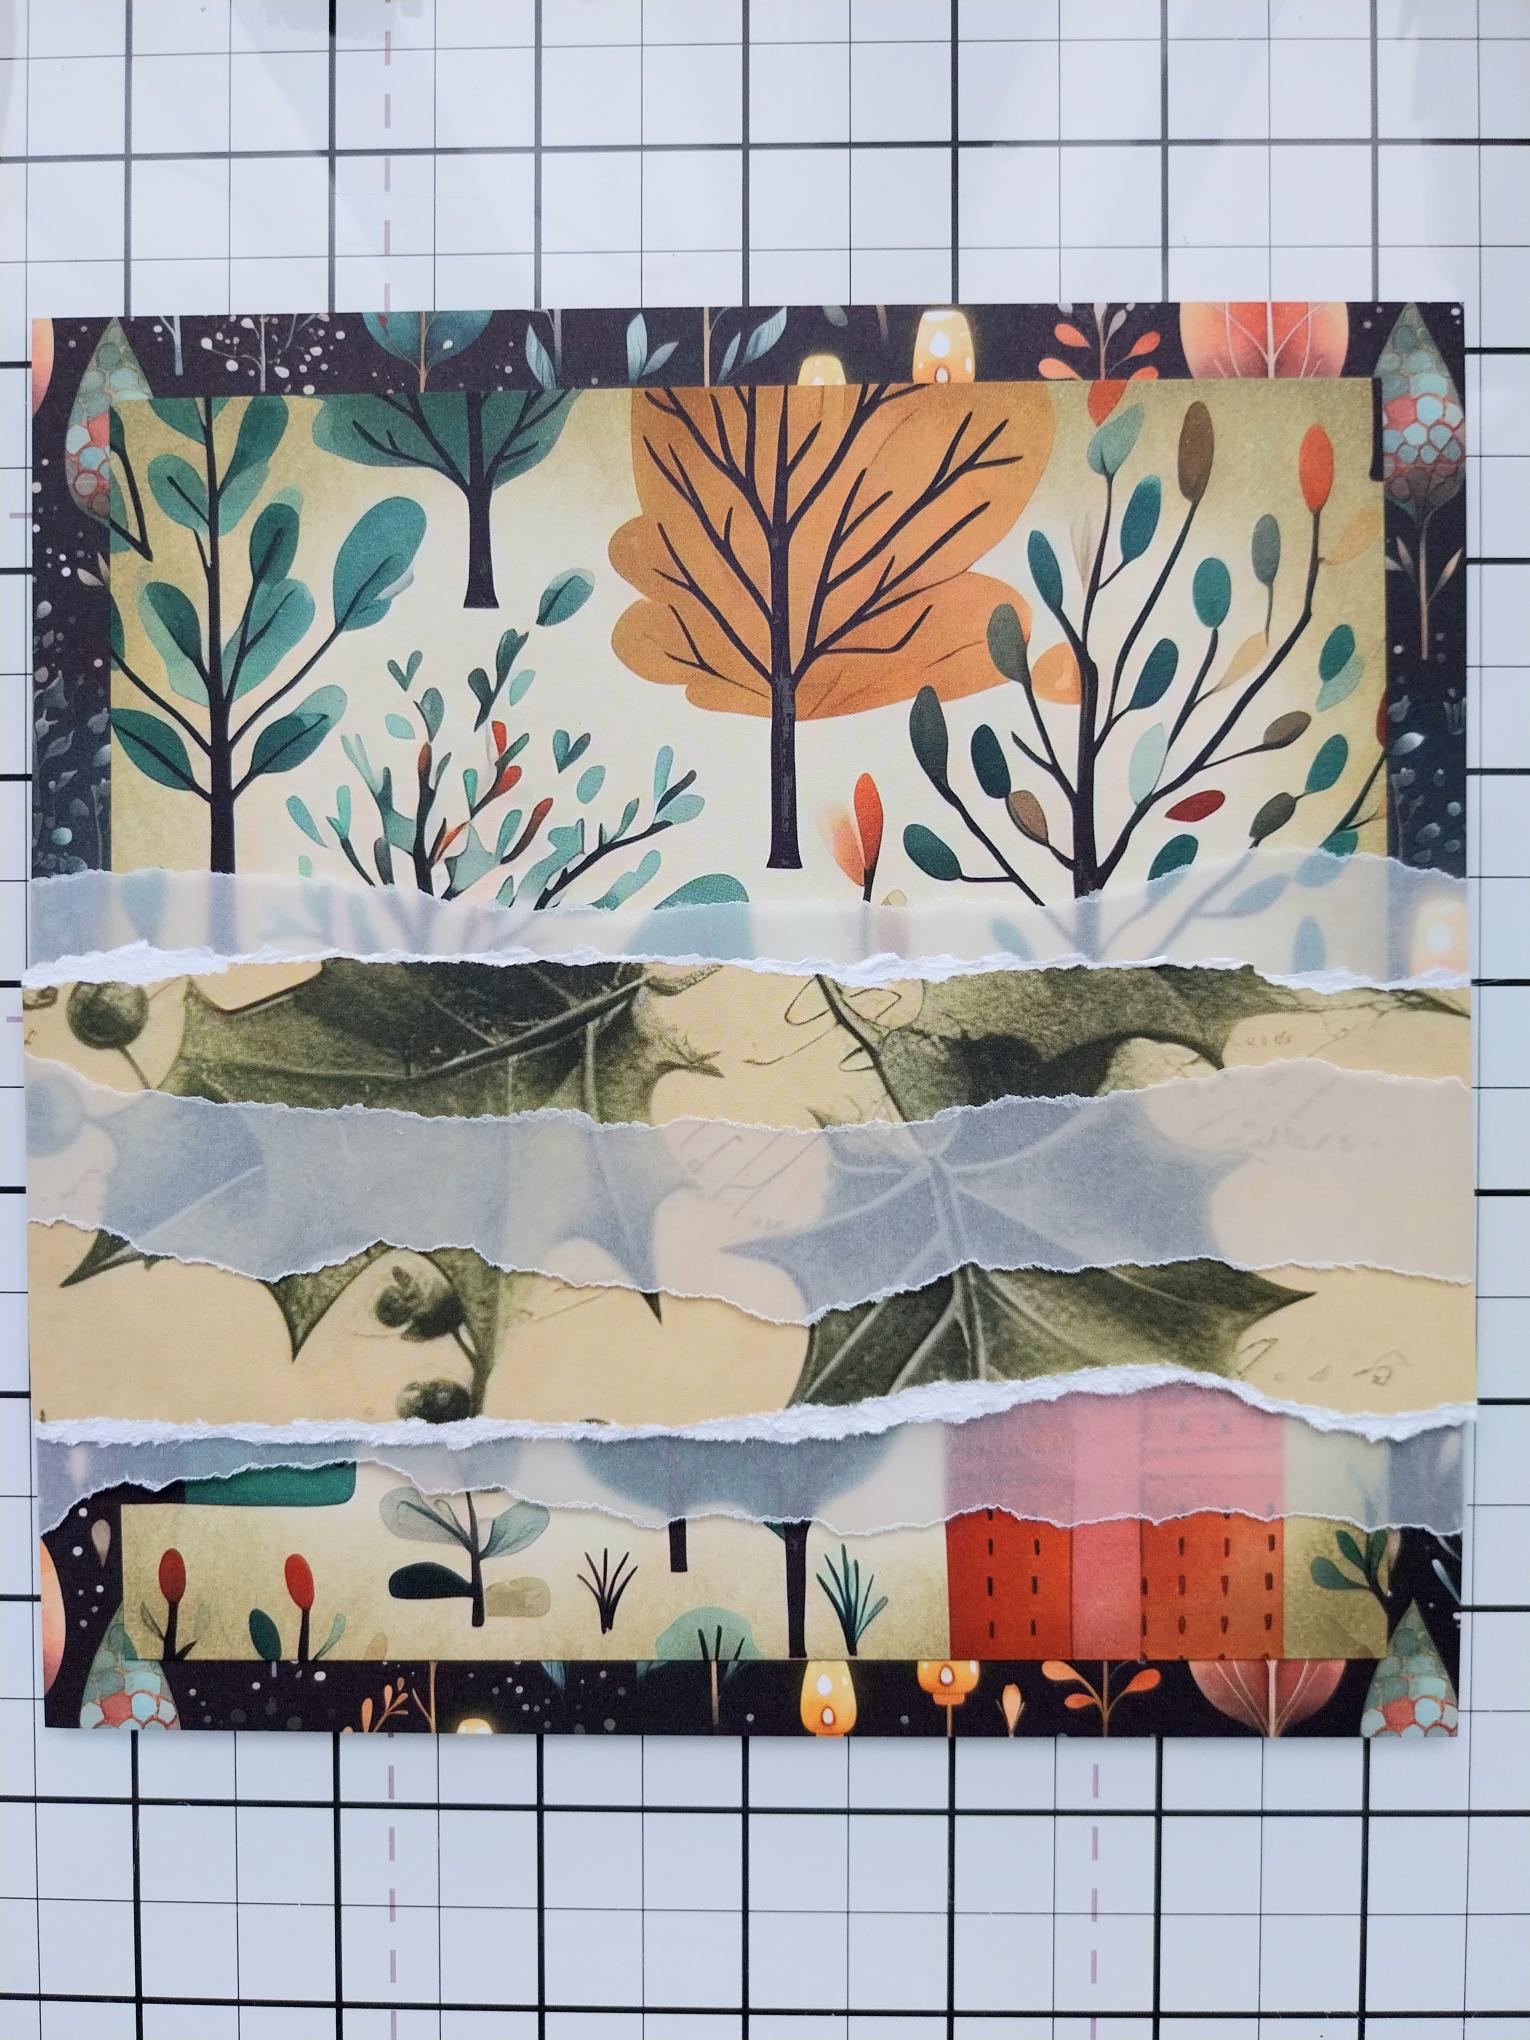
Choose TWO coordinating papers. Trim your focal design sheet to 6" square and your background paper to 6 3/4" square. Blend around the edges with the Frayed Burlap Ink. |
|
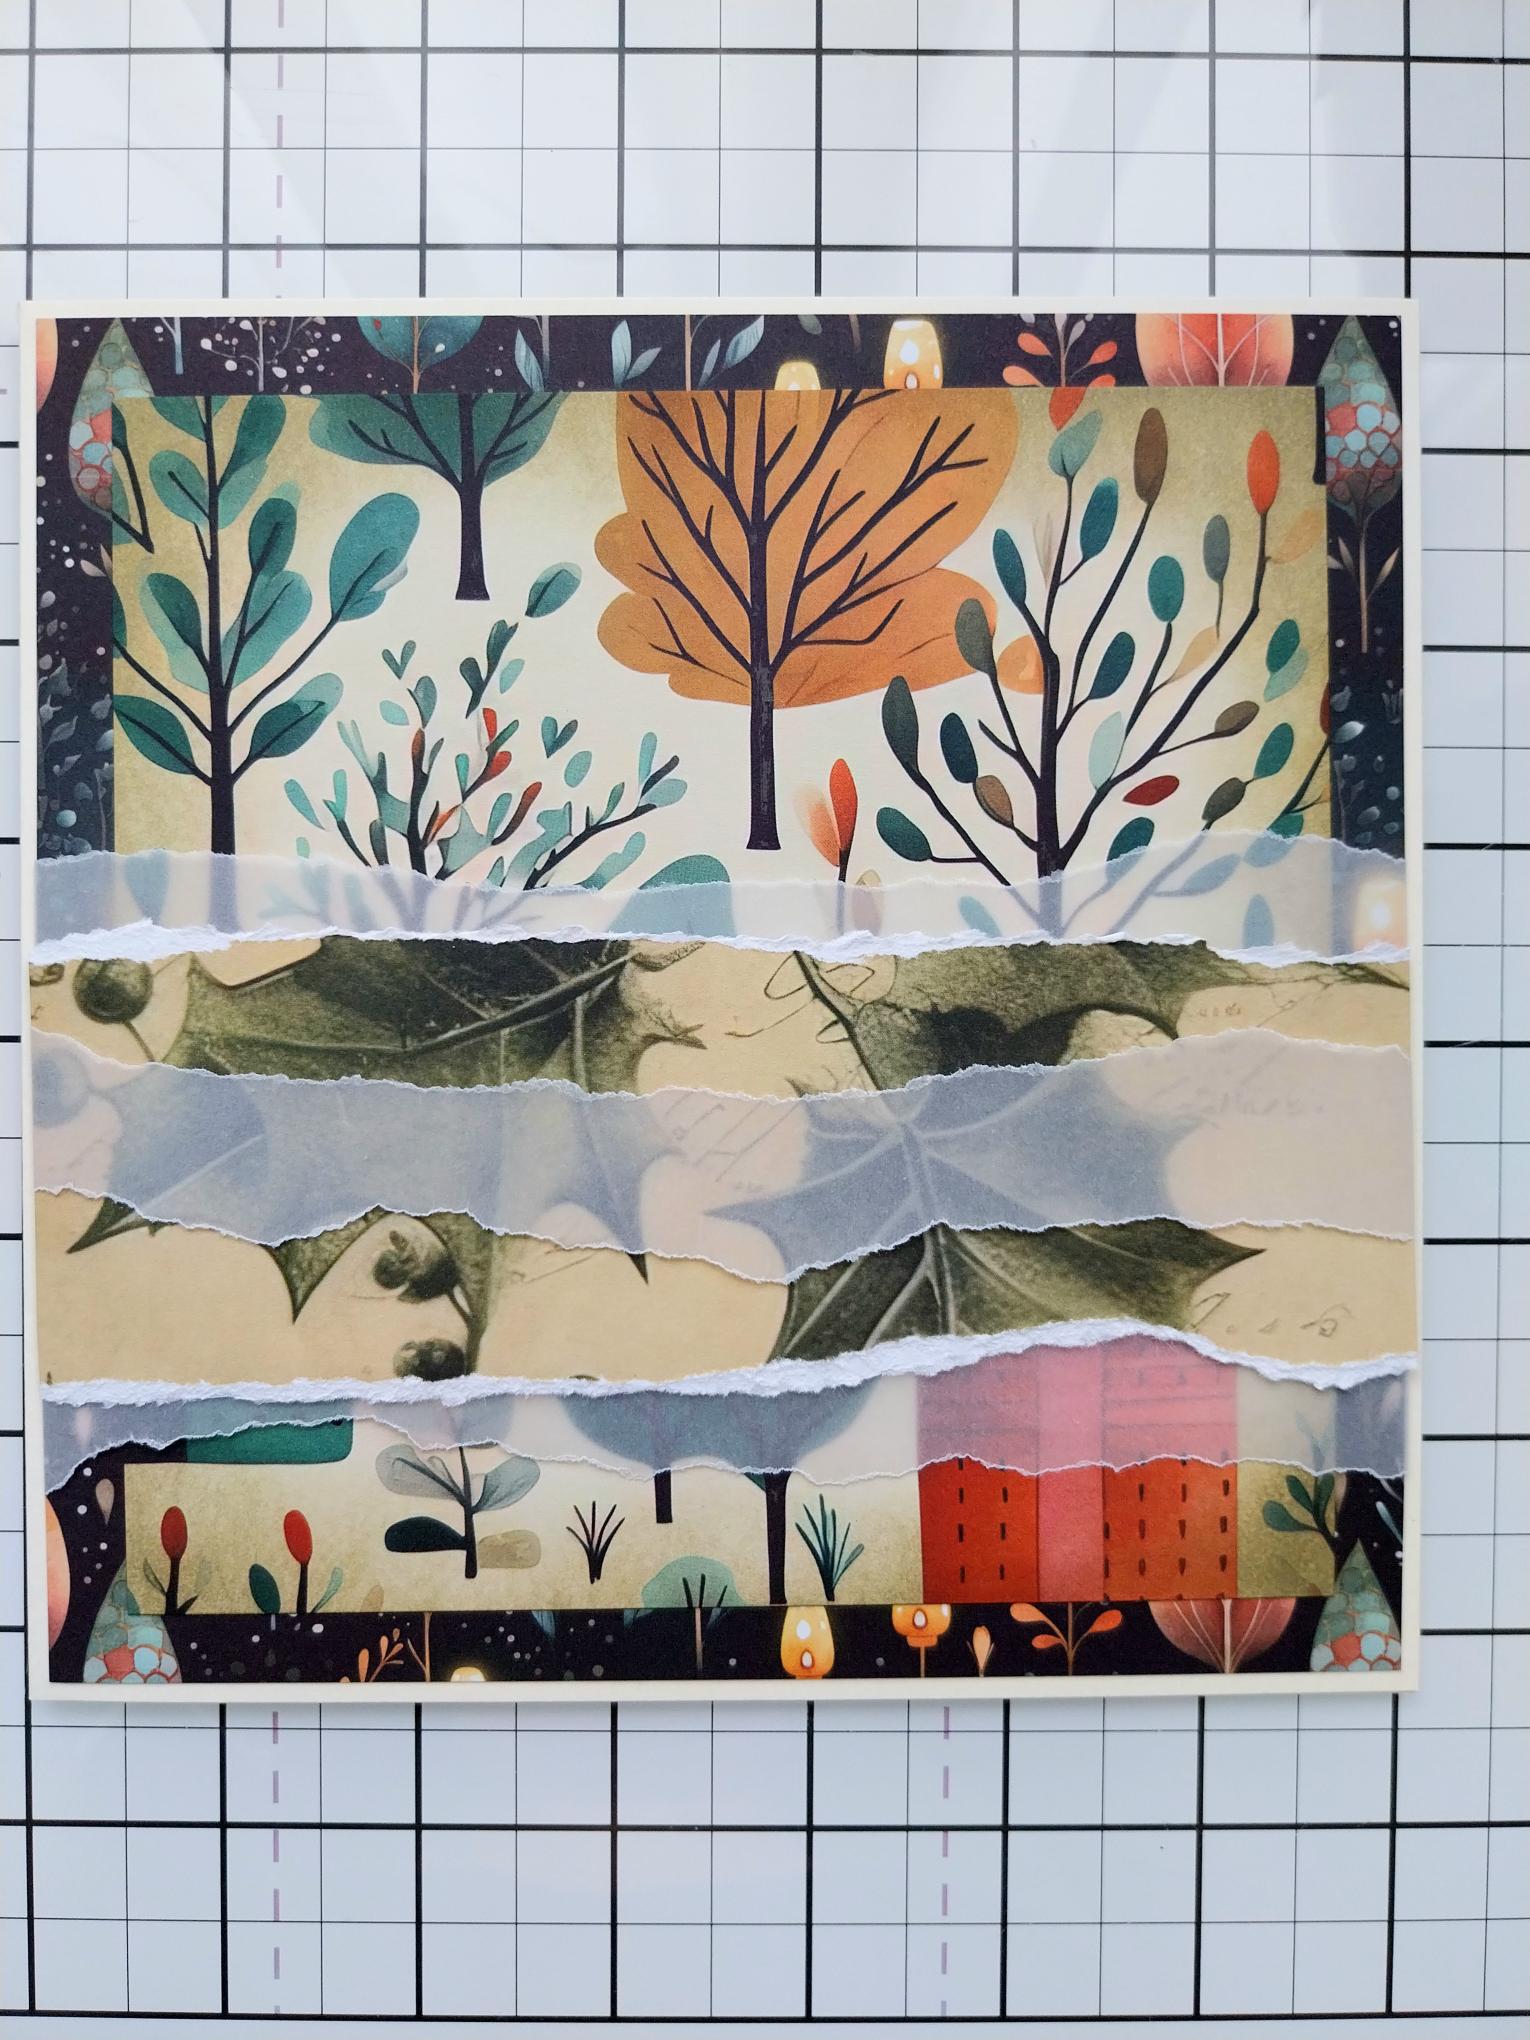
Adhere the smaller sheet onto the larger. Tear a panel of vellum the same width as the background paper and adhere across the bottom third. Tear a slightly narrower panel of decorative paper (same width) and adhere across the vellum, then tear a smaller panel of vellum (same width) and adhere across, as seen here. |
|
Adhere to your cream card blank. |
|
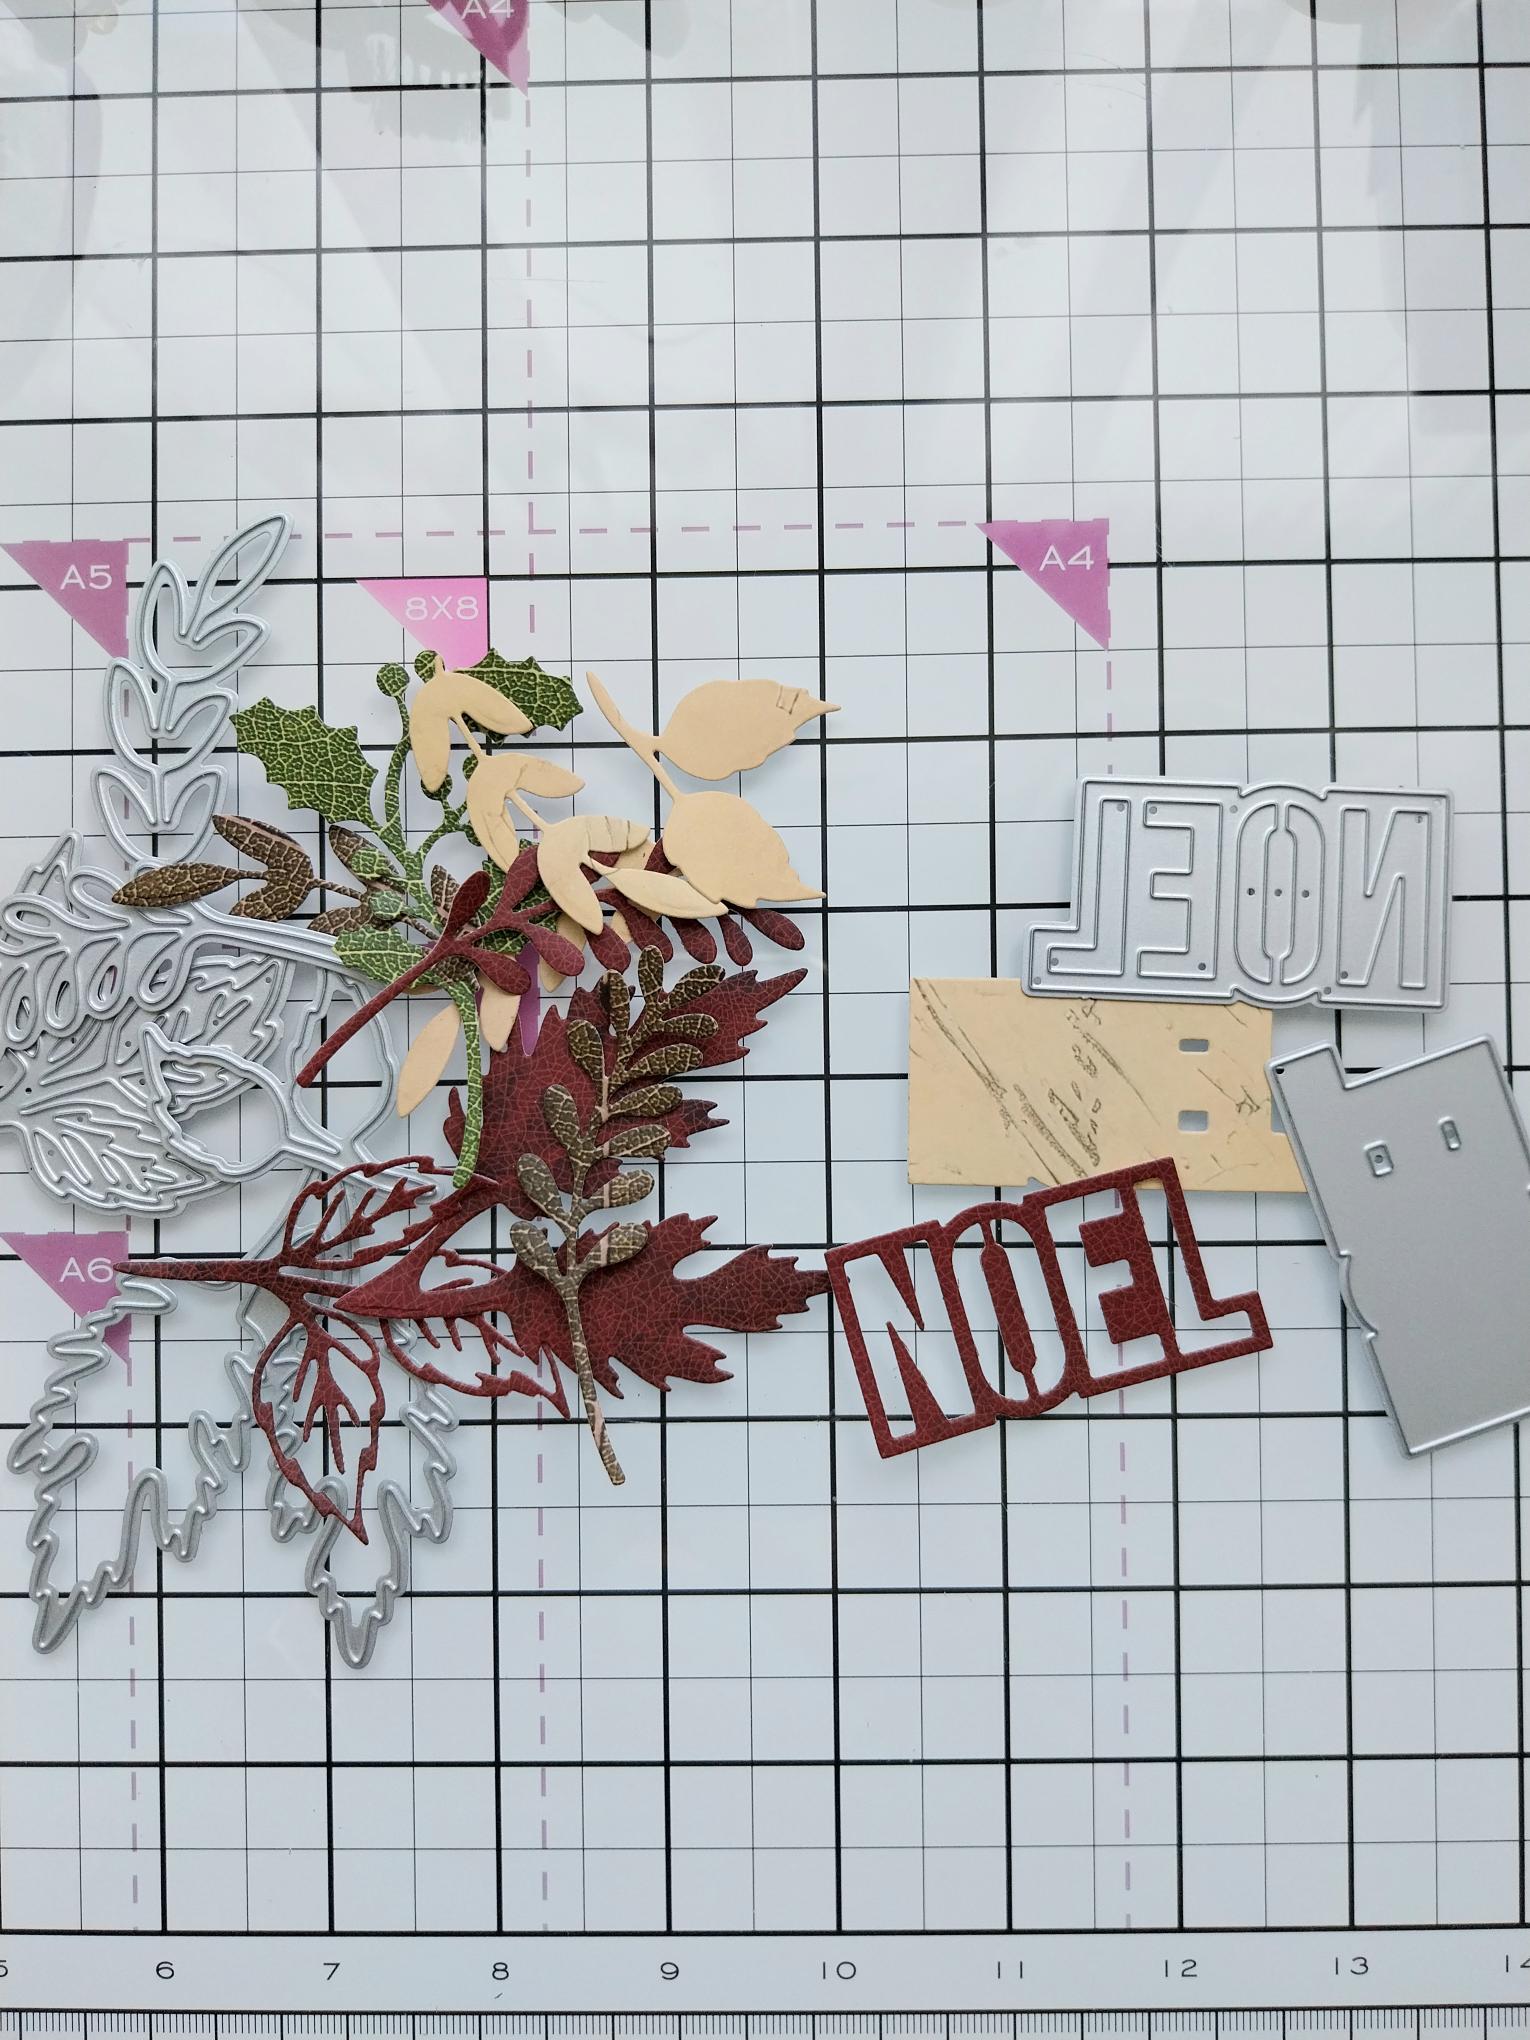
Die cut a selection of foliage/leaves from the papers in the collection. Die cut the NOEL mat and layer, from the Festive Baubles collection, in coordinating papers and adhere together. |
|
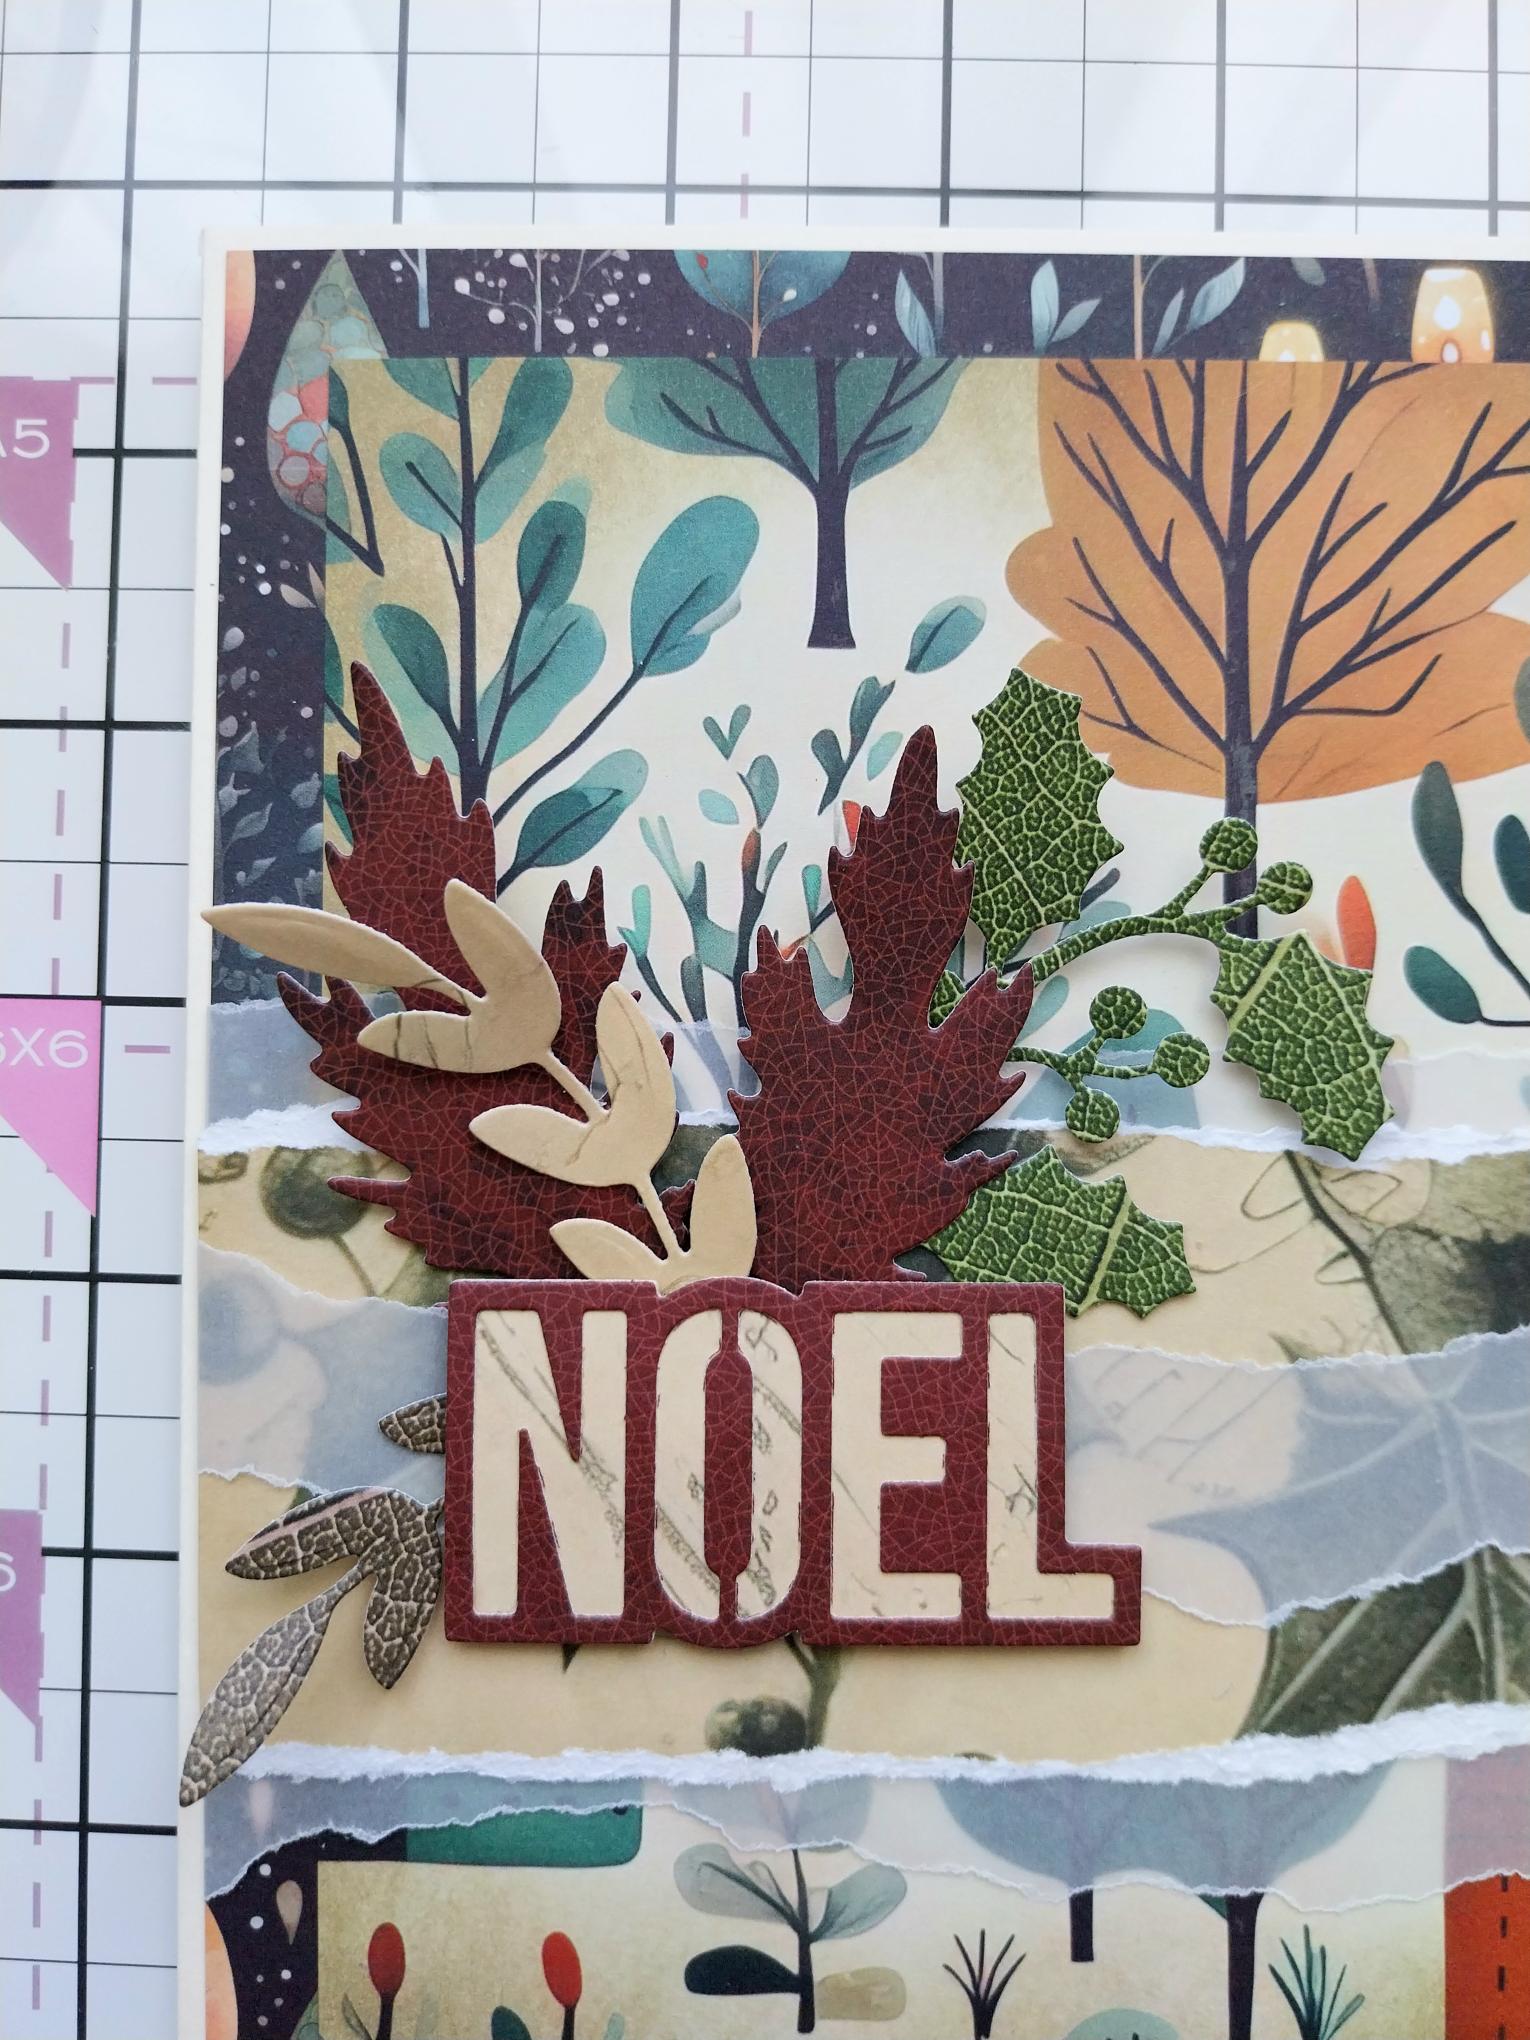
To finish, use a mixture of wet glue and foam pads to create and adhere your 3D foliage display, to the left of the torn paper/vellum panel. |