Give your friends $10 off their first order!
Refer a FRIEND








Prices change straight away. Every language is our own translation, not Google.

WHAT YOU WILL NEED:
White DL Card blank 4 x 8"
Create Together Club Tailored Threads Collection
Tailored Threads 8 x 8 Foundation Paper Pack
Dreamy Blooms Stamp, Die & Stencil Collection
SBM Hybrid Ink Pad: Midnight
Distress Ink/Oxide Ink pad: Black Soot
Blending Tool
Corner punch
Eureka 101 Watercolour Tablet
SBM A3 Magnetic glass mat
Paper Trimmer
Glue/red liner tape
Die Cutting machine
[click image to enlarge] 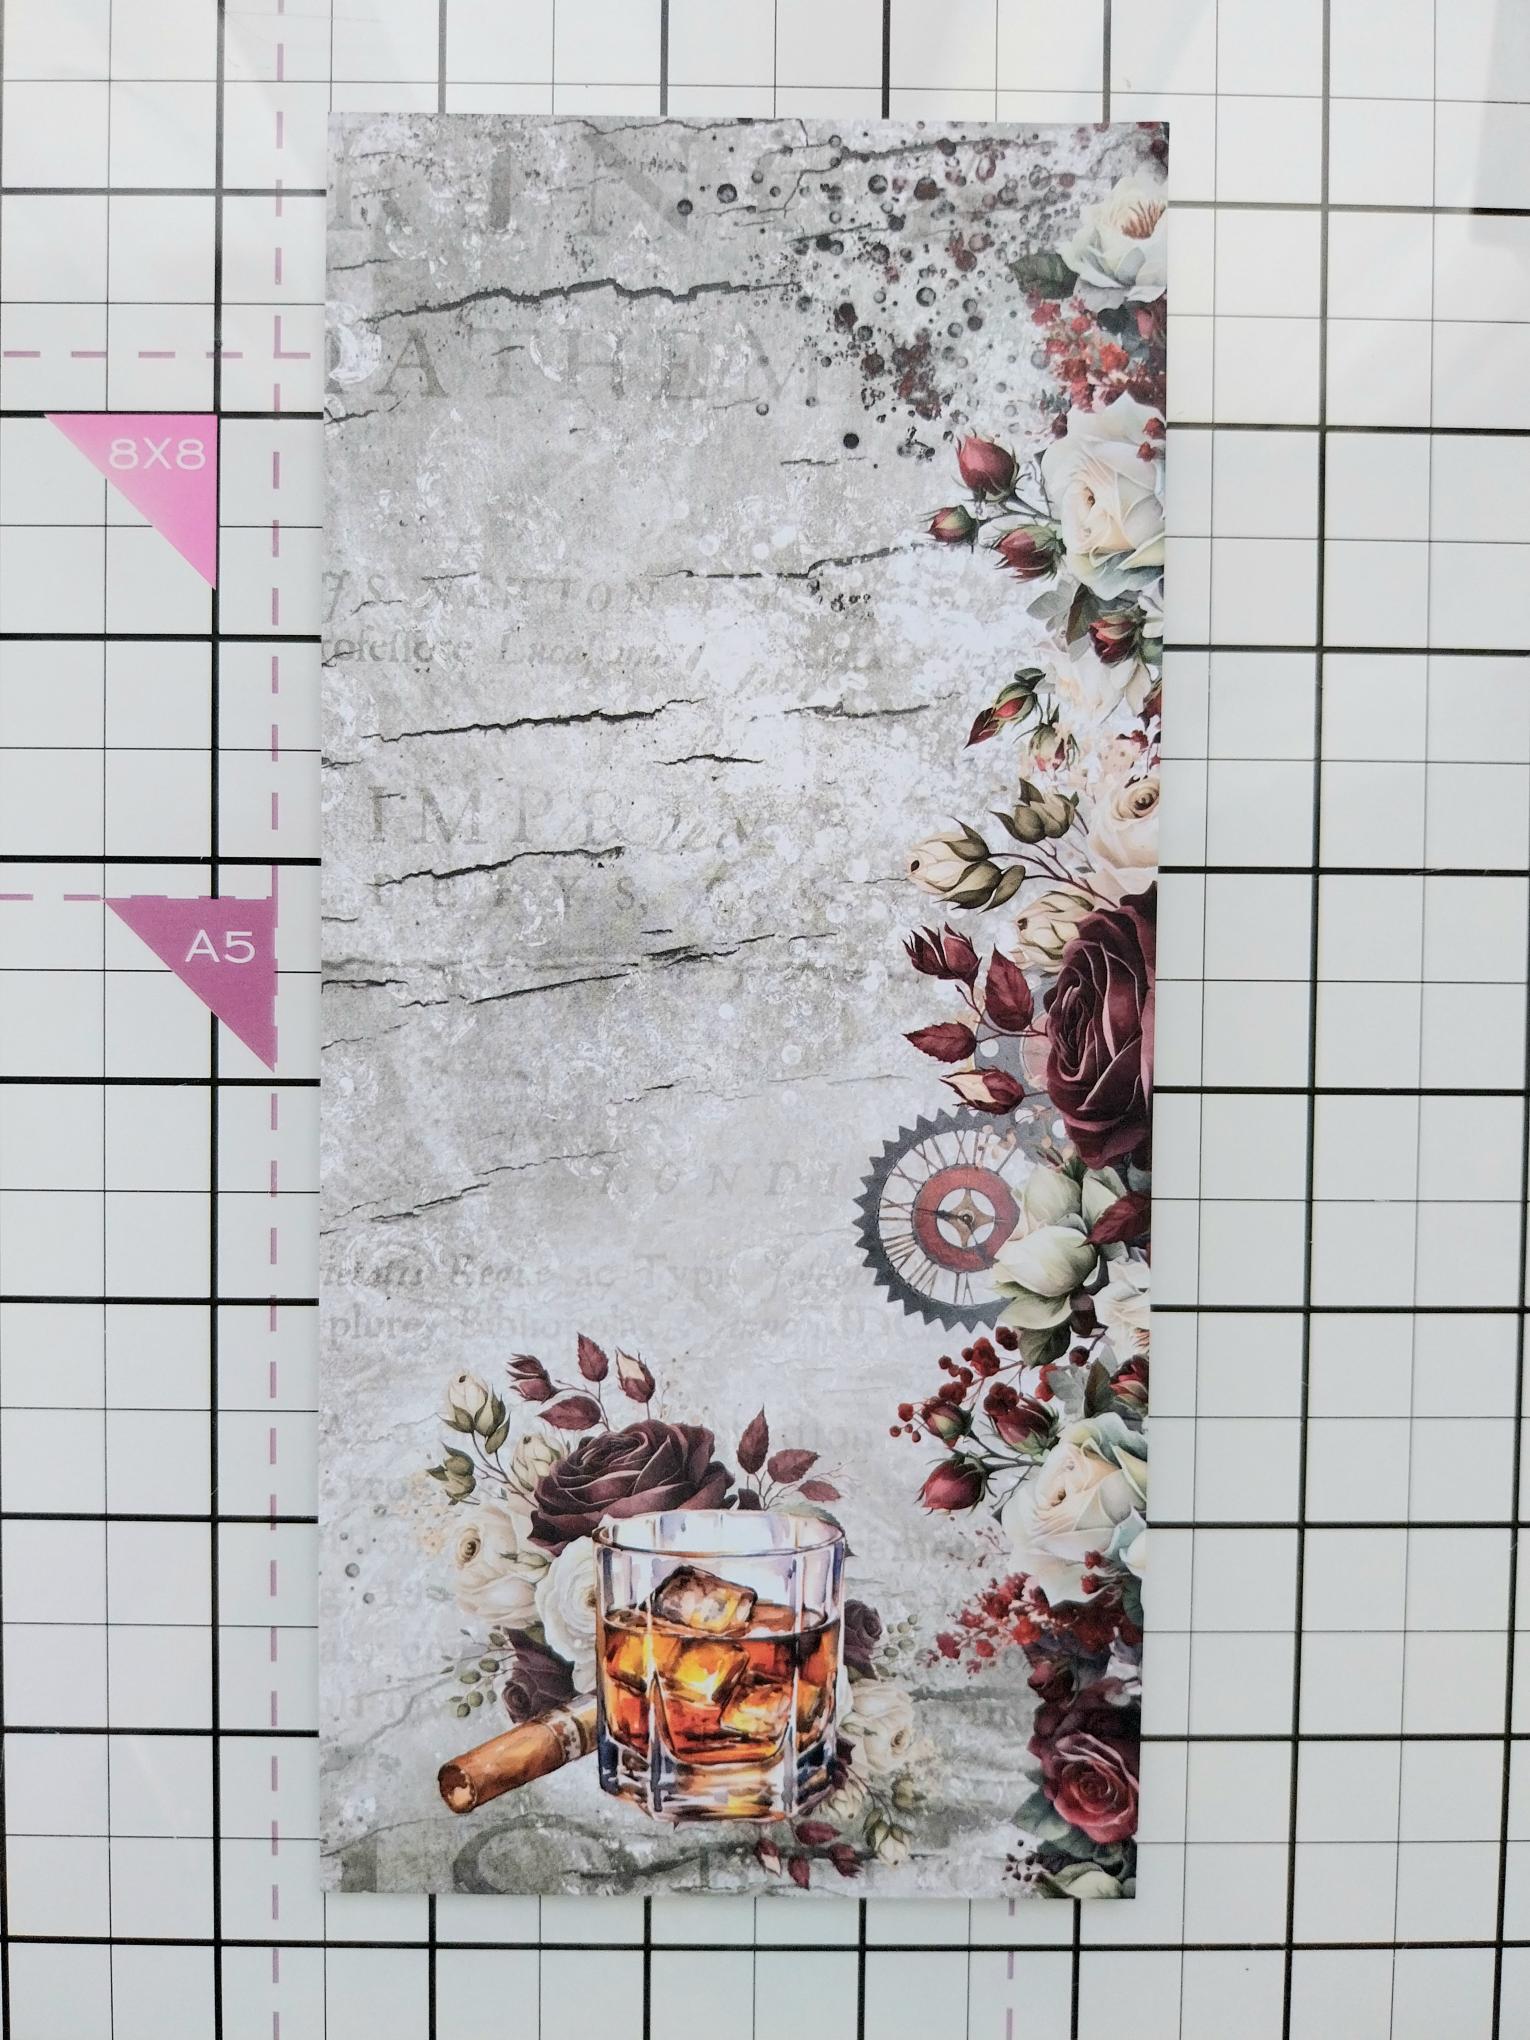
|
You need TWO decorative sheets the same. Trim both to 3 3/4 x 7 3/4". |
|
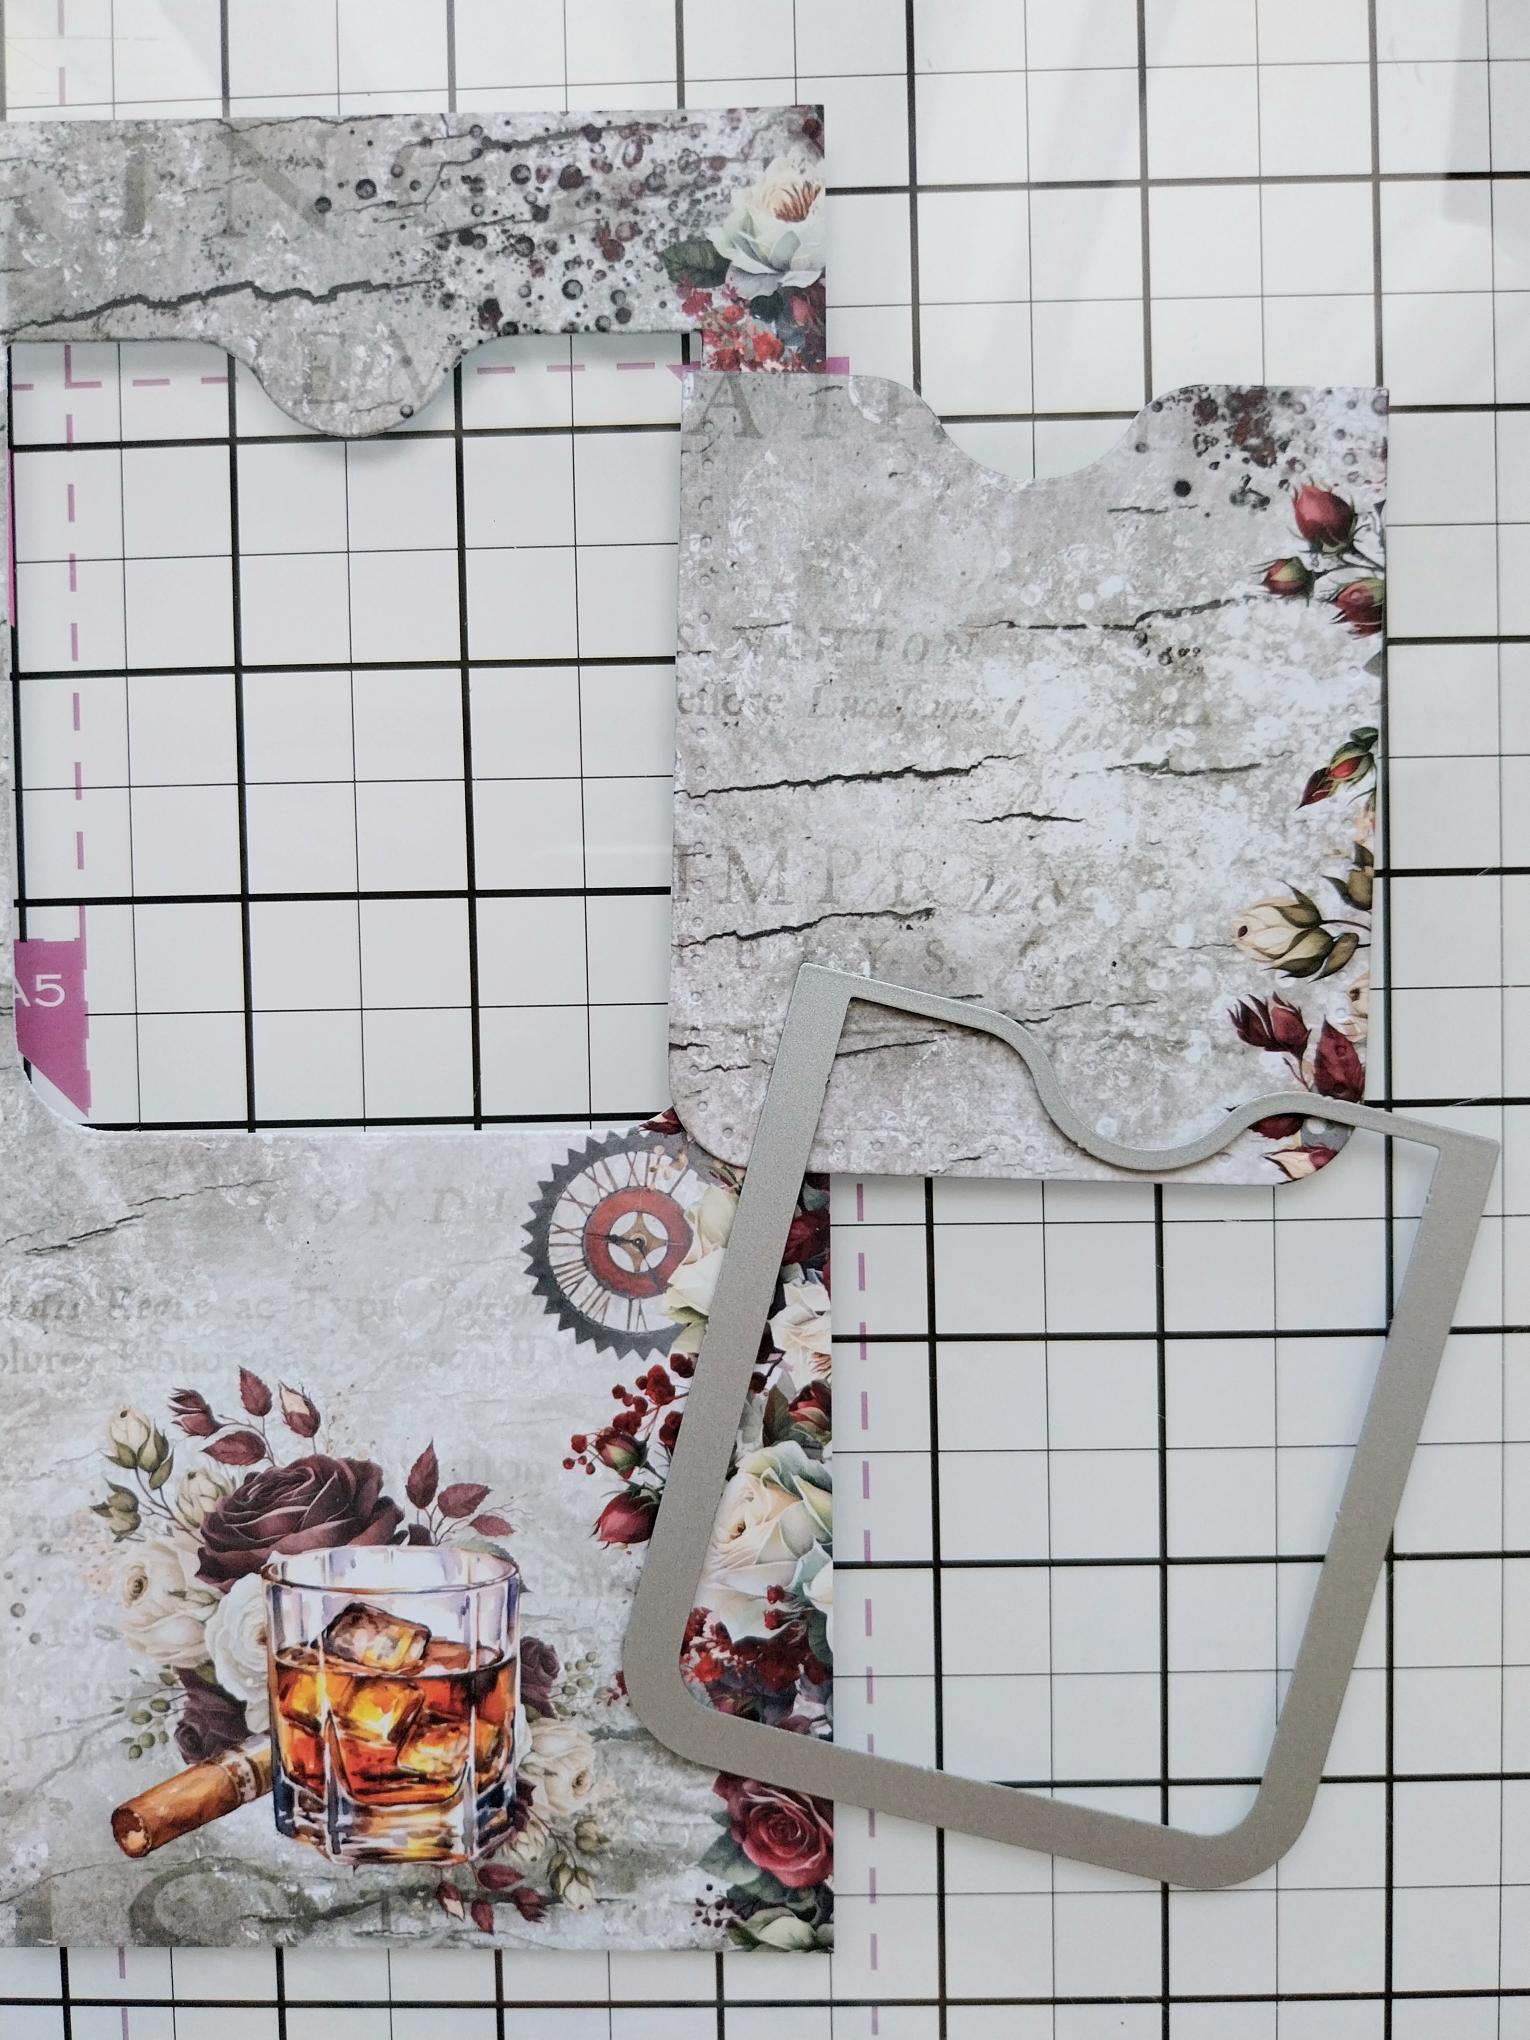
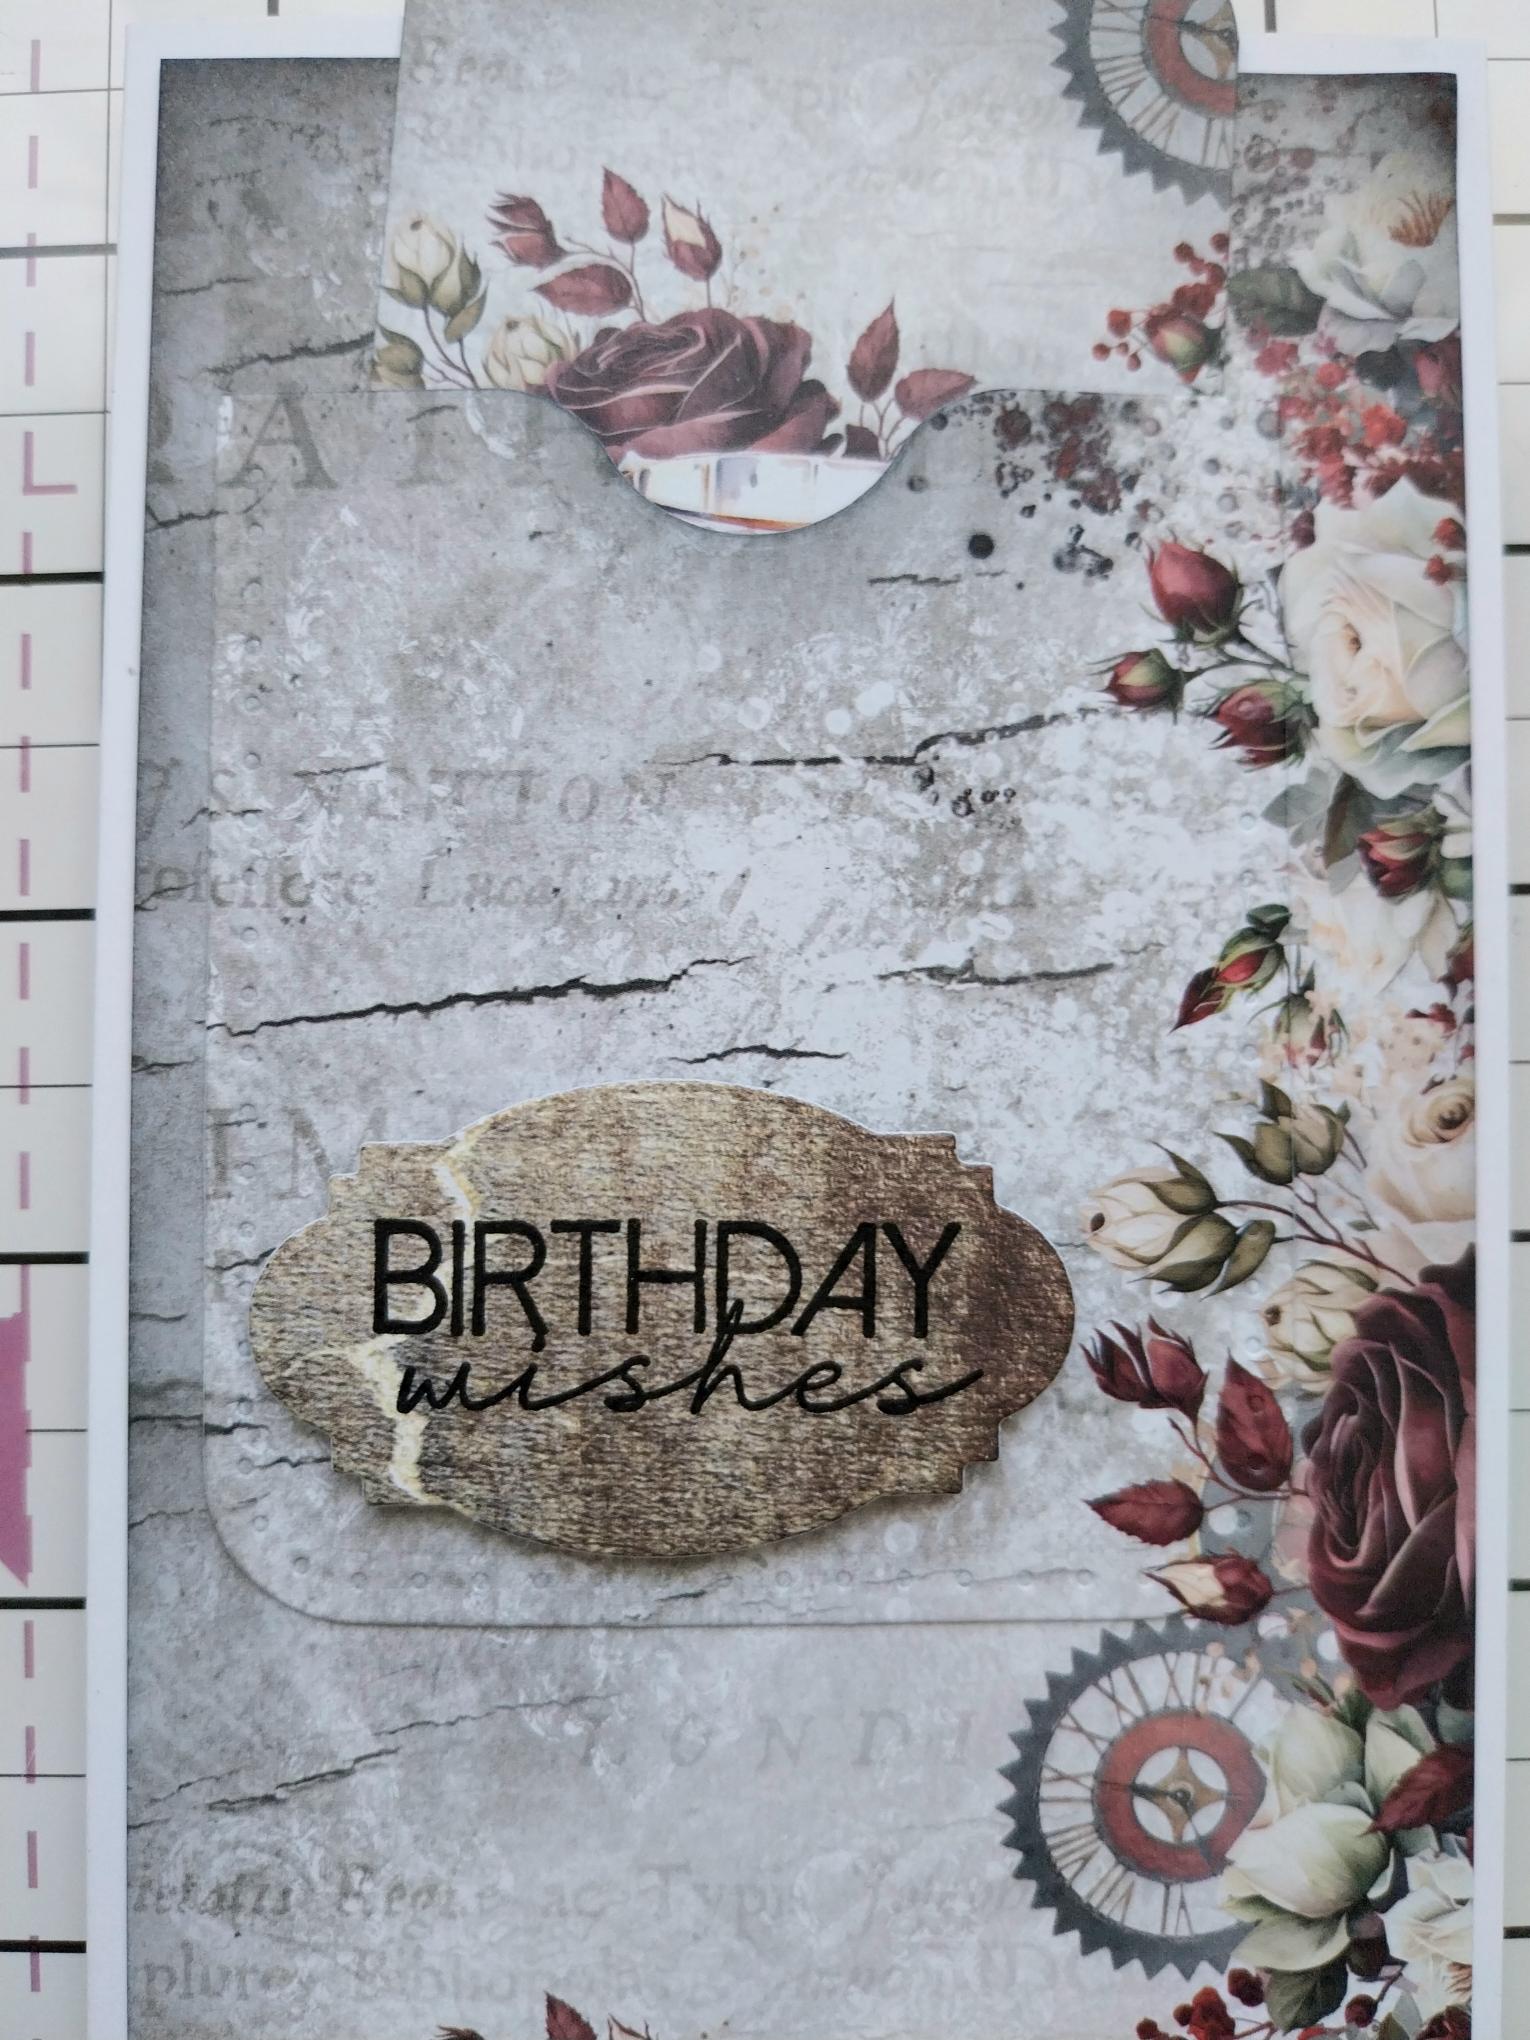
Having decided where you want the pocket to be placed (see final card image), use the die to cut a pocket from ONE of the pieces of decorative paper. |
|
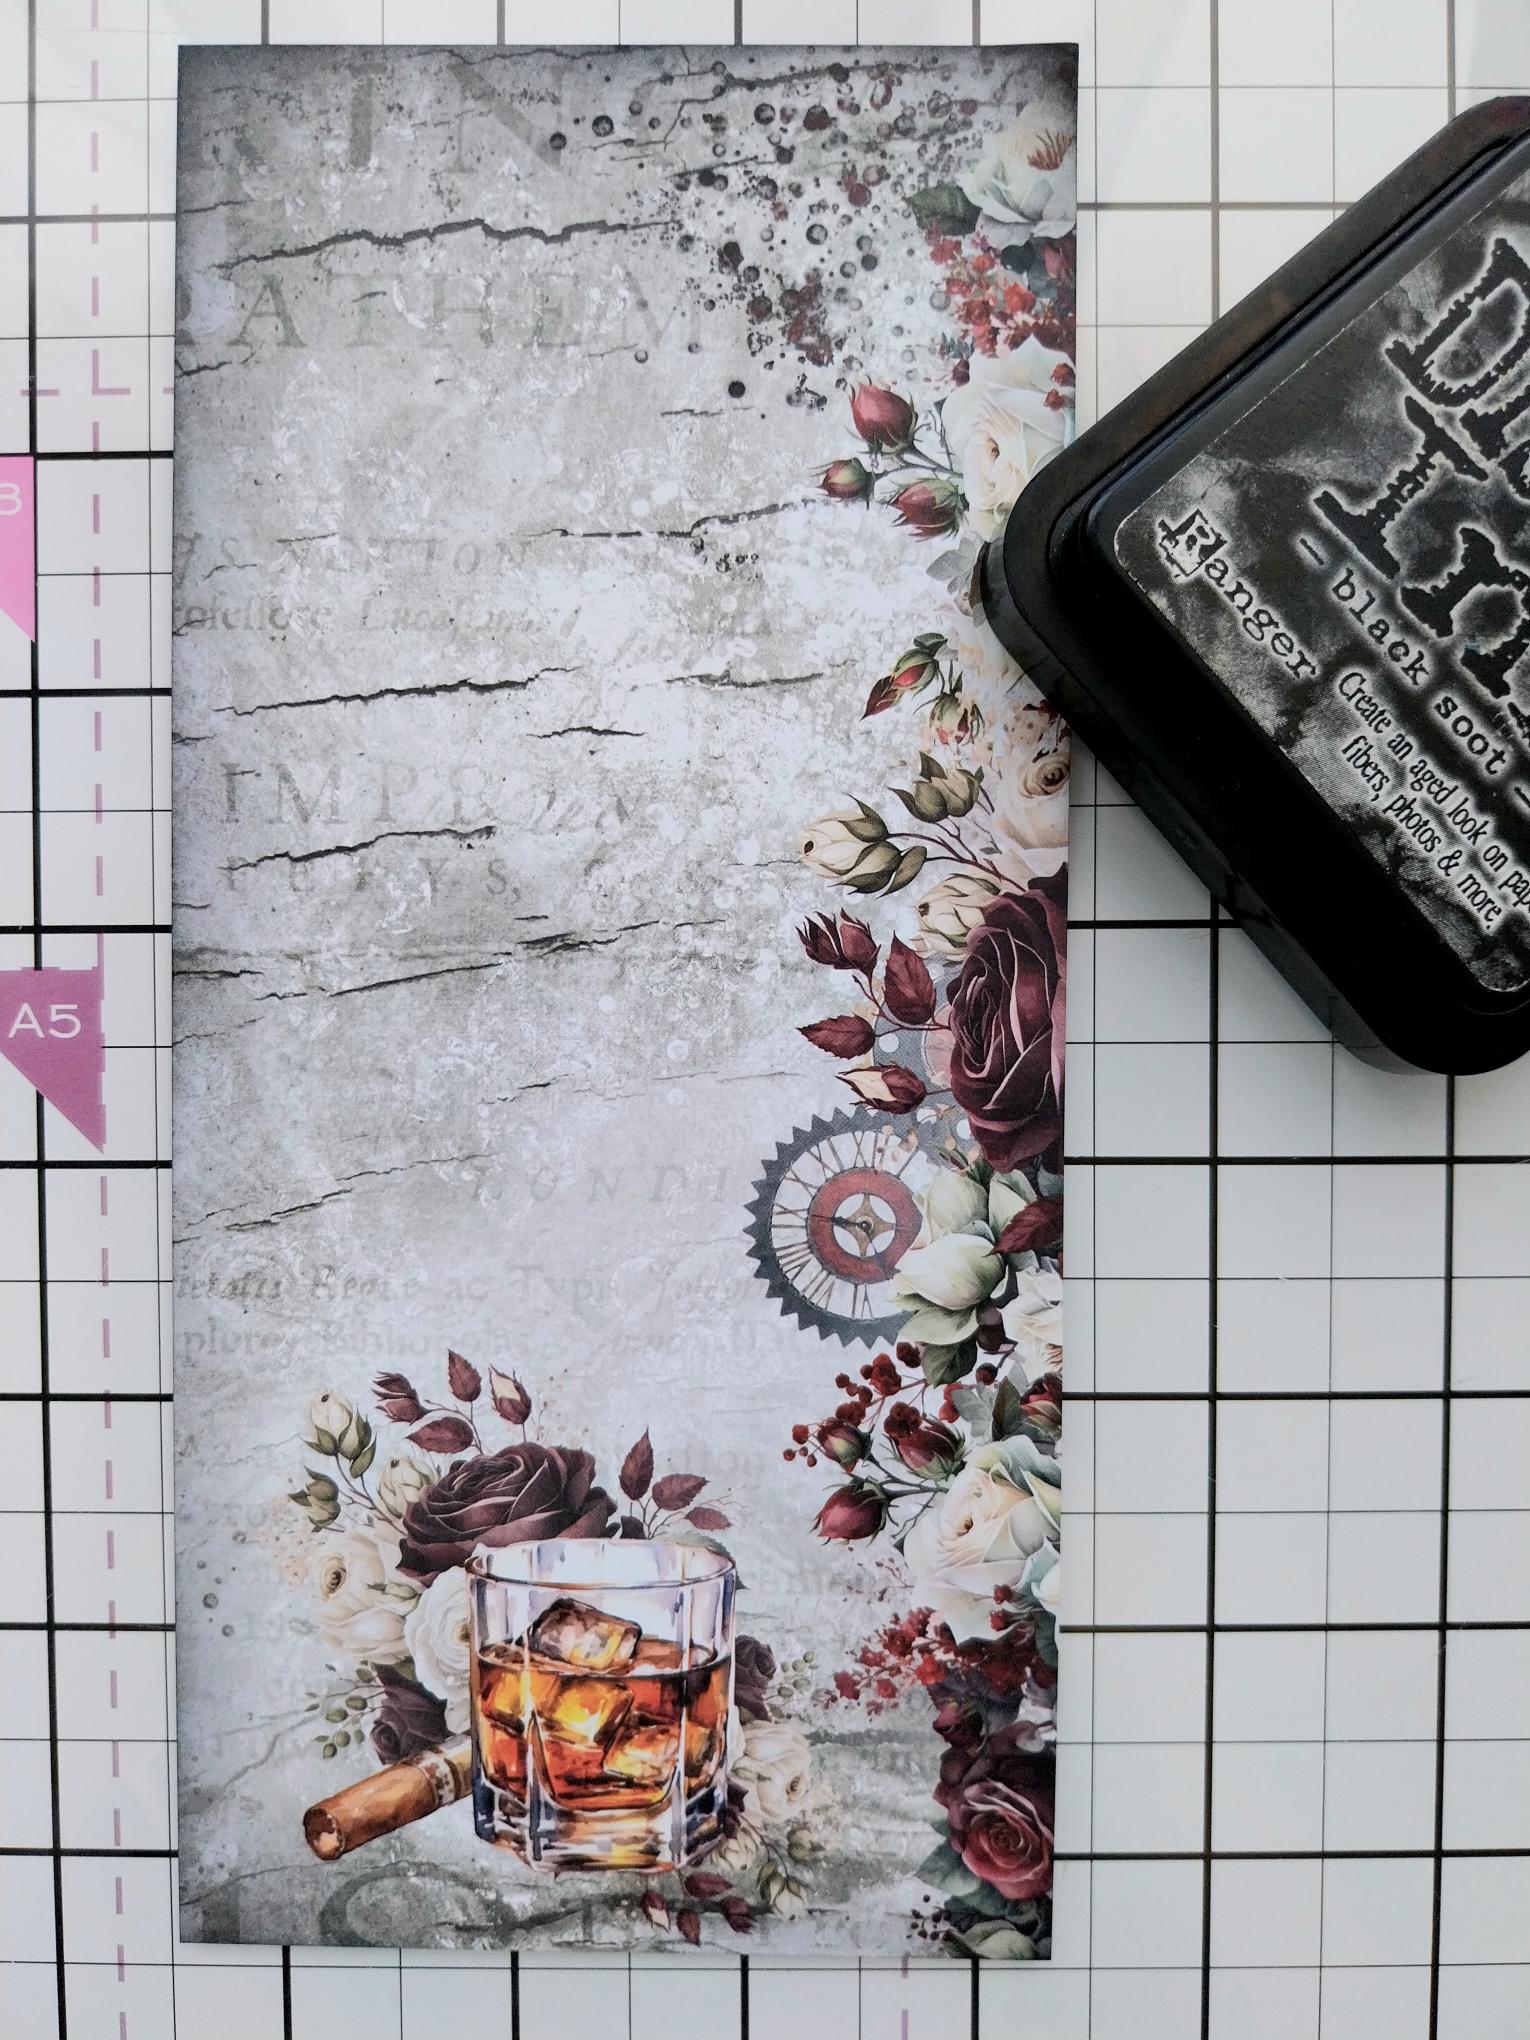
Blend around the edges of the complete trimmed sheet, with Black Soot. |
|
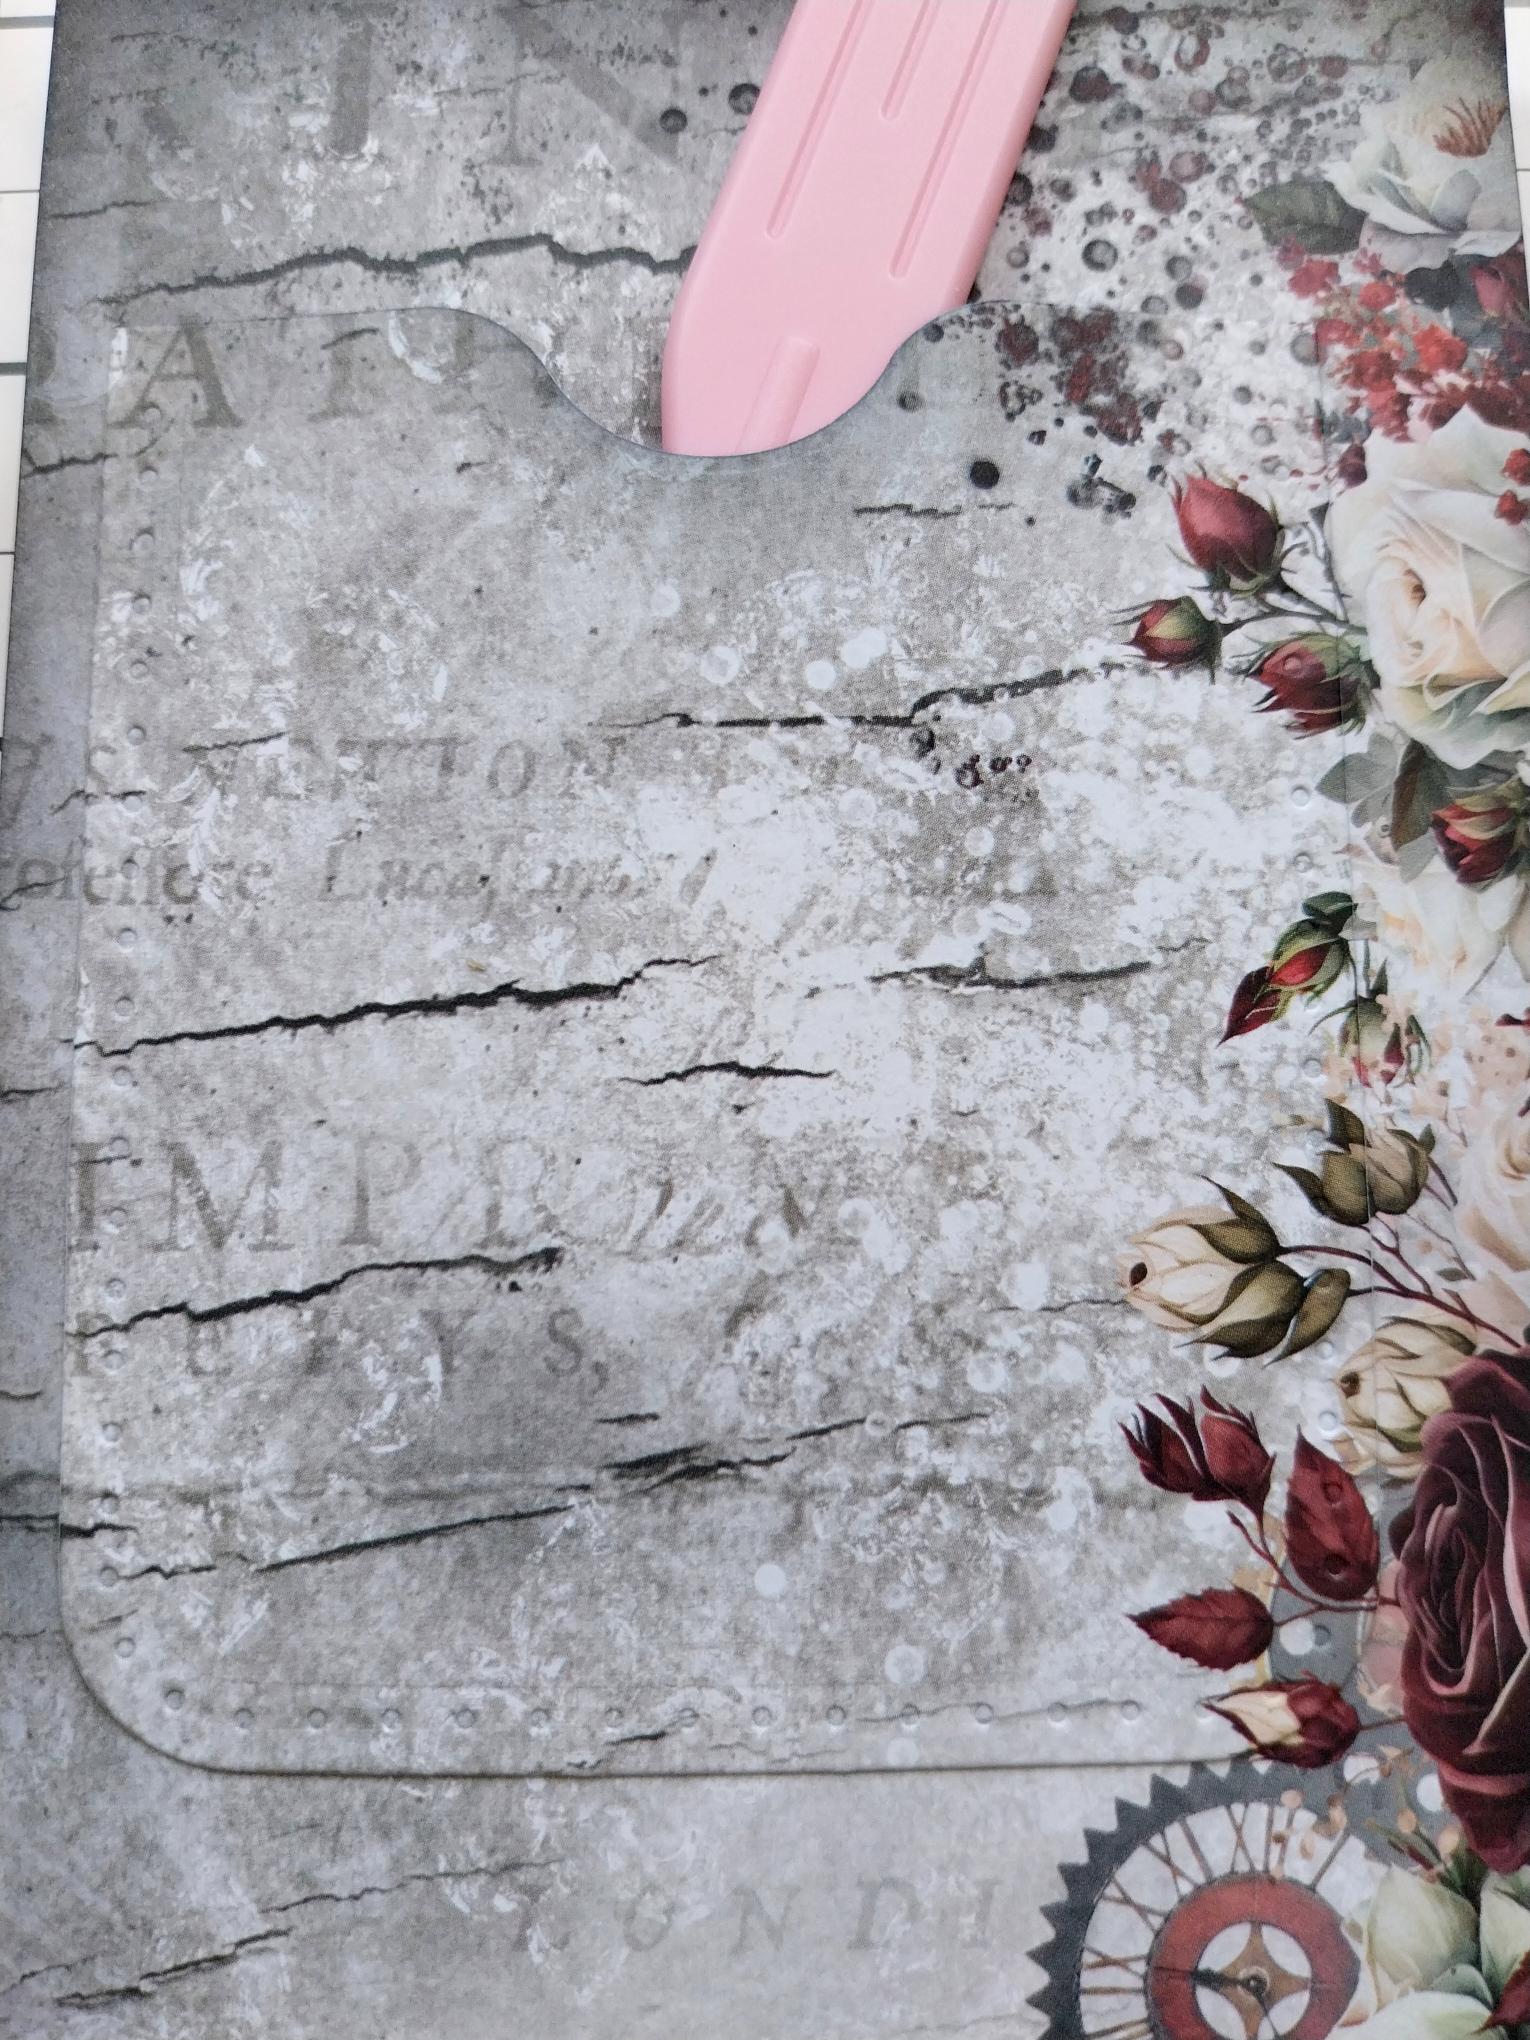
Add red liner tape along the bottom and down both sides, of the die-cut pocket. Remove the backing, carefully line up the printed design on the pocket with the design on the other sheet and secure pocket in place. |
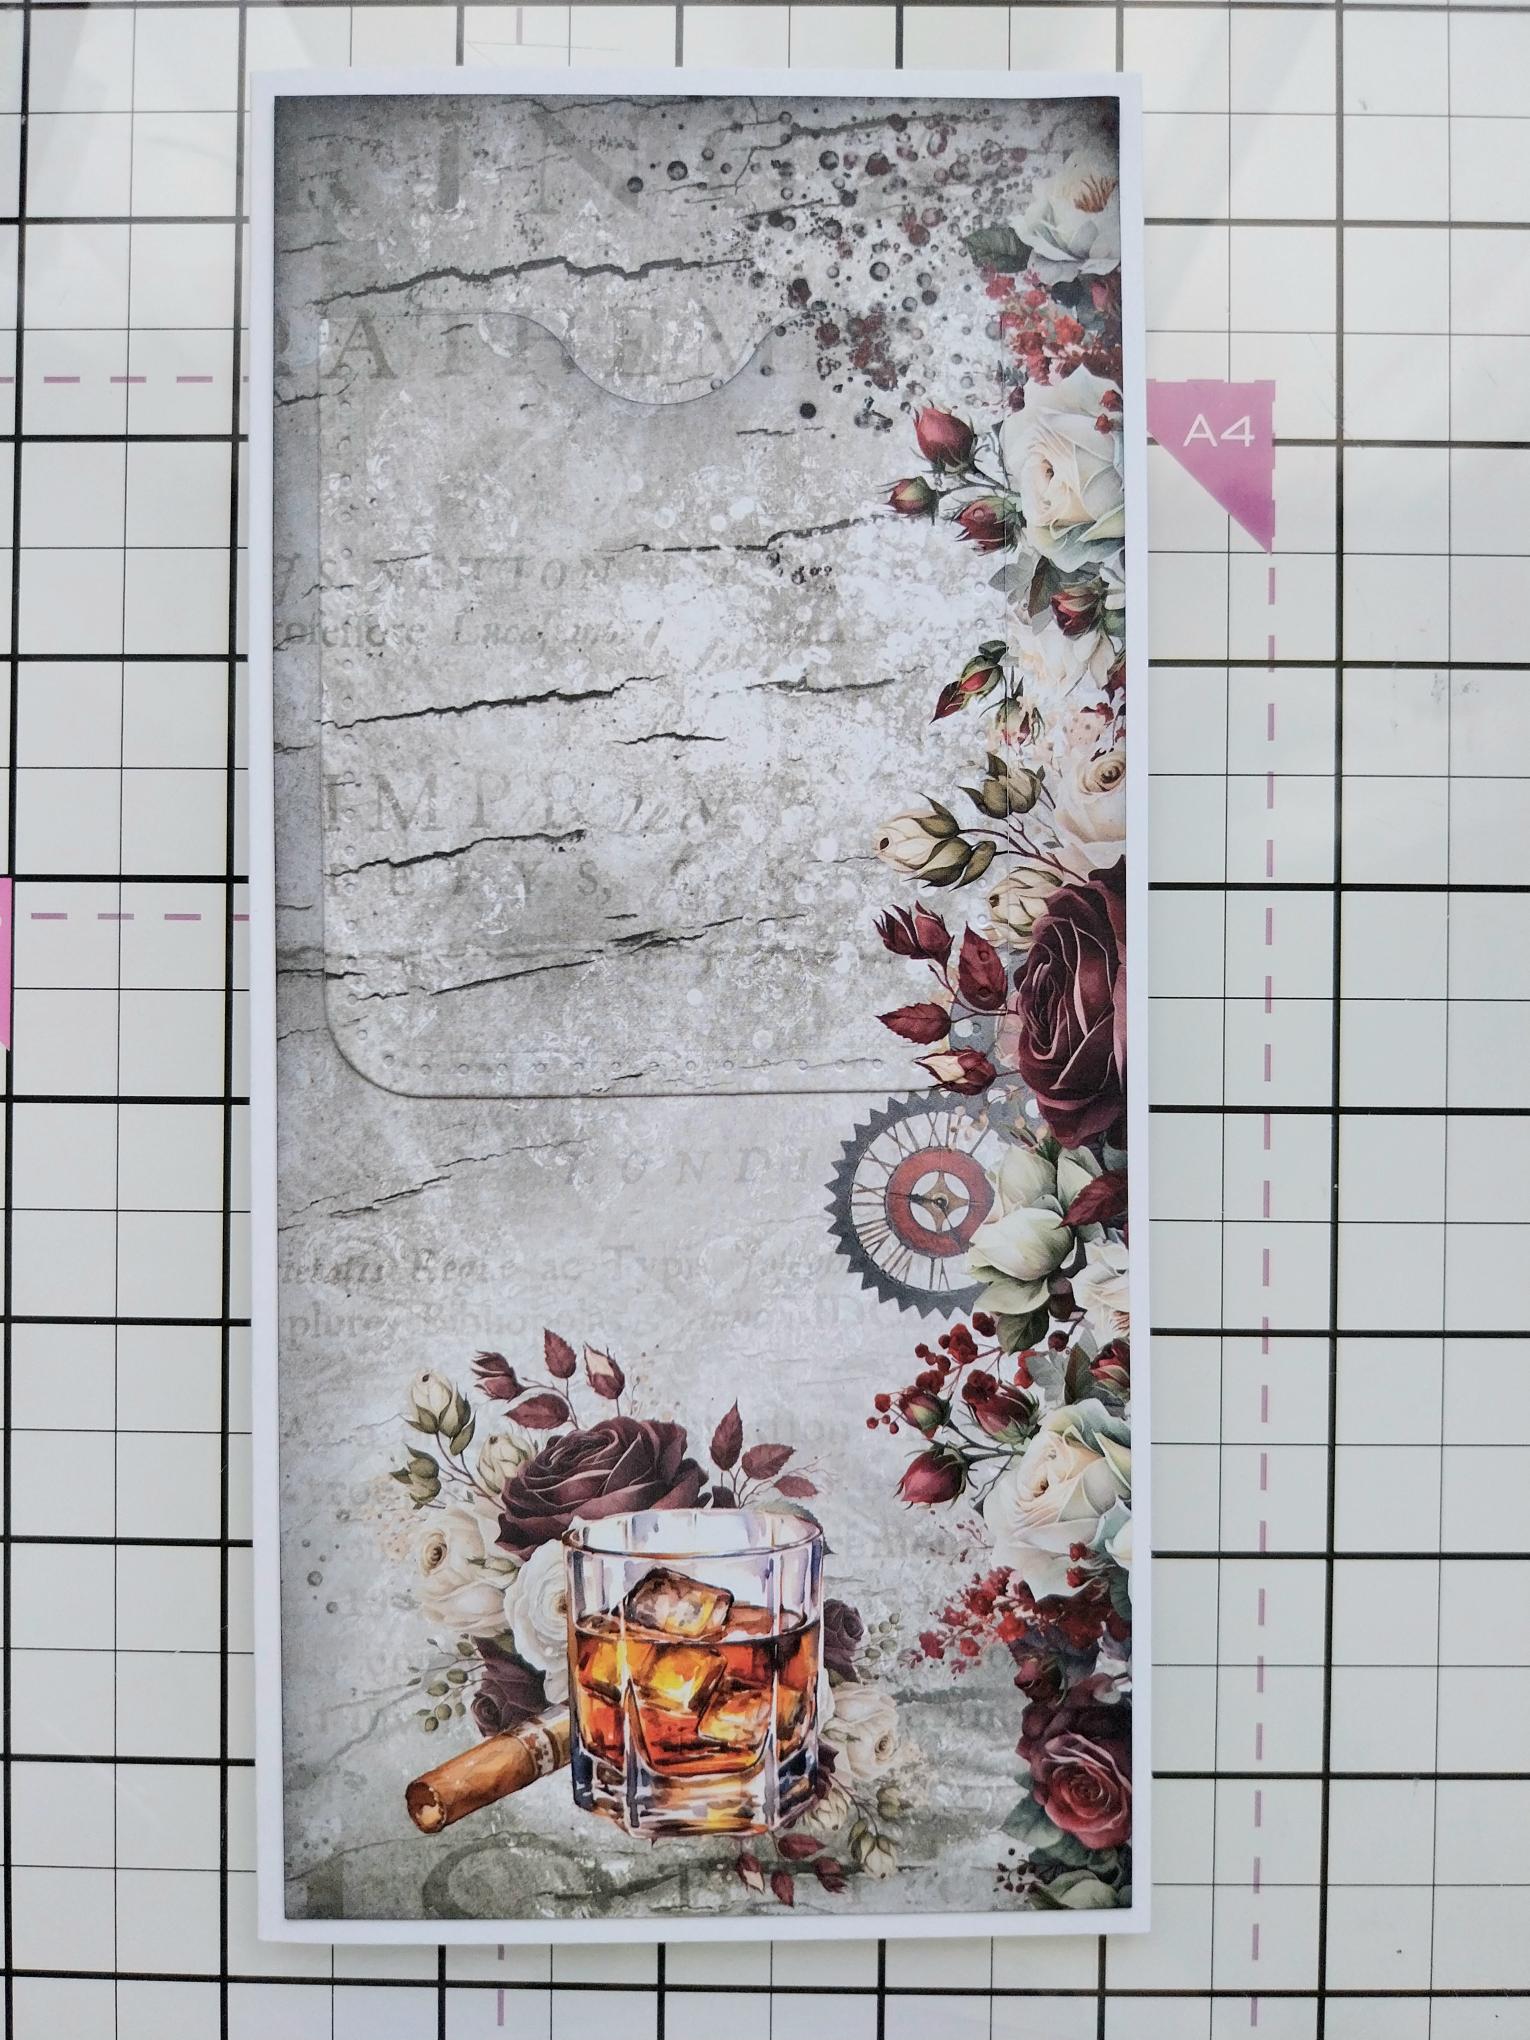
|
Adhere artwork to your DL card blank. |
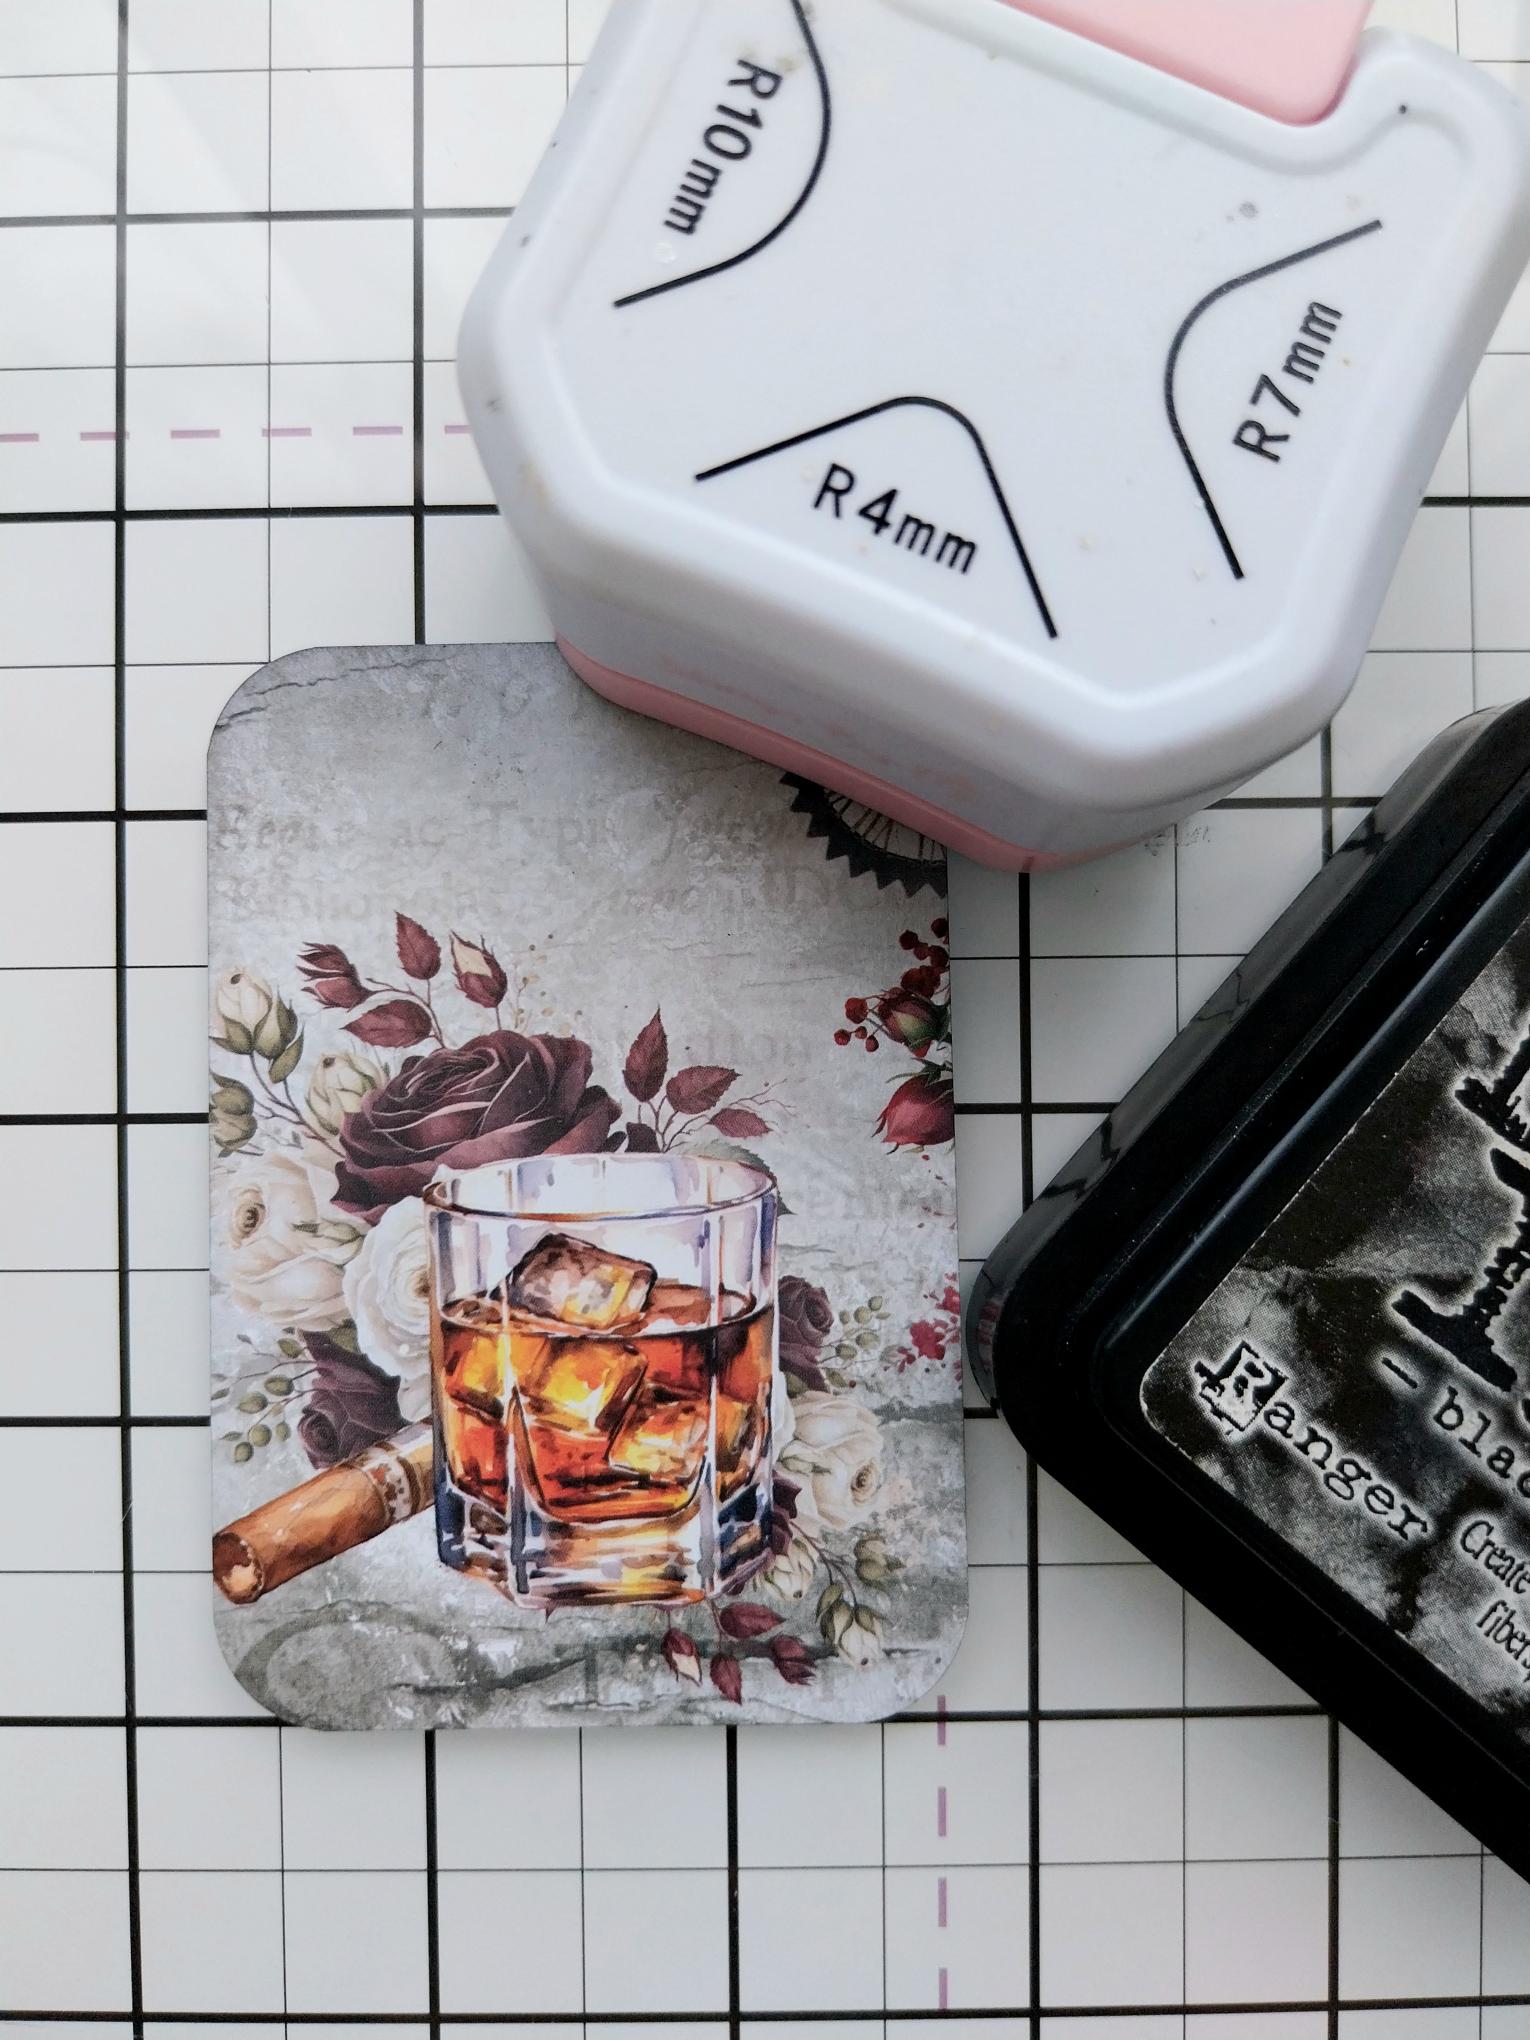
|
Create a topper (check size of the pocket first!) around one of the printed designs on a paper, rounding the edges with a corner punch and blending the Black Soot around all sides. |
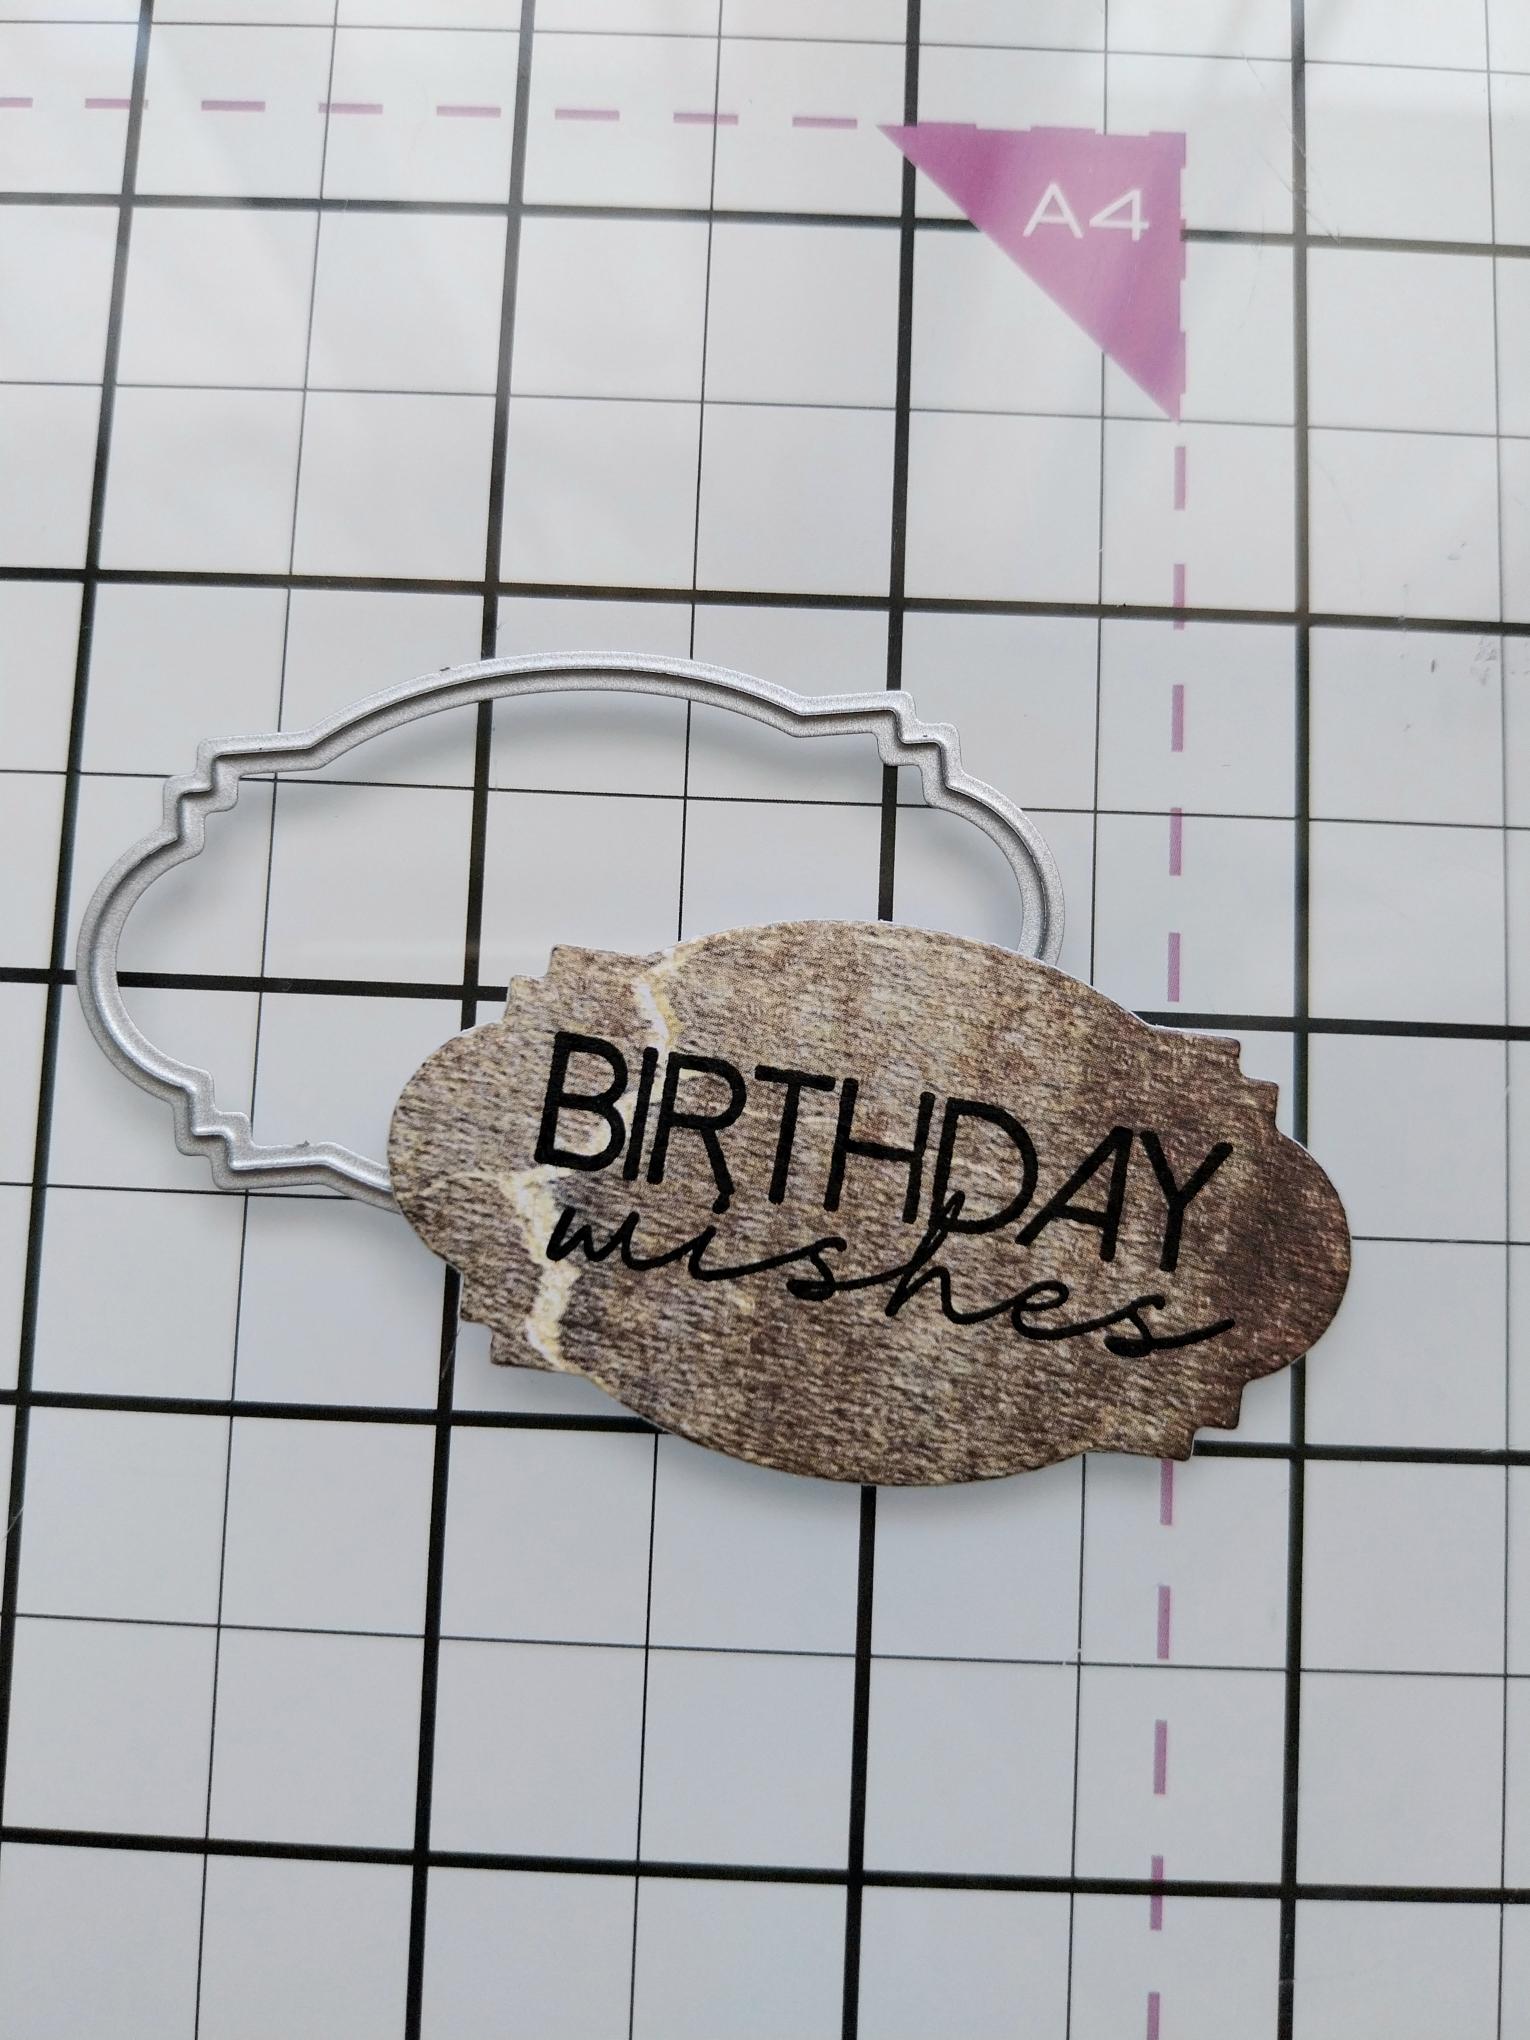
|
Die-cut a label from one of the foundation papers and stamp your chosen sentiment in Midnight. |
|
Adhere to the bottom of the pocket, pop your topper inside and voila! |