Étape 1 sur 8
You need TWO decorative sheets the same. Trim both to 3 3/4 x 7 3/4".








 The Friday Final Cutven. 6 nov. 5 h 00
 Community Showcaselun. 9 nov. 5 h 00
 Hobbymaker TVlun. 9 nov. 9 h 00
Les prix sont mis à jour immédiatement. Chaque langue est notre propre traduction, pas Google.
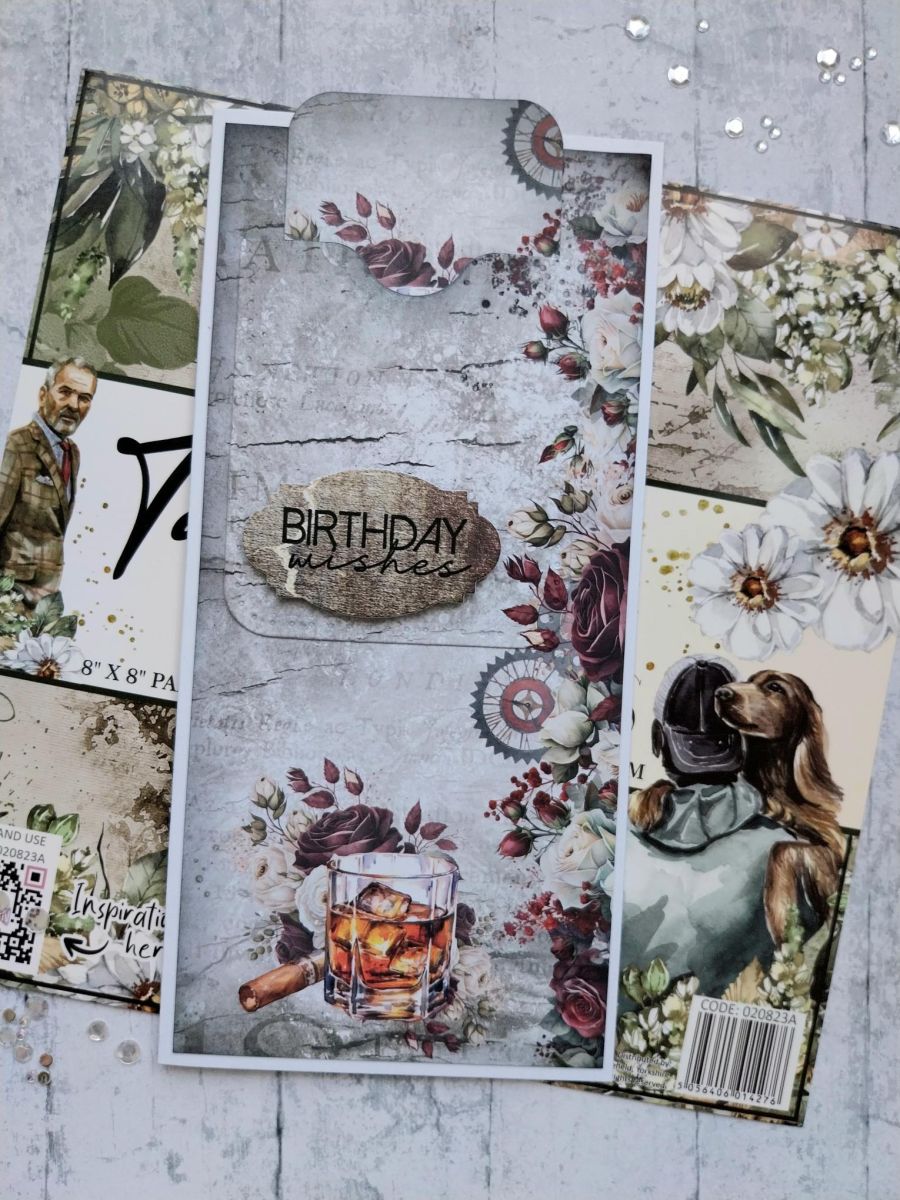
You need TWO decorative sheets the same. Trim both to 3 3/4 x 7 3/4".
Having decided where you want the pocket to be placed (see final card image), use the die to cut a pocket from ONE of the pieces of decorative paper.
Blend around the edges of the complete trimmed sheet, with Black Soot.
Add red liner tape along the bottom and down both sides, of the die-cut pocket. Remove the backing, carefully line up the printed design on the pocket with the design on the other sheet and secure pocket in place.
Adhere artwork to your DL card blank.
Create a topper (check size of the pocket first!) around one of the printed designs on a paper, rounding the edges with a corner punch and blending the Black Soot around all sides.
Die-cut a label from one of the foundation papers and stamp your chosen sentiment in Midnight.
Adhere to the bottom of the pocket, pop your topper inside and voila!
Partagez votre création avec la communauté Stamps By Me - et gardez ce tutoriel pour la prochaine fois.
Vous préférez l’ancienne présentation ? Ouvrir l’ancienne page.



