Give your friends $10 off their first order!
Refer a FRIEND








Prices change straight away. Every language is our own translation, not Google.

WHAT YOU WILL NEED:
Fushia Card Blank - landscape (cut to 5 x 7)
Garden Treasures Bundle (paper pad, painted mounts and vellum)
Radiant Poppies Stamp, Die & Stencil Collection
Black pen
SBM Hybrid Ink Pad: Midnight
Eureka 101 Watercolour Tablet
SBM A3 Magnetic glass mat
Paper Trimmer
Glue
Tape runner
[click image to enlarge] 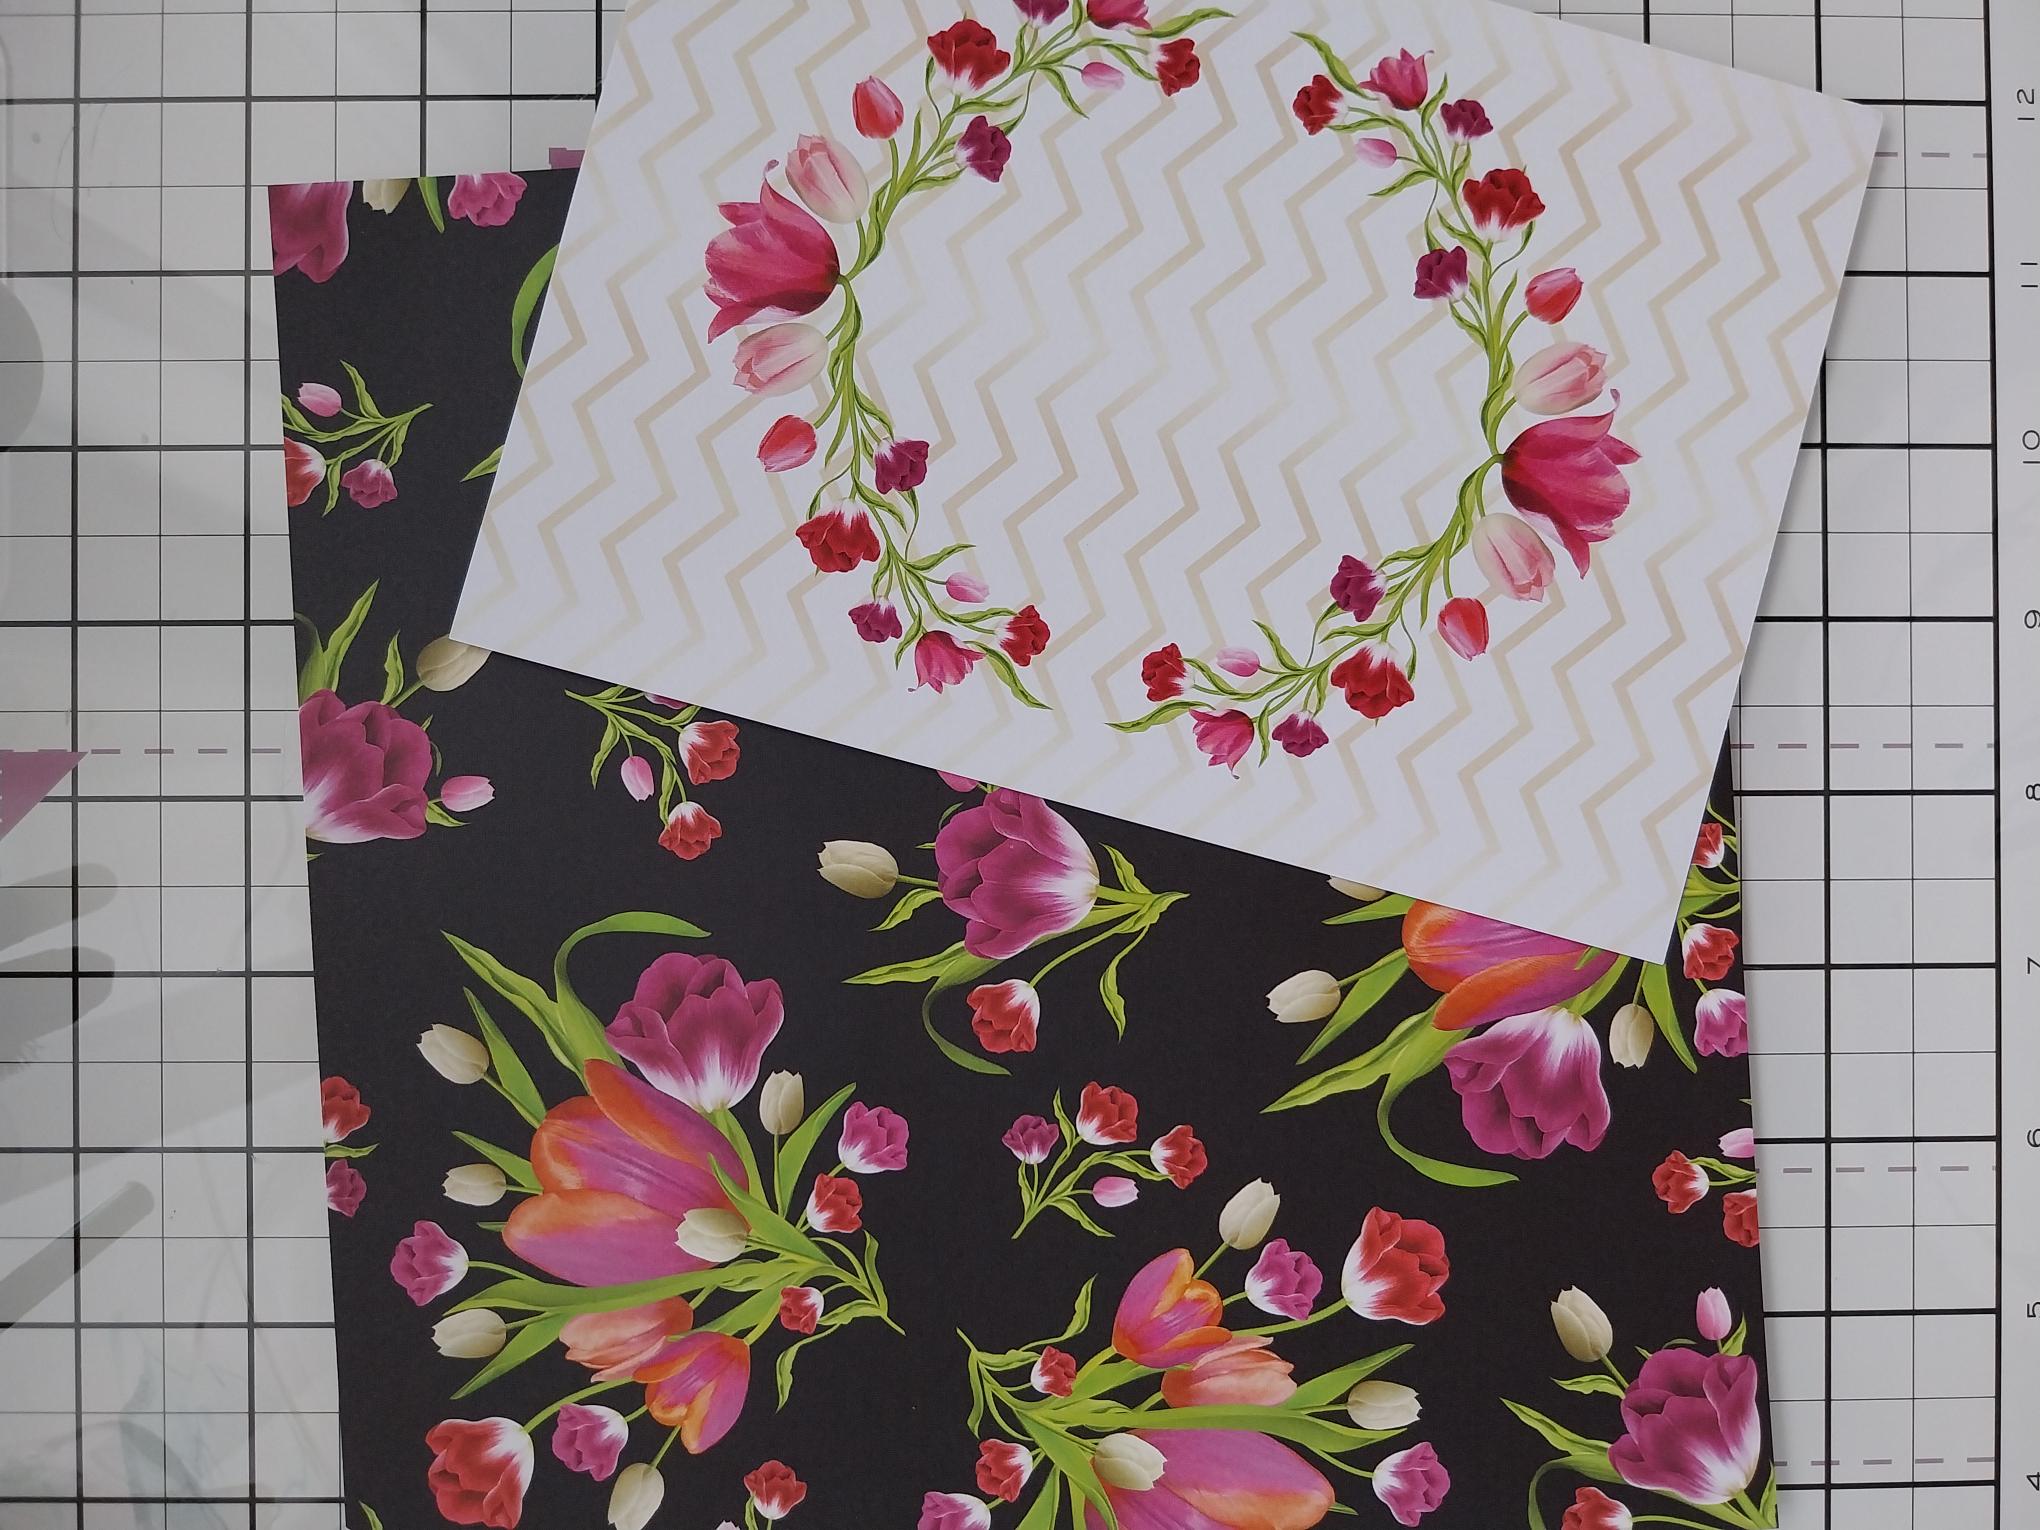
|
Choose a coordinating paper to go with this wreath painted mount. |
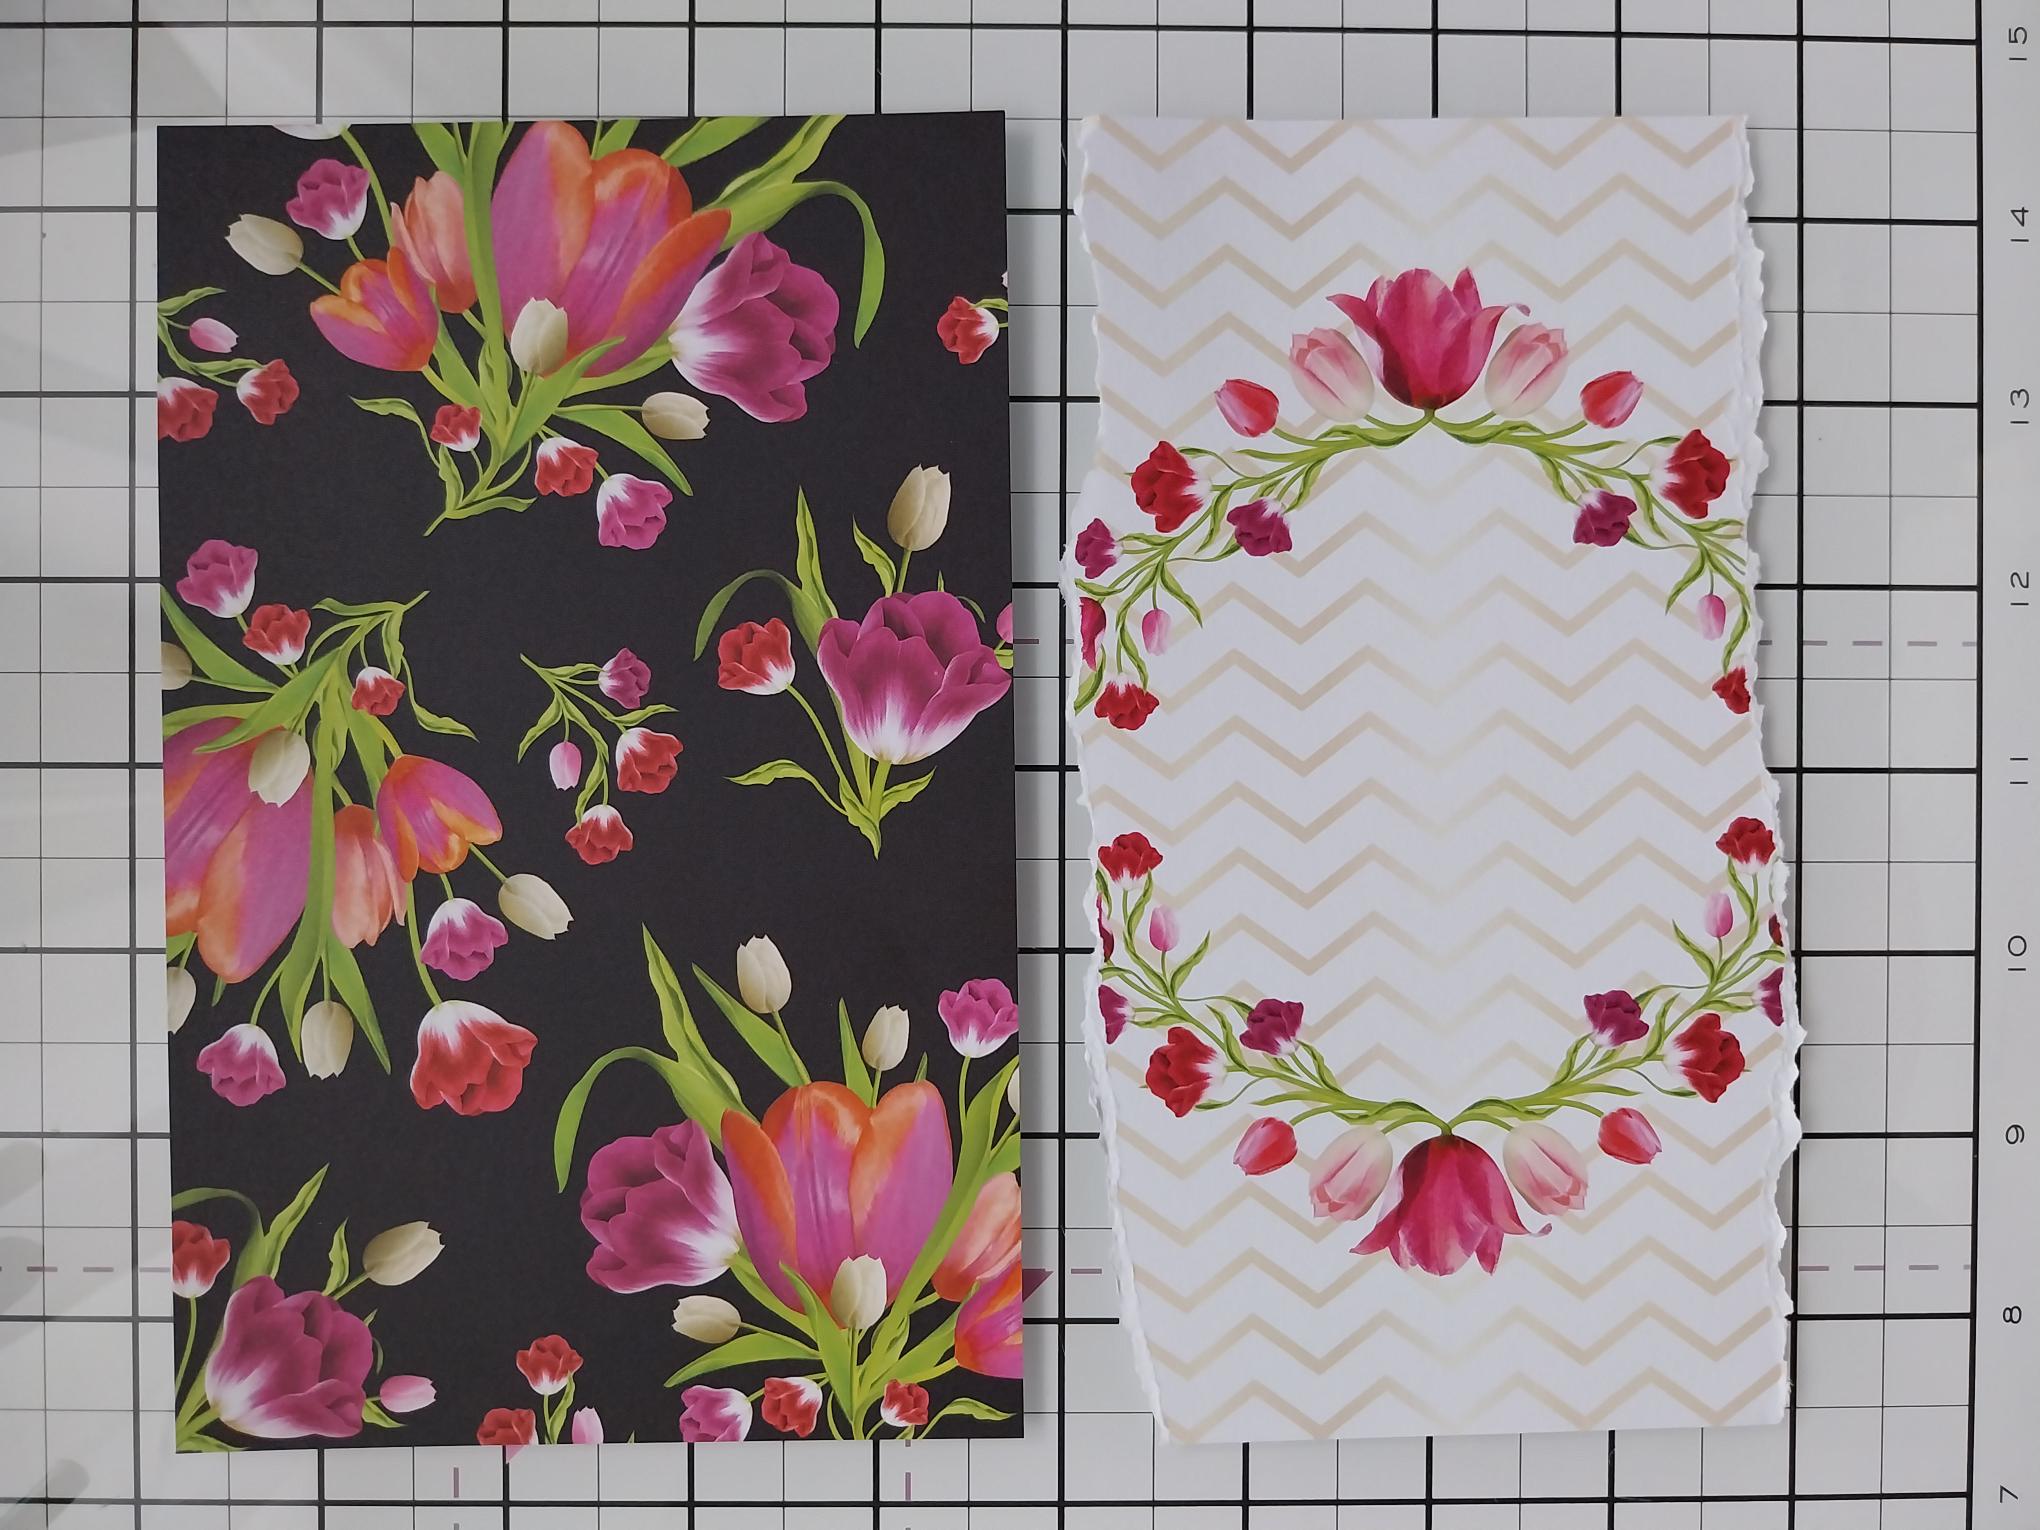
|
Trim the background paper to 4 1/2 x 7" (in landscape view). Tear the wreath mount so it's the same width but not as deep as the paper, again ensuring it's in landscape view (see final card image). |
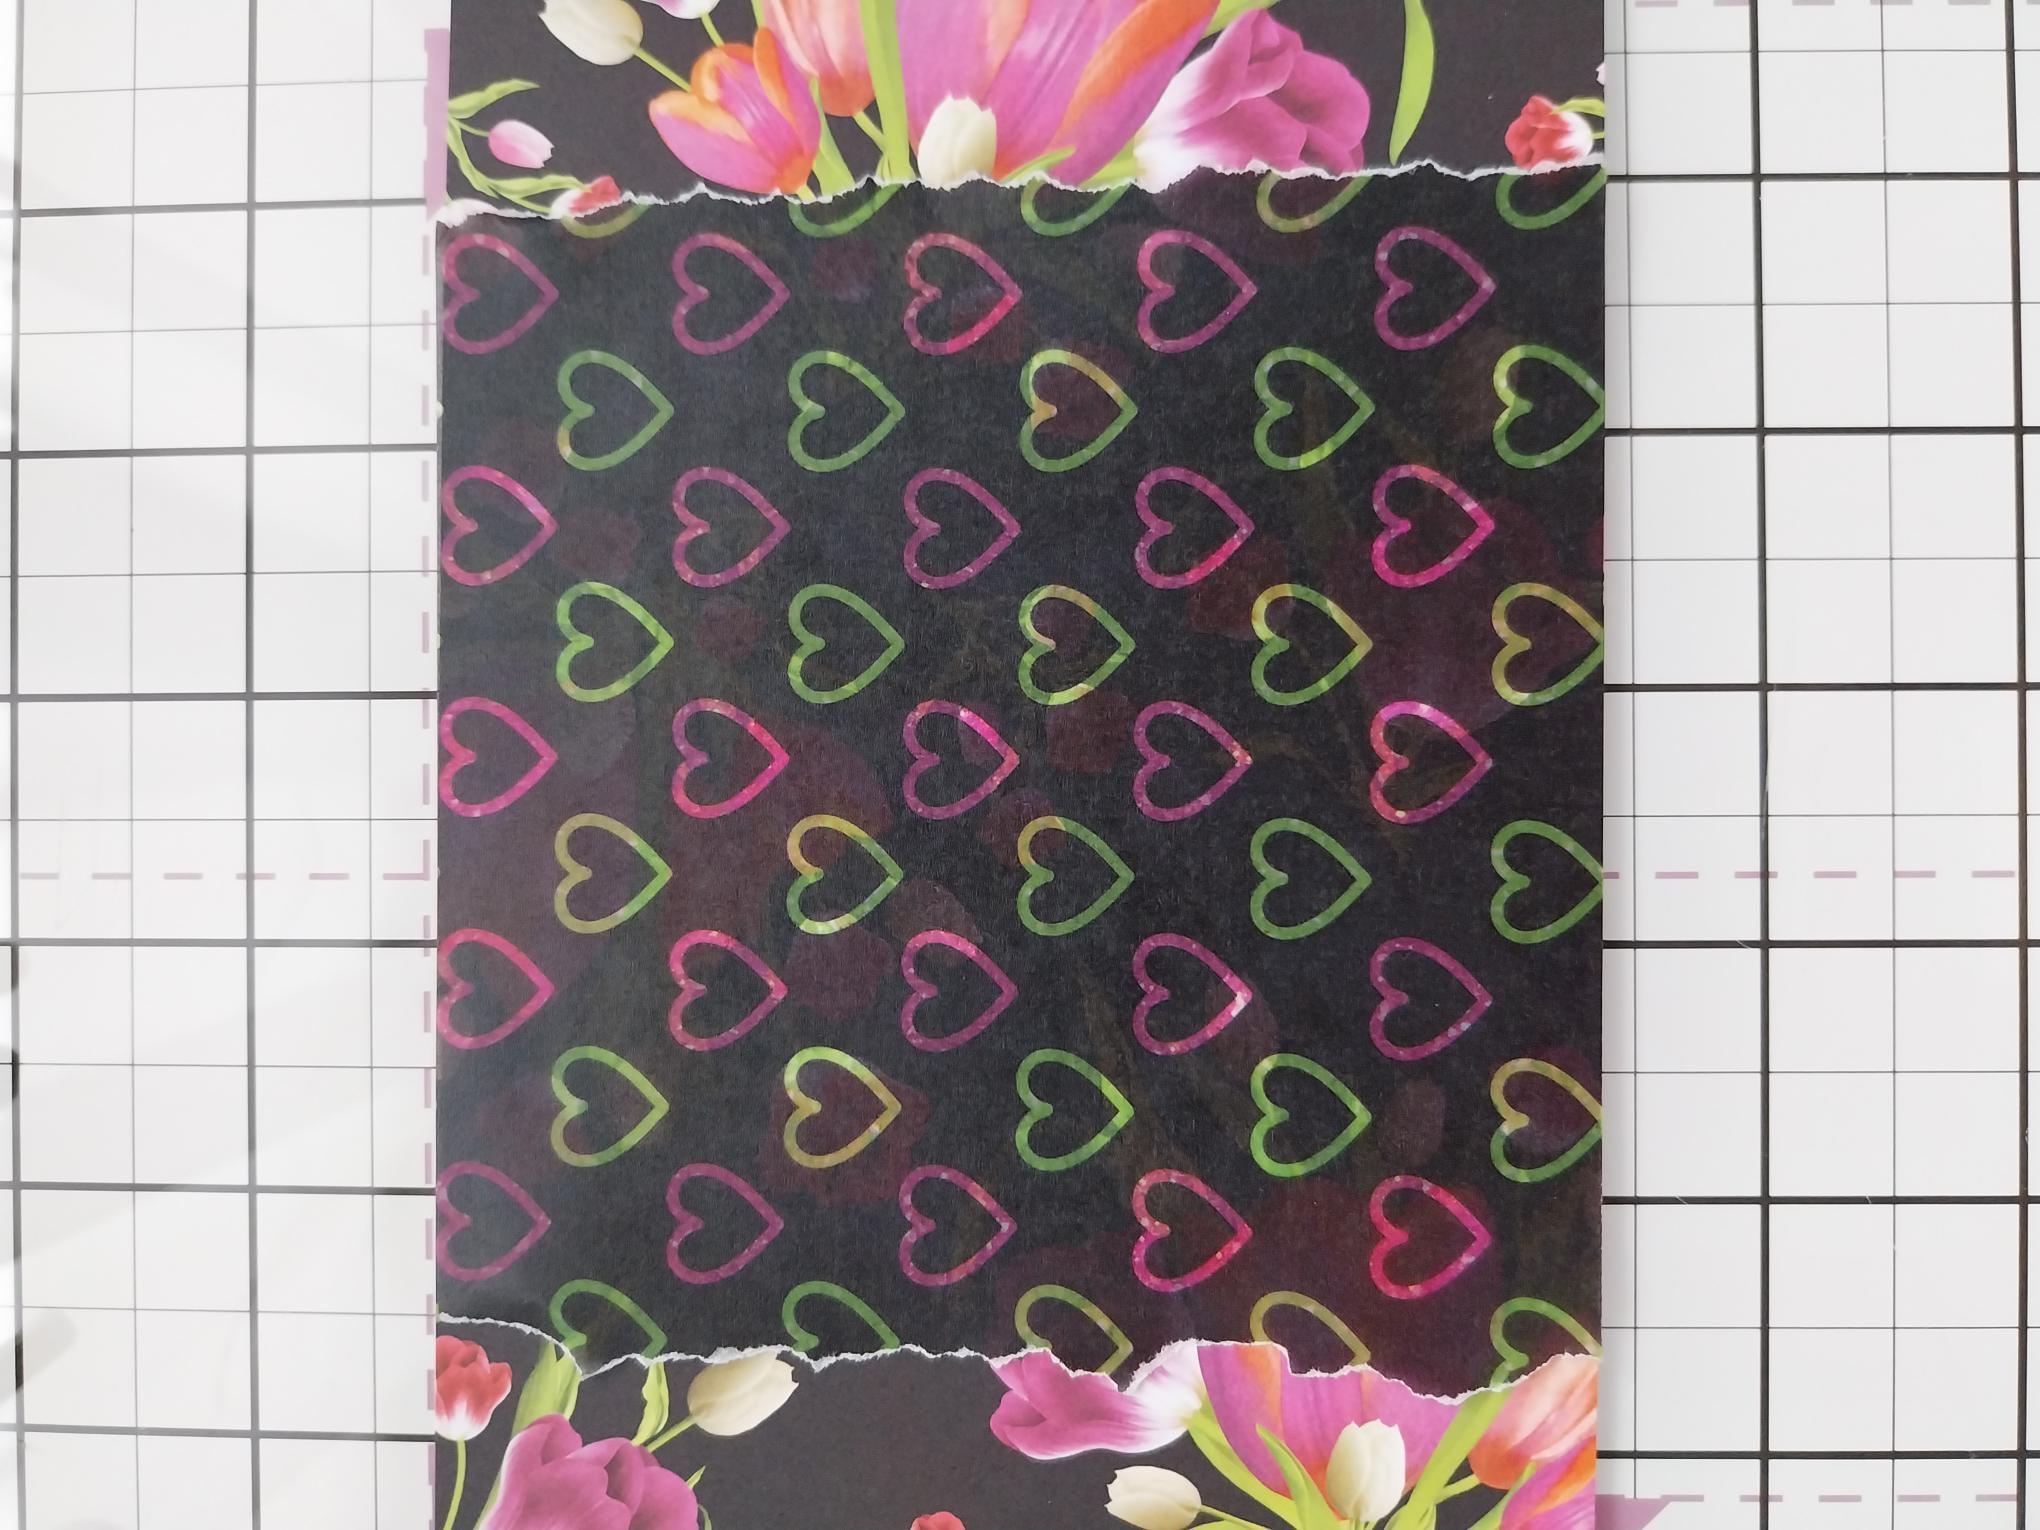
|
Tear the hearts vellum the same depth but not as wide as the background paper and adhere using a tape runner. |
|
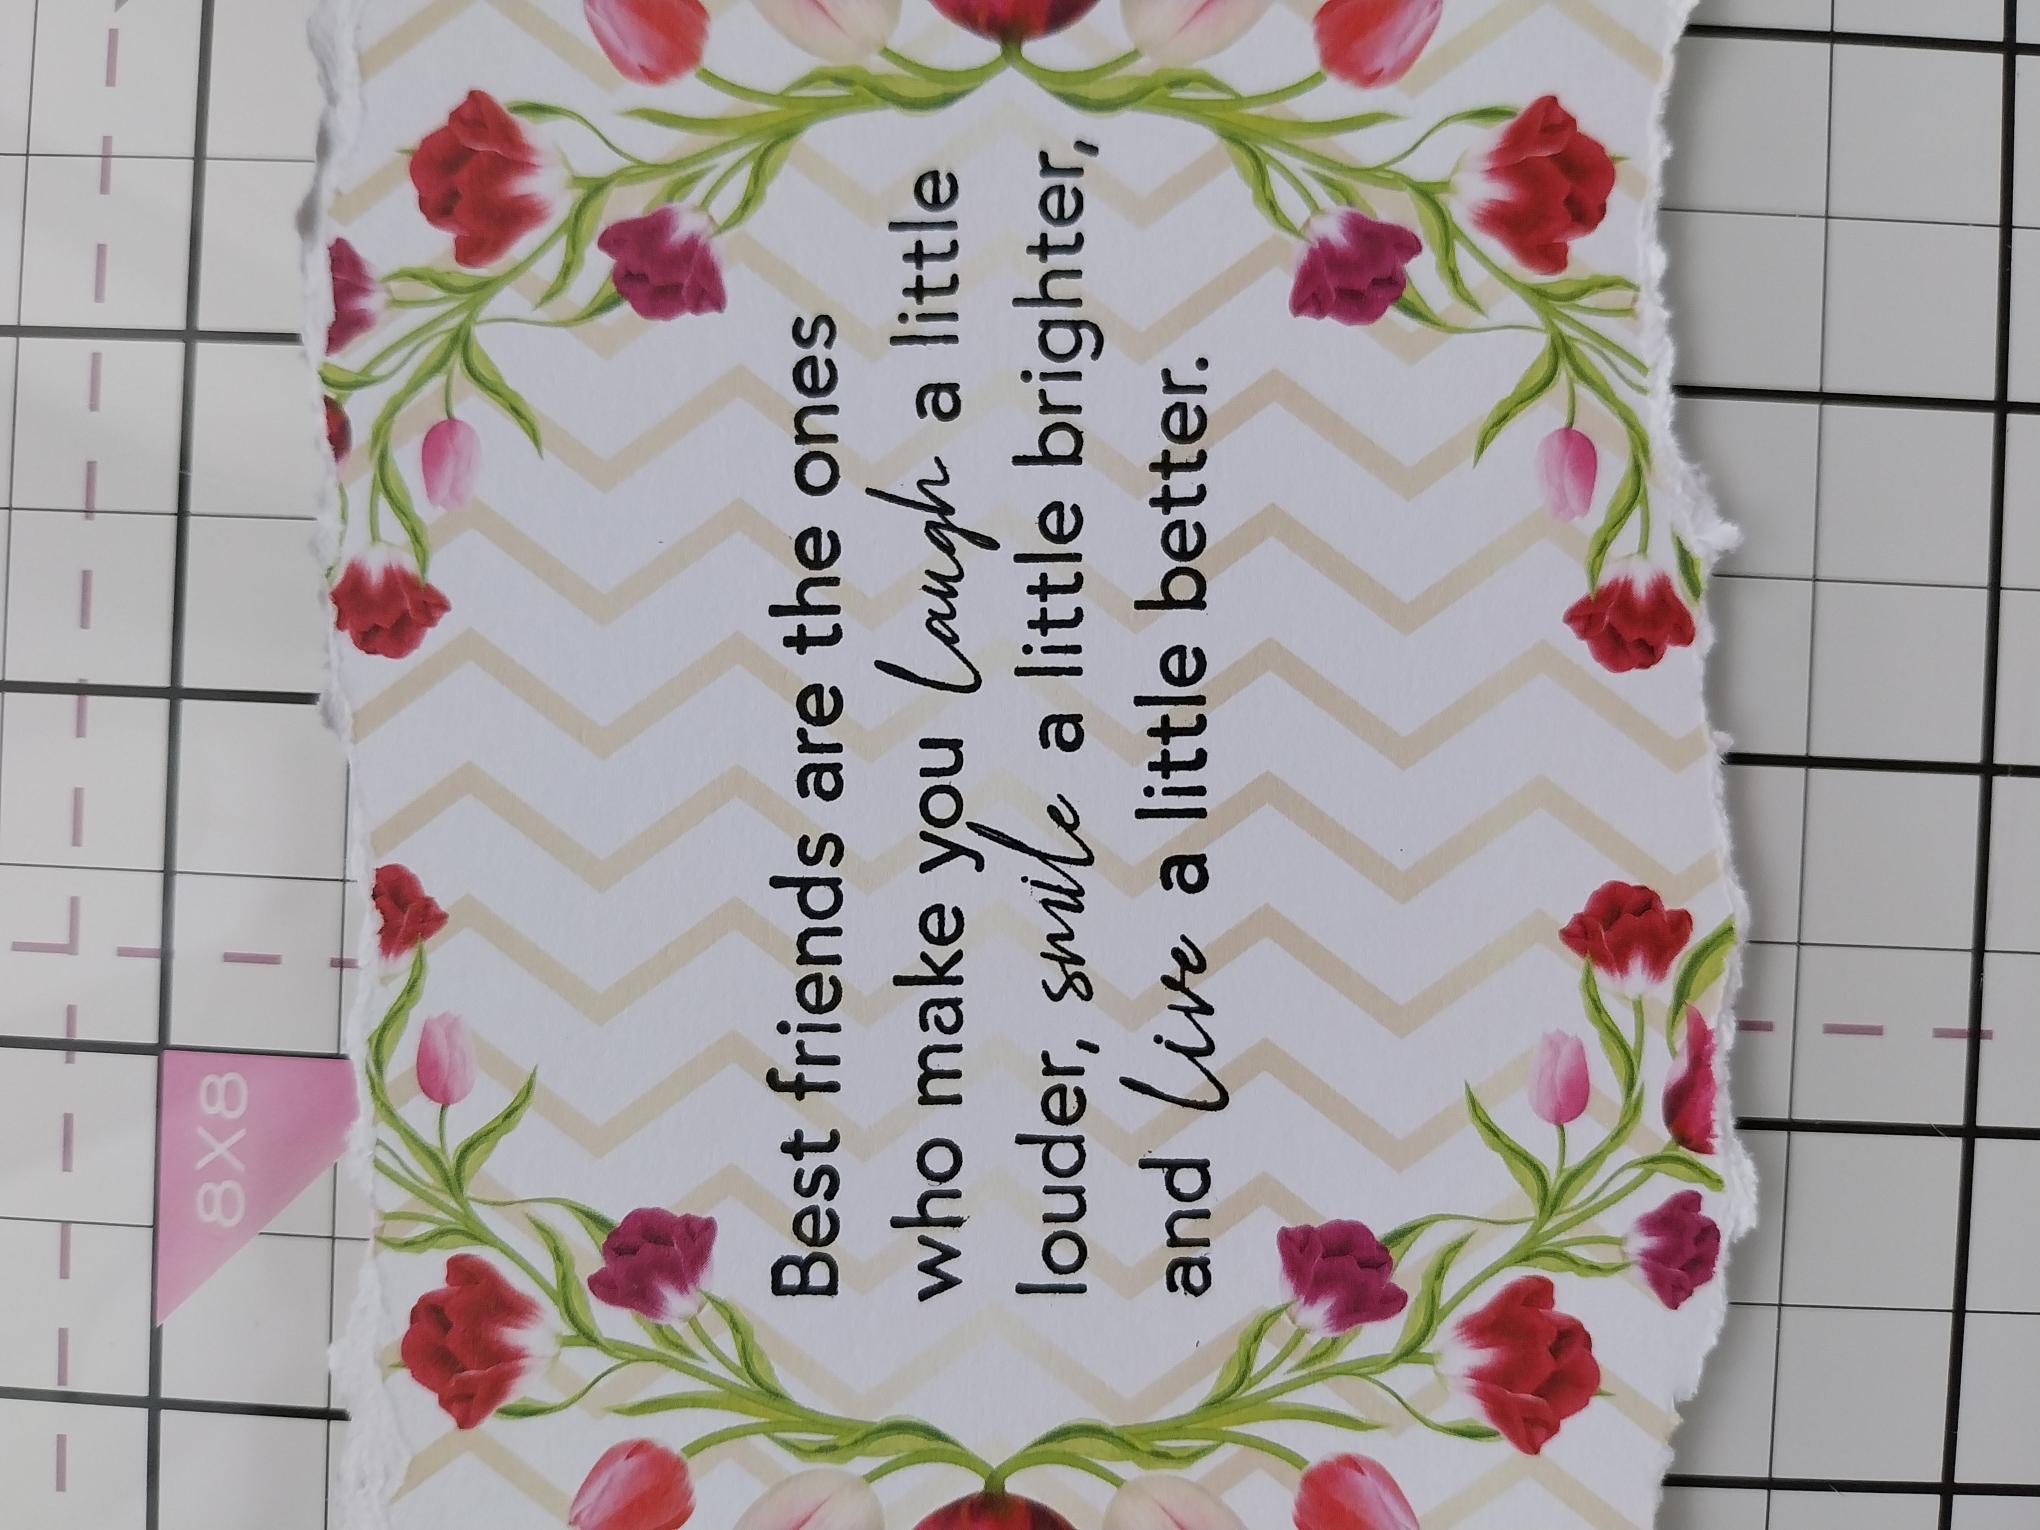
Stamp your chosen sentiment (I took mine from the Radiant Poppies set), in the centre of the wreath, with the Midnight ink. |
|
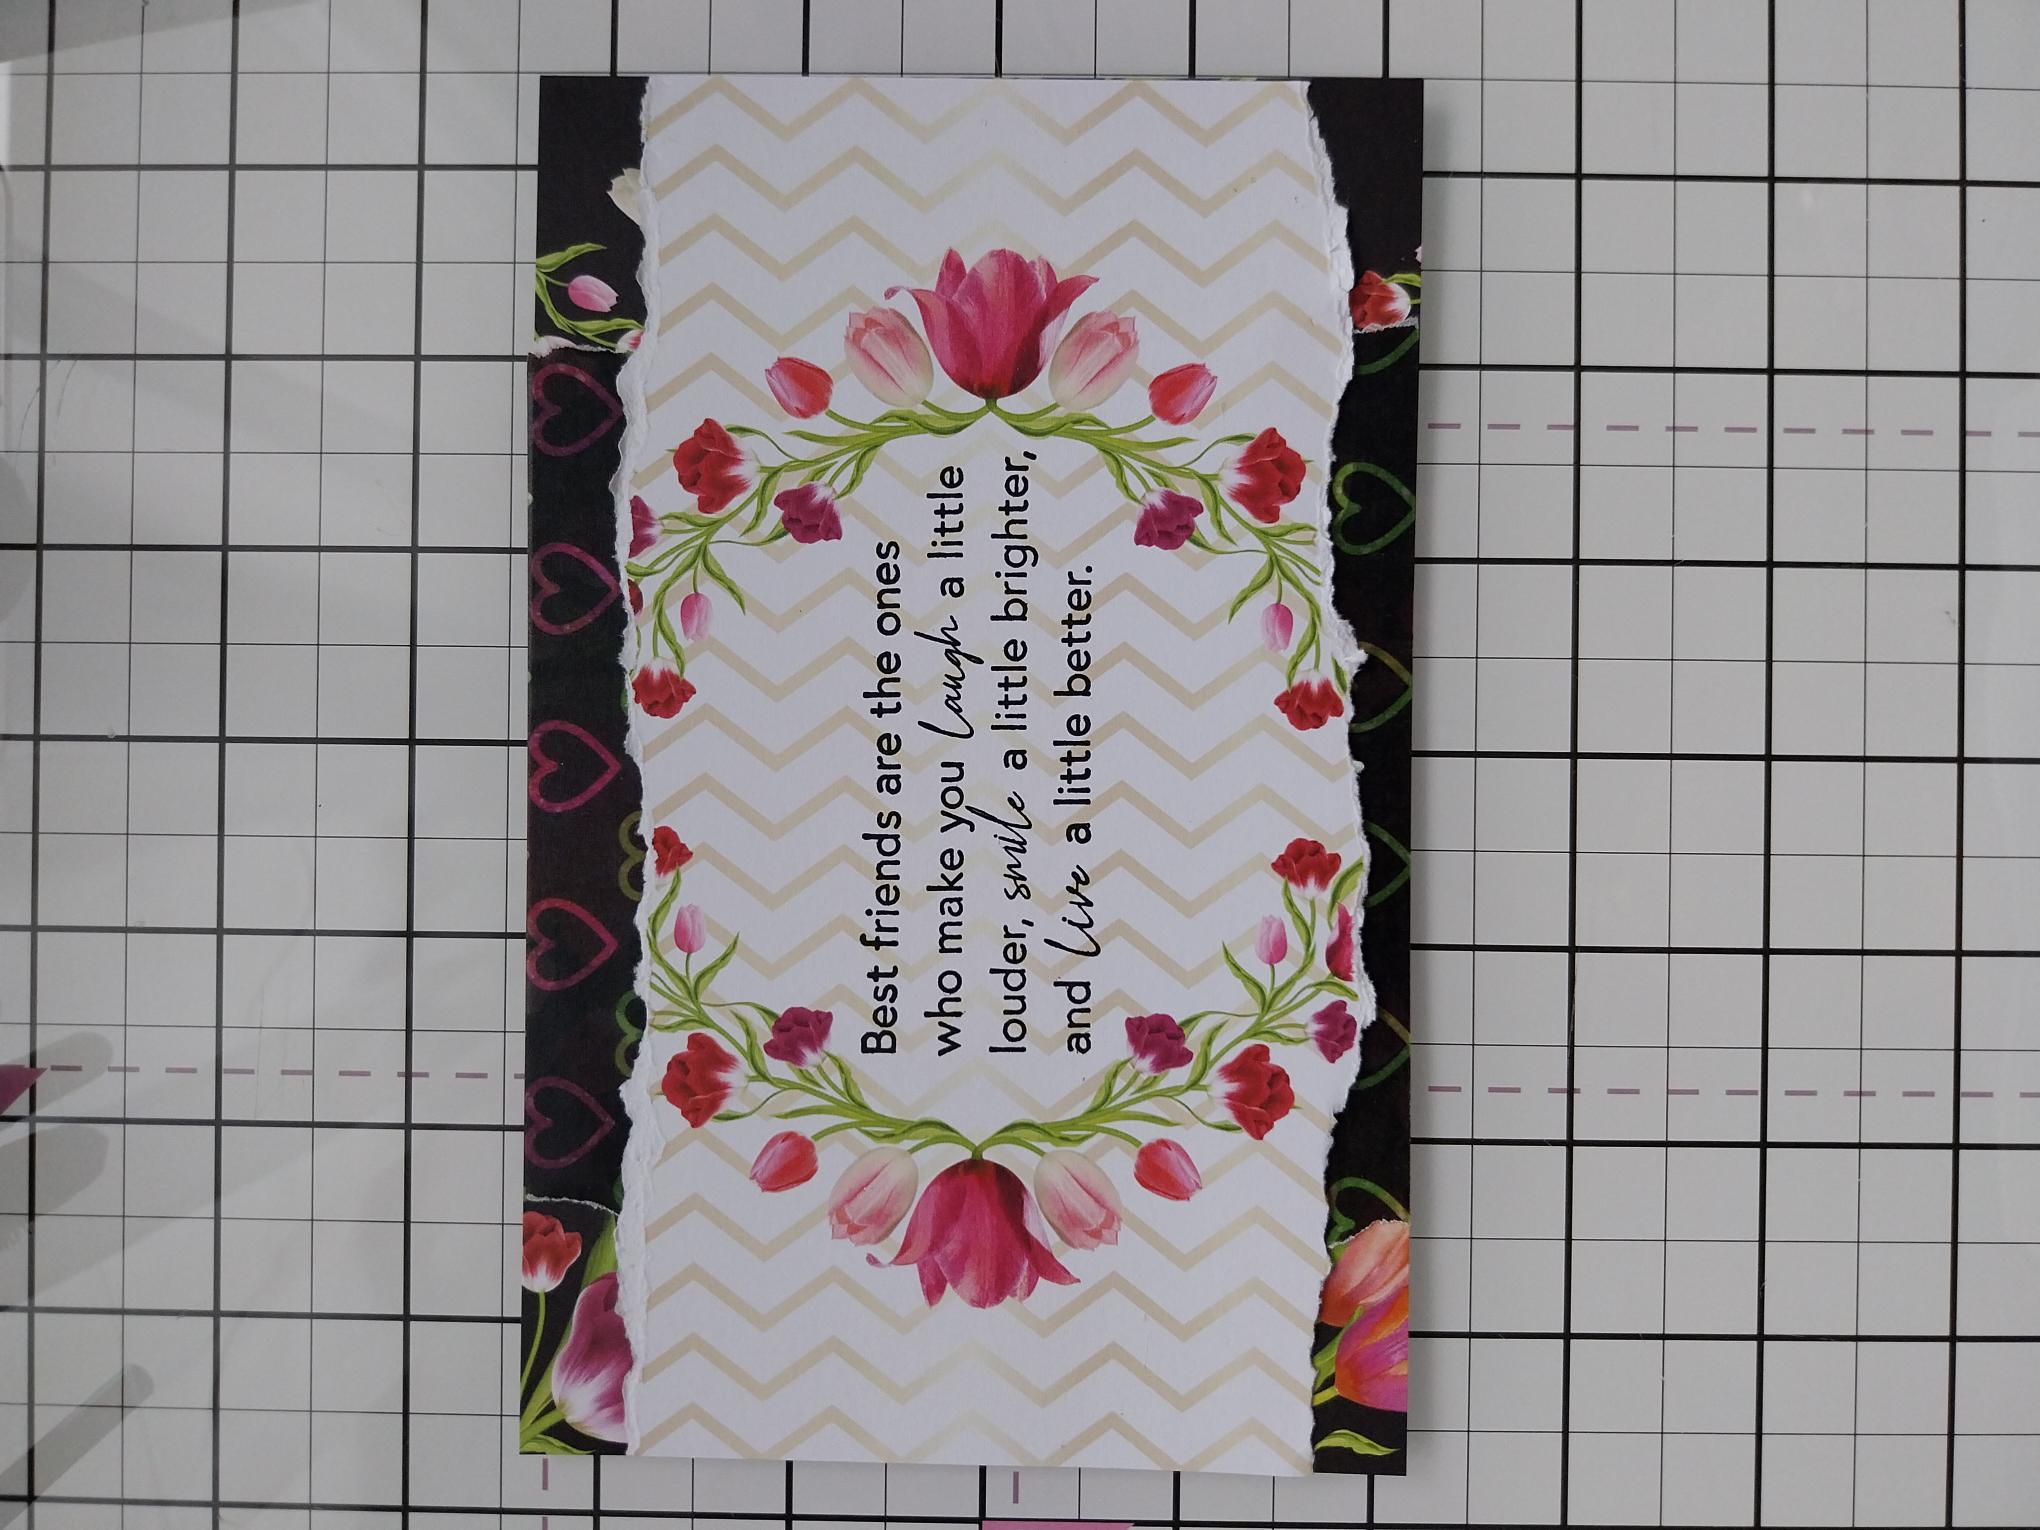
Adhere across the centre of your papers/vellum, lining up the left and right edges as seen here. |
|
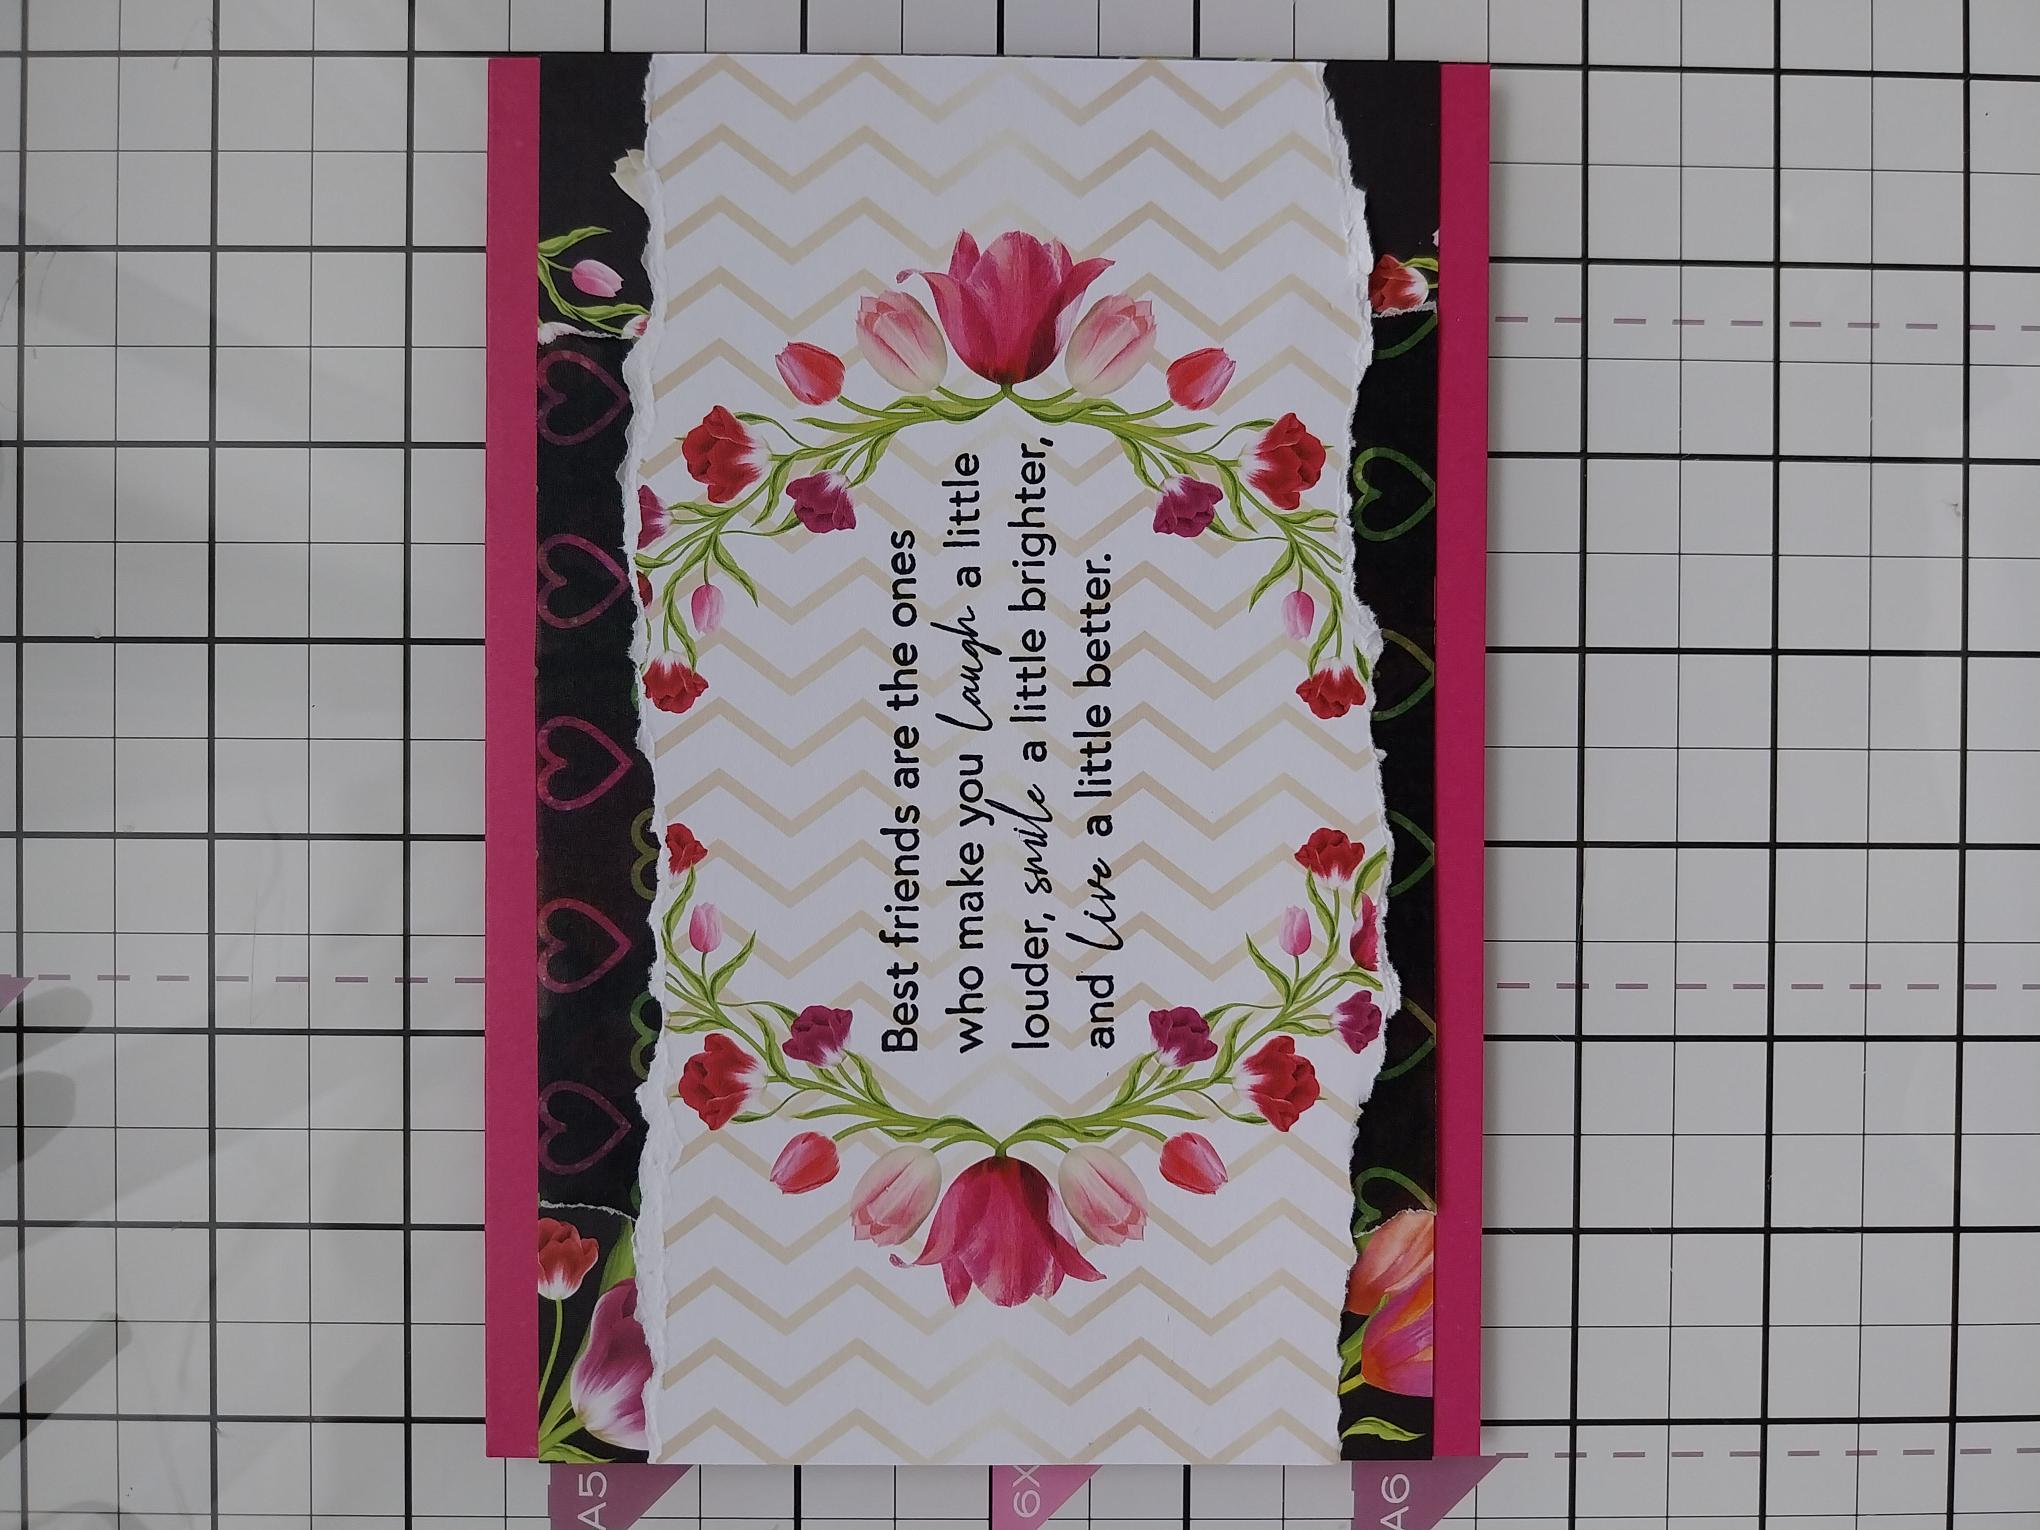
Adhere to your landscape Fushia card blank. |
|
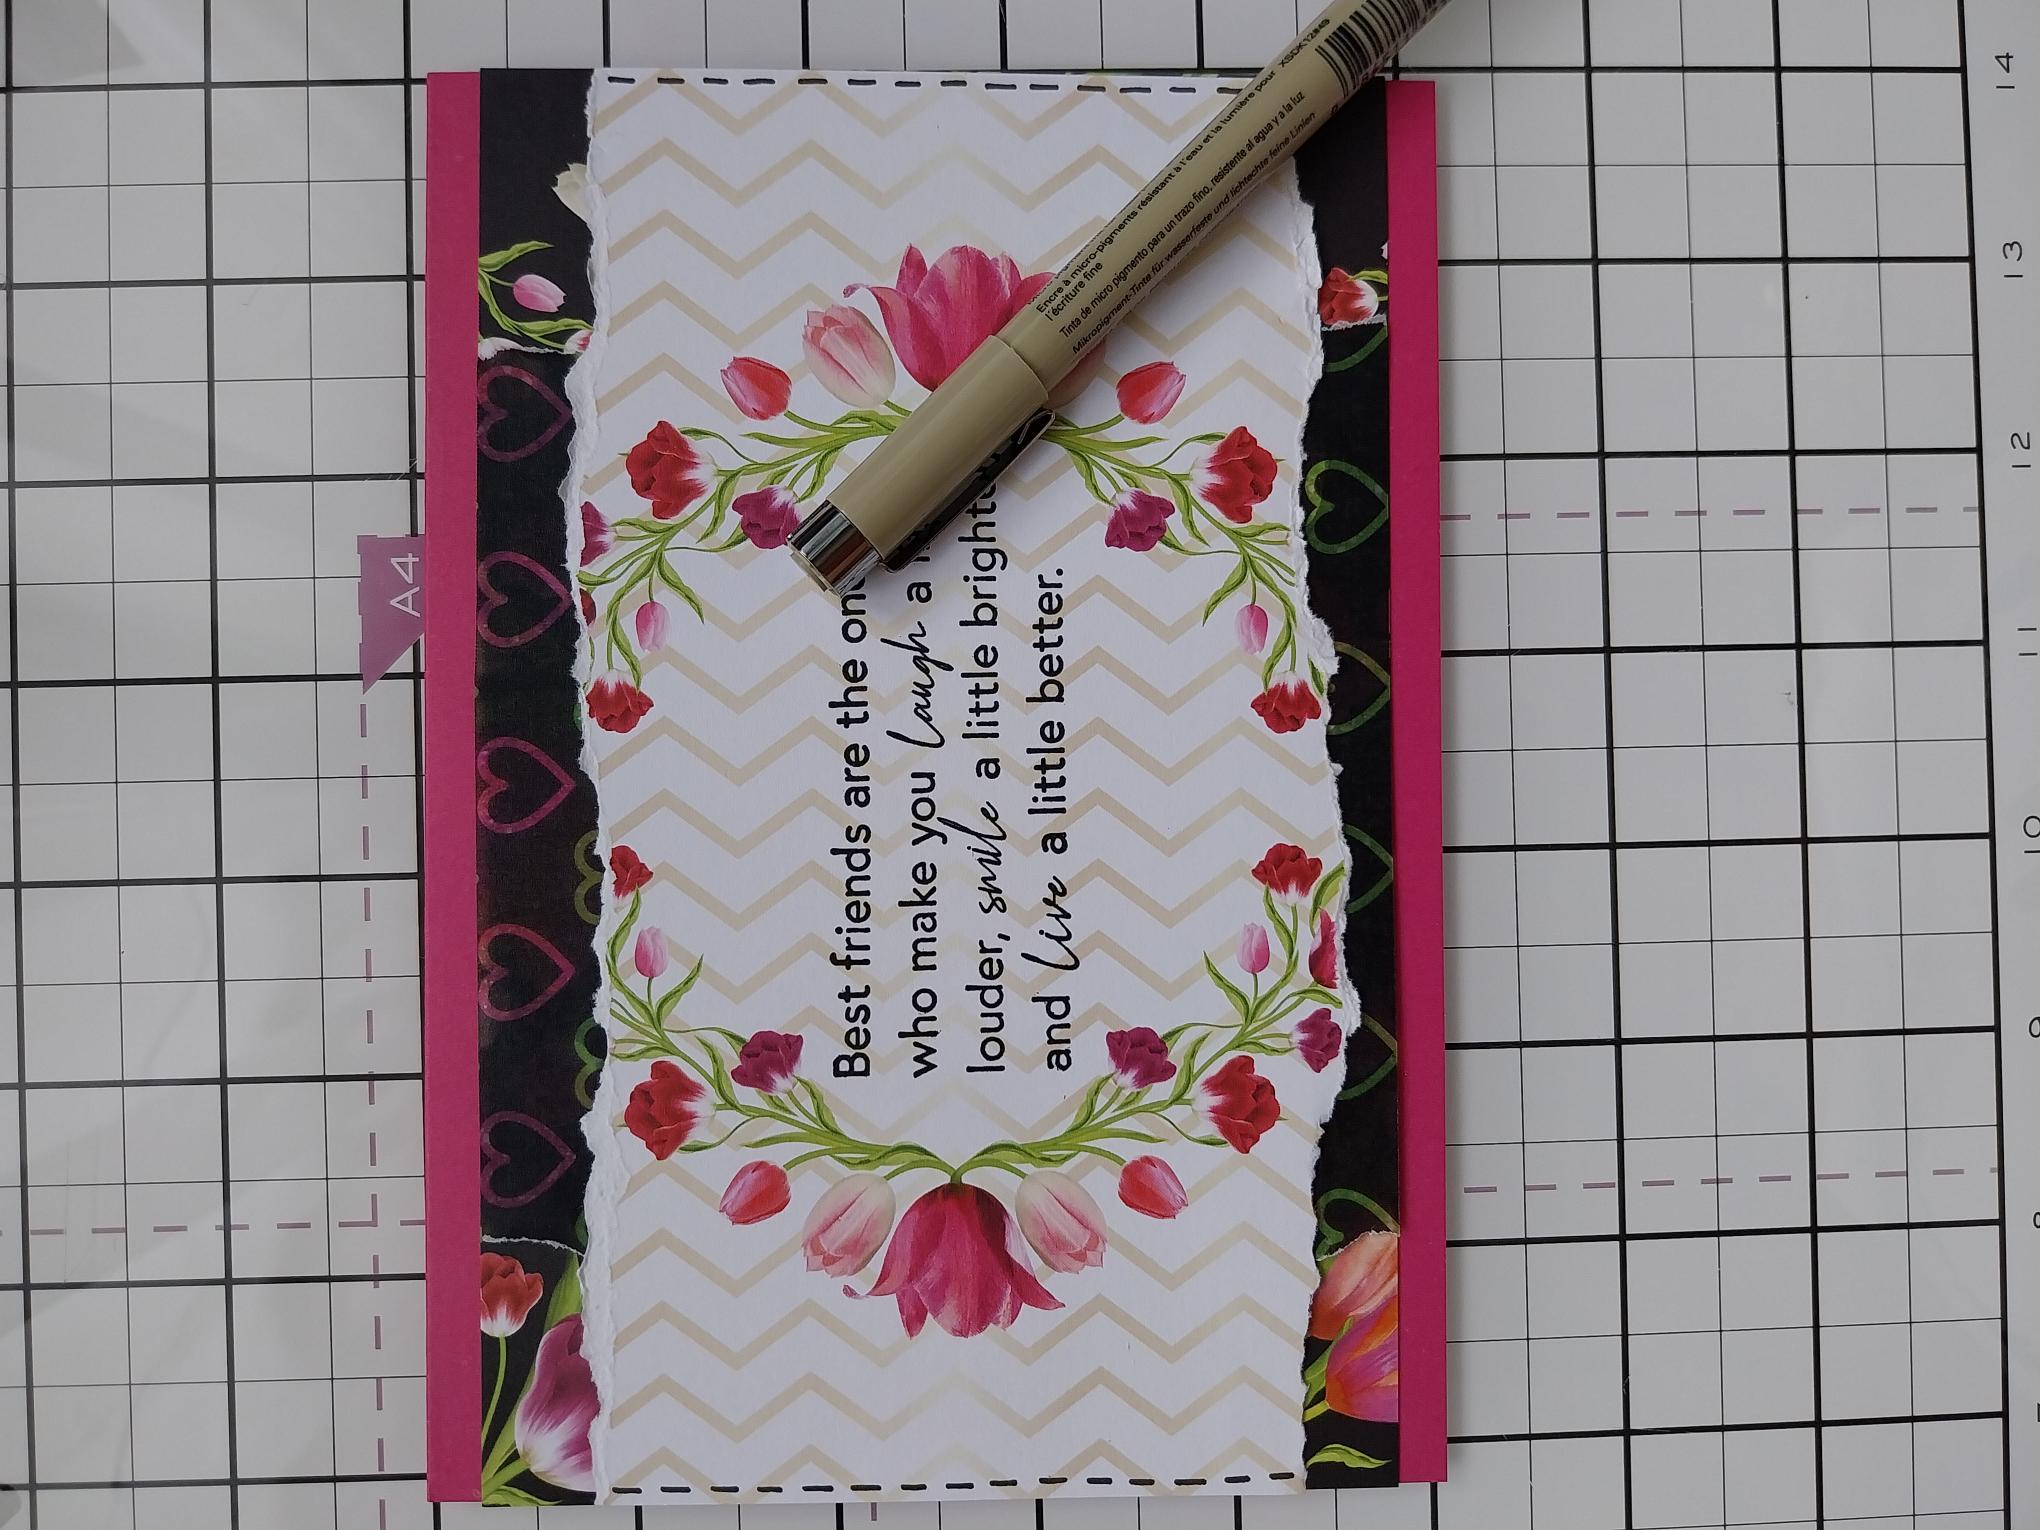
To finish, use a black pen to add a "stitch" effect line down the left and right sides of the wreath paper. |