


Step 1 of 12
Blend the Salvaged Patina Oxide around the edges of your torn book page, with your blending brush, fading the colour out towards the centre.








Prices change straight away. Every language is our own translation, not Google.
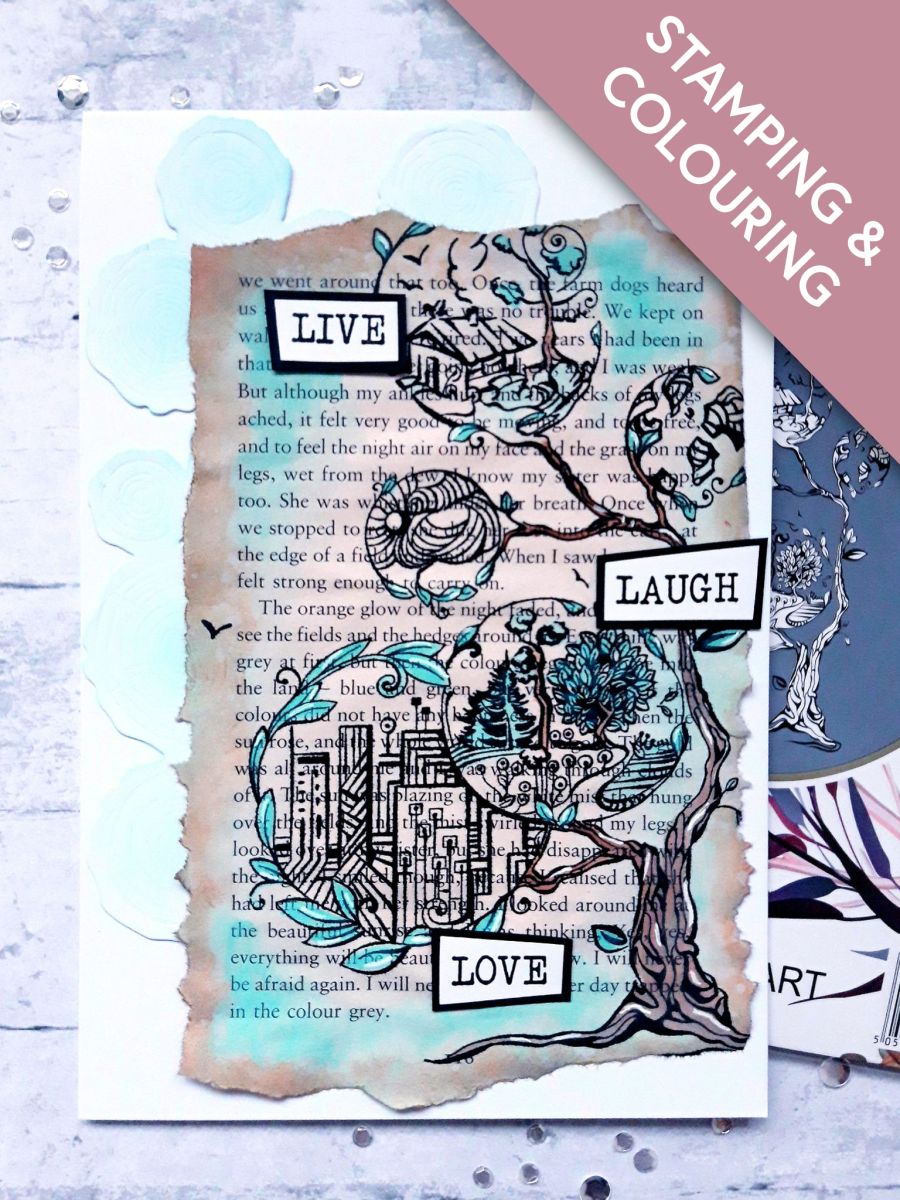
Blend the Salvaged Patina Oxide around the edges of your torn book page, with your blending brush, fading the colour out towards the centre.
Blend the Vintage Photo Oxide around the edges.
Ink up the stamp, from the Imala Tree Of Life, with the Onyx Black Versafine.
Stamp just off the right hand side of your background.
Apply the Salvaged Patina and Vintage Photo Oxides on to a craft or glass mat.
Spritz with a little water and use a paint brush to paint your stamped image.
Paint around the edges of your stamped artwork with the Salvaged Patina, to create depth and shadow.
Once the ink is completely dry, add highlights with your white gel pen.
Set this to one side.
Lay the die from the Log Slices Die Collection, on to one side of the A4 white cardstock.
Run through your die cutting machine, setting the leftover white card to one side for now.
Lightly blend the Salvaged Patina Oxide over the embossed areas of the die cut log slices.
Adhere your log slices to the top left side, of your top folding card blank.
Adhere your stamped torn page on to the right hand side of your card blank.
Set to one side.
Ink up your chosen word stamps, from the More Than Words Creative Stamps, with the Onyx Black Versafine.
Stamp on to the white card you set aside earlier.
Cut the words in to strips.
Glue the word strips on to the black card, and cut around them, to create a black mat for each.
Glue your word strips on to your artwork, to finish.
Share your make with the Stamps By Me community - and keep this guide for next time.
Prefer the previous layout? Open the old page.



