


Step 1 of 8
Die cut all the elements to create your bell, from your chosen Bells & Blessings papers.








Prices change straight away. Languages are translated by Google.
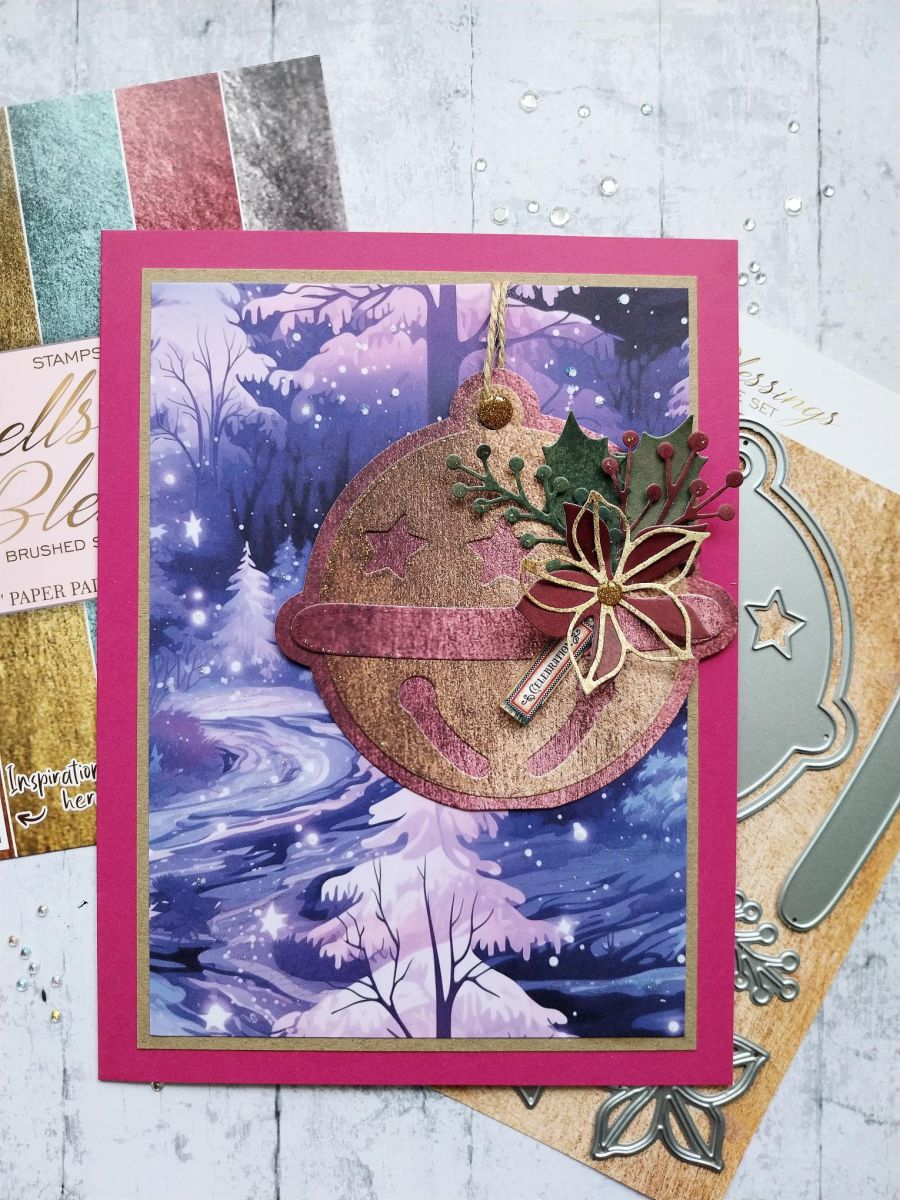
Die cut all the elements to create your bell, from your chosen Bells & Blessings papers.
Layer up and adhere the die-cuts together.
Die cut a selection of floral and foliage elements from the Textures papers.
Layer up your Poinsettia before adhering all the die-cut elements in place, on your bell.
Punch a hole in the top of the bell and thread through some twine or ribbon.
Choose one of the papers from the Winter Woodland paper pack and adhere the bell to the right, tucking the twine over the top edge and securing on the reverse.
Mat on to kraft card measuring 5 1/4 x 7 1/4" and then onto the front of your fushia card blank.
Use your Stickles to add a touch of festive sparkle, both on the 3D floral elements and on the decorative paper. Cut out one of the sentiment tabs and tuck under the floral elements, to complete your card.
Share your make with the Stamps By Me community - and keep this guide for next time.
Prefer the previous layout? Open the old page.



