Step 1 of 8
Die cut TWO skates from kraft card.
Score across ONE, a couple of centimetres from the top and apply red liner tape ABOVE the score line.








Prices change straight away. Languages are translated by Google.
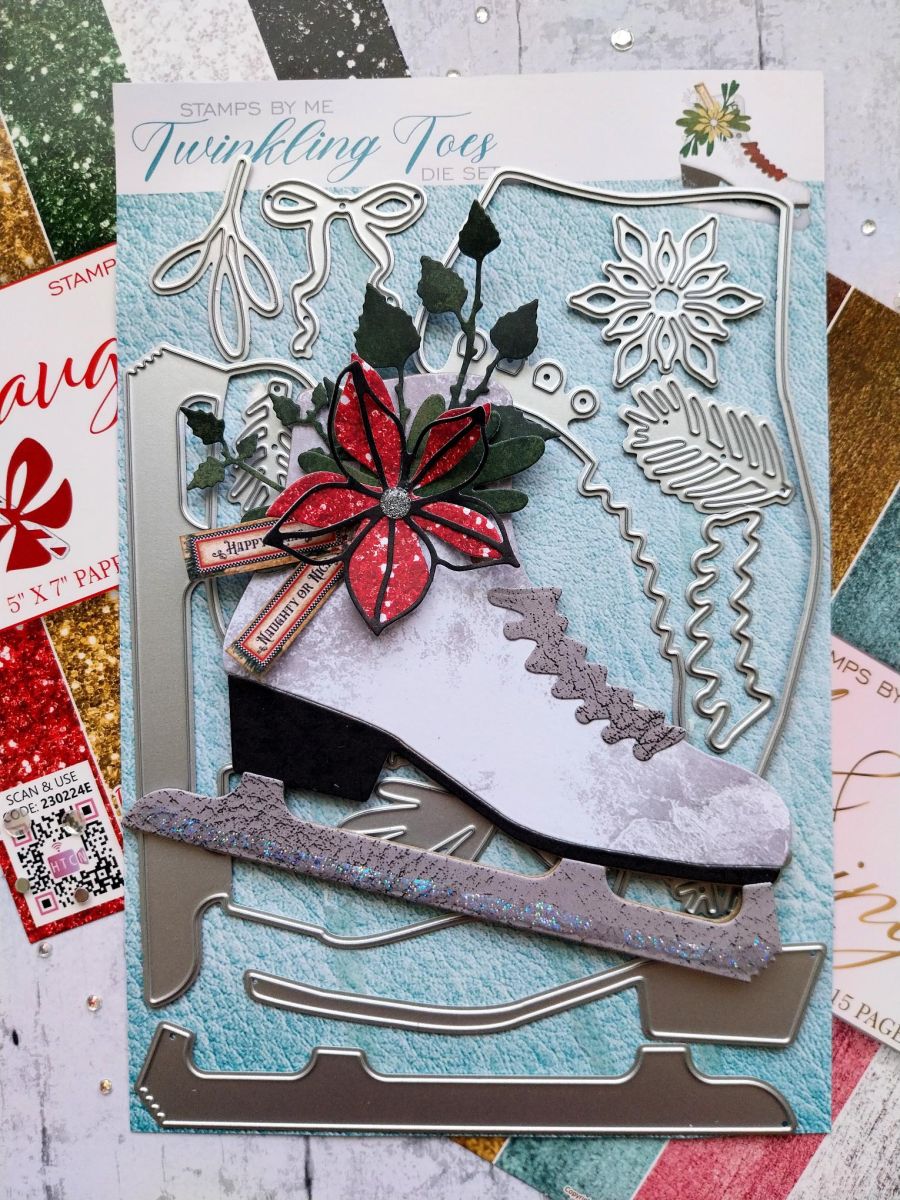
Die cut TWO skates from kraft card.
Score across ONE, a couple of centimetres from the top and apply red liner tape ABOVE the score line.
Remove the backing from the tape, line up the two skates and press firmly together to create your shaped card blank.
Using papers from the leather effect pad, die cut the other skate elements.
Glue them together on your shaped card blank.
Using papers from all your festive sets, die cut the florals and foliage in your chosen colours.
Adhere to the top of your skate, as required.
Cut out a couple of the sentiment tabs and glue them so they are tucked into your 3D floral display.
To finish, use your Stickles to add a touch of festive snow/ice to your card.
Share your make with the Stamps By Me community - and keep this guide for next time.
Prefer the previous layout? Open the old page.