


Step 1 of 10
Use this beautiful die to cut TWO frames from kraft card.








Prices change straight away. Every language is our own translation, not Google.
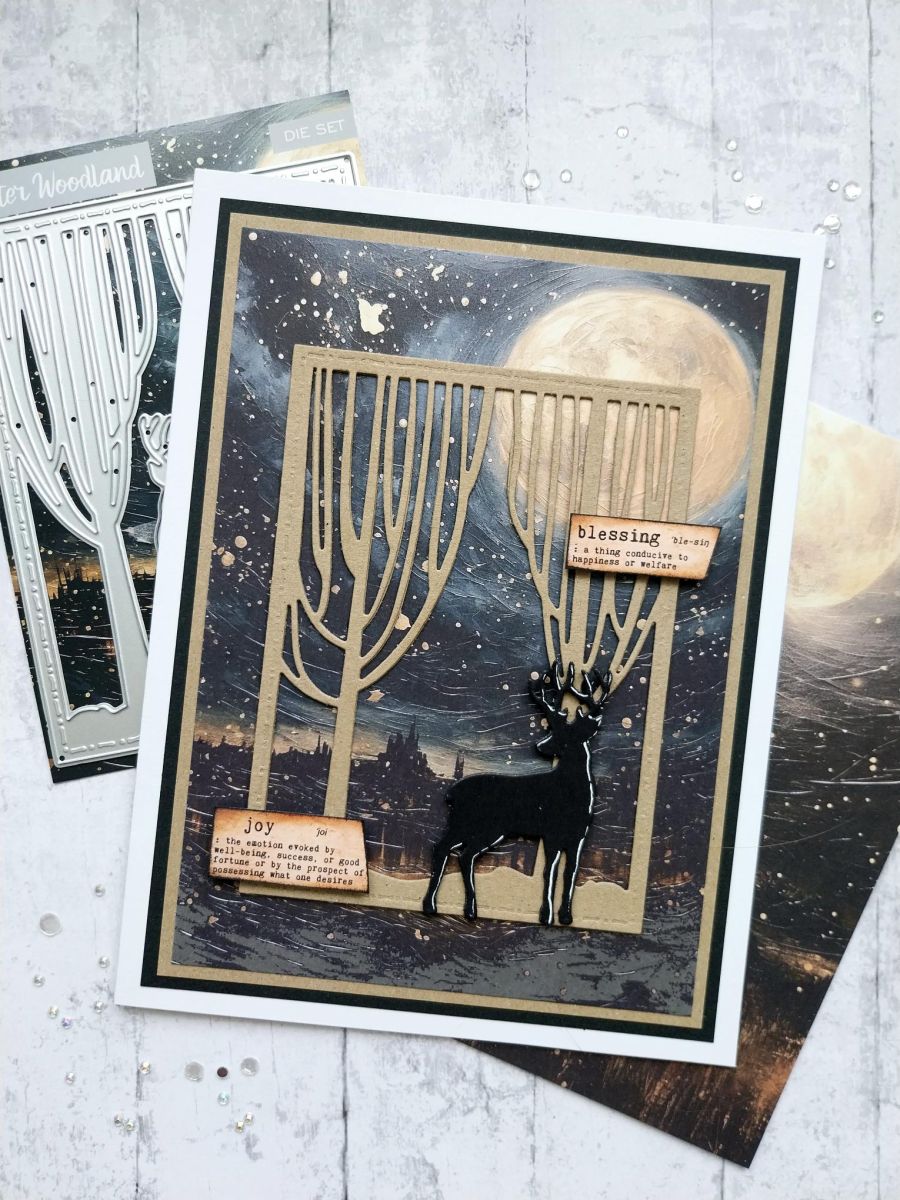
Use this beautiful die to cut TWO frames from kraft card.
Glue the frames together thus creating a more substantial 3D element.
Die cut THREE Stags from black cardstock.
Again, glue all three together to create your beautiful 3D Stag.
Use a white gel pen to add accents and highlights to your Stag.
Choose a paper from the 5 x 7" paper pad and adhere your 3D frame in the centre.
Adhere your Stag to the right, using foam pads for extra dimension.
Adhere your artwork on to kraft card measuring 5 1/4 x 7 1/4", then onto black card 5 1/2 x 7 1/2" and finally onto your card blank.
Trim off TWO sentiments from the sentiment tab sheet in this collection. Swipe around the edges with your black ink pad.
Adhere your sentiment tabs where required, using foam pads to create more dimension to your finished card.
Share your make with the Stamps By Me community - and keep this guide for next time.
Prefer the previous layout? Open the old page.



