










QUICK LINKS

info@howtocraftnetwork.com
We just got smarter - shop and watch with the SBM appGET THE APPWatch us live on your smart TVSEE HOWDiscover our dedicated IPTV channel - go to my-telly.comWATCHCollect loyalty points on every orderFIND OUT MORE
Welcome to the How to Craft Network
 
SBM SHOP
FOLLOW US
GIVE YOUR FRIENDS $10 OFF REFER A FRIEND › DISCOVER MY-TELLY.COM › WE JUST GOT SMARTER GET THE APP › AWARD WINNING CHANNEL ON YOUR TV › JOIN THE CLUB FOR SAVINGS ›
 
Cheers!
How to guide · 11 steps

Cheers!

16 October 2024✦ Toni DarrochDie CuttingEmbossing FoldersStamping TechniquesStencils
11steps
1products to shop now
Step 1 of 11

Everything you need

0 of 15 ready· 1 to buy
Shop the list
From your craft stash
Tick what you have - this device remembers.

Step by step

tap a picture to see it big · tap DONE as you go - this device remembers
Step 1 of 11

Place stencil 1 on a piece of 5 x 7" white card. Use a blending tool to apply the Fossilized Amber and Vintage Photo. Line up stencil 2 and blend with Fossilized Amber and Frayed Burlap. Apply Frayed Burlap and Walnut Stain through stencil 3 and finally blend Frayed Burlap and Hickory Smoke through stencil 4. 

Step 2 of 11

Stamp over the stencilled images in Midnight, with the coordinating stamps. 

Step 3 of 11

Use the dies to cut them out. 

Step 4 of 11

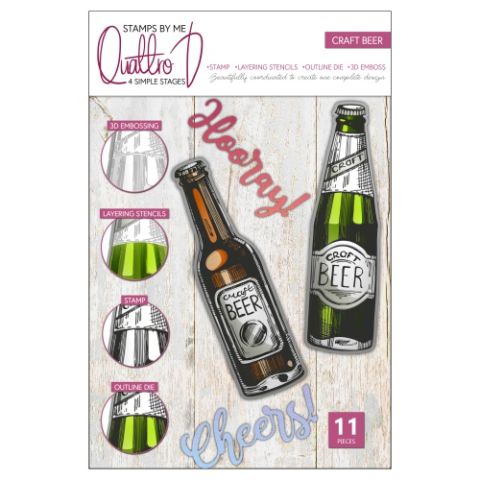
Finally, place the 3D elements inside the embossing folder and run them through your machine. Pop to one side.  

Step 5 of 11

Ink up the debossed side of the folder with Hickory Smoke and spritz with water. 

Step 6 of 11

Place a piece of white card measuring 6 1/2 x 4 3/4" inside the inked folder and run it through your machine. 

Step 7 of 11

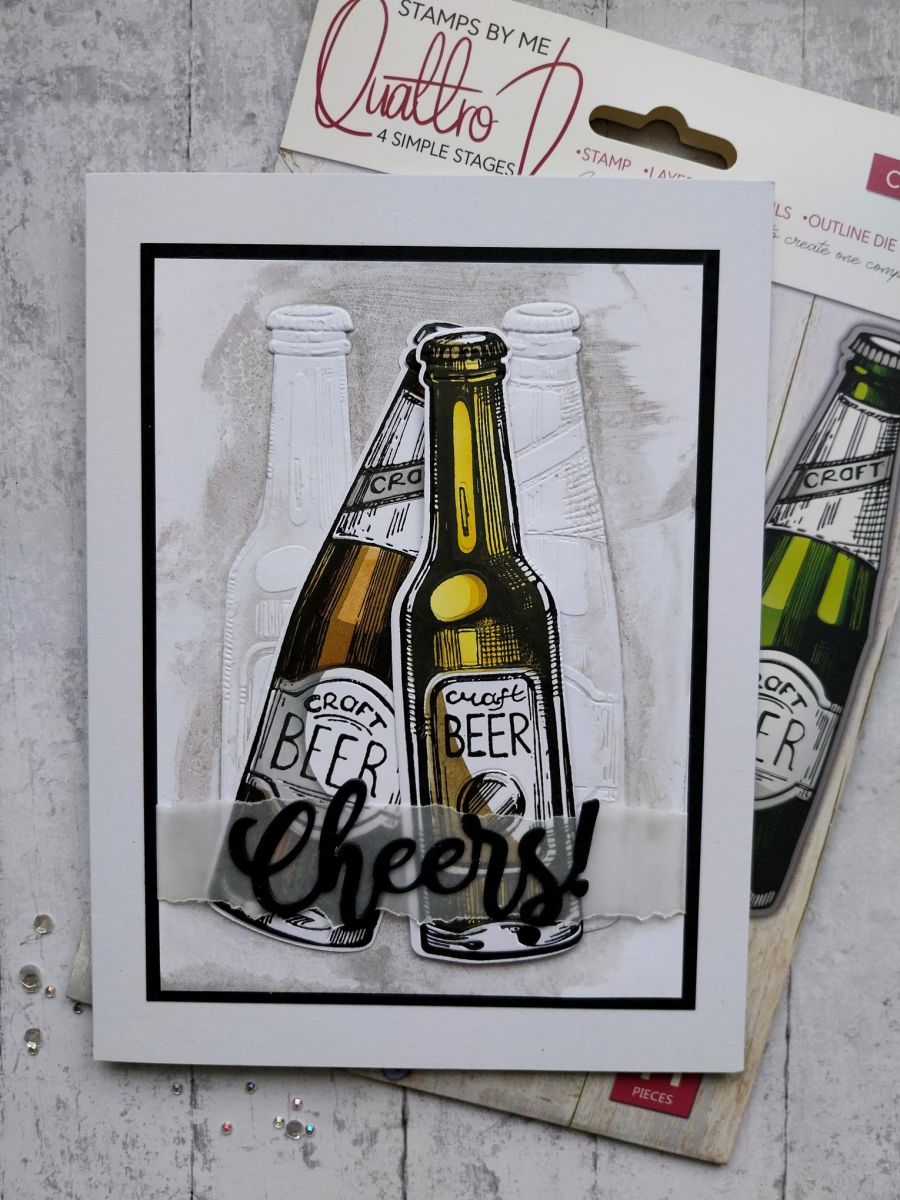
Adhere your two beer bottles on to your embossed background using a combination of wet glue and foam pads, to add dimension. 

Step 8 of 11

Wrap a piece of torn vellum around the lower half of the card and adhere on the reverse with a tape runner or double sided adhesive tape. 

Step 9 of 11

Mat your artwork on to black card trimmed to 6 3/4 x 5" and then on to the front of your white card blank. 

Step 10 of 11

Die cut "Cheers" FOUR times, from black cardstock.  

Step 11 of 11

Adhere the four die cut words together and then adhere across the vellum, to complete your card. 

You made it!

Share your make with the Stamps By Me community - and keep this guide for next time.

More die cutting guides

all the guides ›

Prefer the previous layout? Open the old page.


