


Step 1 of 9
Ink around the edges of this decorative paper with your Black Soot Distress ink.








Prices change straight away. Languages are translated by Google.
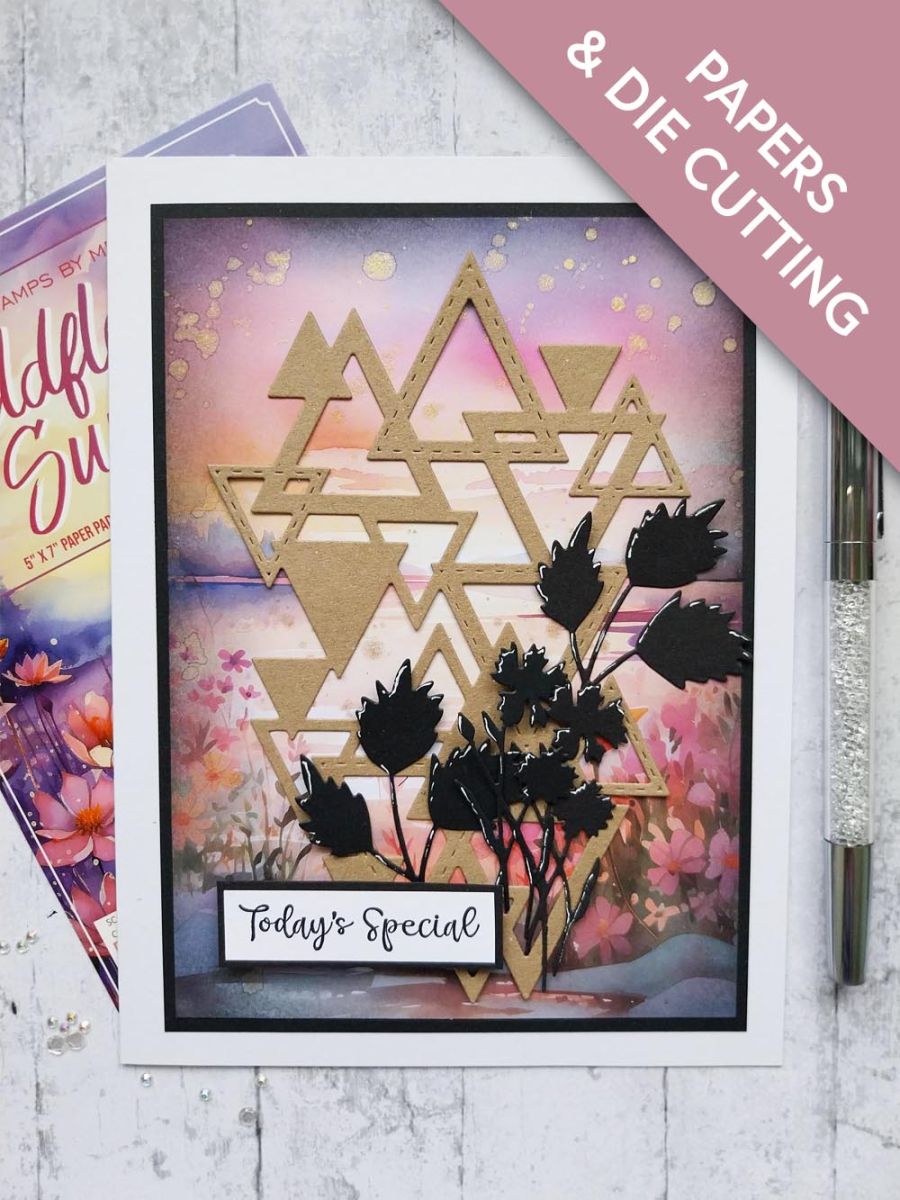
Ink around the edges of this decorative paper with your Black Soot Distress ink.
Swirl your Pearlywinks Pearl Mist to activate the mica, spray on to your glass mat then splatter over your artwork as required. Pop aside to dry.
Die cut the Trendy Triangles from kraft card.
Adhere to your paper.
Mat on to black card cut to 7 1/4 x 5 1/4" and then on to your white card blank.
Die cut a selection of the wild flowers from black card.
Adhere to the bottom right of the card, tucking some of them under areas of the die cut.
Use a white gel pen to add accents and highlights where required.
Stamp the sentiment in Midnight, on to a piece of white card and trim to size. Mat on to black card, trim to size and adhere to your finished card with foam pads.
Share your make with the Stamps By Me community - and keep this guide for next time.
Prefer the previous layout? Open the old page.



