Step 1 of 11
Cut a piece of white card to 7 3/4 x 3 3/4".
Use your blending brush to apply Heather over the card, keeping it darker around the edges and fading out towards the centre.








Prices change straight away. Languages are translated by Google.
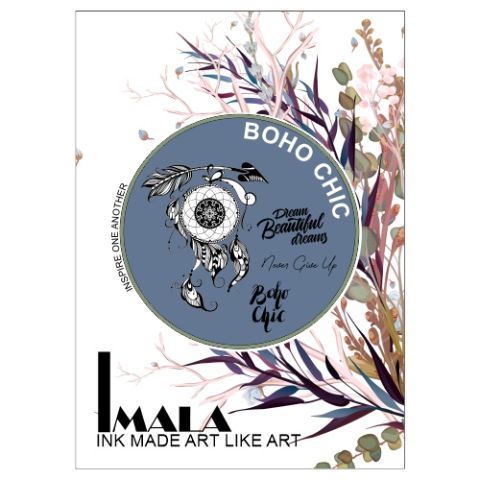 Imala - A5 Stamp - Boho ChicIMALA Boho Chic A5 Stamp$17.99BUY✓ ADDED
Cut a piece of white card to 7 3/4 x 3 3/4".
Use your blending brush to apply Heather over the card, keeping it darker around the edges and fading out towards the centre.
Splatter with water drops and mop up the excess ink with a paper towel.
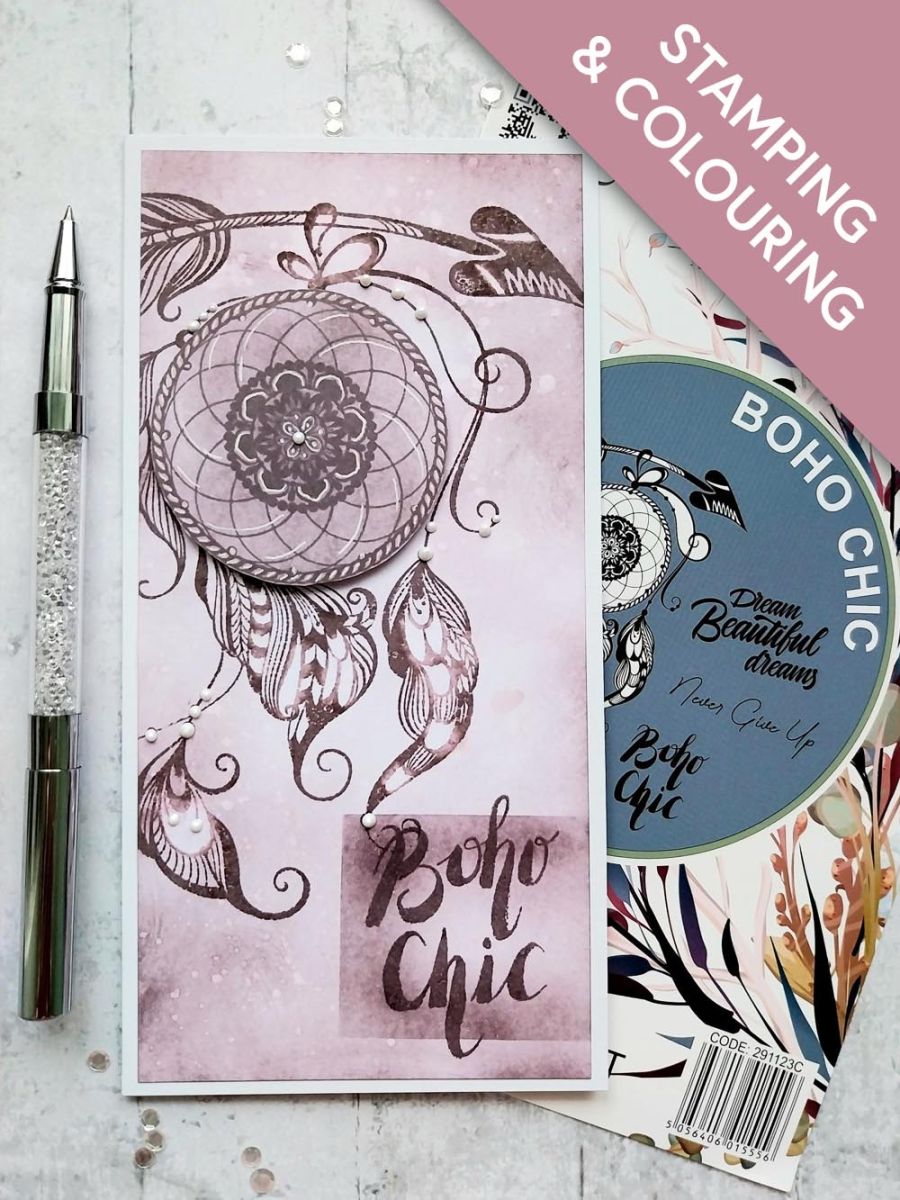
Stamp the beautiful dreamcatcher from Boho chic, with the Heather, coming on to the top left of the card.
Use a paint brush to apply water to areas of the design. Wait a few seconds for the water to activate the ink, then "lift" out the ink with a paper towel, repeating this until you are happy with the effect. This is referred to as "faux bleaching".
On a seperate piece of white card, apply Heather but intensify the depth of colour. Stamp just the centre circle design of the dreamcatcher, in Heather.
Fussy cut the centre circle, as seen here.
Adhere the inked circle to the centre of your stamped artwork, with foam pads for added dimension.
Use your white gel pen to add accents and highlights to your stamped artwork.
Using your sentiment stamp as a size guide, apply Heather within one of the IMALA stencil frames to create a darker inked panel.
Stamp the sentiment in Heather, within the inked panel.
Mat your artwork on to your white DL card blank.
Finally, apply liquid pearl drops on to your artwork, where required.
Share your make with the Stamps By Me community - and keep this guide for next time.
Prefer the previous layout? Open the old page.