Step 1 of 9
Choose one of the floral papers from the Delicate Flora paper pack.








Prices change straight away. Languages are translated by Google.
Choose one of the floral papers from the Delicate Flora paper pack.
Score and fold the paper in half.
Score across the bottom of your wallet, 1 1/2" from the bottom.
Cut up the centre score line to the horizontal score line, thus creating 2 flaps.
Use your scissors to taper both sides of each flap, so they sit neatly when folded up.
Apply red liner tape down both sides of each flap, leaving the top edges clear. These will be your 2 pockets.
Peel off the red liner tape and fold the 2 flaps up, to create your 2 wallet pockets.
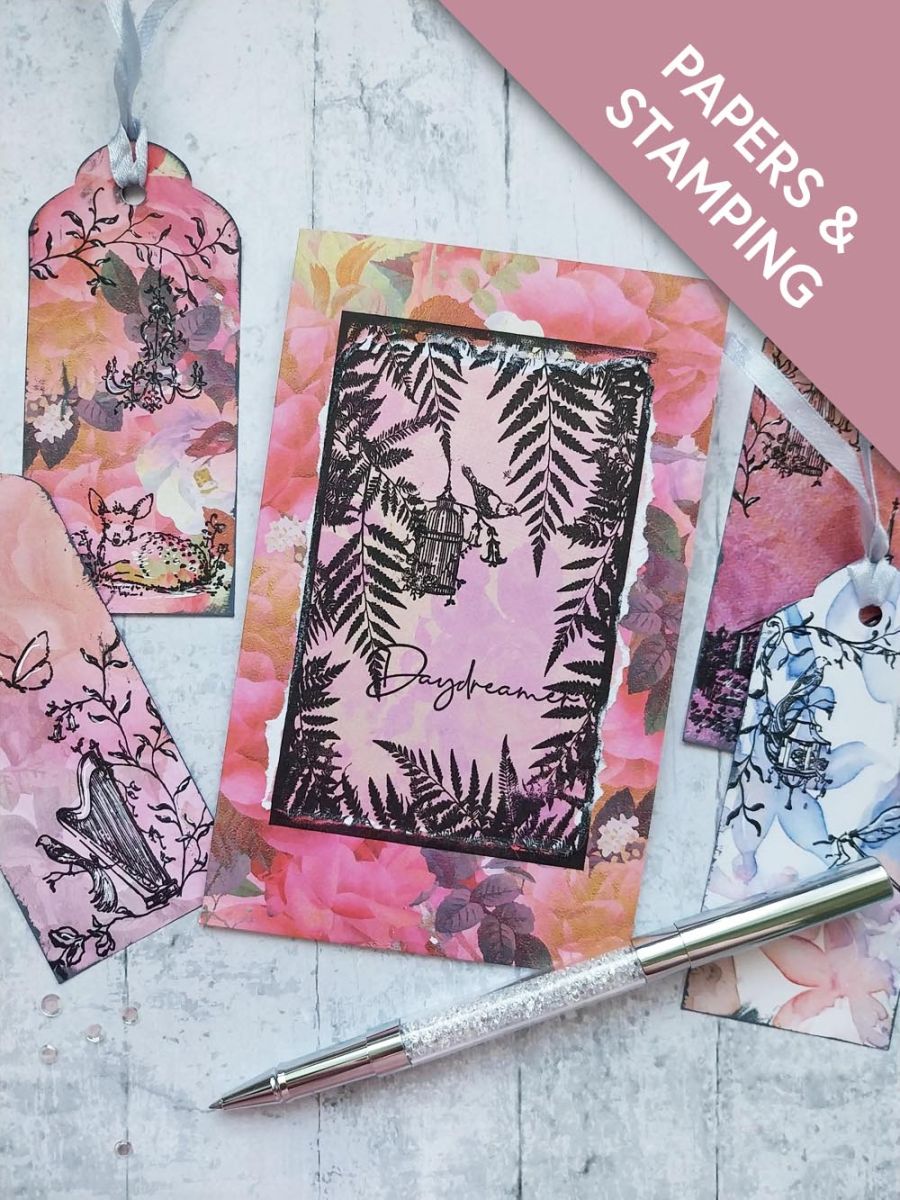
Tear a panel of this decorative paper, slightly smaller than the fern, foliage frame.
Adhere the torn panel on the front of your mini wallet. Stamp the fern frame, from Into The Woods, in Midnight, over the top of the panel... it will go over the torn edges but this is the distressed effect I wanted to achieve.
Stamp the Daydreamer sentiment across the frame and the beautiful birdcage, from the Birdsong stamp set, coming down from the ferns. Pop to one side.
Using the tag punch, create 4 tags from different decorative papers out of the Delicate Flora pack
Decorate your tags using a selection of stamps from both chapter 1 and chapter 2 of the Pretty Things Inside Collection. Thread ribbons through the punched holes to complete your project.
Share your make with the Stamps By Me community - and keep this guide for next time.
Prefer the previous layout? Open the old page.