


Step 1 of 8
Tear this decorative sheet to approximately 6 3/4 x 5 1/4". Using your blending brush, randomly blend Tiffany through the Fern stencil to add texture to your paper.








Prices change straight away. Languages are translated by Google.
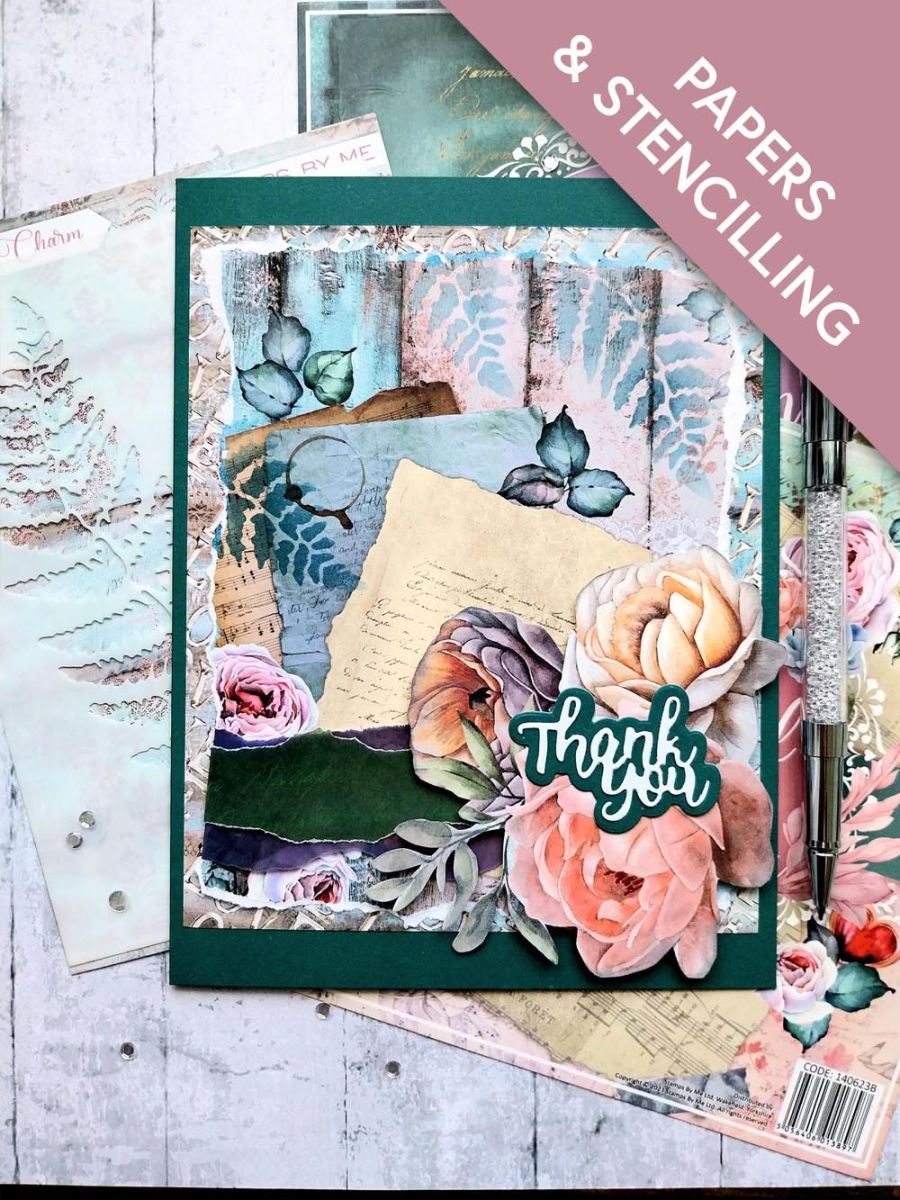
Tear this decorative sheet to approximately 6 3/4 x 5 1/4". Using your blending brush, randomly blend Tiffany through the Fern stencil to add texture to your paper.
Tear two strips of vellum, one narrower than the other. Place across the bottom of your artwork, as shown. Tuck the ends of the vellum over the edge of the paper and secure on the reverse with double-sided tape.
Trim this decorative LOVE paper to 7 x 5 3/4".
Secure your artwork on to the paper.
Fussy cut a selection of flowers from the painted mounts.
Secure your artwork on to your teal card blank, then use foam pads to adhere your floral elements in the bottom right corner. Pop your card to one side.
Die cut the detailed "Thank You" (from the Advent calendar) out of white card and the coordinting "mat" from teal card.
Secure your sentiment across your 3D floral elements and finish by using your Stickles to add a touch of glitter and sparkle.
Share your make with the Stamps By Me community - and keep this guide for next time.
Prefer the previous layout? Open the old page.



