Step 1 of 10
Trim this sheet from the Life In Full Colour paper pad, to 7 1/2 x 5".








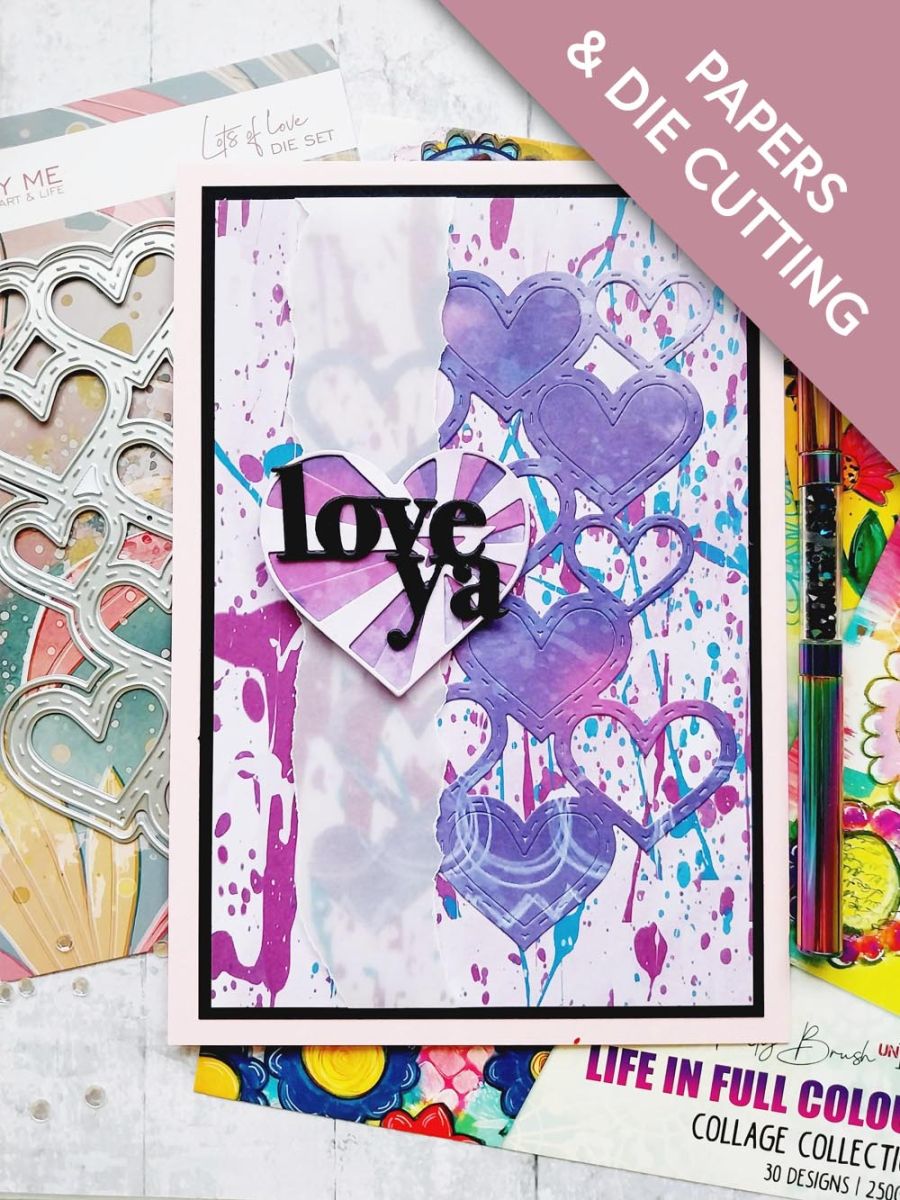
Trim this sheet from the Life In Full Colour paper pad, to 7 1/2 x 5".
Die cut Lots of Love from one of the coordinating papers.
Adhere on to the decorative paper and paper piece some of the hearts back in. Pop to one side.
Die cut all 3 dies, from the Star of Hearts set, from a coordinating paper.
Following the images on the reverse of the packaging, adhere your three die cuts together.
Tear a panel of vellum, placing it down the left side of your artwork. Tuck over the ends of the vellum and adhere on the reverse, with double-sided adhesive tape.
Adhere your 3D heart across your vellum panel.
Mat on to black card cut to 7 3/4 x 5 1/4" and then on to the front of your pink card blank before popping it aside.
Die cut "Love Ya" TWICE, from black card and adhere together.
Adhere across your 3D heart, to finish.
Share your make with the Stamps By Me community - and keep this guide for next time.
Prefer the previous layout? Open the old page.