


Step 1 of 12
Cut a piece of white card to 5 1/4 x 4". Ink the solid stamp from Stay Wonderful, with the Salvaged Patina. Spritz the stamp with water before stamping it just off the bottom left of the card.








Prices change straight away. Languages are translated by Google.
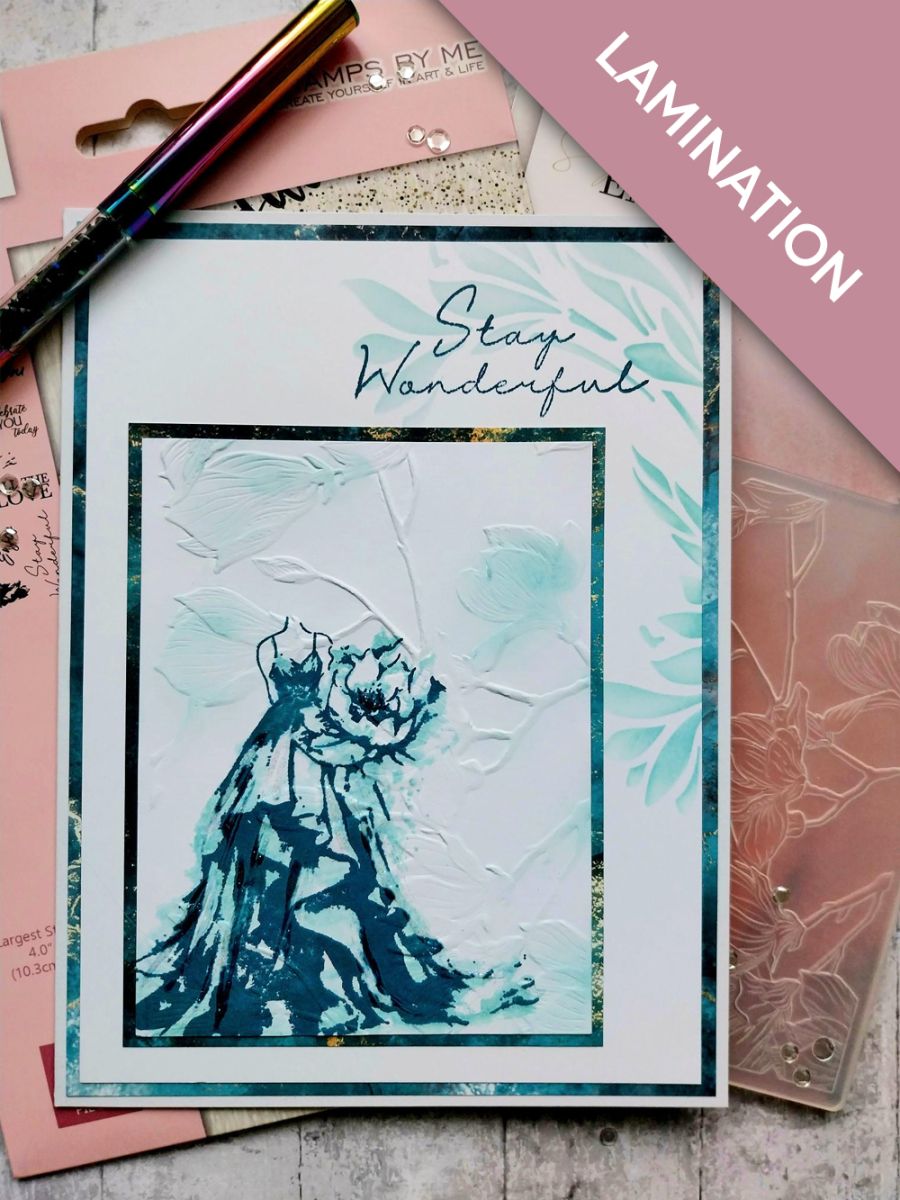
Cut a piece of white card to 5 1/4 x 4". Ink the solid stamp from Stay Wonderful, with the Salvaged Patina. Spritz the stamp with water before stamping it just off the bottom left of the card.
Use the Unchartered Mariner to ink up the detailed lamination stamp, before stamping it over your solid image.
Once the ink is dry, place inside the Paintly Florals embossing folder and run it through your machine.
Use your blending brush to lightly apply Salvaged Patina over random embossed areas of your artwork, before setting it to one side.
Cut another piece of white card to 7 1/2 x 5 1/2".
Blend the Salvaged Patina through the Sweet Like Honey floral stencil, around the top right corner of the card.
Stamp the sentiment with Unchartered Mariner, in the top right corner, using your embossed artwork as a positional guide.
Trim this marbled paper, from the Magical Elegance Fondation Pack, to 7 3/4 x 5 3/4".
Mat your stencilled background on to the paper and then on to the front of your card blank.
Trim another sheet of the decorative paper to 5 1/2 x 5 3/4".
Mat your embossed artwork on to the decorative paper.
Adhere to the bottom right of your stencilled card.
To finish your project, use the Stickles to add a touch of sparkle to the gown.
Share your make with the Stamps By Me community - and keep this guide for next time.
Prefer the previous layout? Open the old page.



