Give your friends $10 off their first order!
Refer a FRIEND








Prices change straight away. Every language is our own translation, not Google.
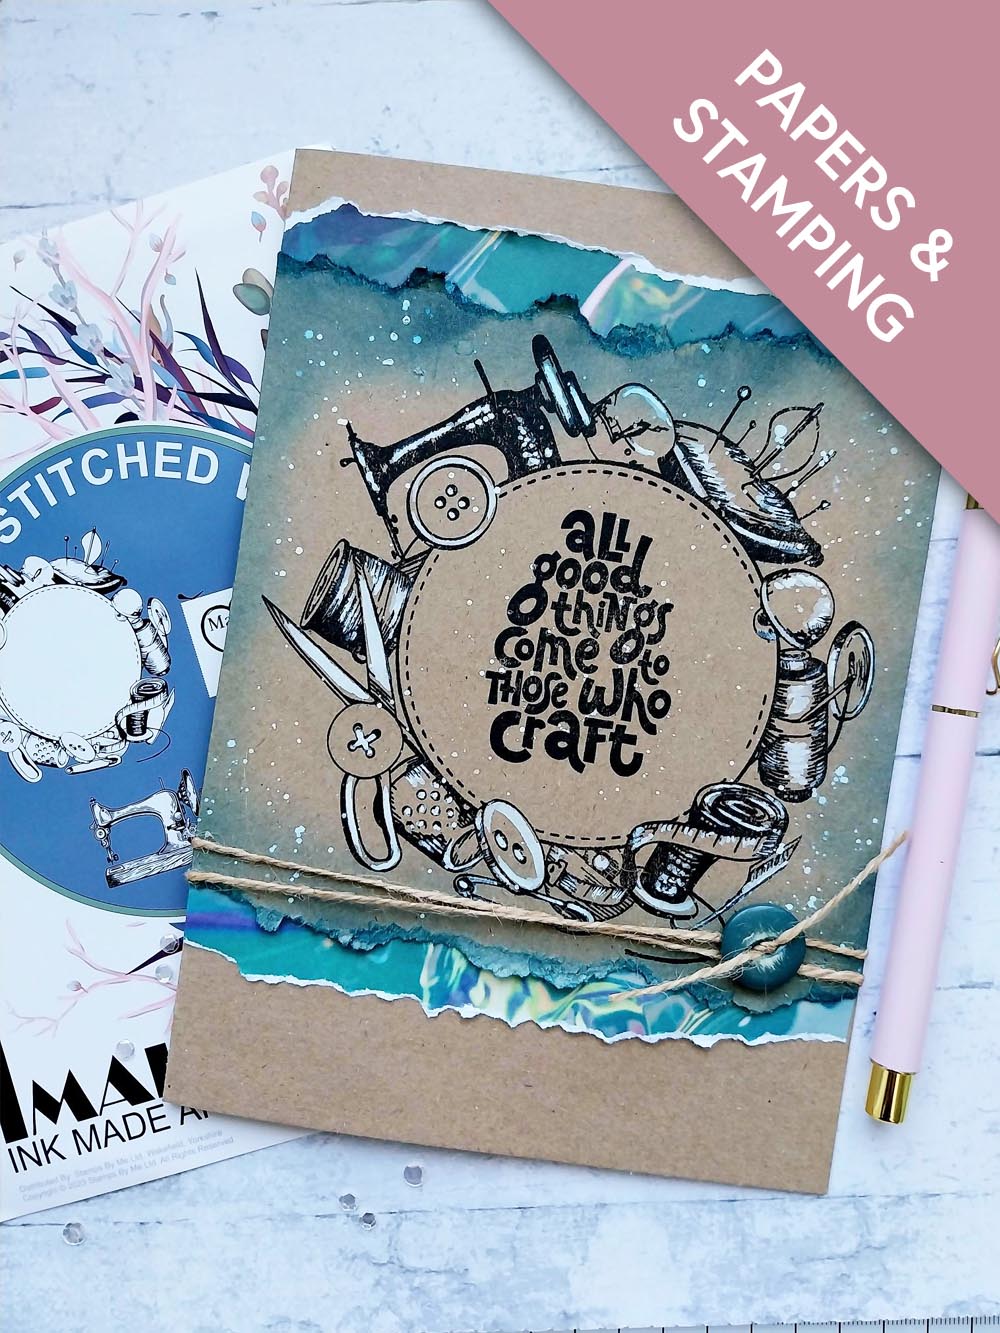
WHAT YOU WILL NEED:
Kraft card blank 8 x 6"
Kraft card
Imala Stitched With Love A5 Stamp Set
All Surfaces Teal 7 x 7" Paper Pad
SBM Hybrid Ink Pad: Midnight
SBM Premium Dye Ink Pad: Tiffany
Confetti Ink: White Lace
Paint brush
Blending tool
Black fine line pen
Button
Twine
Eureka 101 Watercolour Tablet
SBM A3 Magnetic glass mat
Paper Trimmer
Glue, glue gel
[click image to enlarge] 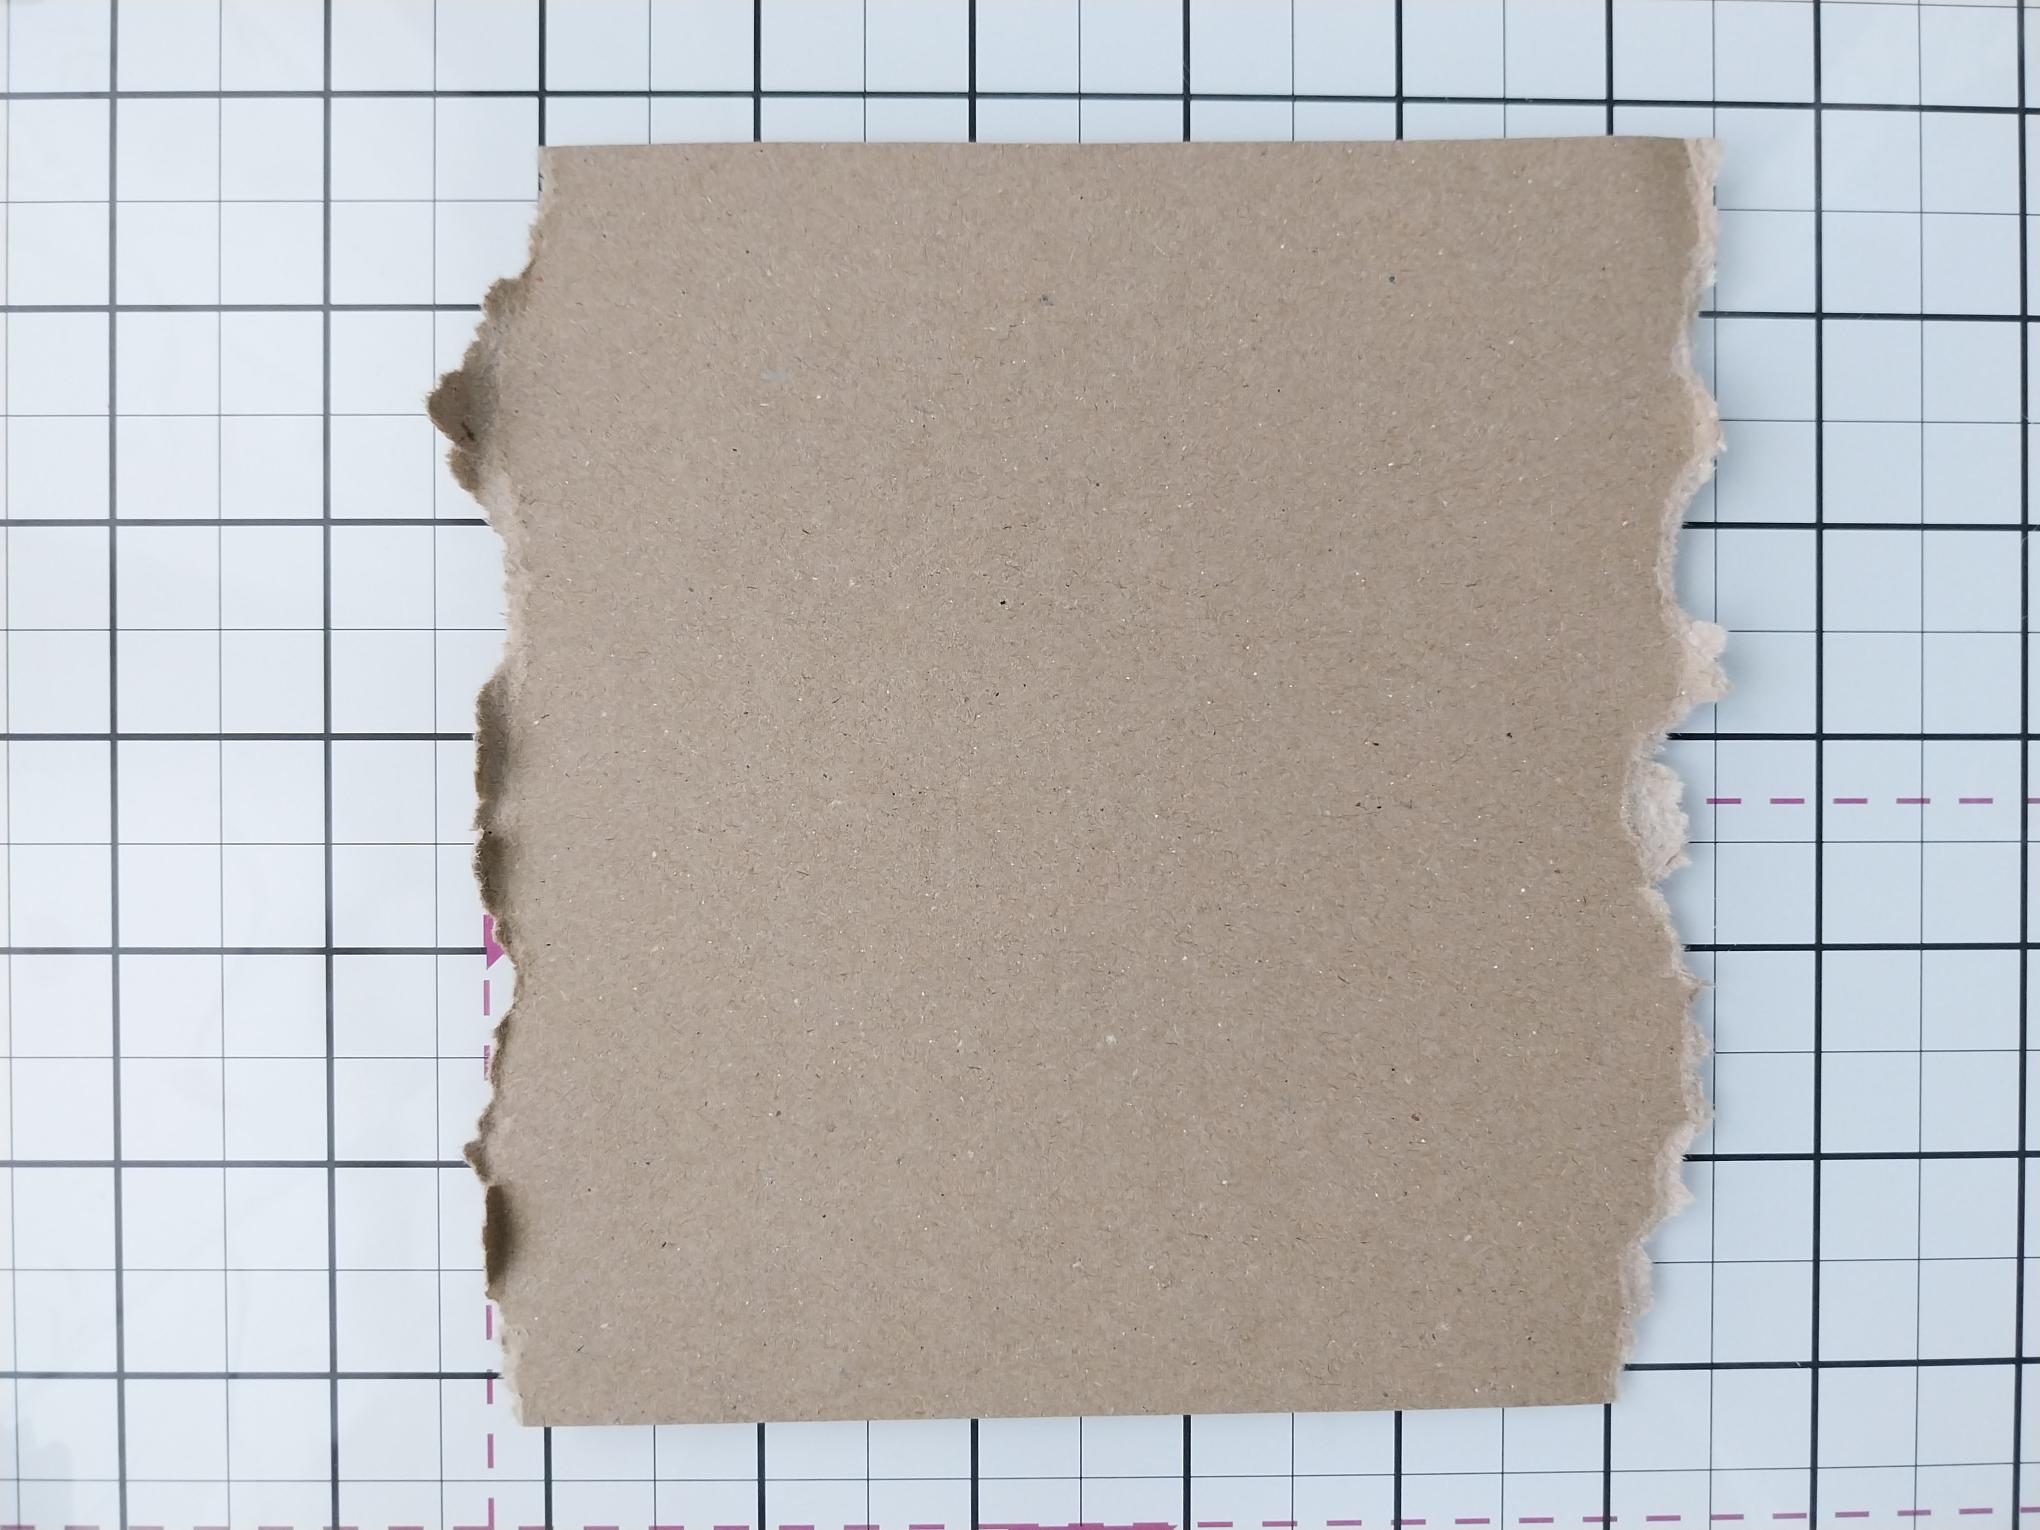
|
Tear a piece of kraft card the same width as your card blank and about 5 3/4" deep. |
|
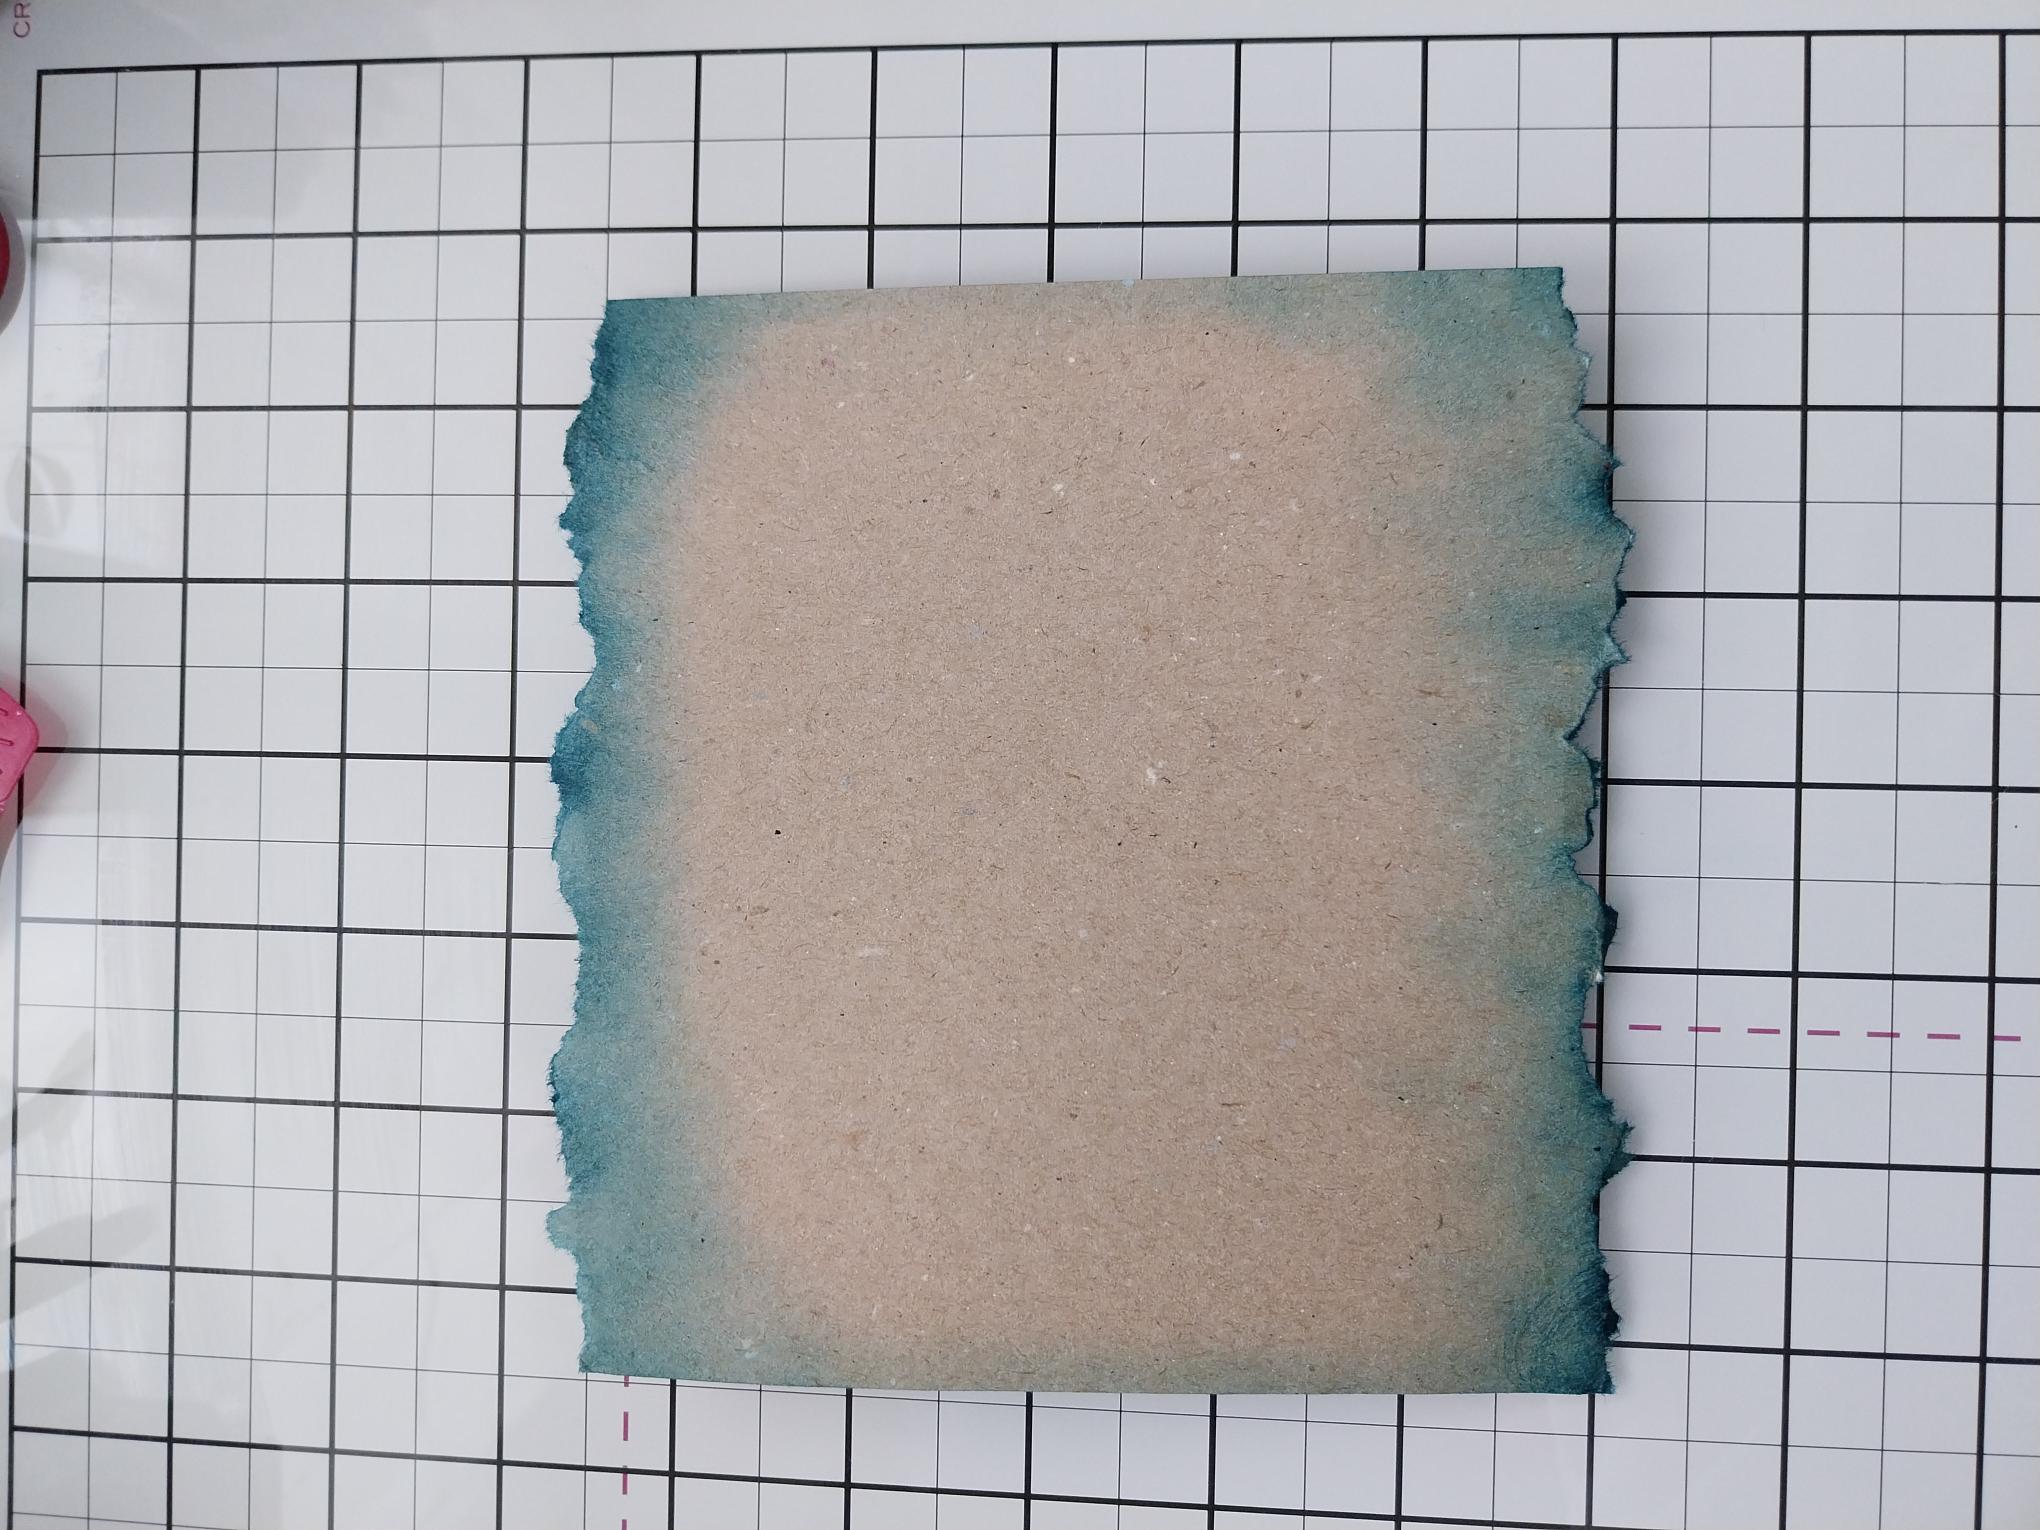
Blend Tiffany along the top and bottom torn edges. |
|
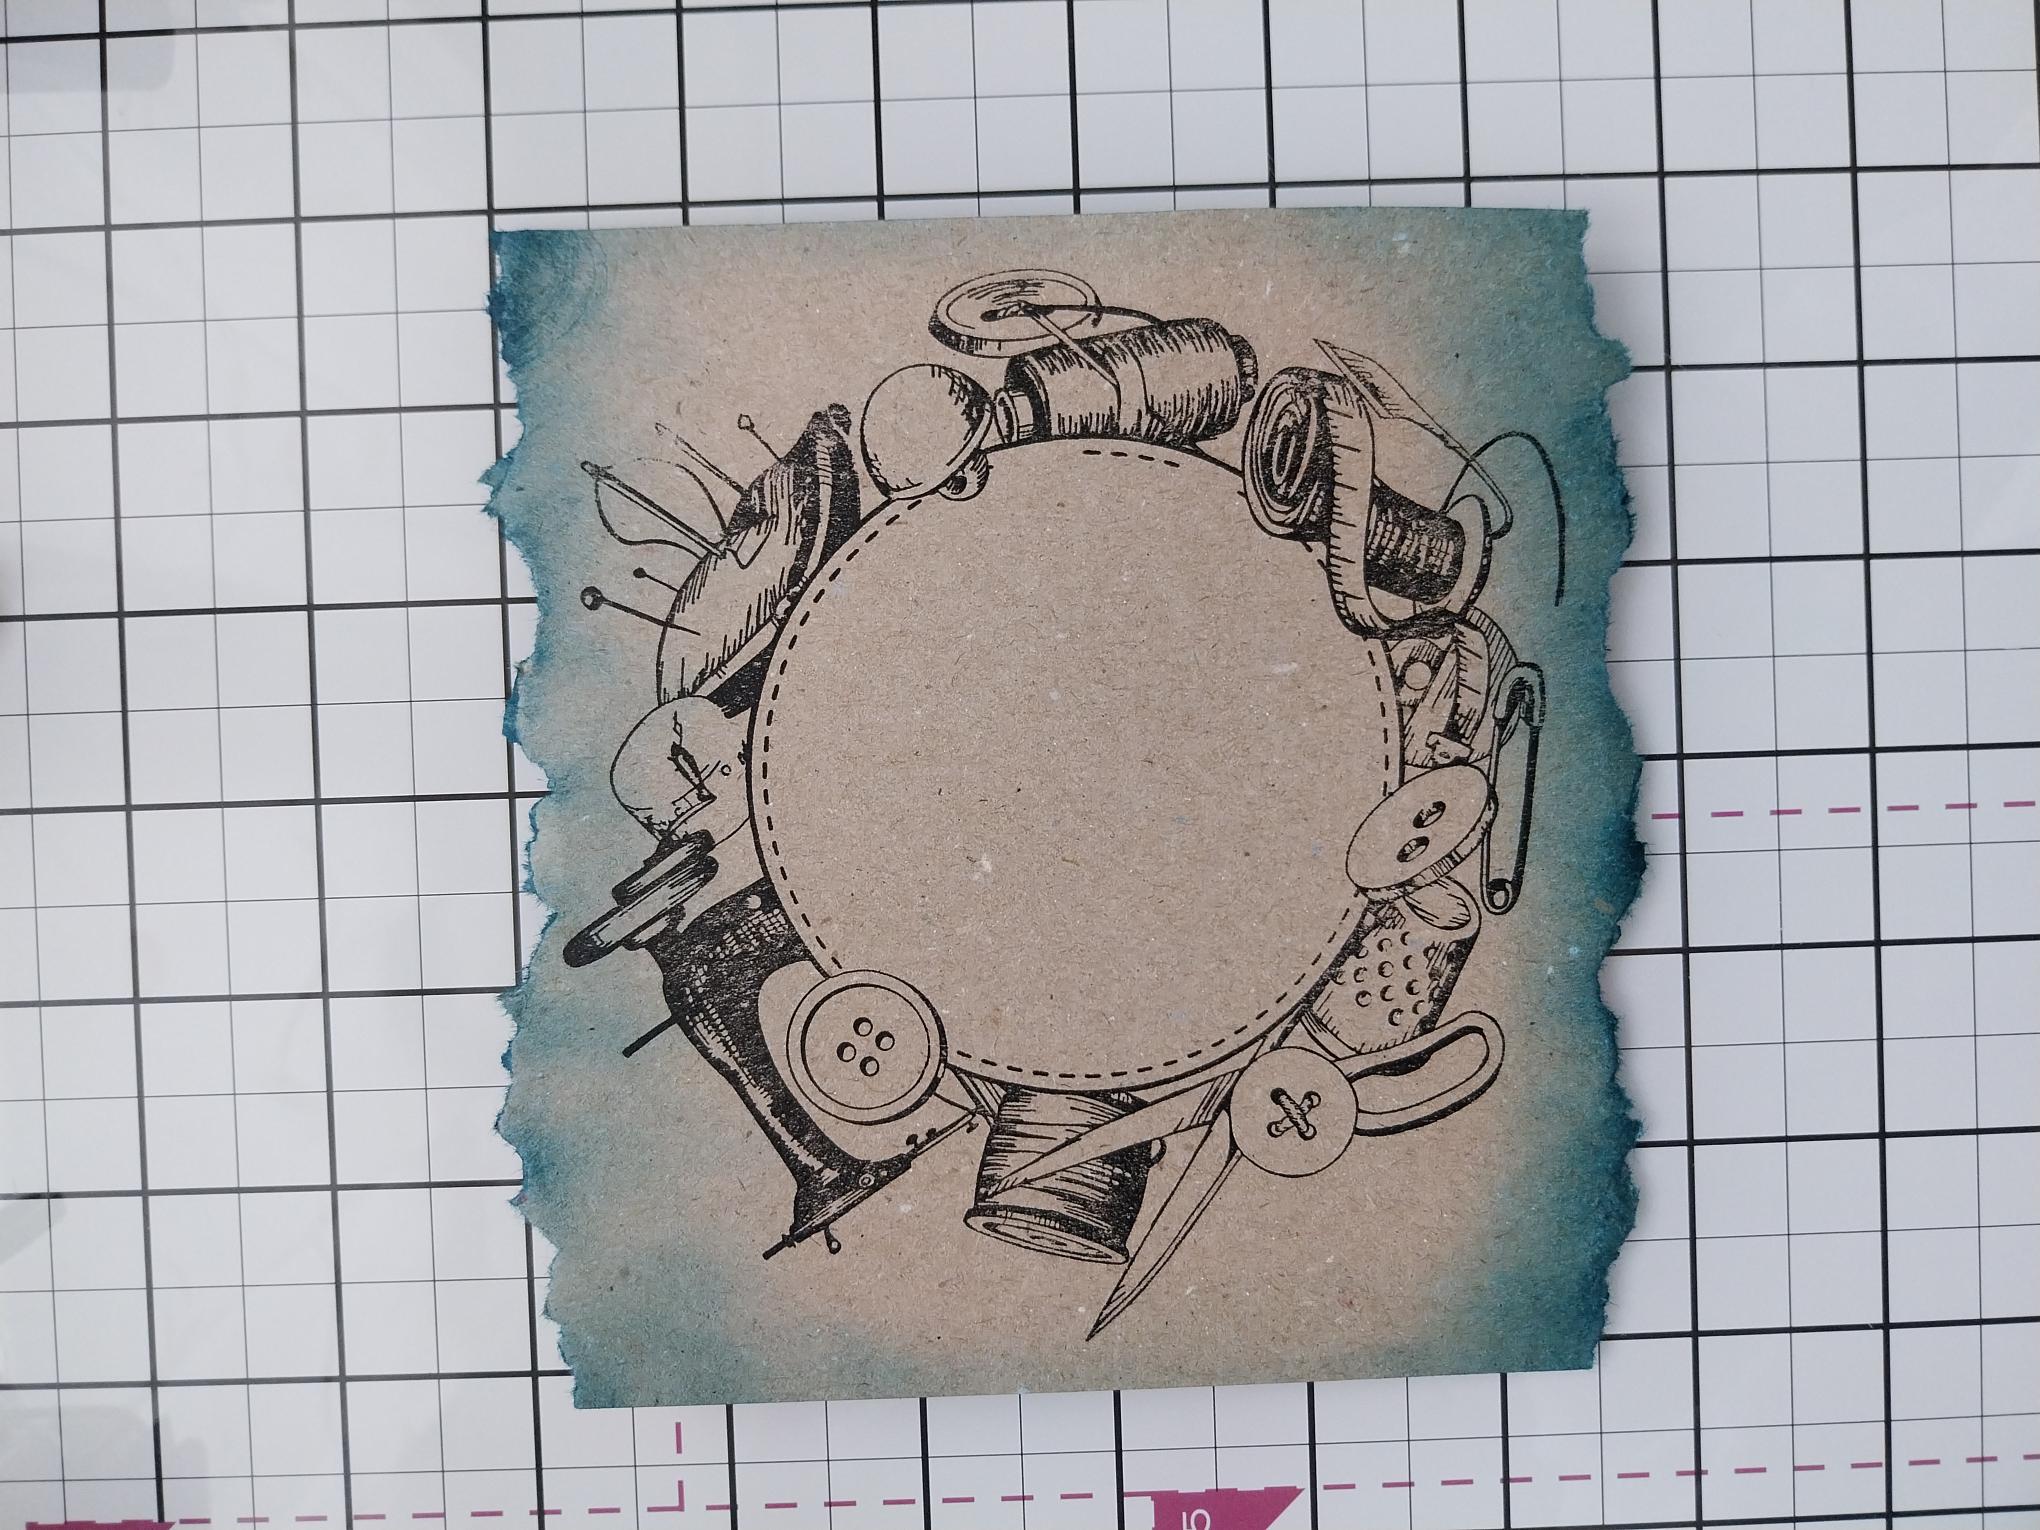
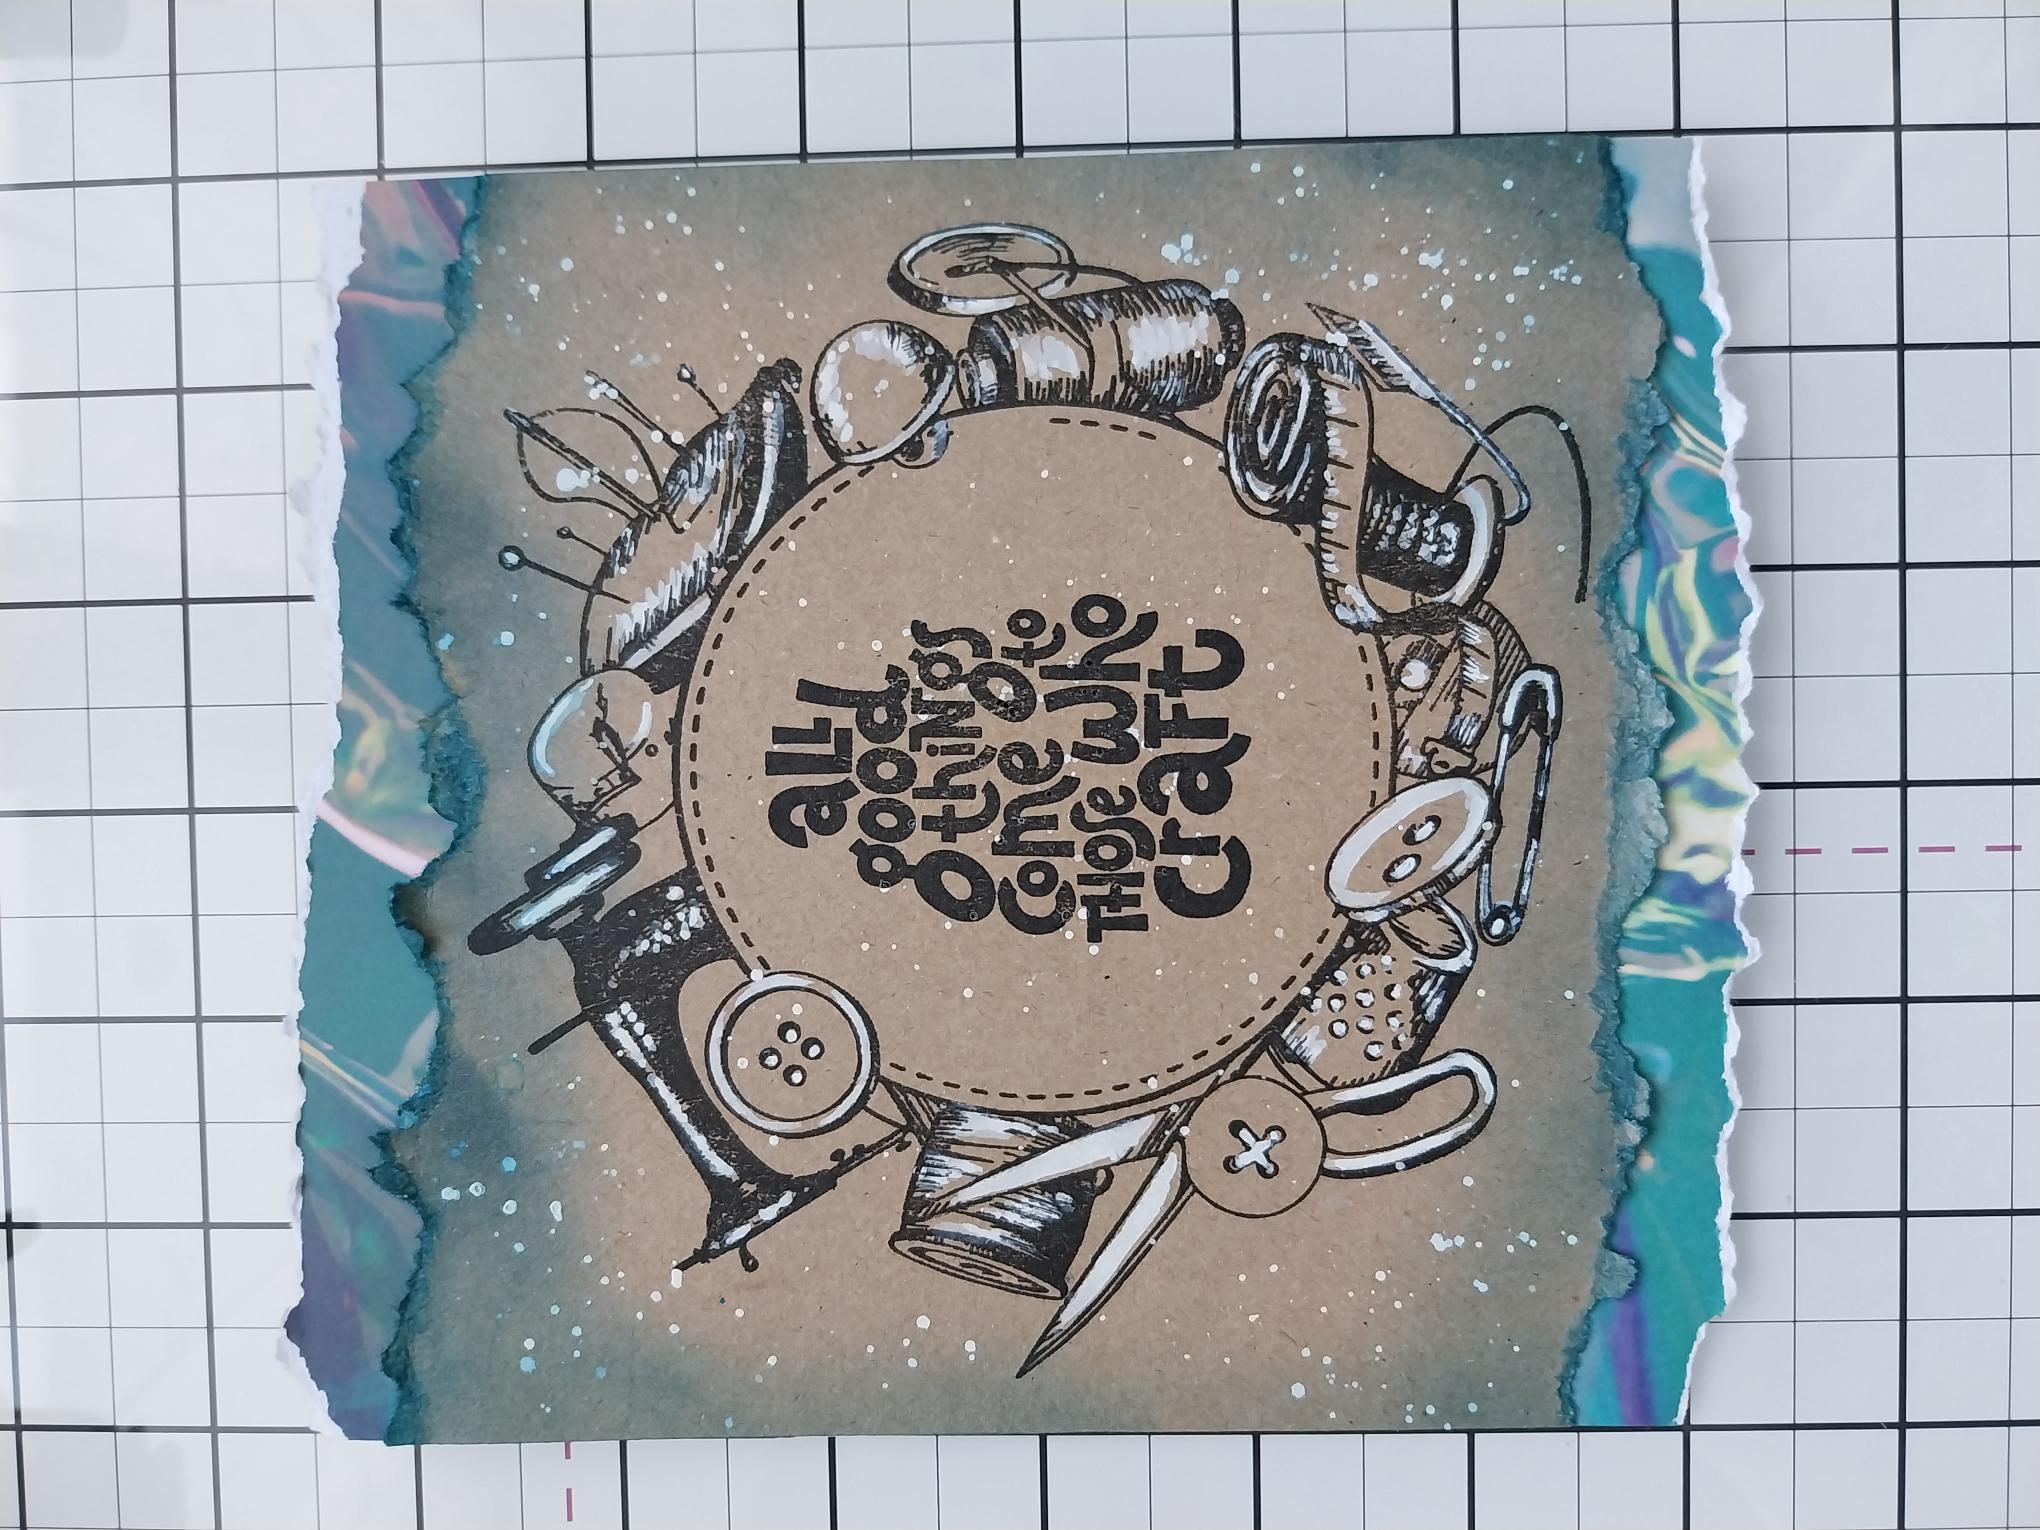
Stamp this beautiful design, in Midnight, in the centre of your torn, kraft panel. |
|
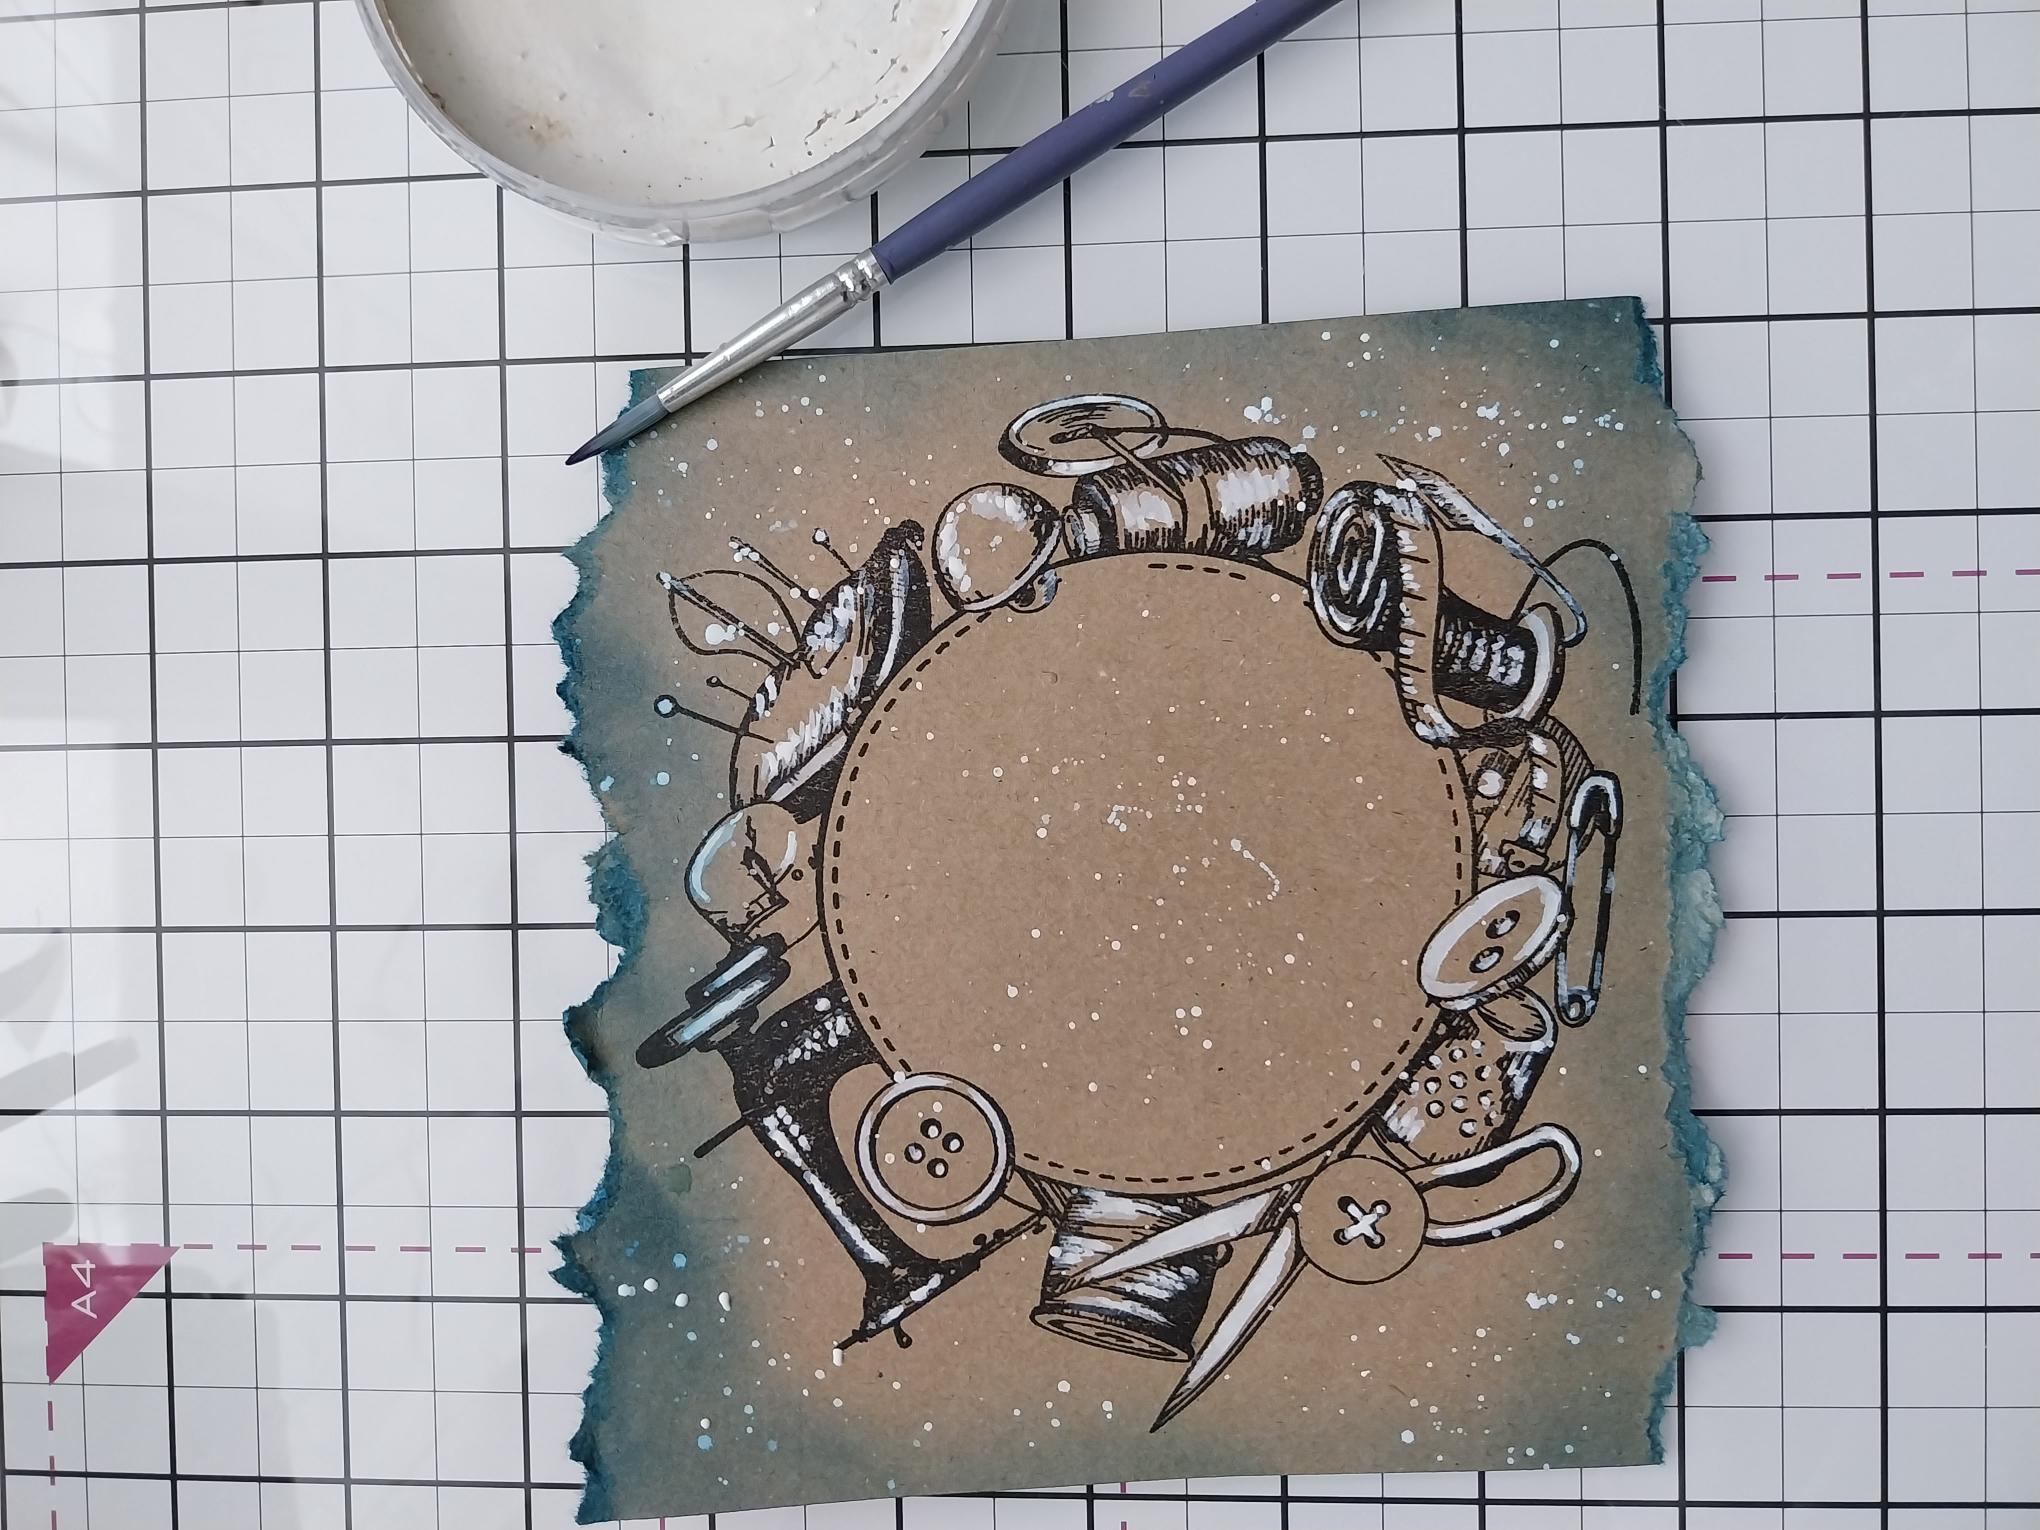
Paint areas of your stamped design with the White Lace Confetti paint before splattering paint over your artwork. Tip: I allowed my paint to dry before adding more paint, to achieve a brighter tone of white in random areas. |
|
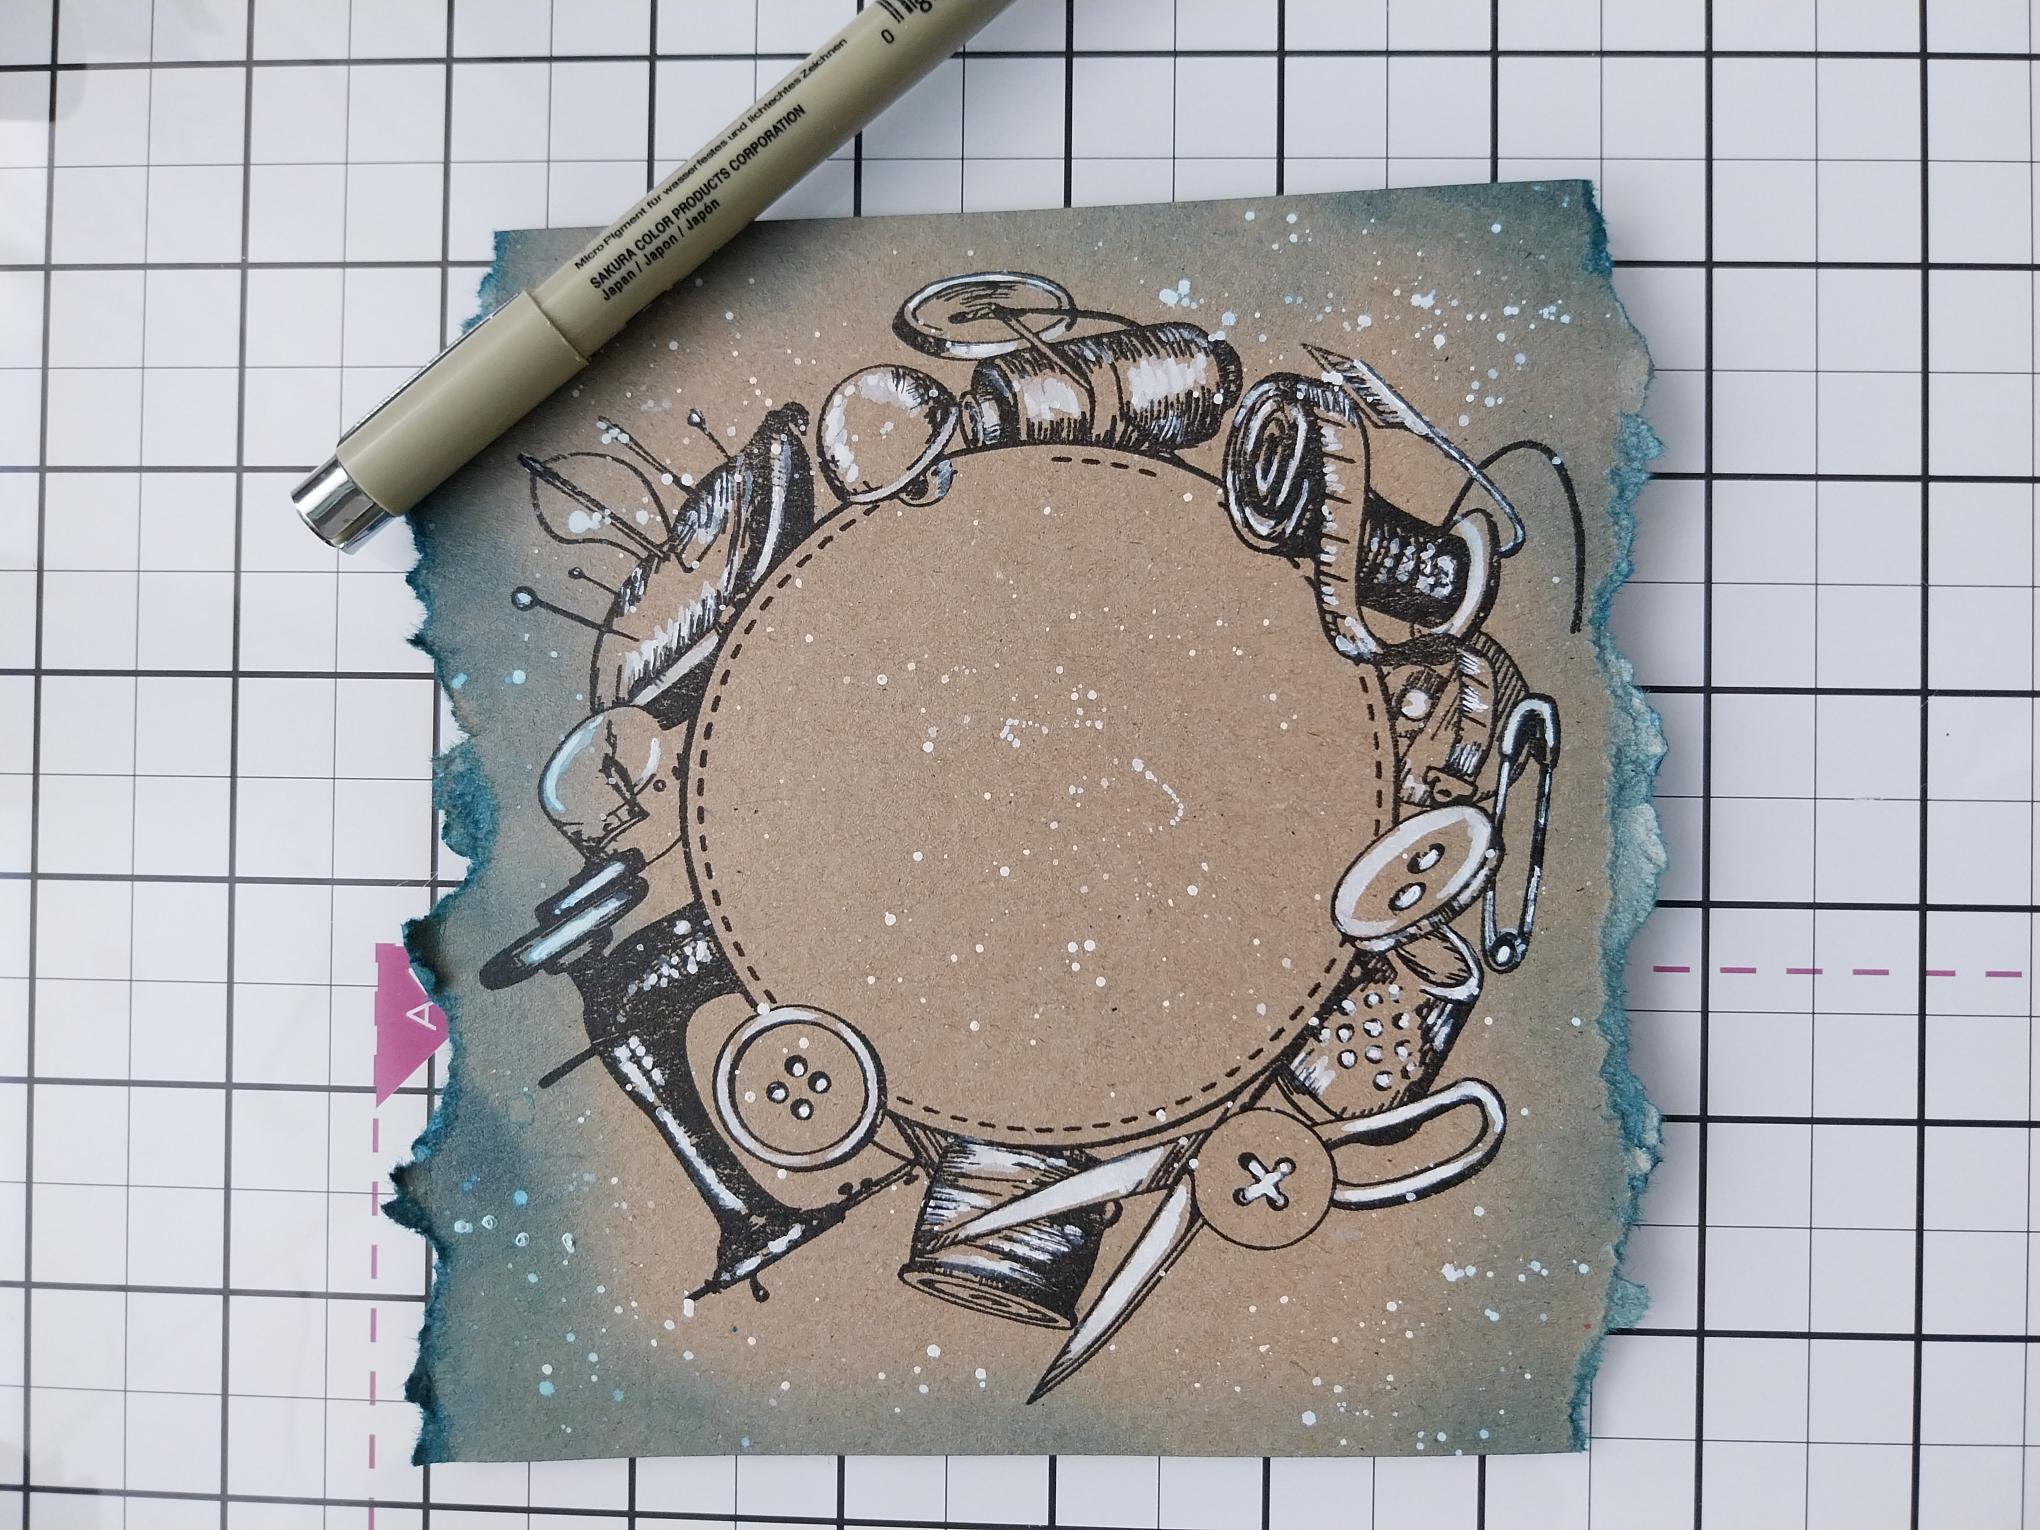
Once my artwork was completely dry, I used a black, fine line pen to go back in and draw over stamped lines that had lost their definition. |
|
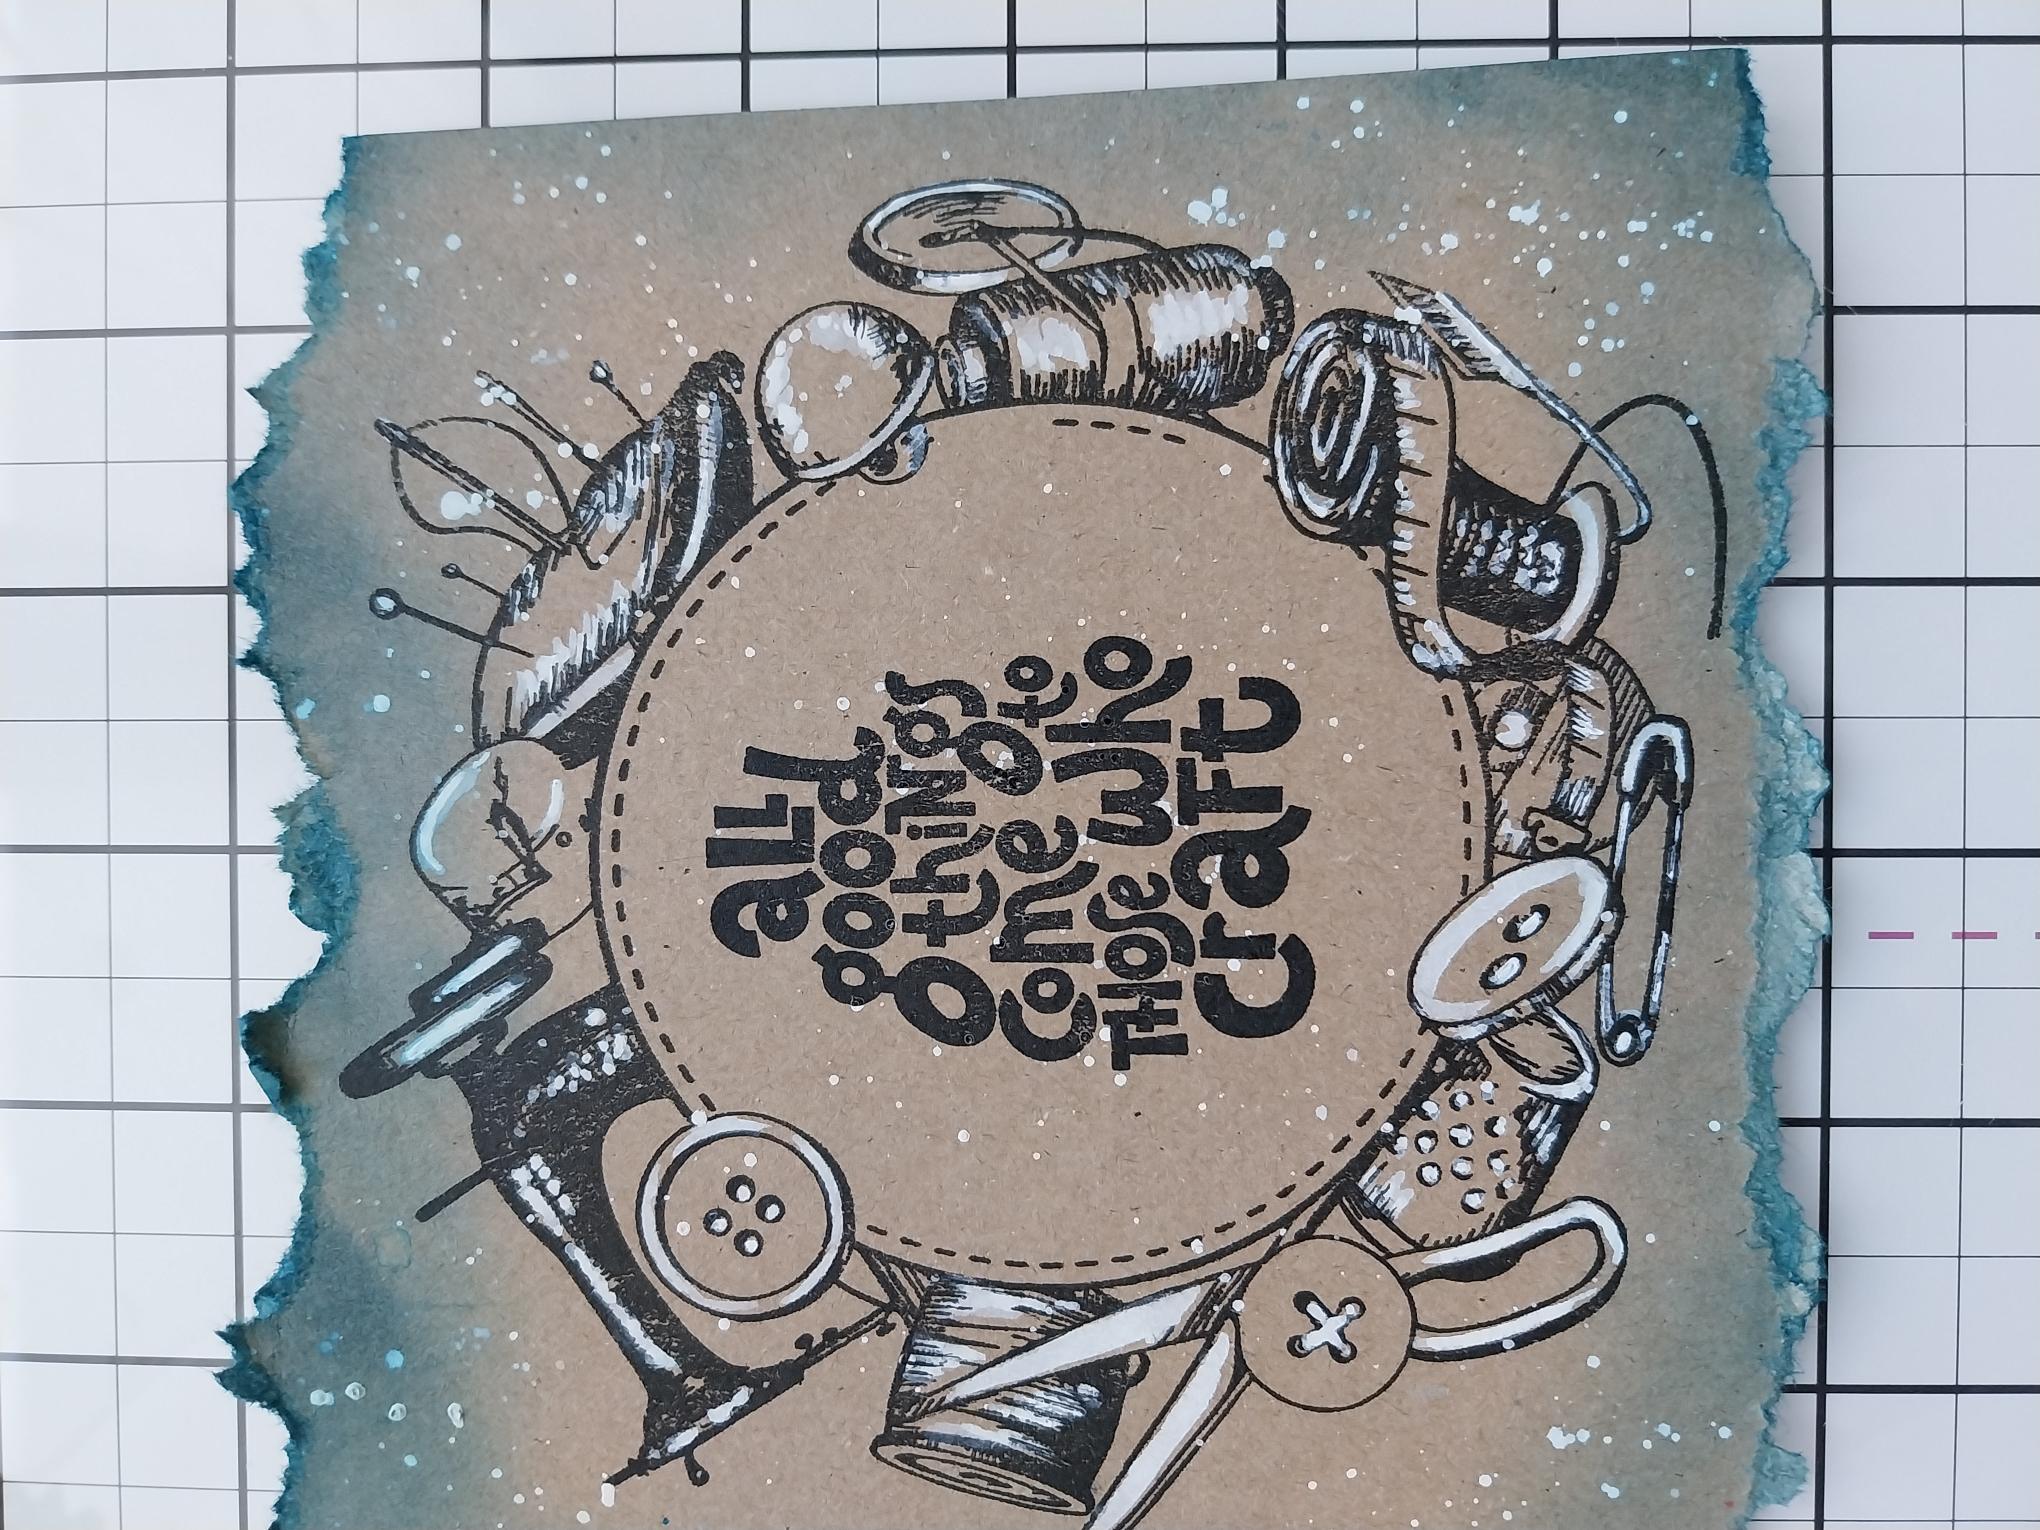
Stamp your sentiment in the centre, with the Midnight ink. |
|
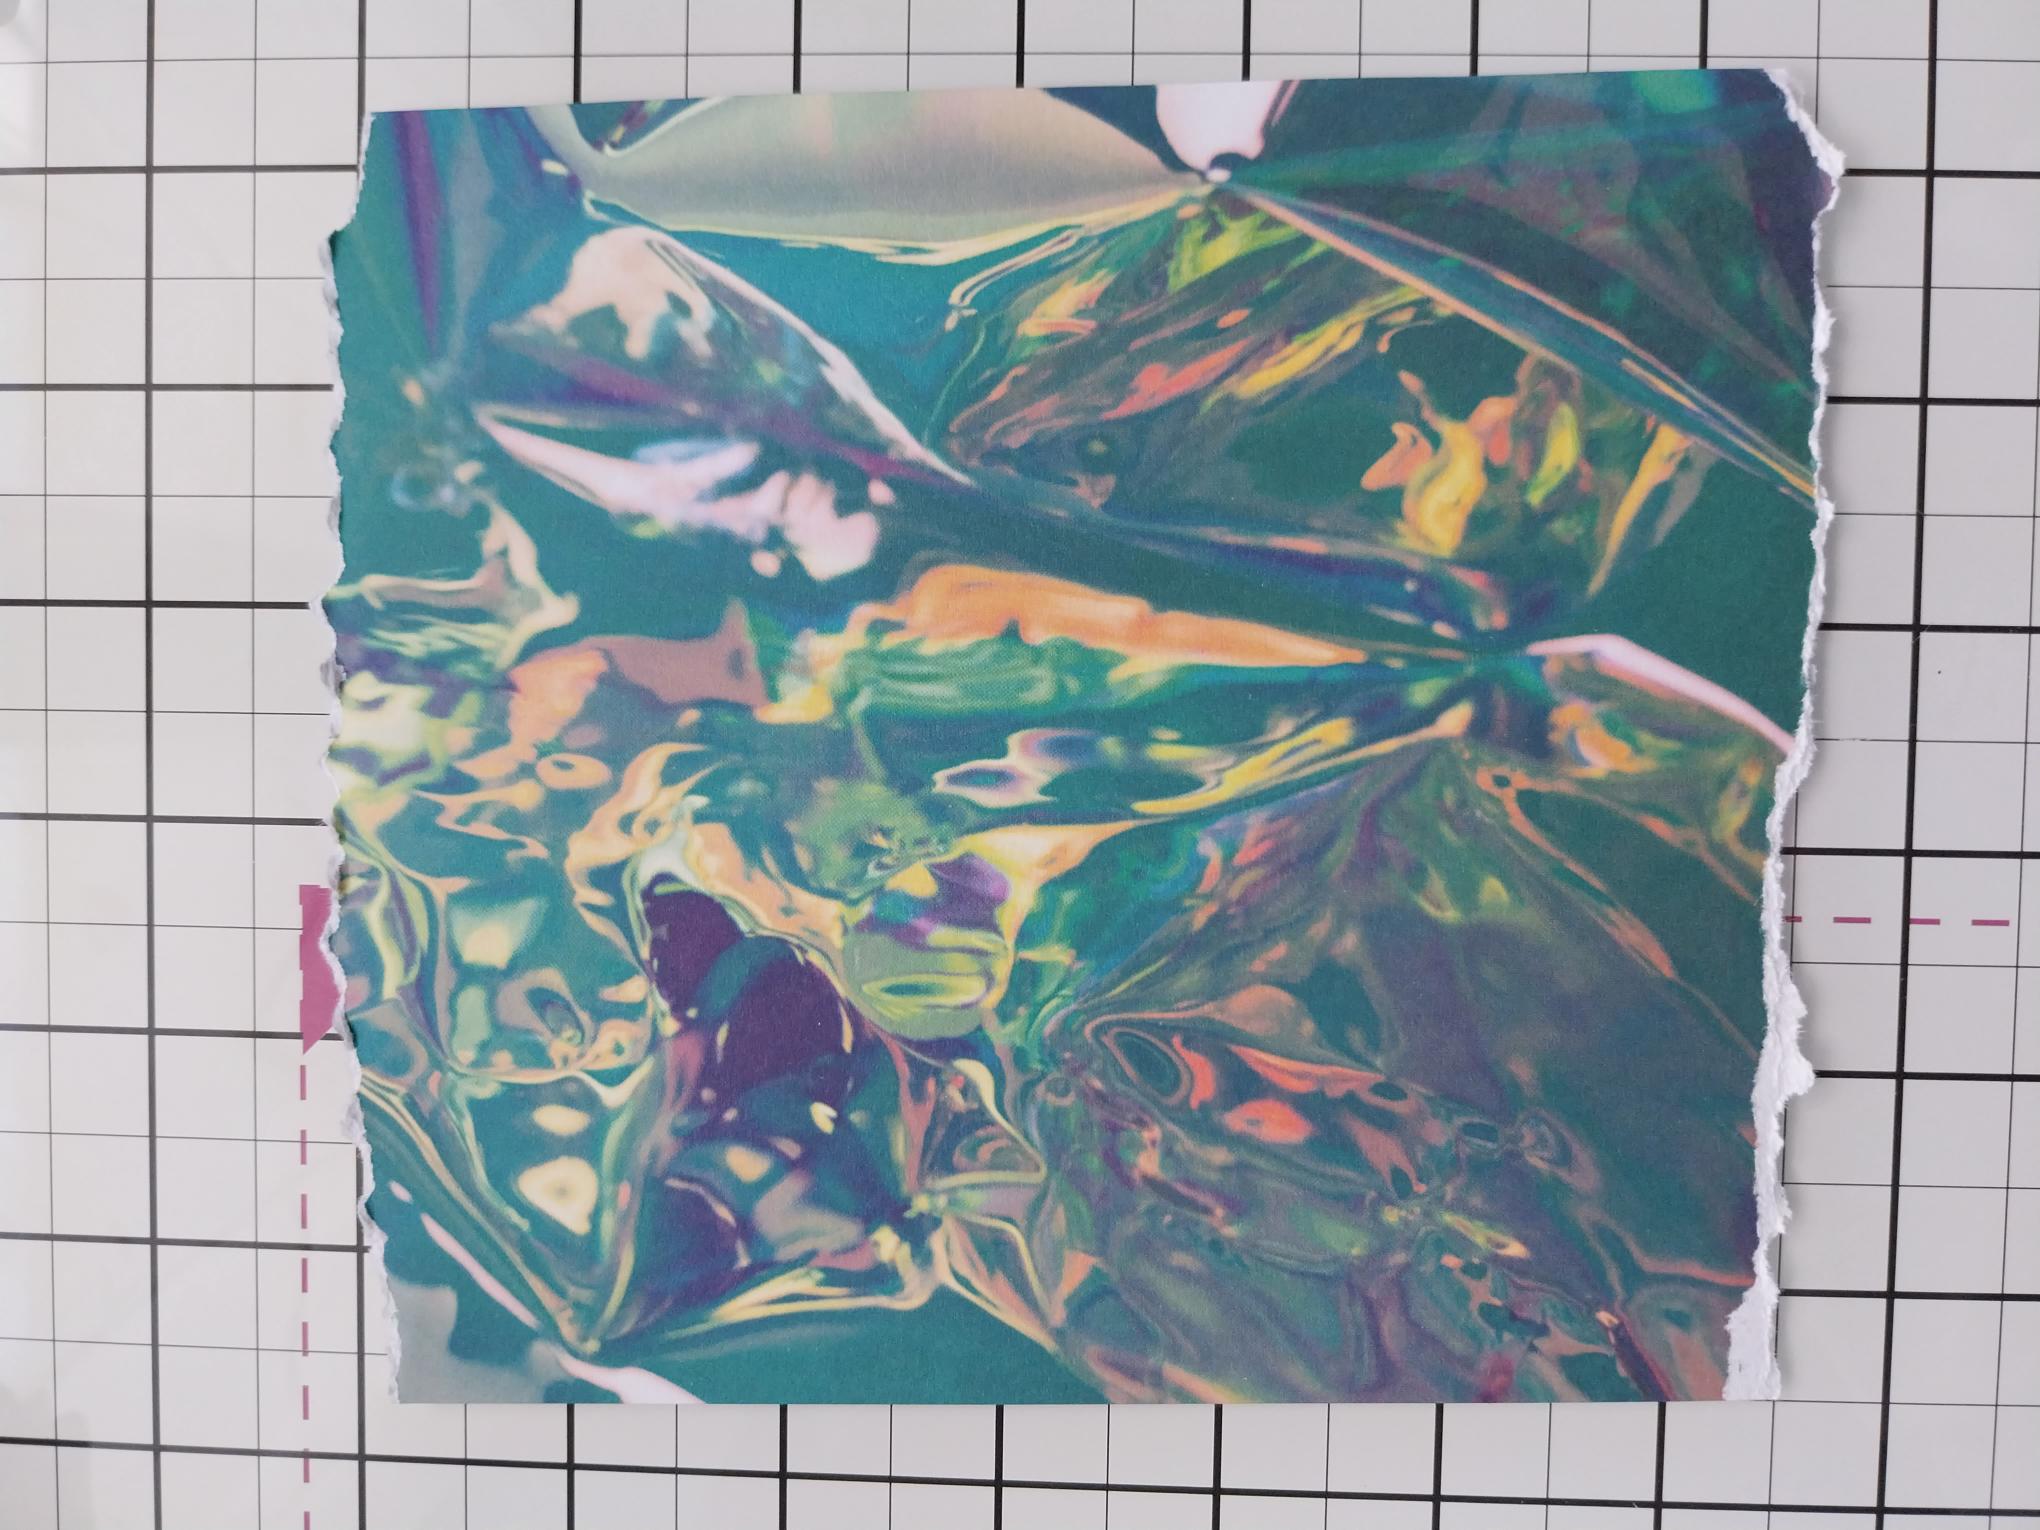
Tear this sheet from the Teal All Surfaces paper pad, the same width as your card and about 1/2" deeper than your stamped panel. |
|
Adhere your artwork on to the torn paper panel. |
|
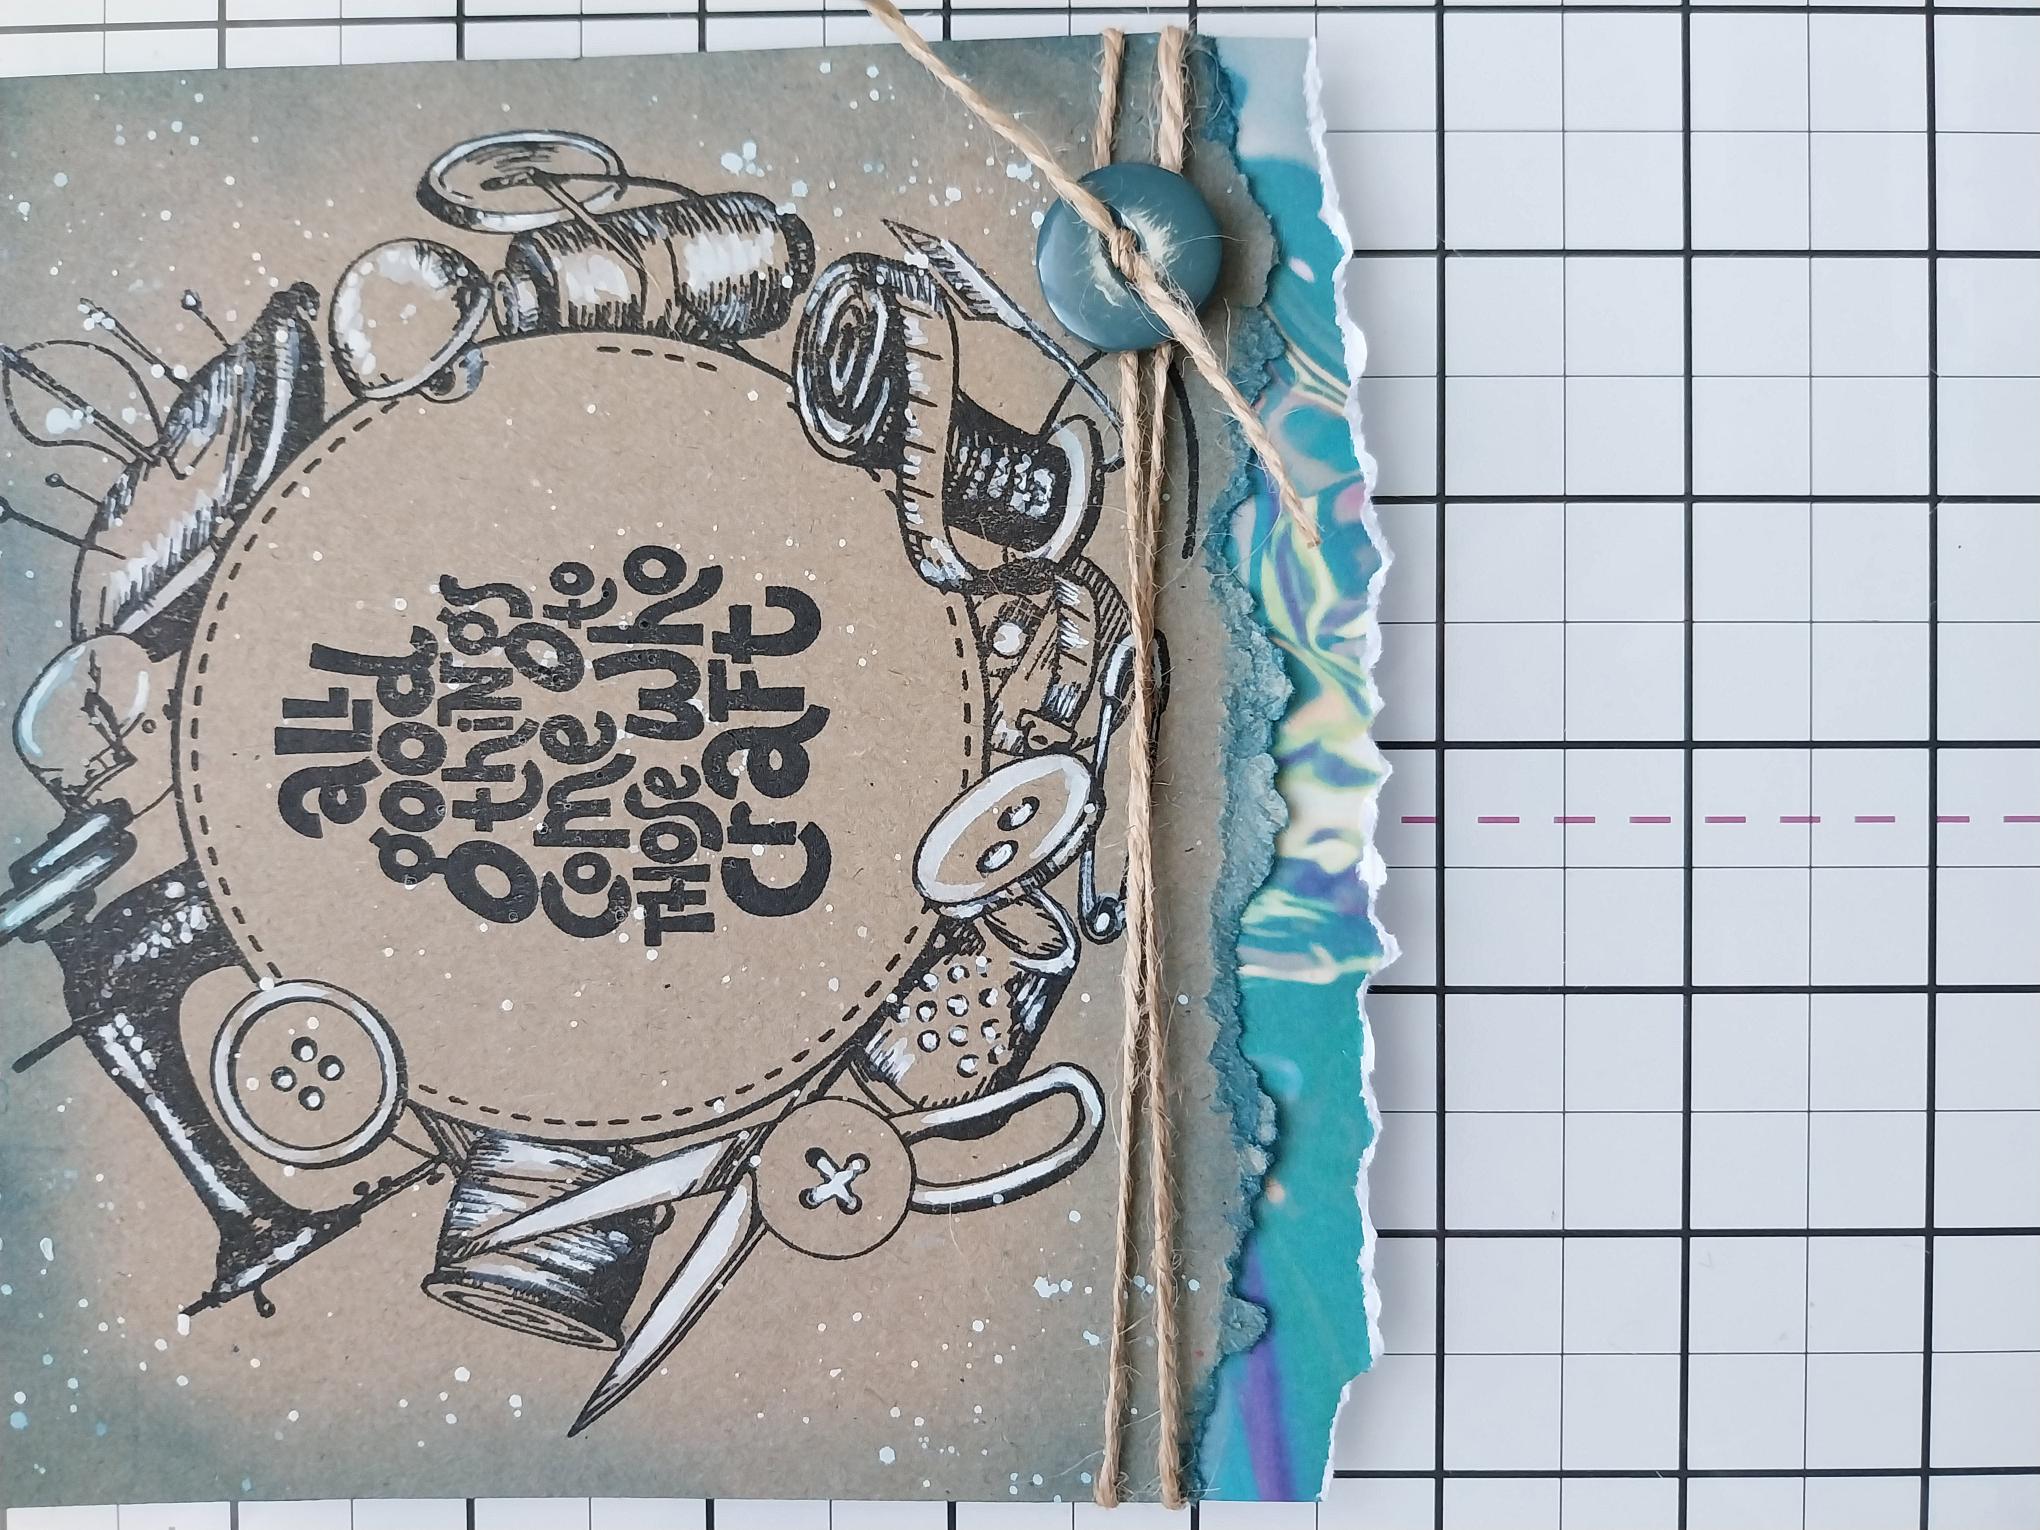
Tie a length of twine around the bottom of your artwork and use to secure a button, as seen here. |
|
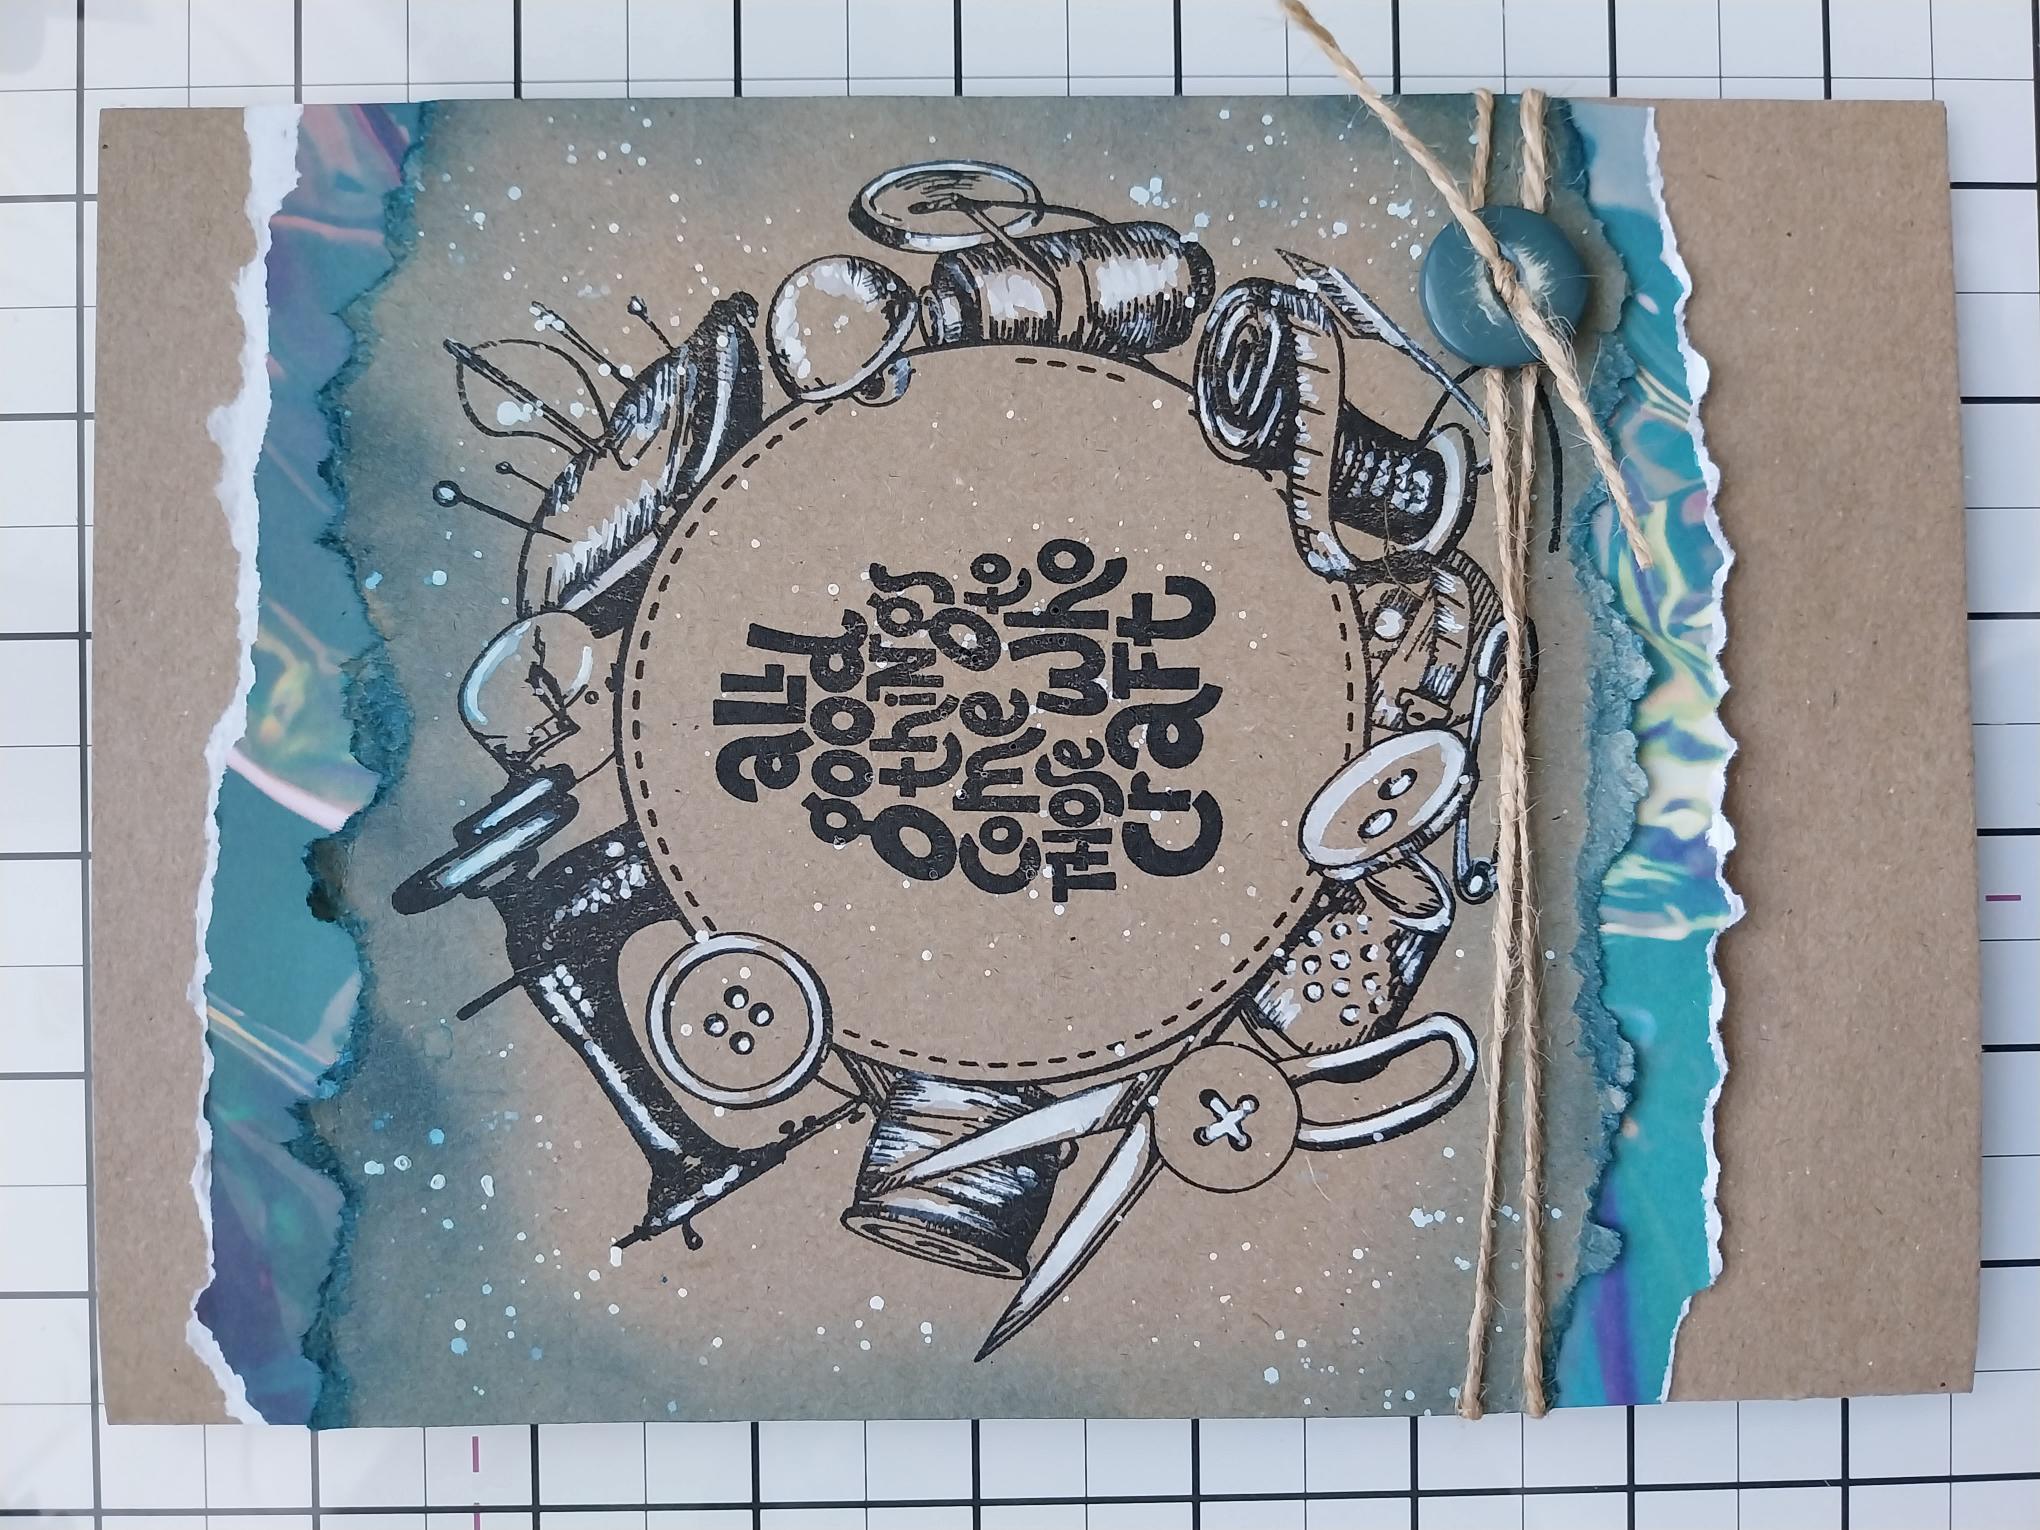
Adhere to the front of your kraft card blank, leaving a small gap at the top. |