


Step 1 of 10
Tear a piece of kraft card the same width as your card blank and about 5 3/4" deep.








Prices change straight away. Every language is our own translation, not Google.
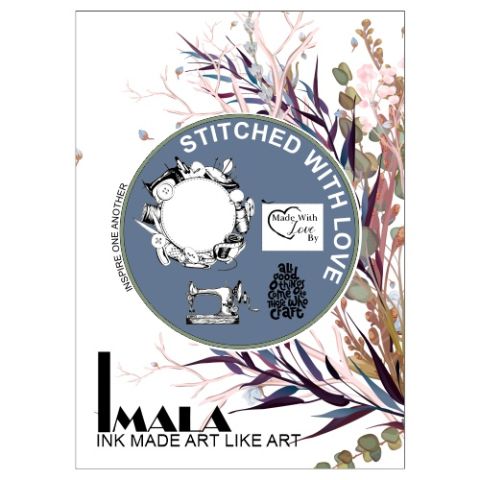 Imala - A5 Stamp - Stitched With LoveImala Stitched With Love A5 Stamp Set$17.99BUY✓ ADDED
Tear a piece of kraft card the same width as your card blank and about 5 3/4" deep.
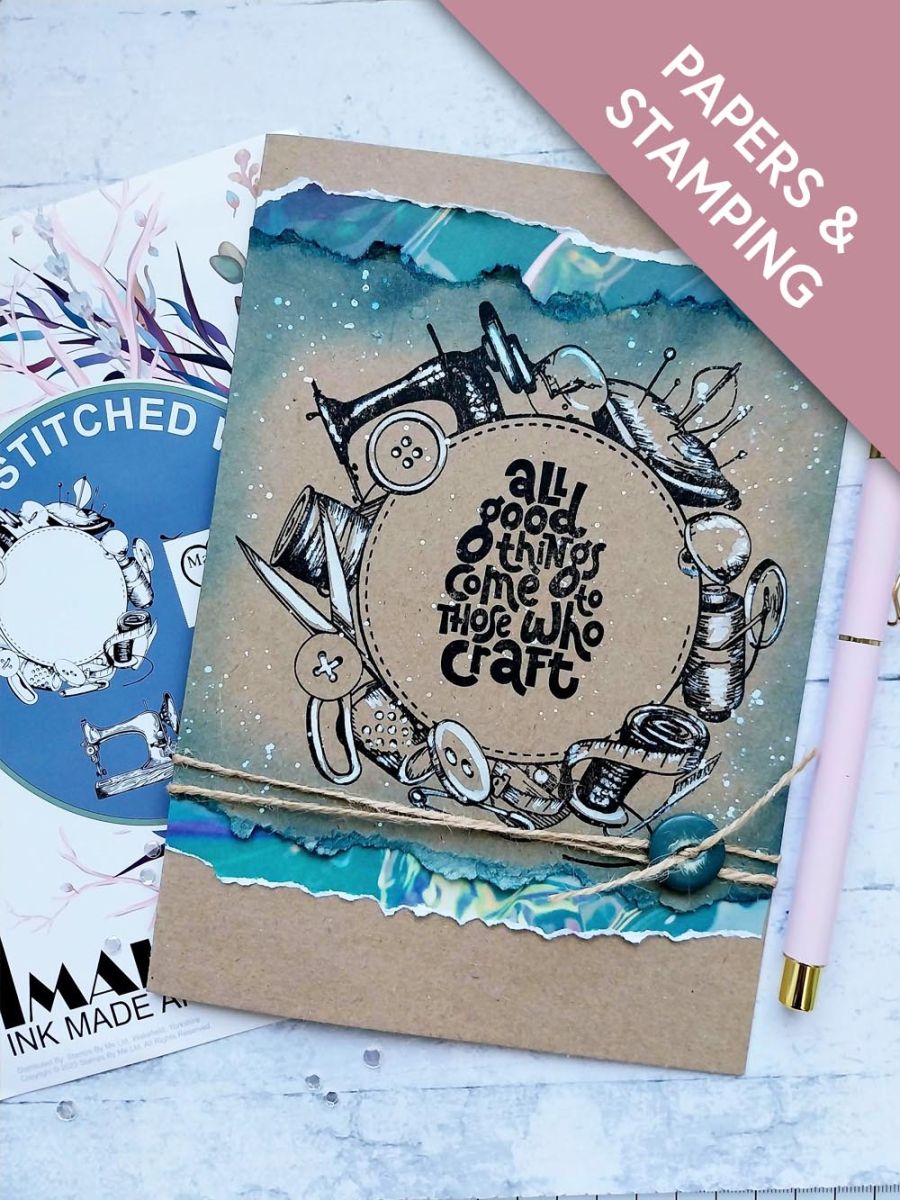
Blend Tiffany along the top and bottom torn edges.
Stamp this beautiful design, in Midnight, in the centre of your torn, kraft panel.
Paint areas of your stamped design with the White Lace Confetti paint before splattering paint over your artwork.
Tip: I allowed my paint to dry before adding more paint, to achieve a brighter tone of white in random areas.
Once my artwork was completely dry, I used a black, fine line pen to go back in and draw over stamped lines that had lost their definition.
Stamp your sentiment in the centre, with the Midnight ink.
Tear this sheet from the Teal All Surfaces paper pad, the same width as your card and about 1/2" deeper than your stamped panel.
Adhere your artwork on to the torn paper panel.
Tie a length of twine around the bottom of your artwork and use to secure a button, as seen here.
Adhere to the front of your kraft card blank, leaving a small gap at the top.
Share your make with the Stamps By Me community - and keep this guide for next time.
Prefer the previous layout? Open the old page.



