Step 1 of 12
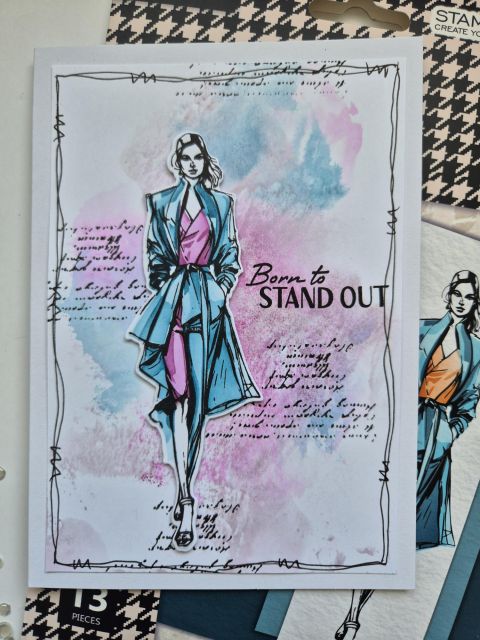
Cut white card to 7 1/2 x 5". Stamp our beautiful Honey, in Midnight, coming up from the bottom left, of the card.








Prices change straight away. Languages are translated by Google.
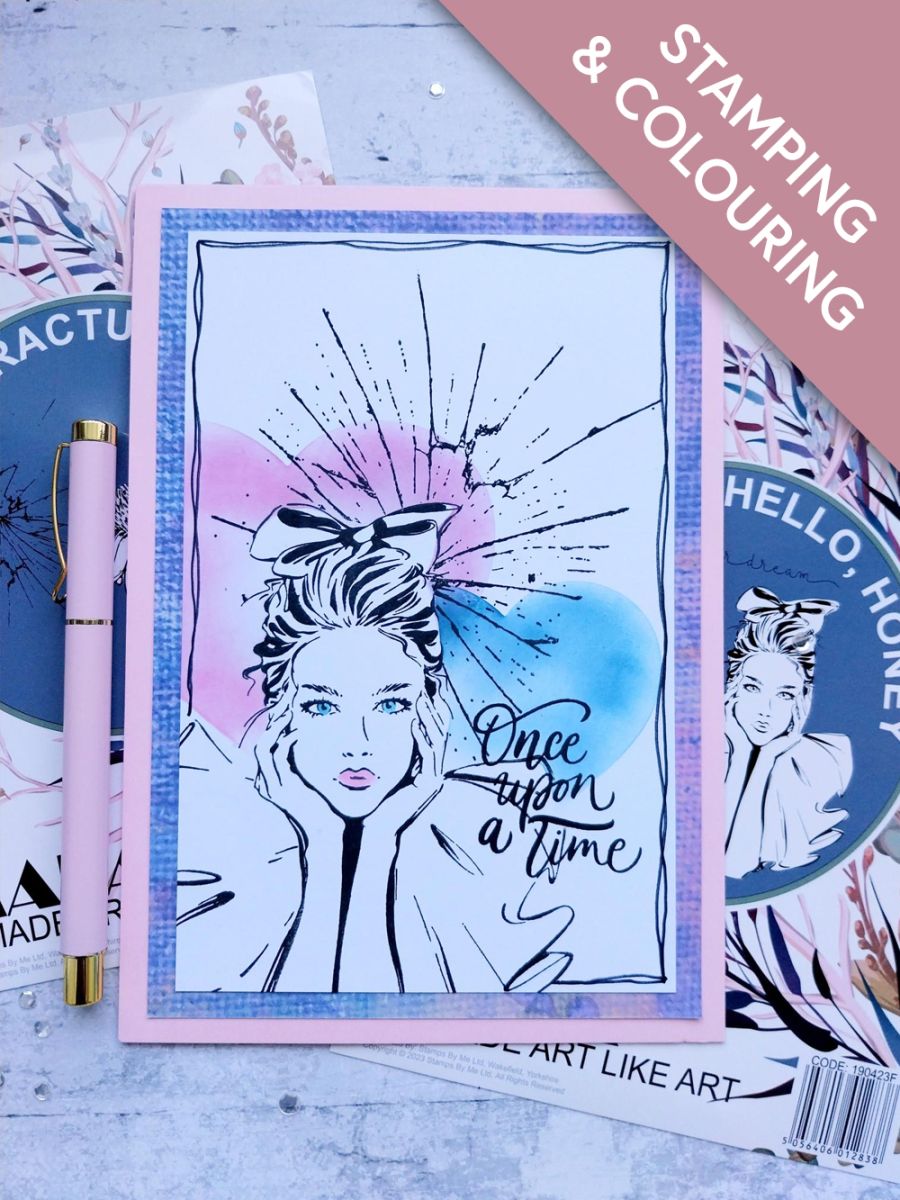
Cut white card to 7 1/2 x 5". Stamp our beautiful Honey, in Midnight, coming up from the bottom left, of the card.
Stamp her again, on to a masking sheet or copy paper and fussy cut, to create a "mask". Place the mask over your stamped image.
Place one of the heart stencils, from the Imala Essentials collection, above and to the left of her head. Use your blending brush to lightly apply the Distress Kitsch Flamingo, within the heart aperture.
Keeping the mask in place, move the stencil down and to the right of Honey but so the 2 hearts are overlapping. Apply the Unchartered Mariner through the heart aperture.
Remove the stencil but keep your mask in place.
Stamp the "cracked glass" from Imala Fractured Florals, in Midnight, where the 2 hearts meet.
Carefully remove your "mask" from your artwork.
Add a touch of colour to her eyes and lips, using the Distress inks and a paint brush.
Stamp the sentiment in Midnight, to the right of Honey.
Draw a decorative, wiggly frame around your artwork, with a black pen.
Choose a background paper from the Imala Collage pad and trim to 7 3/4 x 5 1/4".
Adhere your artwork on to the paper.
Adhere to the front of your pink card blank to finish.
Share your make with the Stamps By Me community - and keep this guide for next time.
Prefer the previous layout? Open the old page.