Step 1 of 9
Tear multiple strips of papers from those in the Magical Elegance Foundation Pack.....a very good way to use up all those scraps!!








Prices change straight away. Languages are translated by Google.
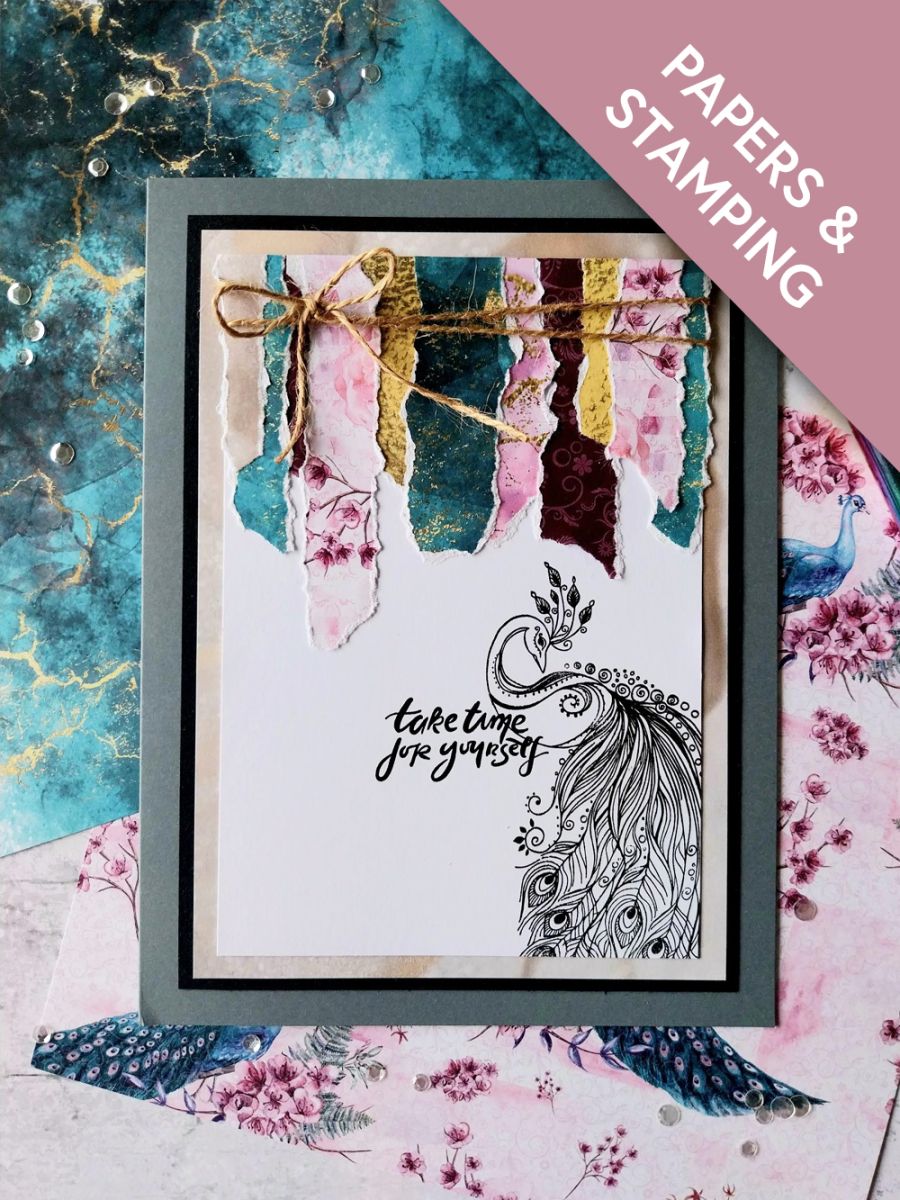
Tear multiple strips of papers from those in the Magical Elegance Foundation Pack.....a very good way to use up all those scraps!!
Cut a piece of white card to 6 1/2 x 4 1/2".
Randomly glue the strips of papers, coming down from the top of the cardstock. You can trim off any excess overhangs, once you've stuck them all down.
Stamp our beautiful Peacock in the Midnight ink, coming off the right bottom corner of the card.
Stamp the sentiment in Midnight, to the left of your stamped image.
Wind a piece of twine several times, around the top of the card and secure in a bow.
Choose one of the papers from the Elegant Gold All Surfaces Paper Pack and trim to 7 x 5".
Adhere your artwork on to the decorative gold paper.
Adhere to black card cut to 7 1/4 x 5 1/4".
Finally, adhere to the front of your grey card blank.
Share your make with the Stamps By Me community - and keep this guide for next time.
Prefer the previous layout? Open the old page.