tap a picture to see it big · tap DONE as you go - this device remembers
Step 1 of 11
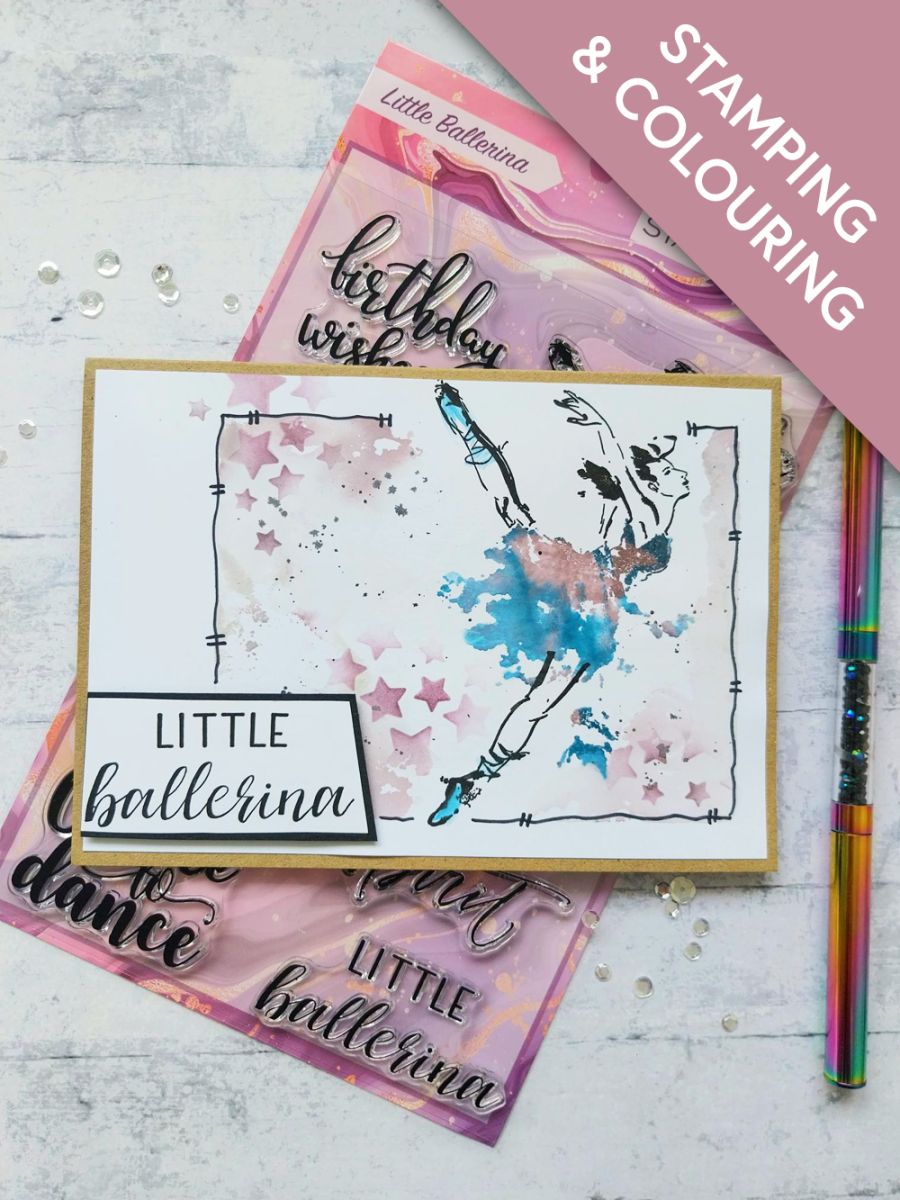
Trim a piece of white card to 6 3/4 x 4 3/4" and place in landscape view.
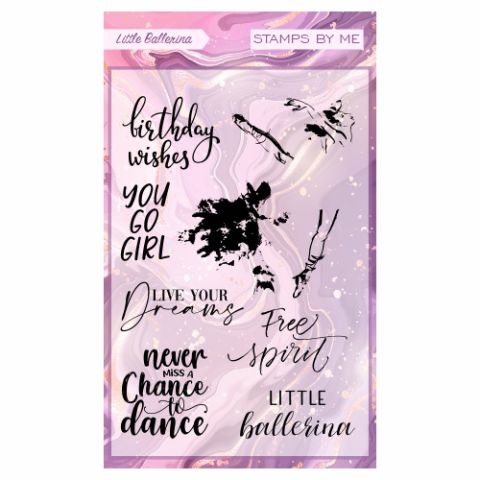
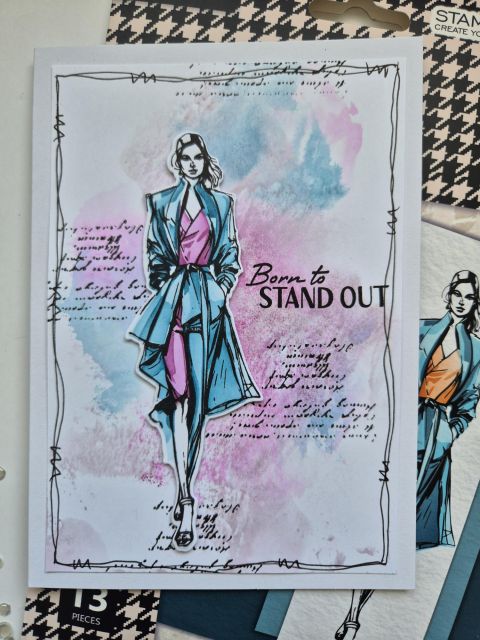
Ink up the solid stamp, in the Little Ballerina set, with the Heather and Tiffany inks. Spritz the stamp with water and stamp to the right of your card, using the detailed stamp as a positional reference. Give it a quick blast with your heat tool.
Step 2 of 11
Stamp the detailed stamp over your inked image, using the Midnight hybrid ink. If you are unsure how to line up the detailed stamp, refer to the packaging for a visual reference.
Step 3 of 11
Reink and stamp the Little Ballerina on to your masking sheet, or copy paper and fussy cut, to create a "mask".
Step 4 of 11
Place your "mask" over your stamped image.
Step 5 of 11
Apply the Lost Shadow Distress Oxide around the outer edges of your acrylic block. Use your stamped image as a reference point, as you want the ink to blend around but not on, your Ballerina. Spritz the block lightly with water.
Step 6 of 11
Press the inked acrylic block over your stamped image, wait a few seconds for the card to soak up the ink, then lift away.
Step 7 of 11
Randomly blend the Heather through your star stencil, from the Star Of Hearts set, on to your inked background, where required. Set to one side.
Step 8 of 11
Stamp the sentiment in Midnight, on to a piece of white card. Cut on an angle, as seen here. Adhere to black card and trim to create a "mat".
Step 9 of 11
Adhere flush with the bottom left edge of your card.
Step 10 of 11
Use a black pen to draw a decorative frame around the inked panel.
Step 11 of 11
Adhere to the front of your landscape kraft card blank, to finish.
You made it!
Share your make with the Stamps By Me community - and keep this guide for next time.
Hello! I'm Toni's AI craft helper - I know the projects from Toni's shows, our guides and everything in the shop. Ask me anything, like "which dies go with this stamp set?" or "what do I need to start ink blending?"
An AI helper (not Toni herself), answering from Toni's shows and our shop - please check the product page before you buy.