










QUICK LINKS

info@howtocraftnetwork.com
We just got smarter - shop and watch with the SBM appGET THE APPWatch us live on your smart TVSEE HOWDiscover our dedicated IPTV channel - go to my-telly.comWATCHCollect loyalty points on every orderFIND OUT MORE
Welcome to the How to Craft Network
 
SBM SHOP
FOLLOW US
GIVE YOUR FRIENDS $10 OFF REFER A FRIEND › DISCOVER MY-TELLY.COM › WE JUST GOT SMARTER GET THE APP › AWARD WINNING CHANNEL ON YOUR TV › JOIN THE CLUB FOR SAVINGS ›
 
Think Positive
How to guide · 11 steps

Think Positive

16 November 2021Stamping Techniques
11steps
1products to shop now
Step 1 of 11

Everything you need

0 of 13 ready· 1 to buy
Shop the list
From your craft stash
Tick what you have - this device remembers.

Step by step

tap a picture to see it big · tap DONE as you go - this device remembers
Step 1 of 11

Spray the Izink Vert Anis Shiny Spray on to a craft or glass mat.

Spritz with a little water then mop up the ink on to the white cardstock. 

Repeat using the Izink Bleu Ciel Shiny Spray. 

Dry off naturally, or, if impatient like me, use a heat gun!

Step 2 of 11

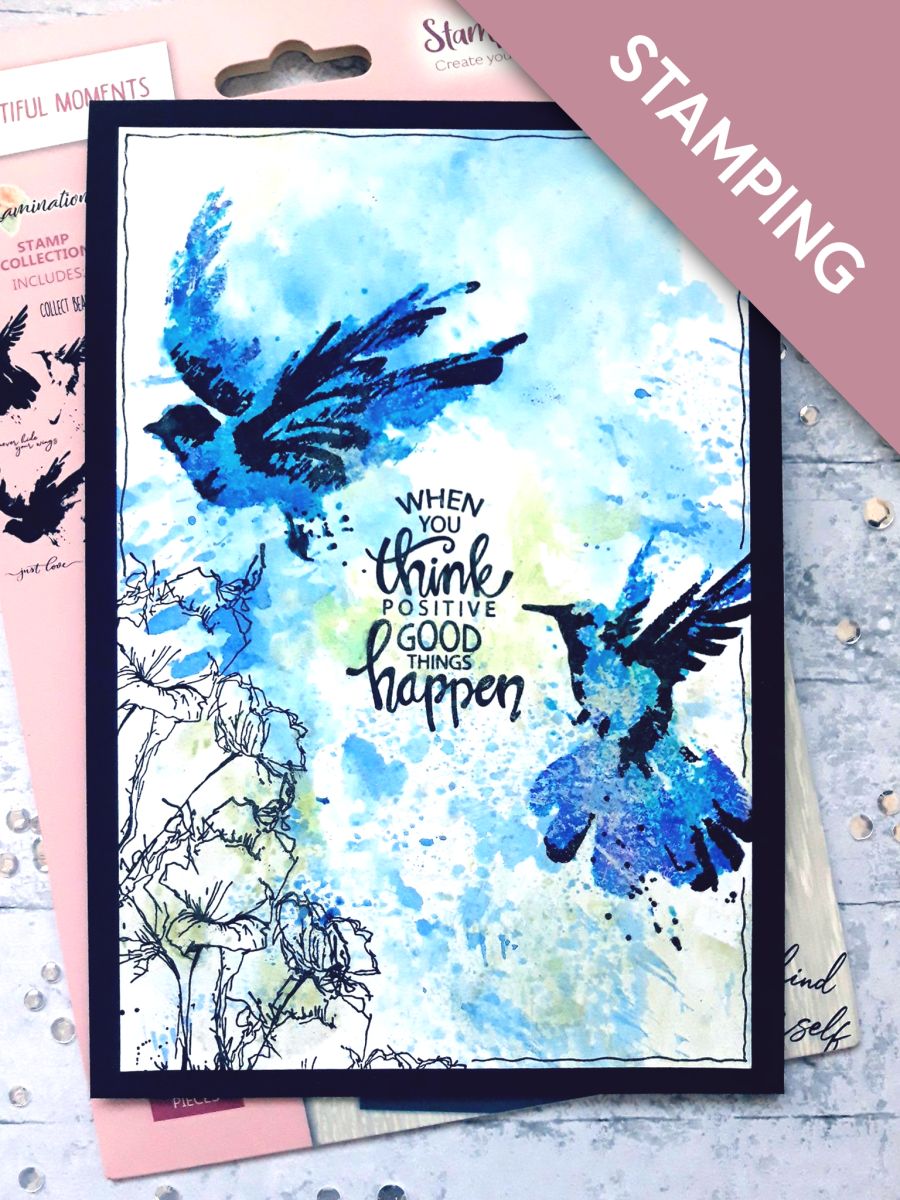
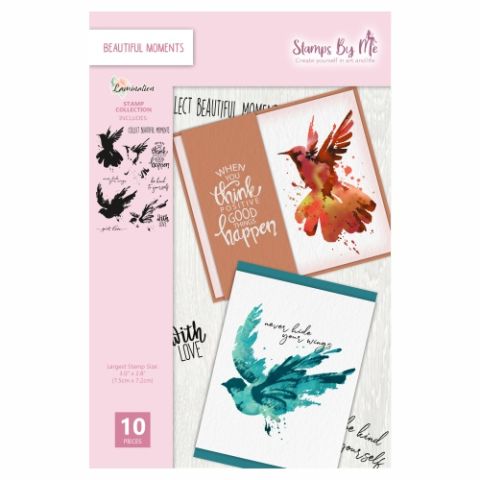
Ink up your sentiment stamp, from the Beautiful Moments Lamination Stamp Collection, with the Onyx Black Versafine. 

Stamp in the middle of your inky background. 

Step 3 of 11

Apply the 2 blue Gossip Glitter pens directly to the solid bird stamp, from the Beautiful Moments Stamp Collection. 

Stamp the bird, so its flying over the top left of the stamped sentiment. If you want a more intense colour you can reapply the pens to the stamp, and stamp it again. If you want a looser watercolour effect, you can spray a little water on to your stamped images, at any time. 

Step 4 of 11

Ink up the coordinating detailed bird stamp, with the Onyx Black Versafine. 

Line up and stamp over your stamped image. (Tip: I line up the beak, head and tail, and the rest stamps in the right place). 

Step 5 of 11

Apply the blues, and the purple, Gossip Glitter pens, directly to the other solid bird stamp, from the same set.

Stamp it to the bottom right of the sentiment. As before, you can add more colour, or spritz with water, to get the desired effect.

Dry thoroughly.  

Step 6 of 11

Ink up the coordinating detailed bird stamp, with the Onyx Black Versafine. 

Line up, as before, and stamp over the stamped image. 

Step 7 of 11

Ink up the floral detailed stamp, from My Sunshine Lamination Stamp Collection, with the Onyx Black Versafine. 

Stamp it off the left hand edge of your artwork, just below the bird. 

Step 8 of 11

Ink up the same stamp again, in the Versafine, and stamp just below the other floral stamped image, off the edge of the artwork. 

Step 9 of 11

Ink up the same stamp again, in the Versafine, and stamp the image so its just coming up from the bottom left side of the artwork. 

Step 10 of 11

Use a black pen to draw a decorative, wiggly frame, around your artwork. 

Step 11 of 11

Adhere your completed artwork on to the front of your card blank. 

You made it!

Share your make with the Stamps By Me community - and keep this guide for next time.

More stamping techniques guides

all the guides ›

Prefer the previous layout? Open the old page.


