Step 1 of 16
Place the Positivity frame die on to the kraft card, cut to 6 1/2 x 4 3/4" and run it through your die cutting machine.








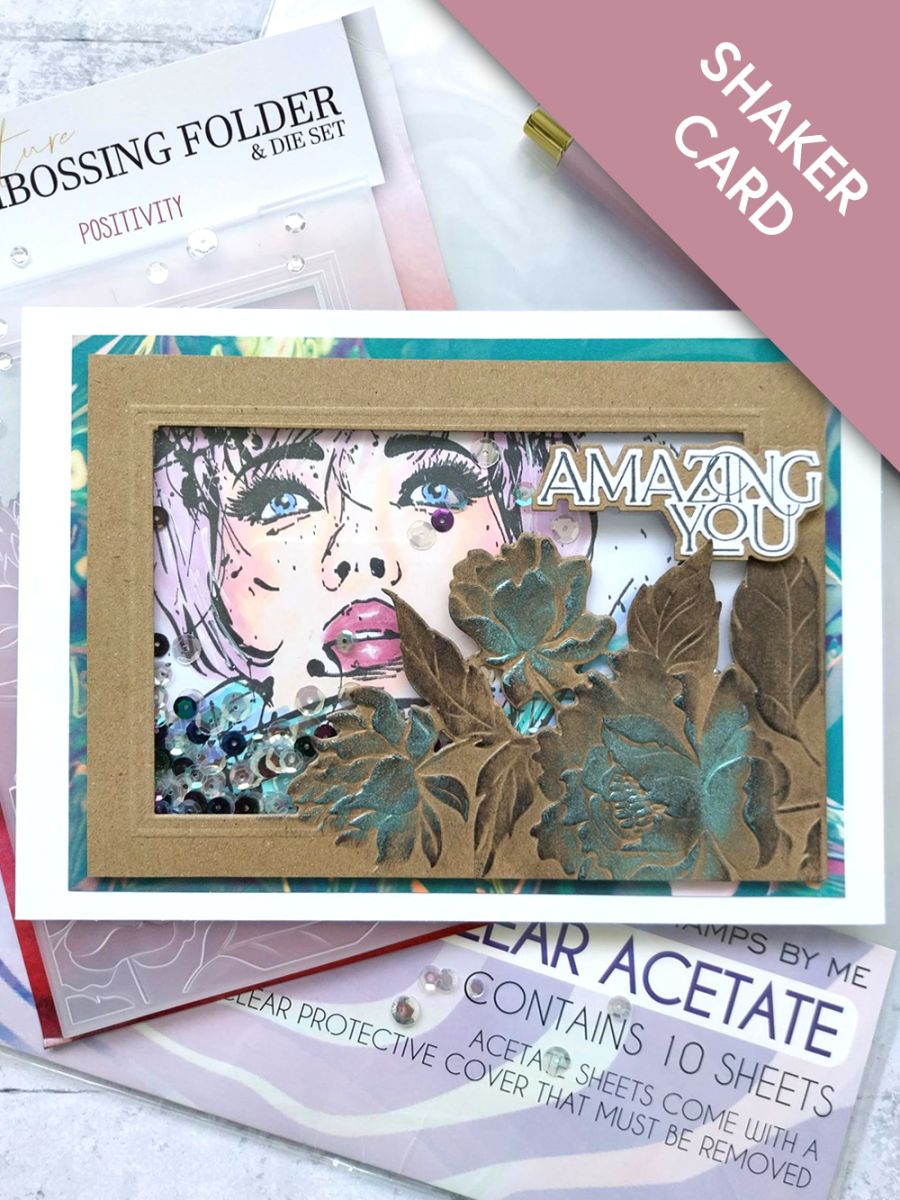
Place the Positivity frame die on to the kraft card, cut to 6 1/2 x 4 3/4" and run it through your die cutting machine.
Swipe the Izink Reglisse ink pad over the embossed areas of the frame. Start off lightly, as you can always add more ink, if required. Blast dry with a heat tool.
Spray water to activate the Confetti Grasshopper paint then using your finger, lightly apply a touch of the paint to random areas of the embossed florals.
Blast the ink dry with a heat tool.
Apply red liner/ double-sided adhesive tape on to the reverse of your card.
Trim a sheet of the clear acetate so it's slightly smaller than your embossed cardstock. Peel off the protective backing and adhere to the frame.
Adhere foam tape to the reverse, ensuring you place it as close to the die cut edges as possible and there are no gaps, for the sequins to fall through! Leave the backing on for now and set to one side.
Stamp the Imala Good For You, with the Midnight Hybrid ink, on to the super smooth white card. Colour in using your alcohol markers, placing a sheet of copy paper underneath to avoid marking your worksurface with the ink that bleeds through the card.
Use your Imala white gel pen to add accents and highlights.
Wipe your artwork and the inside of the acetate, with an anti-static bag
Place your sequins on to your artwork, ensuring they are laying fairly flat, peel the backing off the double sided foam tape and carefully adhere your embossed frame on top. Give the reverse of the card a good press against the foam tape, to ensure it's sealed well, before giving it a good "shake"!!
Remove this decorative sheet from the Teal All Surfaces paper pack and trim to 7 x 5".
Adhere your shaker on to the decorative paper and then on to the front of your landscape, white card blank.
Set to one side.
Stamp the "Amazing You" sentiment, with Midnight, on to a piece of white card.
Place the coordinating die over the stamped sentiment. Place the layering die on a piece of kraft card and run both through your die cutting machine.
Adhere the die cut sentiment on to the die cut mat.
Adhere with foam pads, to the top right of your card, to finish.
Share your make with the Stamps By Me community - and keep this guide for next time.
Prefer the previous layout? Open the old page.