


Step 1 of 9
Ink up our beautiful Empower beauty, with the Midnight hybrid ink pad and stamp just off the left edge of the white card, cut to 7 1/4 x 4 3/4".








Prices change straight away. Every language is our own translation, not Google.
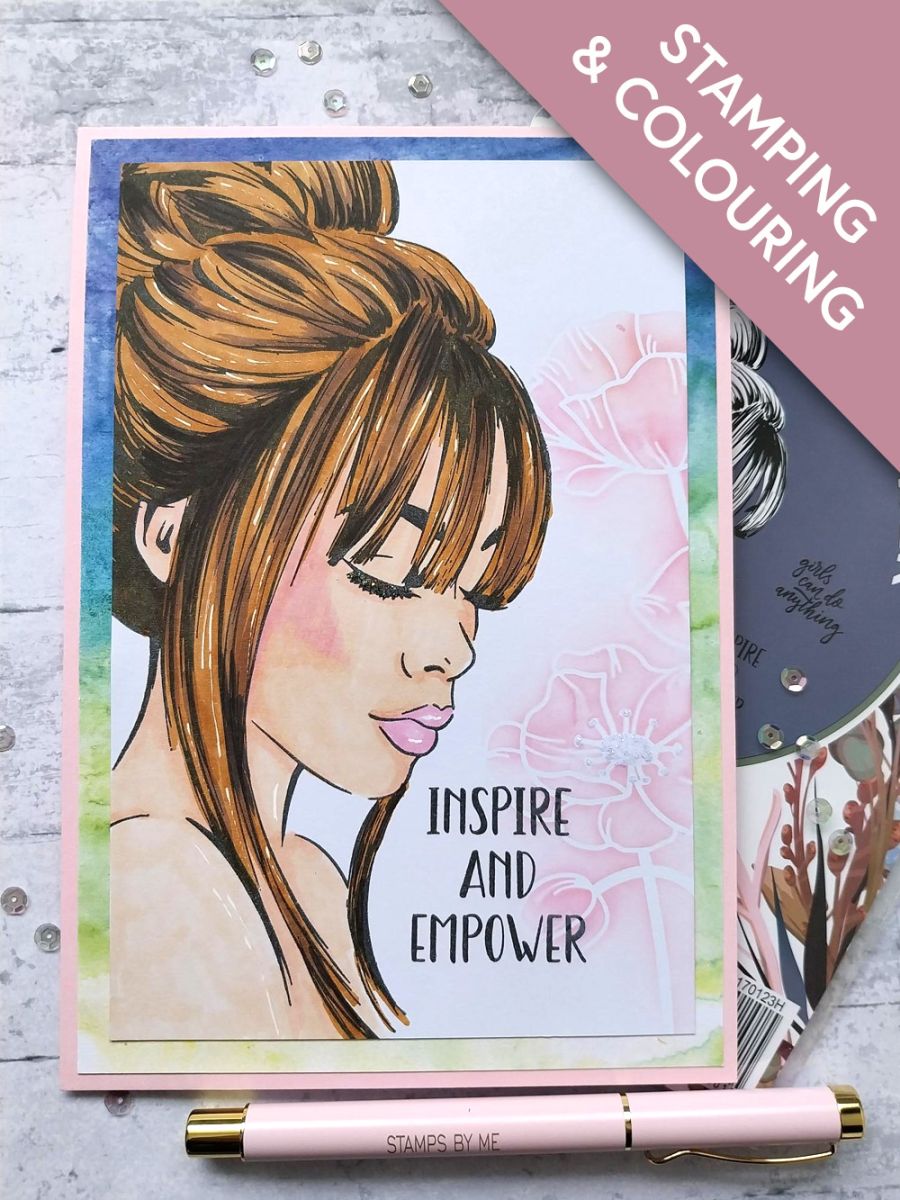
Ink up our beautiful Empower beauty, with the Midnight hybrid ink pad and stamp just off the left edge of the white card, cut to 7 1/4 x 4 3/4".
Once the ink is dry, use your Gossip alcohol pens to colour her in.
Tip: Pop a sheet of copier paper or scrap card underneath, as alcohol ink will bleed through your card and it may damage your worksurface underneath.
Use your white Imala gel pen to add accents and highlights.
Ink up the sentiment with the Midnight ink and stamp to the bottom right of your artwork.
Lay the Poppy Field stencil over your artwork and using a blending tool, lightly blend the Kitsch Flamingo Oxide down the right edge of the card. You are looking for a subtle, delicate effect, so keep it light...it's easier to add more ink than it is to take it away!!
Remove this decorative sheet, from the Funky Fossil Rainbow Watercolour paper pad and trim to 7 3/4 x 5 1/4".
Adhere your artwork on to the decorative paper.
Adhere this on to the front of your pink card blank.
To finish add the Diamond Ranger Stickles to the centres of the Poppies and to our lovely lady's eyelashes.
Share your make with the Stamps By Me community - and keep this guide for next time.
Prefer the previous layout? Open the old page.



