










QUICK LINKS

info@howtocraftnetwork.com
We just got smarter - shop and watch with the SBM appGET THE APPWatch us live on your smart TVSEE HOWDiscover our dedicated IPTV channel - go to my-telly.comWATCHCollect loyalty points on every orderFIND OUT MORE
Welcome to the How to Craft Network
 
SBM SHOP
FOLLOW US
GIVE YOUR FRIENDS $10 OFF REFER A FRIEND › DISCOVER MY-TELLY.COM › WE JUST GOT SMARTER GET THE APP › AWARD WINNING CHANNEL ON YOUR TV › JOIN THE CLUB FOR SAVINGS ›
 
Urban Hearts
How to guide · 11 steps

Urban Hearts

25 April 2023✦ Toni Darroch✦ Helen KirkhamColoring (Markers & Pencils)Die CuttingEmbossing FoldersInk TechniquesStamping Techniques
11steps
Step 1 of 11

Everything you need

0 of 23 ready
The list
From your craft stash
Tick what you have - this device remembers.

Step by step

tap a picture to see it big · tap DONE as you go - this device remembers
Step 1 of 11

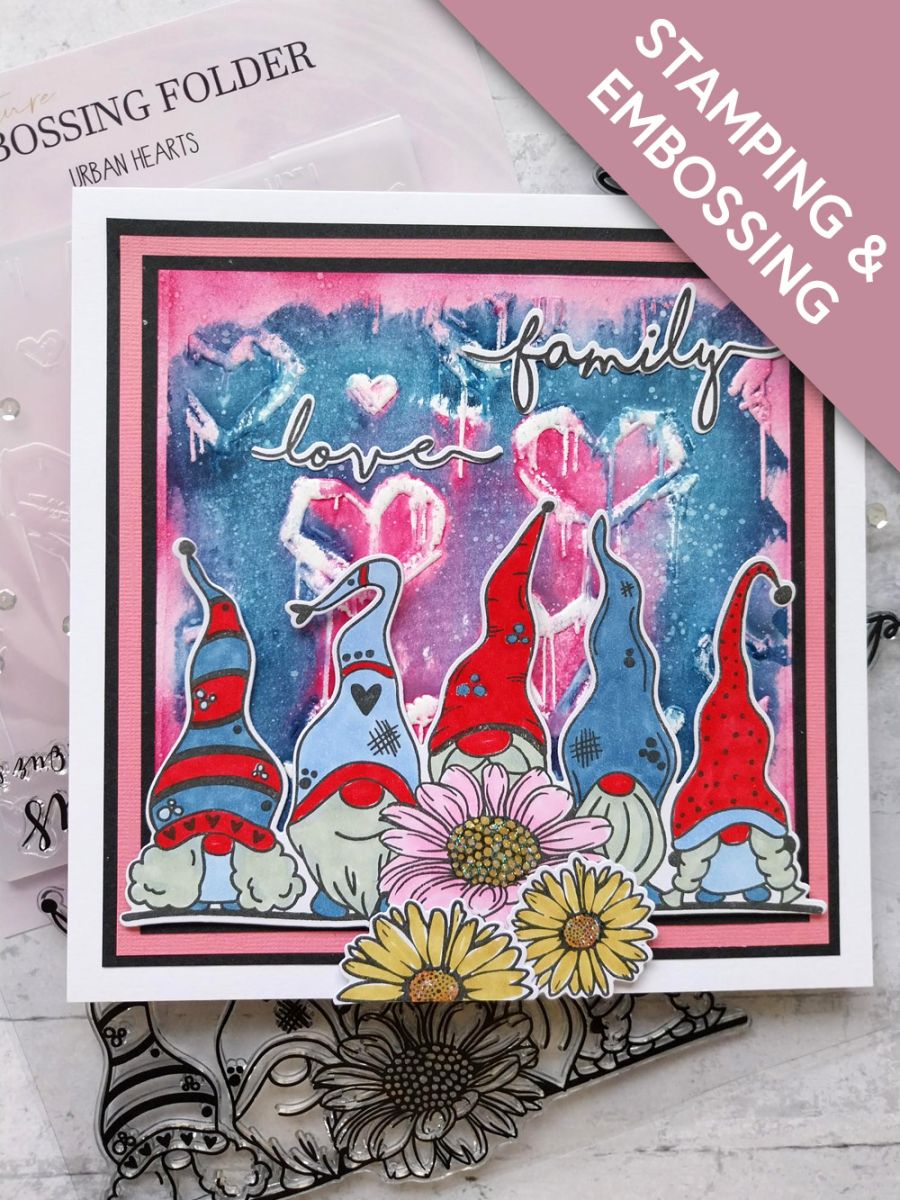
Ink the debossed side of the Urban Hearts embossing folder, with the Magenta and Ocean ink pads, then spritz lightly with water. 

Place the white card, cut to 5 3/4" square, inside the folder with the inky side on the top and run it through your embossing machine. 

Step 2 of 11

Using your blending tool, apply Magenta around the edges of the embossed card. 

Step 3 of 11

Smoosh the Cotton ink pad on to your glass mat, add a little water and use a paint brush to splatter the ink over your background.

Blast with your heat tool as the Cotton ink is slow drying and will smudge.  

Step 4 of 11

Mat your artwork on to the black card (6" square), then the pink card (6 3/4" square) and then on to the black card (7" square). 

Step 5 of 11

Adhere on to your 7 1/2" square white card blank and set to one side. 

Step 6 of 11

Ink up our cute Gnomes with the Midnight hybrid ink and stamp on to the A4 white card, setting the remaining card to one side. Use the coordinating die to cut them out, then colour in with your alcohol pens.

Tip: Pop a sheet of copy paper or scrap card underneath, to protect your work surface from the alcohol ink that bleeds through the card.  

Step 7 of 11

Ink up the "Family" and "Love" Daisies, with the Midnight and stamp on to the white card you set aside. Die cut using the coordinating dies, then colour in with your alcohol pens. 

Snip off the flower heads from both, setting all elements to one side. 

Step 8 of 11

Adhere your Gnomes, with foam pads, along the bottom of your prepped card. 

Step 9 of 11

Adhere the Daisy flower heads in front of your Gnomes, as required, trimming off any overhang. 

Step 10 of 11

Adhere the "Family" and "Love" sentiments above your Gnomes. 

Step 11 of 11

Finally, add sparkle to the heads of your daisies with the Stickles. 

You made it!

Share your make with the Stamps By Me community - and keep this guide for next time.

⇩ DOWNLOAD THE PDF

More coloring (markers & pencils) guides

all the guides ›

Prefer the previous layout? Open the old page.


