


Step 1 of 10
Die cut these elements out of black and white cardstock, from the Alphabet Texture and Framed Heart Collections, as seen here.








Prices change straight away. Every language is our own translation, not Google.
Die cut these elements out of black and white cardstock, from the Alphabet Texture and Framed Heart Collections, as seen here.
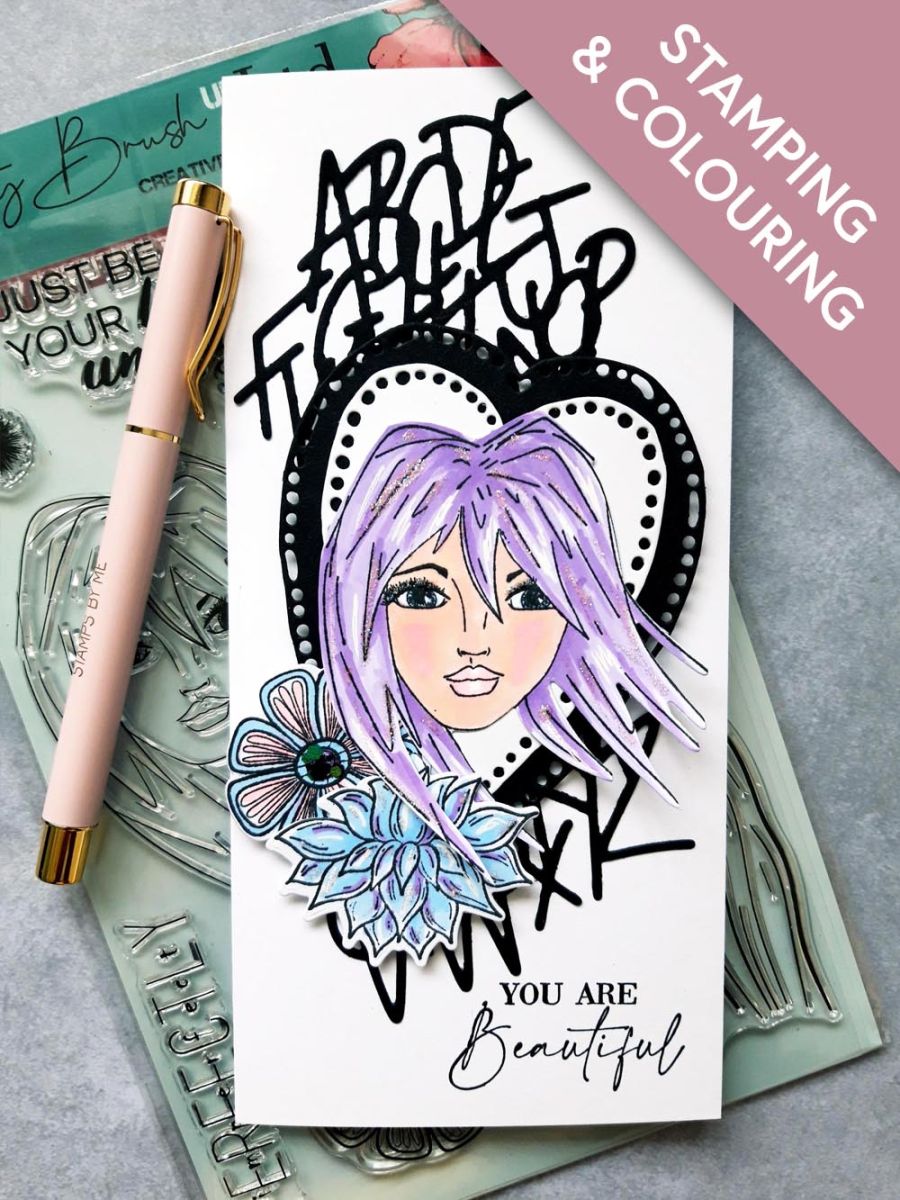
Adhere the white die cut heart on top of the black one, then adhere on to your DL card blank, at an angle, with foam pads only placed in the centre of the heart.
Cut the die cut alphabet in half and adhere each, tucked under the heart, as seen here.
Set your card to one side.
Ink up the girl and floral stamps, with the Memento ink and stamp on to white card.
Use the coordinating dies to cut them out.
Use your Gossip alcohol pens to colour them in.
Tip: Super smooth card is better when using alcohol pens. Always put a sheet of copy paper under your colouring, as the alcohol bleeds through the card.
Use a white gel pen to add accents and highlights, to your stamped elements.
Adhere your lovely girl on to the framed hearts.
Use foam pads to adhere your floral elements to the bottom left of our girl.
Add a touch of glitter to the centre of the open flower.
To finish, add Stickles to the petals of the other flower and to our girl's hair and eyelashes.
Share your make with the Stamps By Me community - and keep this guide for next time.
Prefer the previous layout? Open the old page.



