Step 1 of 9
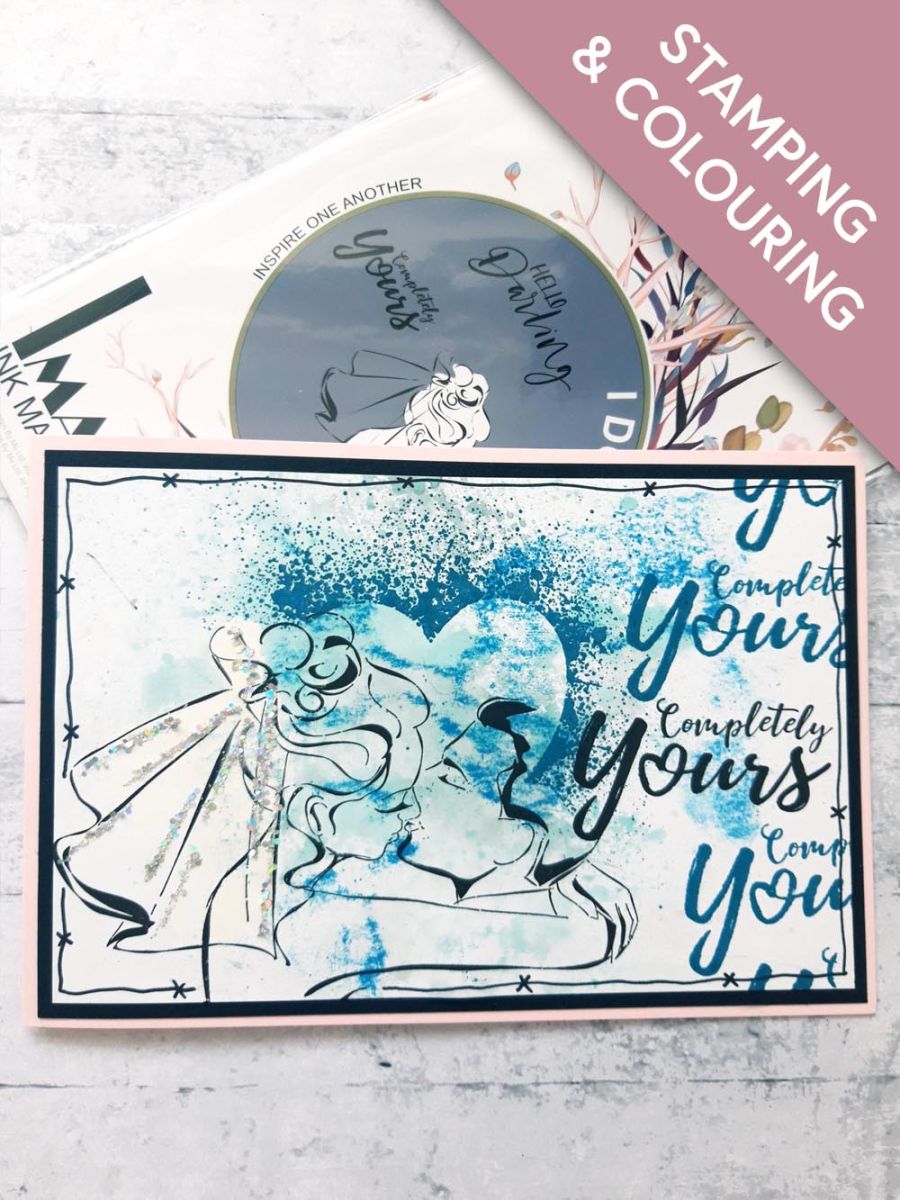
Smoosh Salvaged Patina ink on to your craft mat, spritz with water and pick up the ink on to white card, cut to 7 3/4 x 5 1/4".
Repeat with the Unchartered Mariner and then the Hickory Smoke. Dry off your background.








Smoosh Salvaged Patina ink on to your craft mat, spritz with water and pick up the ink on to white card, cut to 7 3/4 x 5 1/4".
Repeat with the Unchartered Mariner and then the Hickory Smoke. Dry off your background.
Ink up Imala I Do with the Onyx Black Versafine and stamp just off the bottom left edge, of your inky background.
Ink up the stamp again and stamp on to a masking sheet or copier paper. Cut out and place over your stamped image.
Ink up the Imala Heart Art with the Unchartered Mariner Oxide, spritz lighly with water and stamp so the heart appears to the top right of your couple.
Remove your mask and dry your image.
Ink up the sentiment with the Versafine and stamp just to the right of your artwork.
Reink the sentiment stamp with the Unchartered Mariner Oxide and stamp above the stamped sentiment, but off the edge of the card.
Repeat this several times down the right hand edge of the card, stamping it at different lengths, so the black inked sentiment is the only full sentiment, thus becoming the focus.
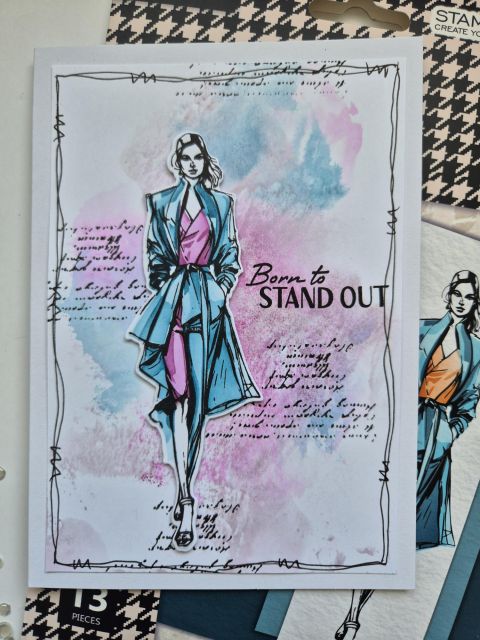
Use a black pen to draw a decorative, wiggly frame around your artwork.
Mat on to black card cut to 8 x 5 1/2".
Adhere this to the front of your pink, landscape card blank.
To finish, apply glue down the fold lines, within the Bride's veil, and sprinkle on the Midas glitter.
Share your make with the Stamps By Me community - and keep this guide for next time.
Prefer the previous layout? Open the old page.