


Step 1 of 11
Apply masking tape along the bottom, and down the left hand side, of your white card blank.








Prices change straight away. Every language is our own translation, not Google.
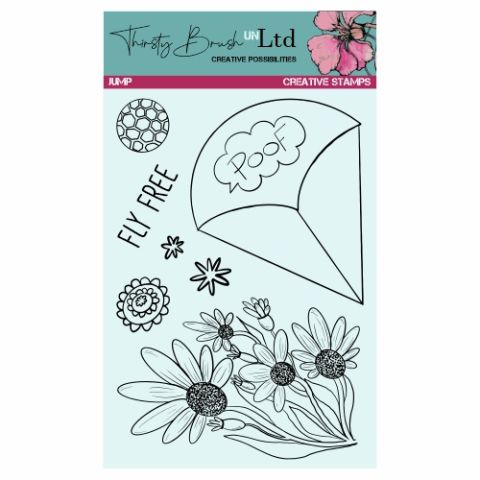 Tv - Thirsty Brush Unltd - A5 Stamp - JumpStamps from Thirsty Brush UnLtd Jump Creative Stamps$17.99BUY✓ ADDED
Apply masking tape along the bottom, and down the left hand side, of your white card blank.
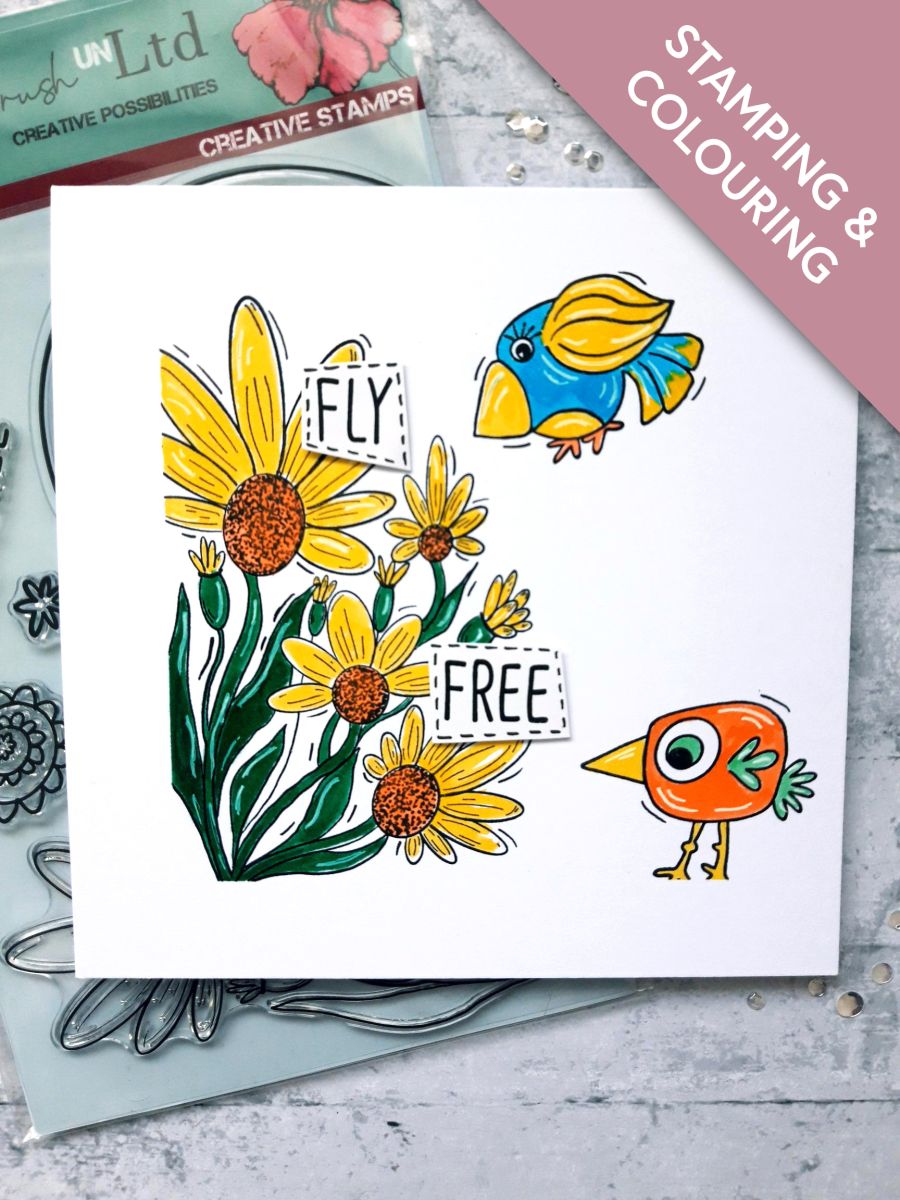
Ink up the floral stamp from the Thirsty Brush Unltd Jump Creative Stamps set, with the Onyx Black Versafine.
Stamp the image coming up from the bottom, left hand corner, of your masked off card blank.
Ink up the little bird, from the Thirsty Brush UnLtd Birbs Creative Stamps set, with the Versafine, and stamp just to the top right of your floral image.
Ink up the "standing up" bird, from the Thirsty Brush Unltd Rock On Creative Stamps, with the Versafine, and stamp to the bottom right of your floral image, so his claws are just kissing the edge of the masking tape.
Use your Gossip Glitter Colouring Pens to colour in your stamped images.
Once the ink is completely dry, use your white gel pen to add accents, and highlights to your artwork.
Carefully peel off the masking tape.
Ink up the sentiment from the Jump Creative Stamp set, with the Versafine, and stamp on to the white card (2 1/2 x1")
Cut the sentiment up, and use a black pen to draw a stitched frame around each word.
Adhere the sentiments on to your artwork, with foam pads.
To finish use your black pen to add "movement" accent lines and dashes, around areas of your artwork.
Share your make with the Stamps By Me community - and keep this guide for next time.
Prefer the previous layout? Open the old page.



