Give your friends $10 off their first order!
Refer a FRIEND








Prices change straight away. Every language is our own translation, not Google.
A project from our live show HOBBYMAKER TV - Join us for the latest show - Broadcast 6 p.m. (UK) 19th June 2026 · 06/19/2026 · watch it from 1:06:00
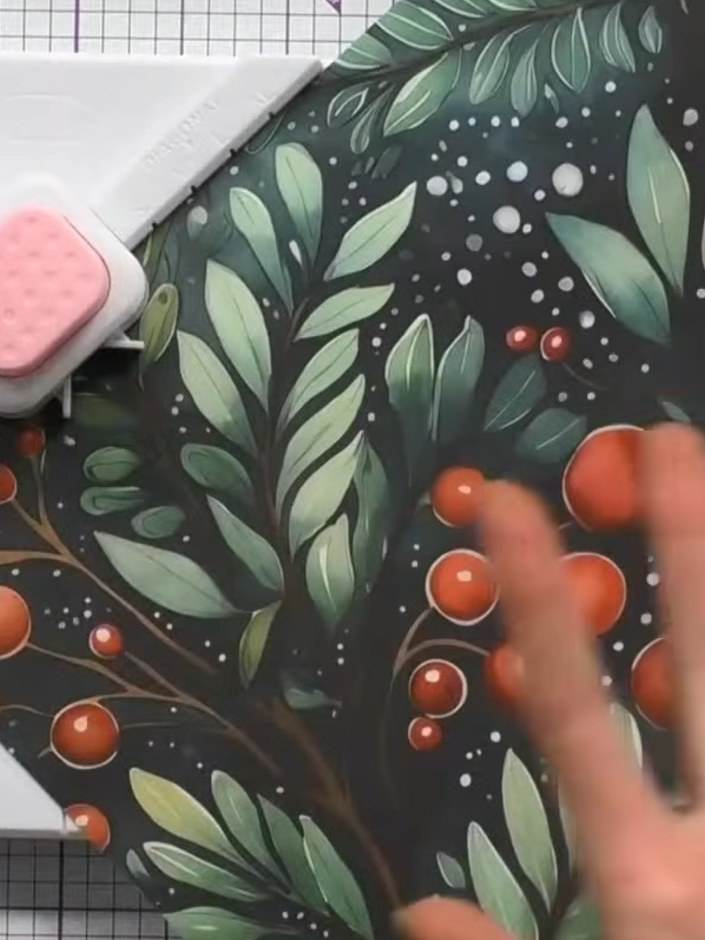
Create an elegant gift box using the Stamps By Me Holly and Berry paper pad featuring beautiful winter foliage in rich greens and warm berries. This clever no-glue design uses a gift box board to score and punch a 4x4 inch box from 12x12 patterned paper, with an ingenious hook and eye closure system that simply folds together for a professional finish.
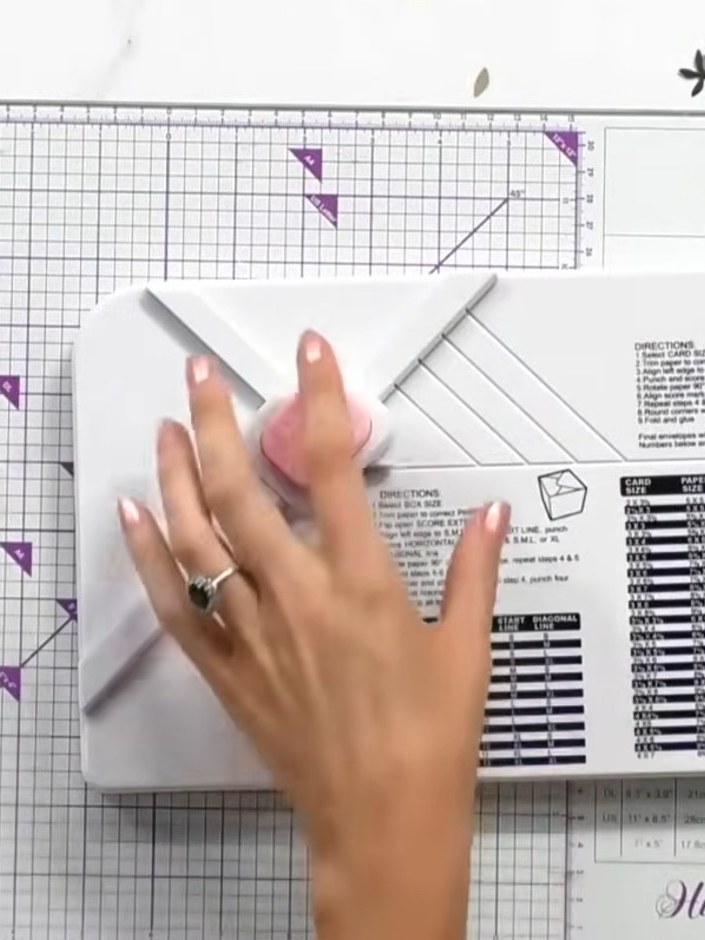
Place your 12x12 inch patterned paper into the Hunkydory box board, aligning it at the XL start line marked on the board.
▶ watch this step (1:06:15)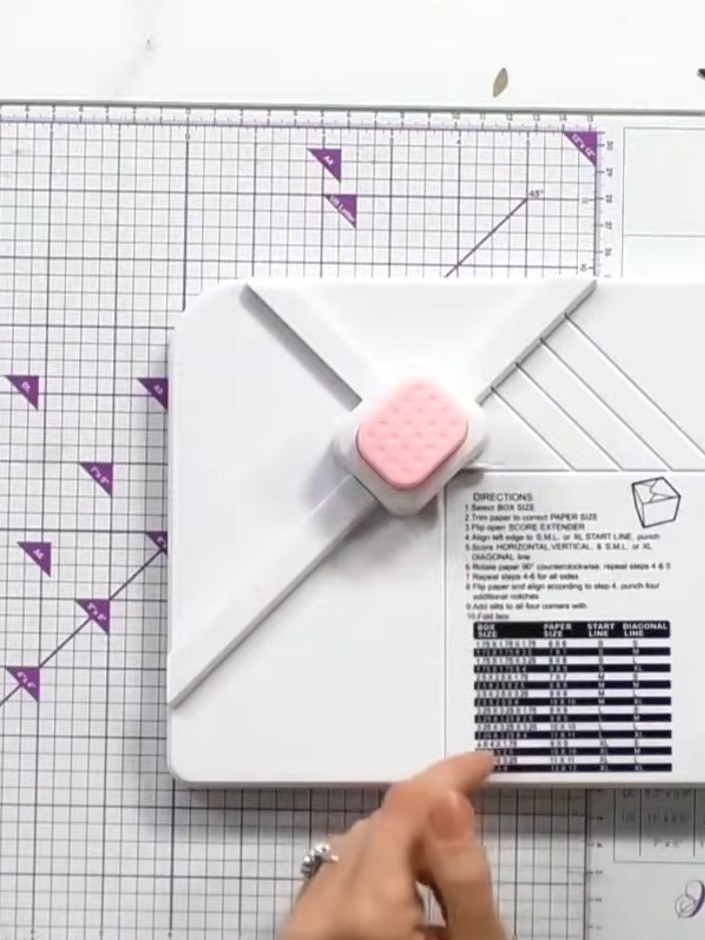
Score down the first XL diagonal line using the scoring tool with the extending arm on the envelope board.
▶ watch this step (1:06:30)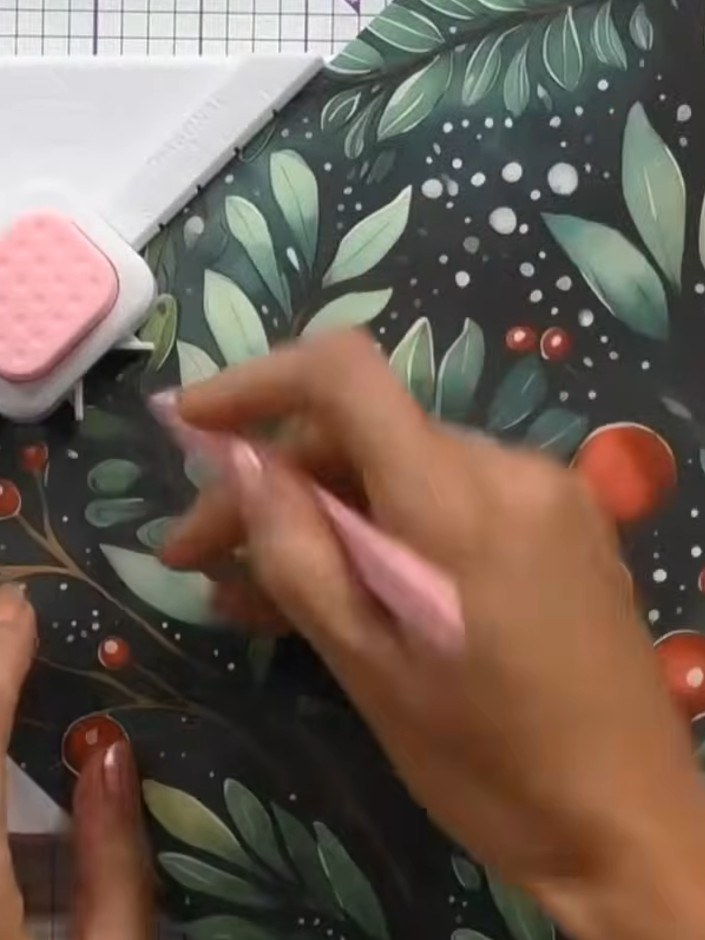
Using the score board, score across the full width of the decorative paper at the XL mark indicated on your chart.
▶ watch this step (1:06:45)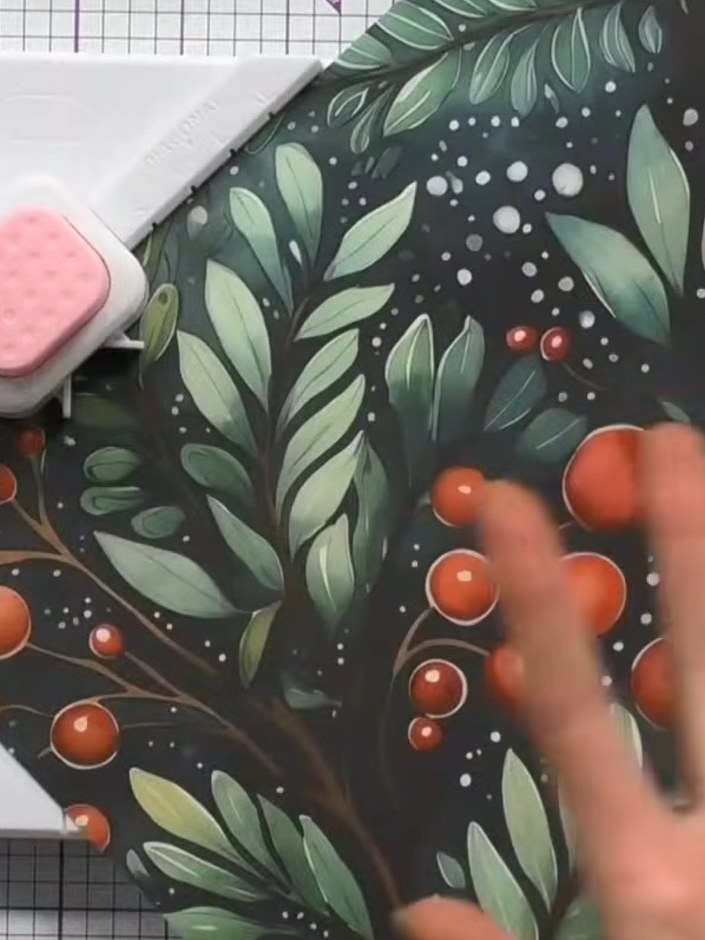
Rotate the decorative paper 90 degrees. Using the envelope punch board, score along the diagonal XL lines in the same way, aligning the paper edge with the score extender arm.
▶ watch this step (1:07:00)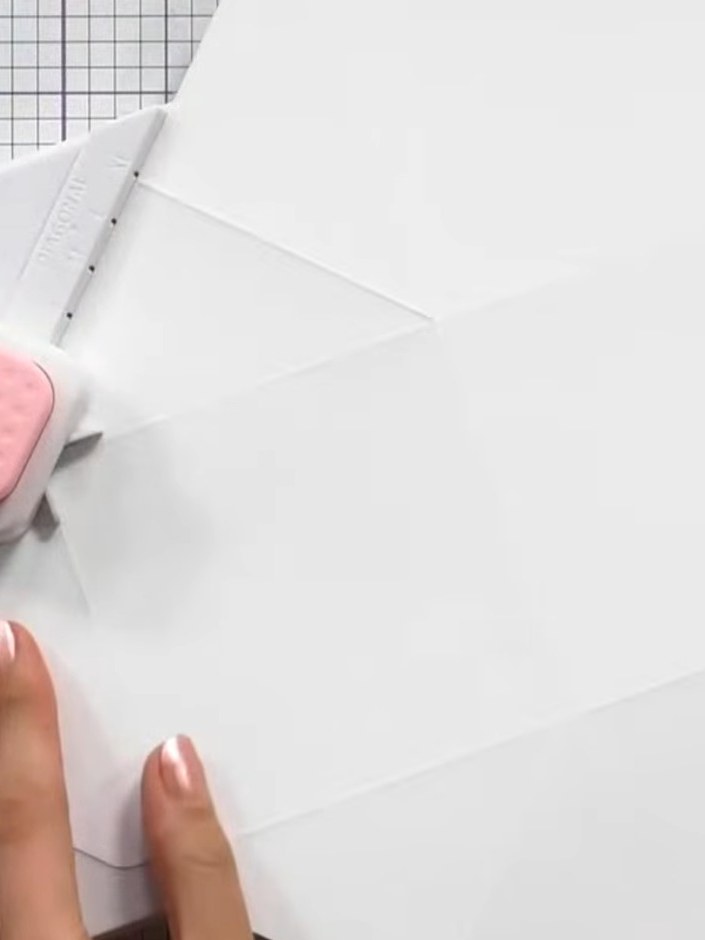
Use the corner punch tool to punch out small triangles at the marked positions on the decorative paper. Position the paper in the punch and press down firmly to create neat corner cutouts.
▶ watch this step (1:08:00)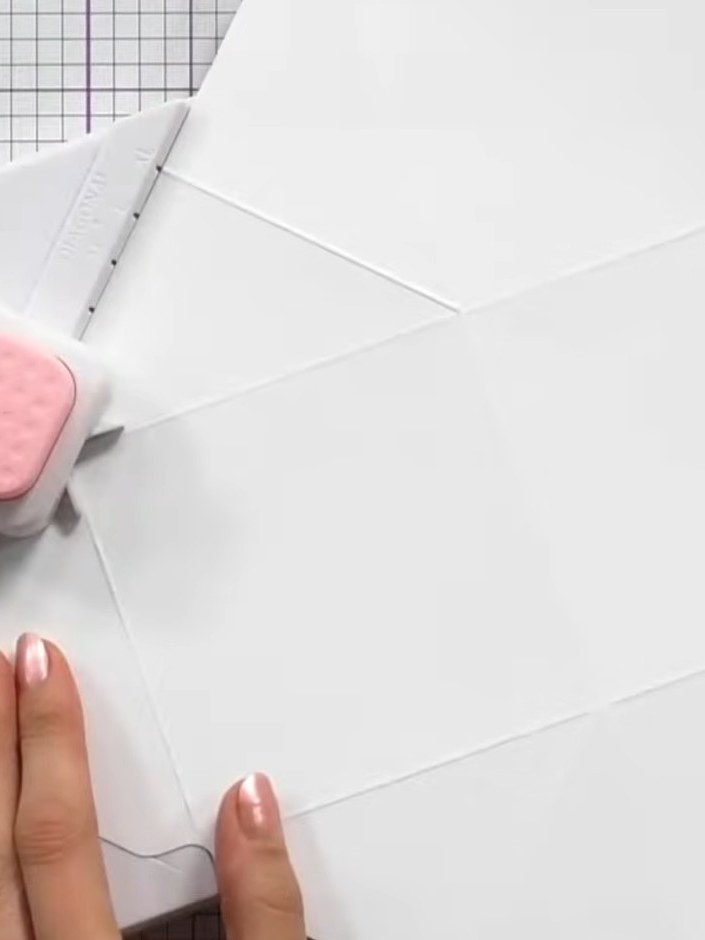
Use the hook and eye punch tool to create interlocking closures on the sides of the box. Punch holes through the folded edges where the box sides will meet to create the fastening mechanism.
▶ watch this step (1:08:30)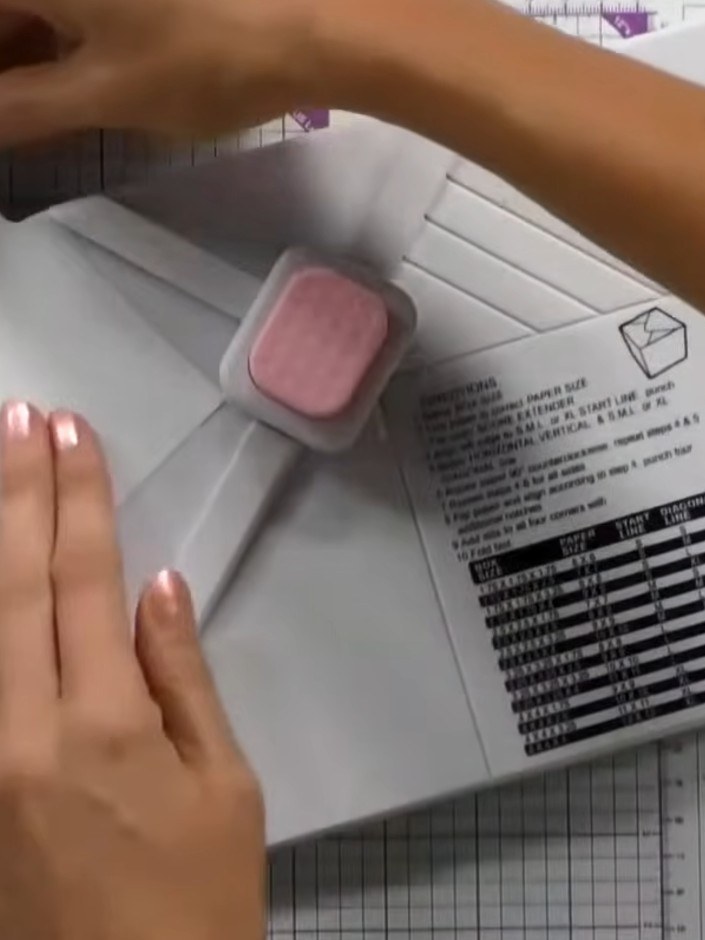
Crease all the score lines firmly by hand to prepare for folding. Work through each scored line on the paper, pressing firmly to create sharp, defined creases that will make the box easier to assemble.
▶ watch this step (1:09:00)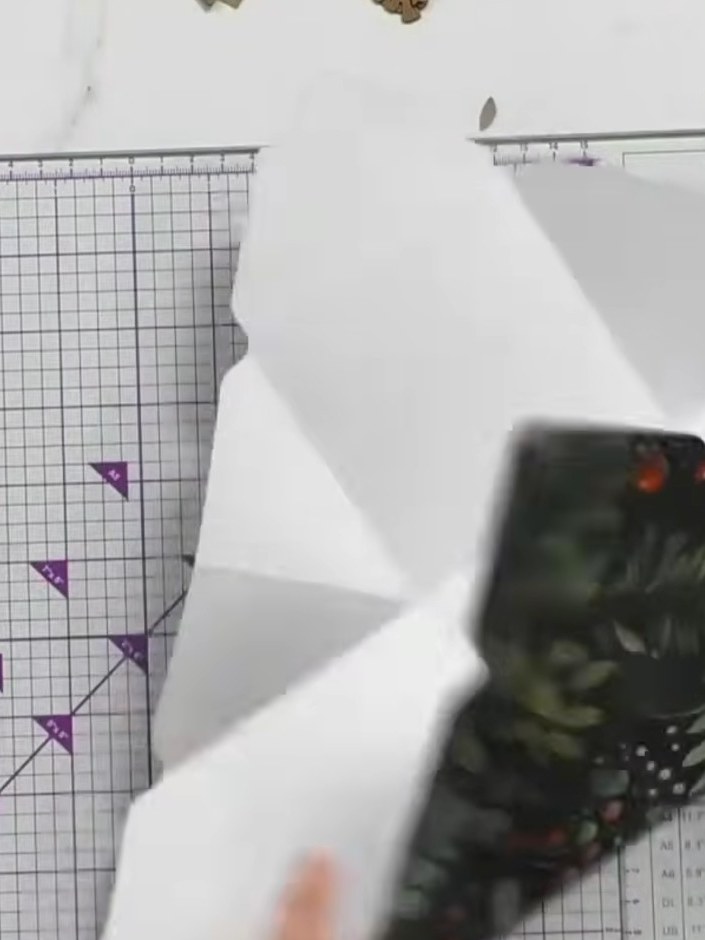
Fold up the sides of the decorative paper along the score lines. Hook the eye closures together at each corner to secure the box structure and complete your no-glue gift box.
▶ watch this step (1:09:30)Written up from the show itself. See every guide from our shows · free how-to guides · watch live on My Telly


