QUICK LINKS

info@howtocraftnetwork.com
We just got smarter - shop and watch with the SBM appGET THE APPWatch us live on your smart TVSEE HOWDiscover our dedicated IPTV channel - go to my-telly.comWATCHCollect loyalty points on every orderFIND OUT MORE
Welcome to the How to Craft Network
 
SBM SHOP
FOLLOW US
GIVE YOUR FRIENDS $10 OFF REFER A FRIEND › DISCOVER MY-TELLY.COM › WE JUST GOT SMARTER GET THE APP › AWARD WINNING CHANNEL ON YOUR TV › JOIN THE CLUB FOR SAVINGS ›
 

Simple Embossed Daisy Card with Shading Technique

A project from our live show THE ART OF CARDISTRY - Join me for my Creative Card Session with all my wonderful USA following - Broadcast 9th Oct 23 · 10/09/2023 · watch it from 39:00

Simple Embossed Daisy Card with Shading Technique - the finished project
The finished project

Create a clean and elegant card featuring embossed white daisies with yellow centres on a pale pink background. This simple yet effective design uses embossing to create raised floral motifs, which are then enhanced with subtle shading using grey or blue ink to add depth and dimension. The result is a sophisticated card perfect for any occasion, showcasing how minimal colouring can create maximum impact.
You will need

811158 - HSN - Embossing Folder & Die Bundle - Daisy Meadow, Fluttering Butterflies, Geo Florals811158 - HSN - Embossing Folder & Die Bundle - Daisy Meadow, Fluttering Butterflies, Geo FloralsSEE IT

DOWNLOAD THIS GUIDE (PDF)

Step by step

  1. Place a piece of white card into the slim-line embossing folder, positioning it centrally within the folder. ▶ watch 39:00
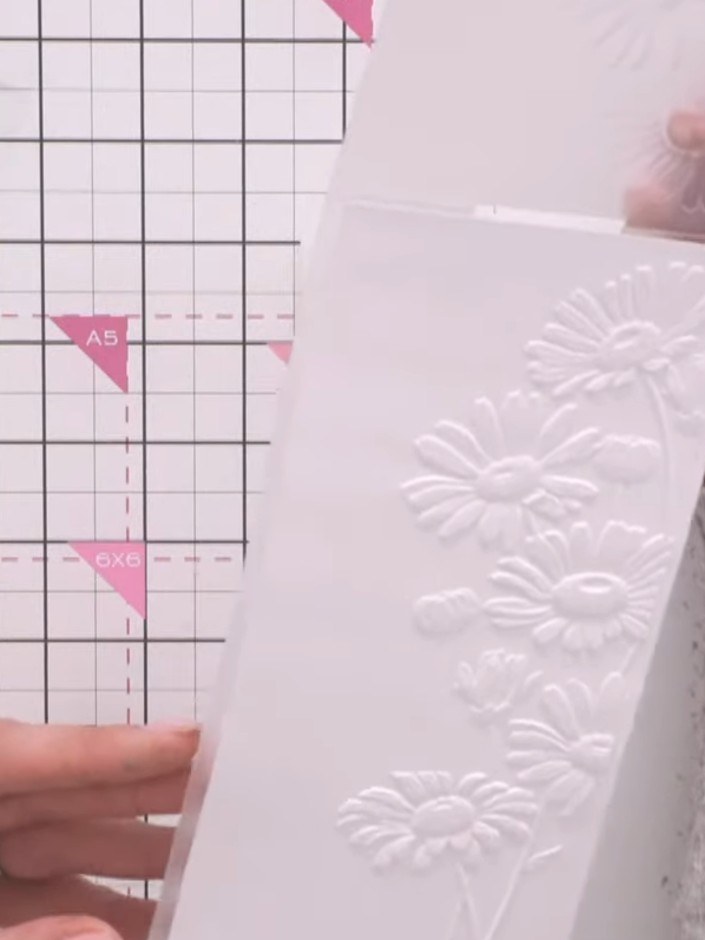
  2. Step 2: Place your card into the embossing folder from the Daisy Meadow bundle. Run the card through your die-cutting

    Place your card into the embossing folder from the Daisy Meadow bundle. Run the card through your die-cutting machine to create the embossed daisy design.

    ▶ watch this step (39:15)
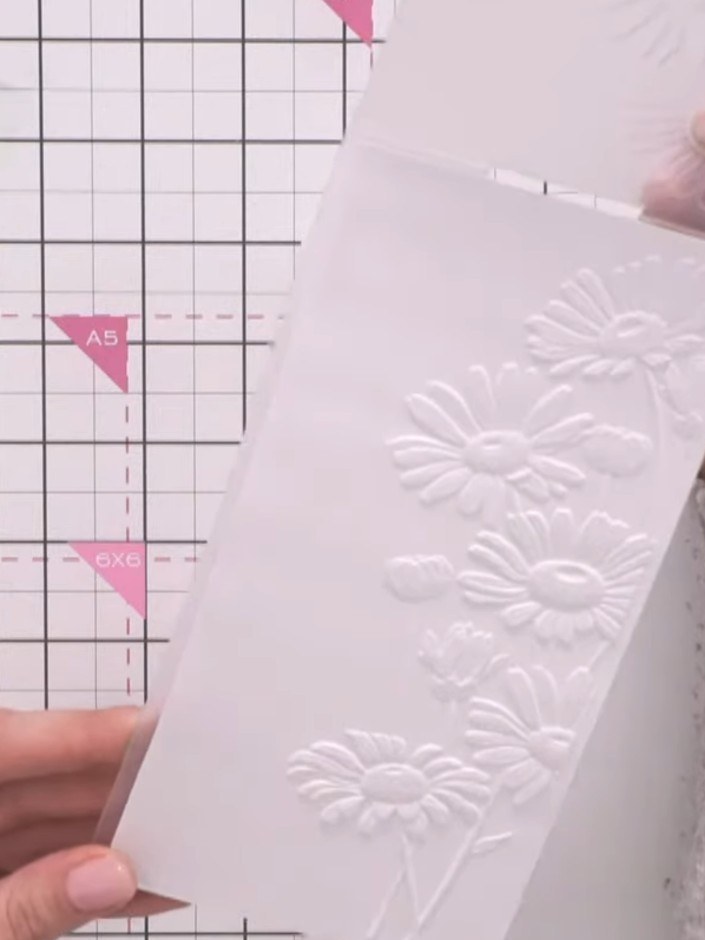
  3. Step 3: Remove the card from the embossing folder and admire the dimensional daisy embossing pattern that has been cre

    Remove the card from the embossing folder and admire the dimensional daisy embossing pattern that has been created on the white cardstock.

    ▶ watch this step (39:30)
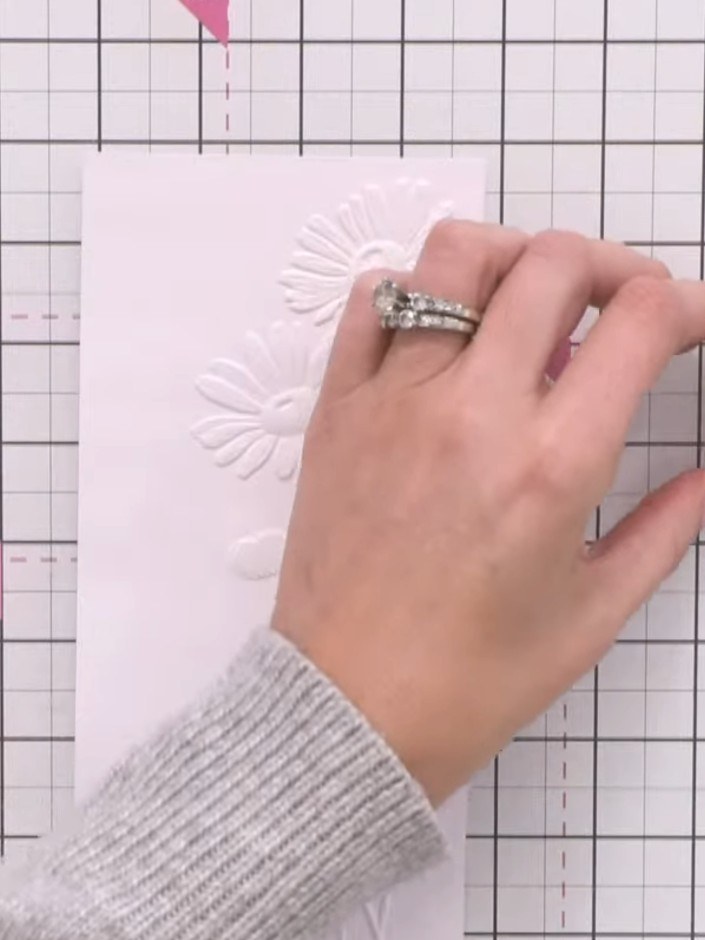
  4. Step 4: Dilute a blue, purple or grey ink pad with water to create a very pale wash for shading the daisies.

    Dilute a blue, purple or grey ink pad with water to create a very pale wash for shading the daisies.

    ▶ watch this step (42:00)
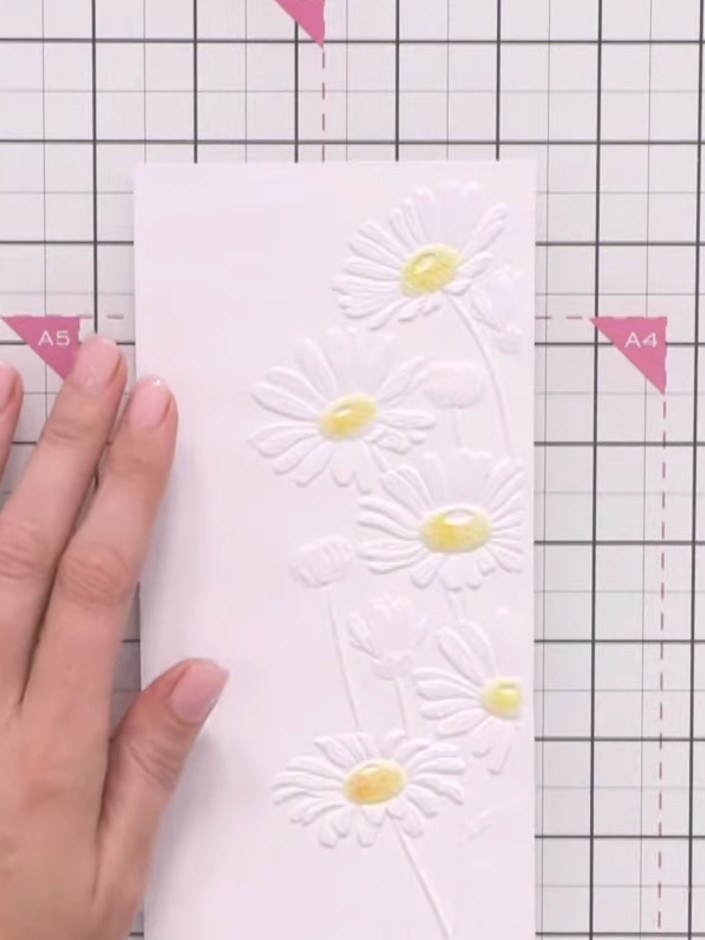
  5. Step 5: Using a small blending brush, apply the pale coloured wash into the centre of the embossed daisy. Work gently

    Using a small blending brush, apply the pale coloured wash into the centre of the embossed daisy. Work gently to add subtle shading to the flower centre.

    ▶ watch this step (42:15)
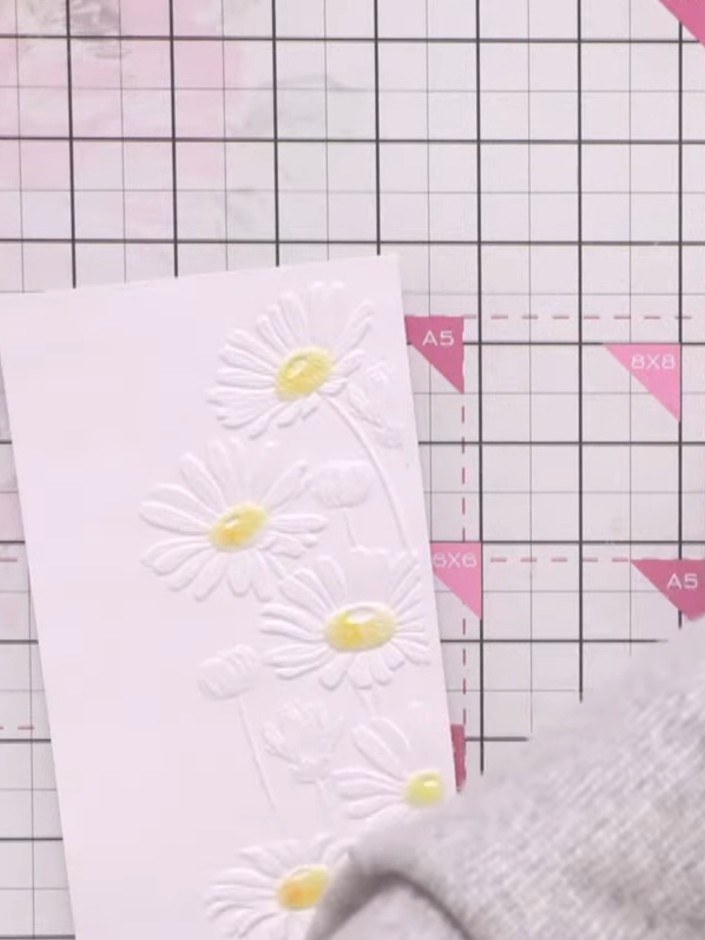
  6. Step 6: Gently pull the colour outwards towards the petal edges using a soft brush or your finger, allowing the ink to

    Gently pull the colour outwards towards the petal edges using a soft brush or your finger, allowing the ink to settle into the embossed creases of the daisies.

    ▶ watch this step (42:30)
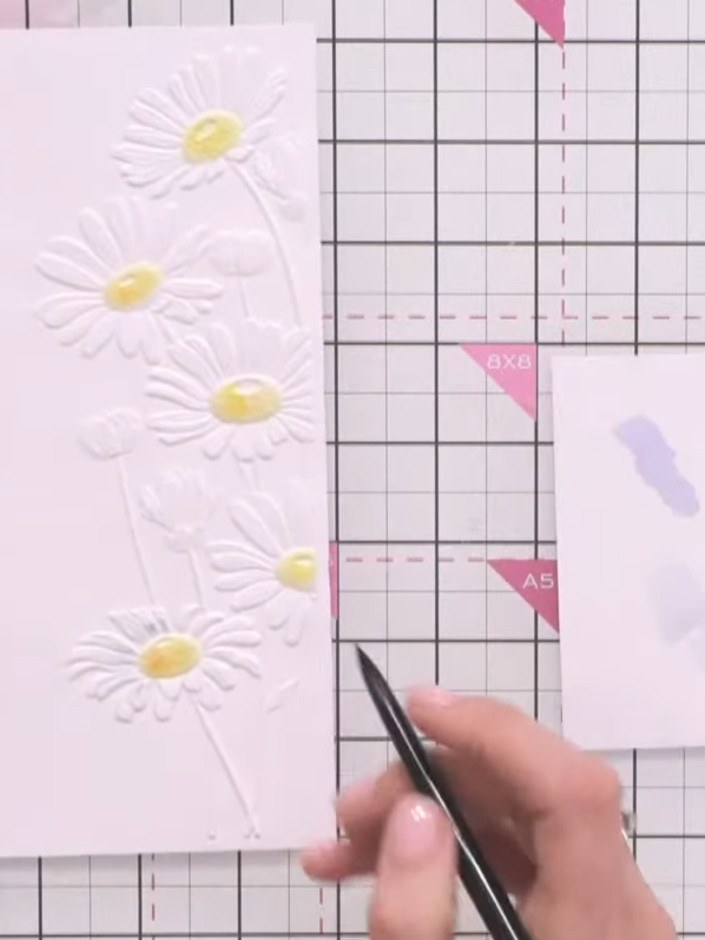
  7. Step 7: Allow the embossed daisy card to dry completely before handling or adding further embellishments.

    Allow the embossed daisy card to dry completely before handling or adding further embellishments.

    ▶ watch this step (43:00)

Tips from the show

More from this show

Written up from the show itself. See every guide from our shows · free how-to guides · watch live on My Telly







