Give your friends $10 off their first order!
Refer a FRIEND








A project from our live show FRIDAY START TO THE WEEKEND - BACK IN STOCK SPECIAL - Broadcast 13th Oct 2023 · 10/13/2023 · watch it from 12:00
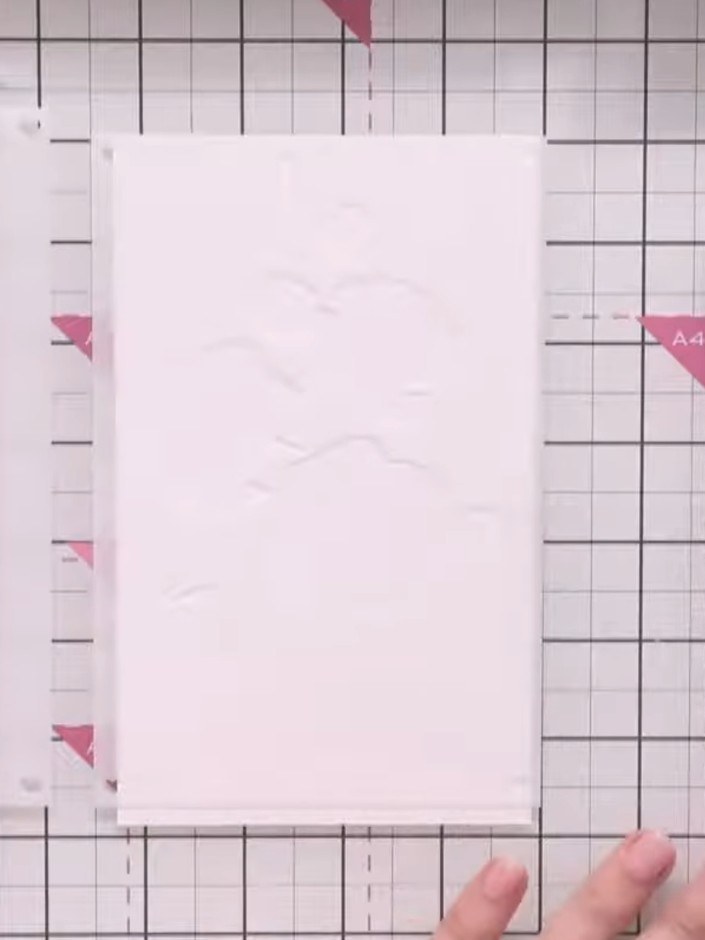
Create a vibrant three-dimensional poppy flower using a layering stencil system with traditional red colouring. The stencil guides you through multiple layers to build depth and dimension, resulting in a striking floral design that appears to leap from the card. This technique combines ink blending with precise stencil placement to achieve a beautiful botanical effect.
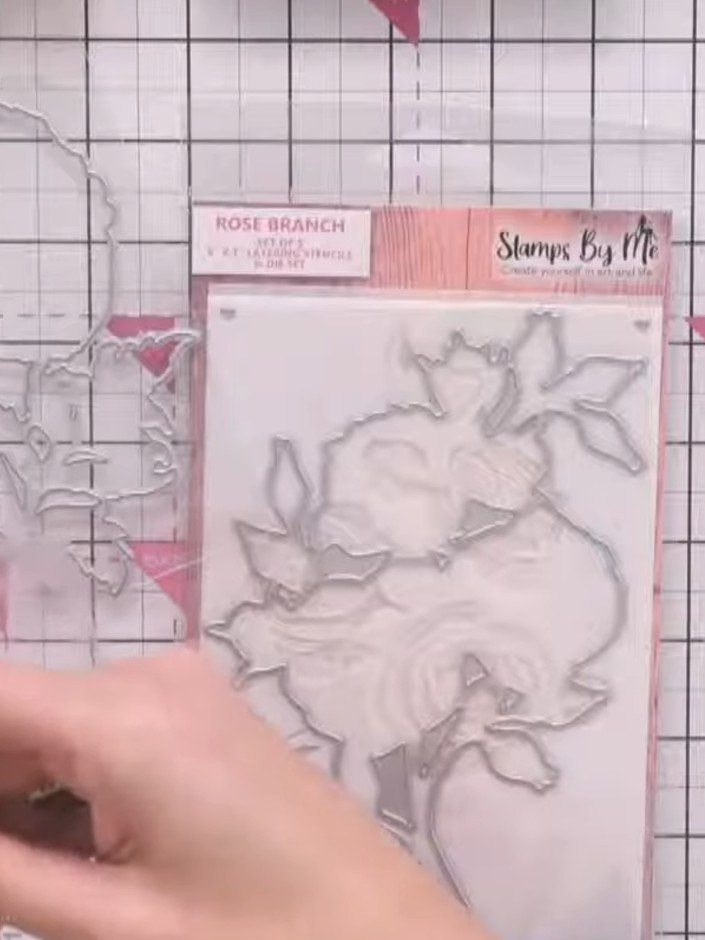
Position the poppy stencil on your card base and secure it in place using magnets to prevent it from moving whilst you work.
▶ watch this step (12:15)
Remove the first stencil from your card. Line up the second stencil using the alignment guides marked on the stencil to ensure proper positioning.
▶ watch this step (13:45)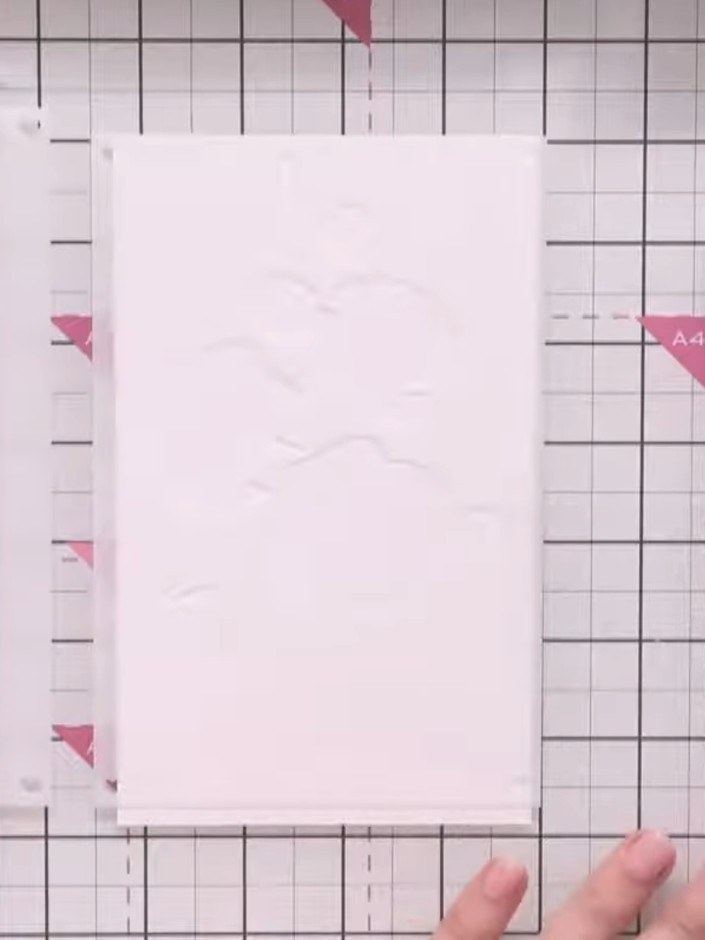
Apply the same red ink through the second stencil, pressing slightly harder to deepen the colour and create more dimension.
▶ watch this step (14:00)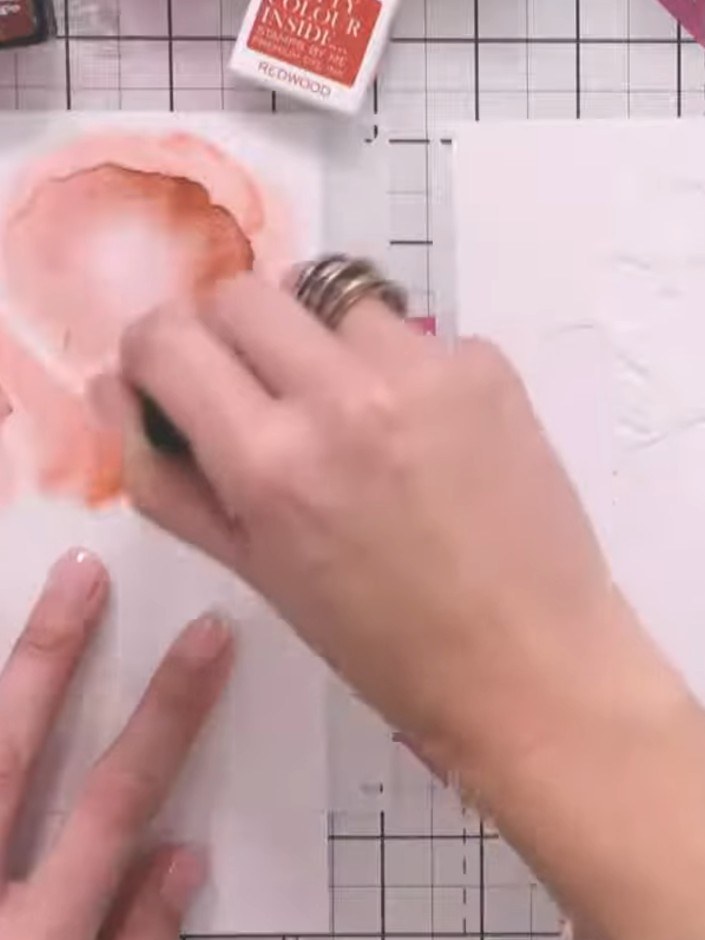
Use a heat gun to thoroughly dry the sprayed ink on the card before applying the next stencil layer.
▶ watch this step (16:15)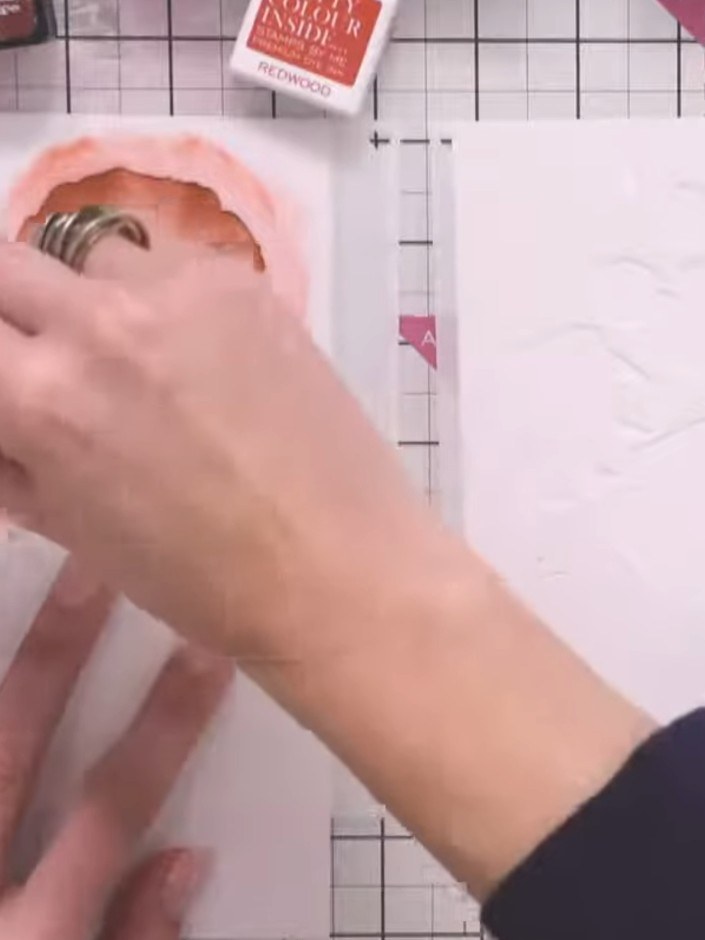
Position the third stencil over your card and apply darker red or burgundy ink tones using a blending tool to add depth to the poppy design.
▶ watch this step (16:30)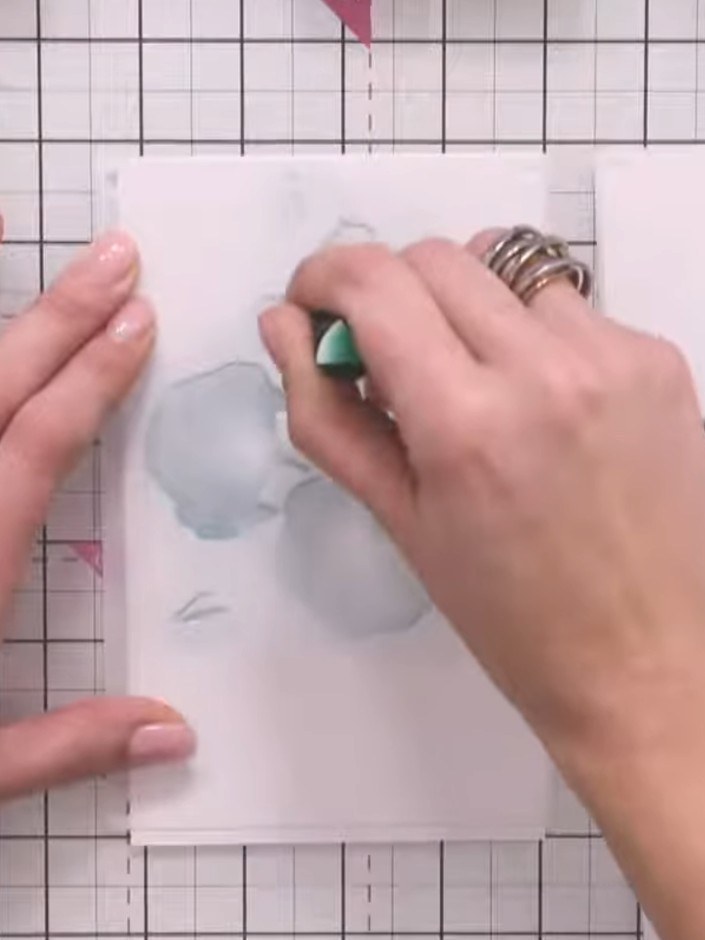
Apply the fourth stencil layer using green ink to add the flower centres and sepals to your poppy design.
▶ watch this step (18:00)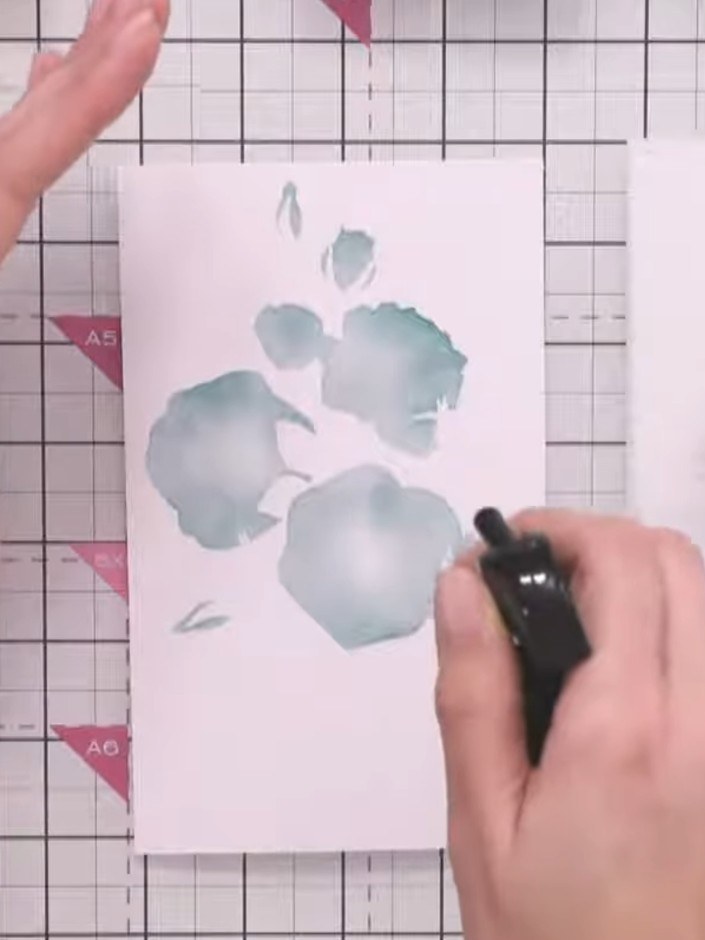
Use the fourth stencil layer and apply black ink to the smallest details to add definition to the flower centres. Work carefully to enhance the fine details of the poppies.
▶ watch this step (18:30)
Die-cut the poppy from the stamped image using the coordinating die from the Poppy Bouquet set to create a three-dimensional embellishment.
▶ watch this step (19:00)Written up from the show itself. See every guide from our shows · free how-to guides · watch live on My Telly
