Give your friends $10 off their first order!
Refer a FRIEND








A project from our live show CREATE AND CRAFT TV - Join Toni for her brand new launch - broadcast 25th Oct 23 · 10/25/2023 · watch it from 30:15
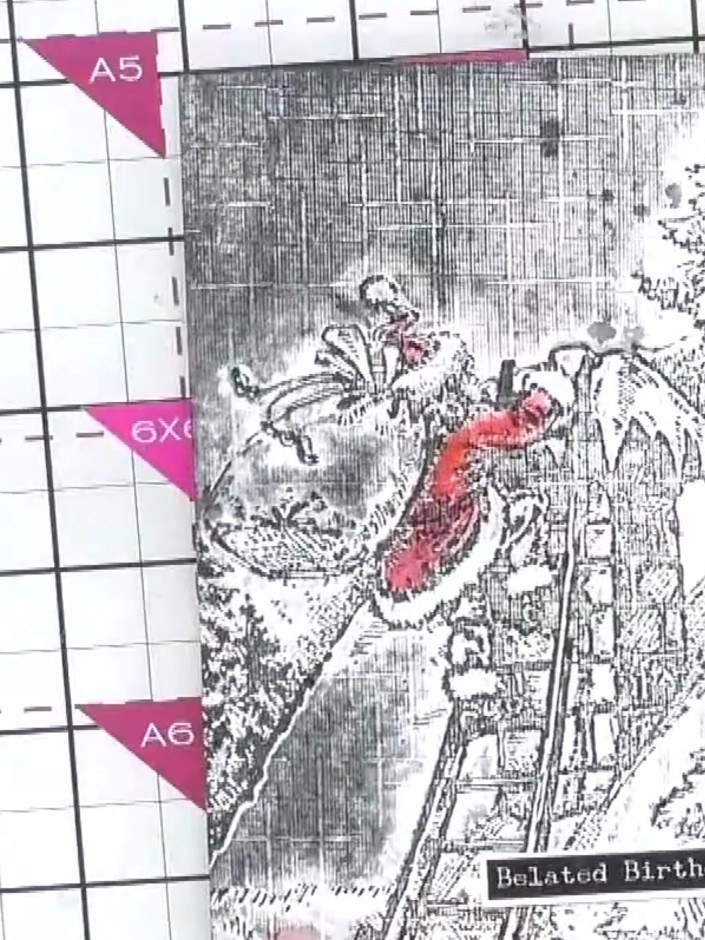
Create a charming festive card featuring Santa climbing down a chimney on Christmas Eve. This project combines embossing techniques with delicate hand-painted details in soft pink and red tones to bring the winter scene to life. The finished card includes a 'Belated Birthday Wishes' sentiment, making it perfect for those with birthdays near Christmas.
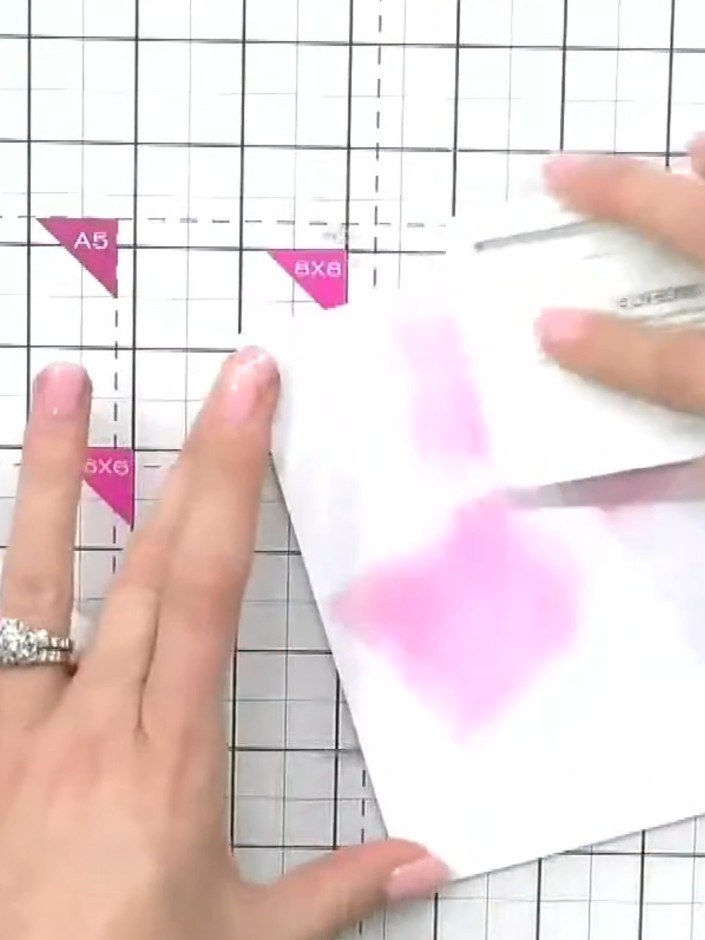
Take a piece of white card stock and swipe random coloured inks across it to create a coloured background. Use multiple ink colours and blend them together for a vibrant effect.
▶ watch this step (30:15)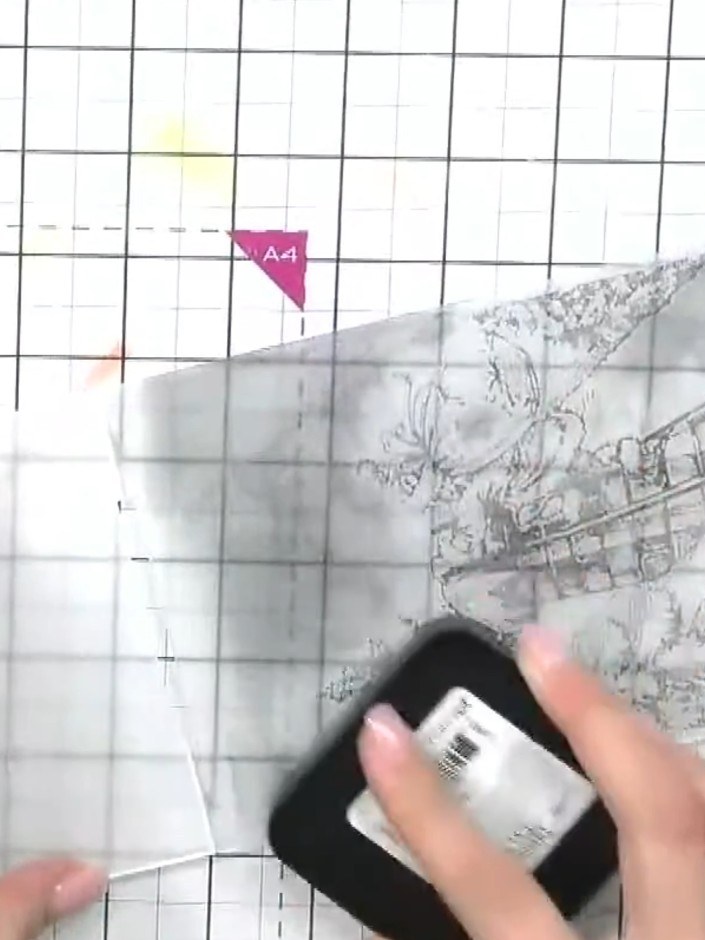
Ink up both sides of the Santa embossing folder with a black ink pad, ensuring even coverage across the entire surface.
▶ watch this step (30:45)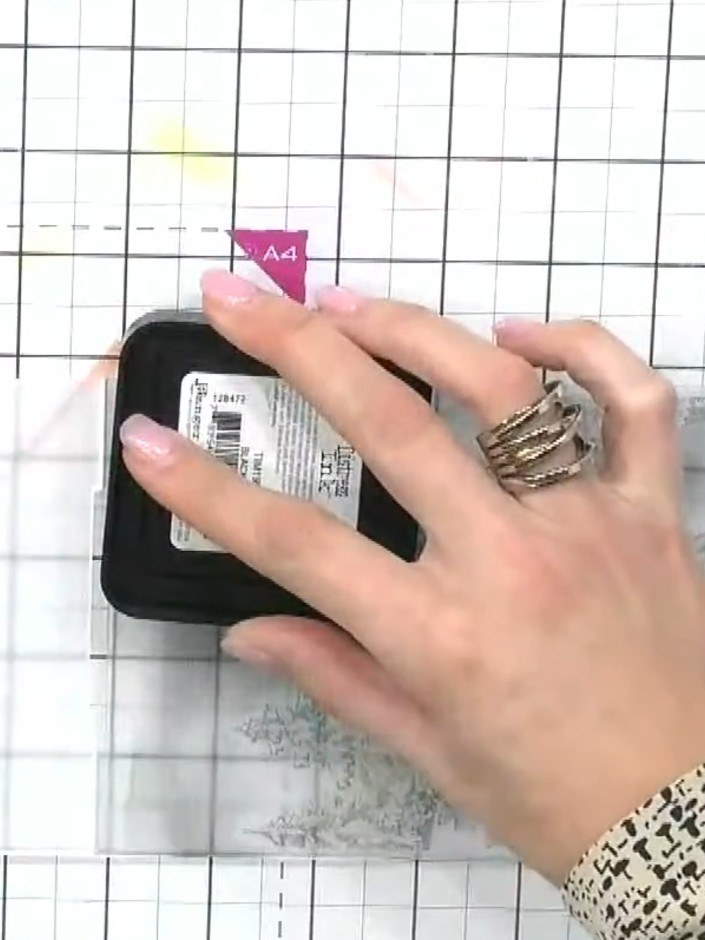
Place your coloured card stock into the embossing folder. Position the card carefully to ensure it will be embossed in the desired area.
▶ watch this step (31:15)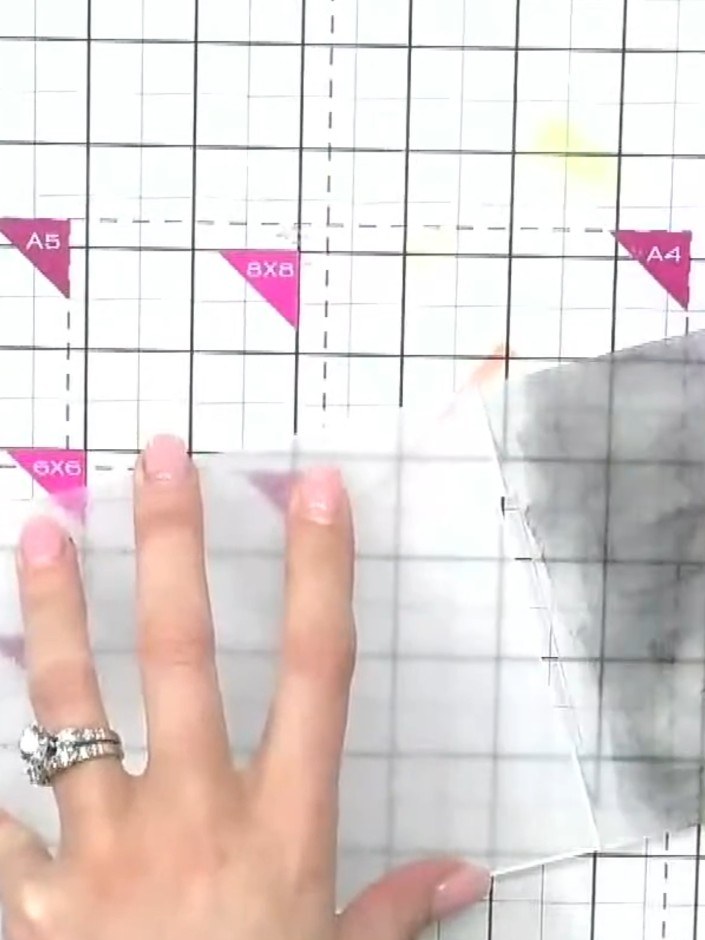
Place your inked card face-up on the cutting mat with the embossing folder positioned over it. Run the card through your die-cutting machine to emboss the Santa design into the card.
▶ watch this step (31:30)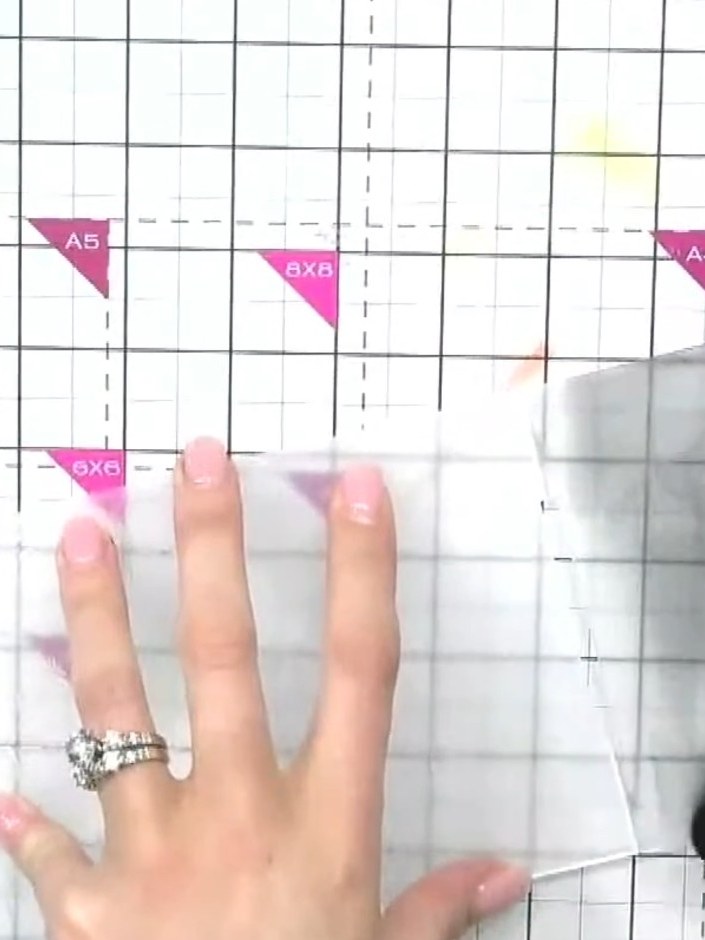
If the embossed impression needs to be darker, re-ink the stamp and run the card through the die-cutting machine again to deepen the embossed detail.
▶ watch this step (32:00)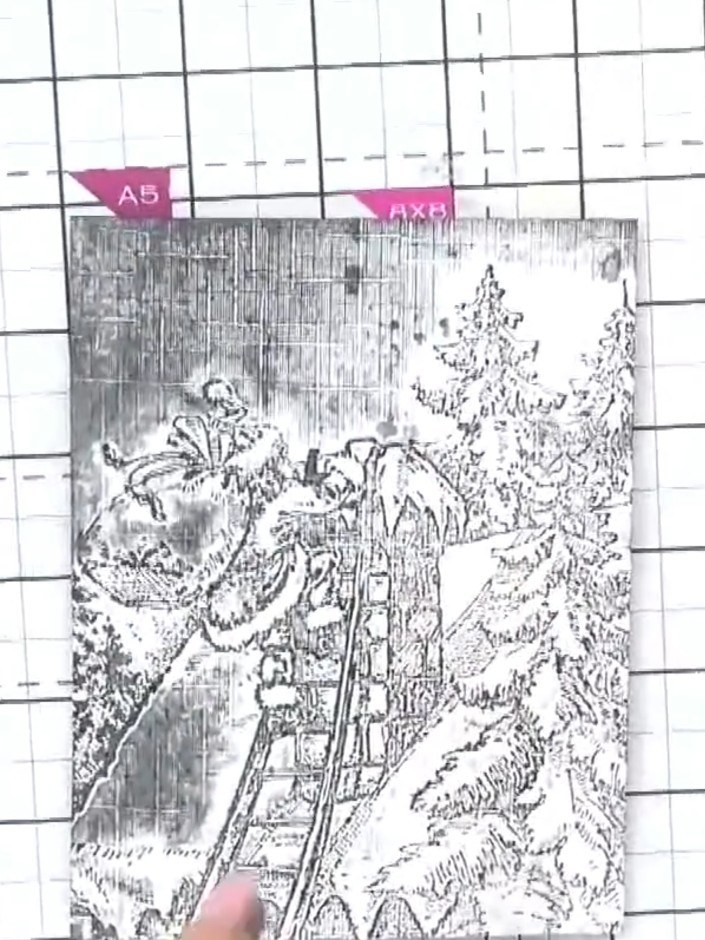
Using a brush, apply red ink or watercolour paint to Santa's coat on the embossed image. Paint carefully to add colour and dimension to the design.
▶ watch this step (36:00)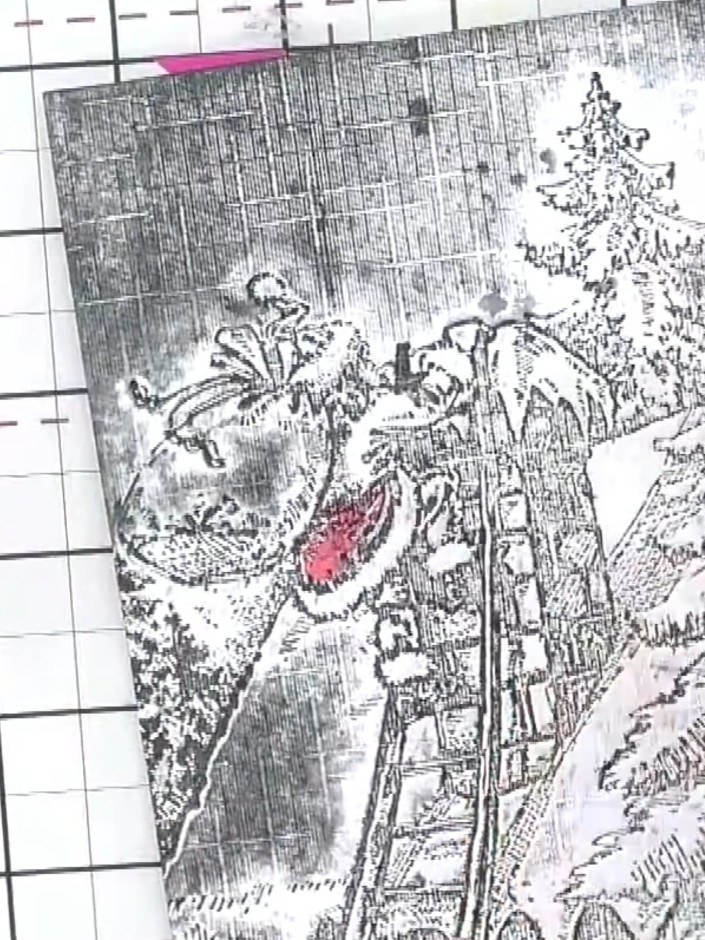
Add colour to additional details if desired, such as painting Santa's sack with a pink or red shade to make it stand out from the embossed design.
▶ watch this step (36:30)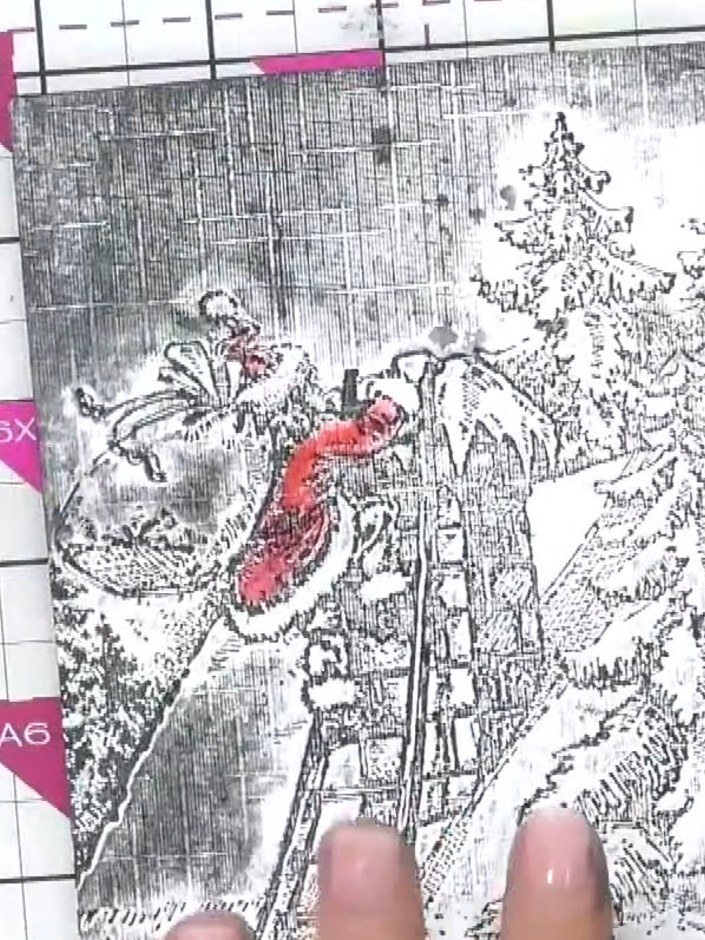
Mount the finished embossed and coloured Santa panel onto a card blank. Add an appropriate Christmas sentiment to complete your card.
▶ watch this step (37:00)Written up from the show itself. See every guide from our shows · free how-to guides · watch live on My Telly
