Give your friends $10 off their first order!
Refer a FRIEND








A project from our live show CREATE AND CRAFT TV - Join Carley Duff for the brand new SBM launch show 4 - broadcast 26th Oct 23 · 10/26/2023 · watch it from 22:00
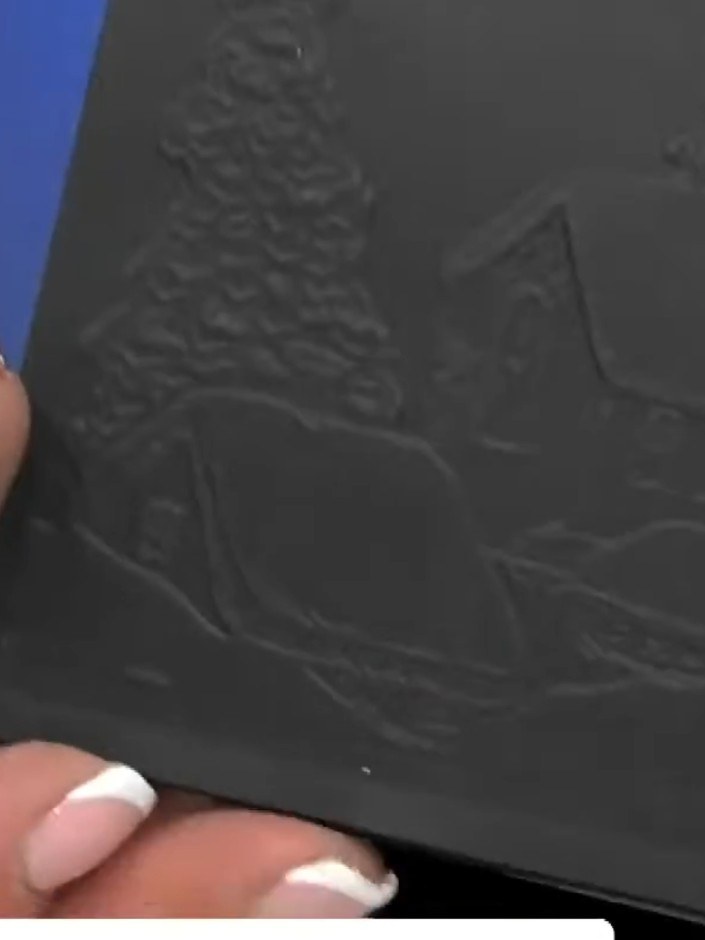
Create a dramatic black card with an embossed winter landscape featuring churches and evergreen trees. Apply white texture paste over the embossed design to create a snowy, frosted effect, then add metallic ink highlights for extra dimension and sparkle. This striking monochrome card combines embossing, texture techniques, and metallic accents for an elegant seasonal design.
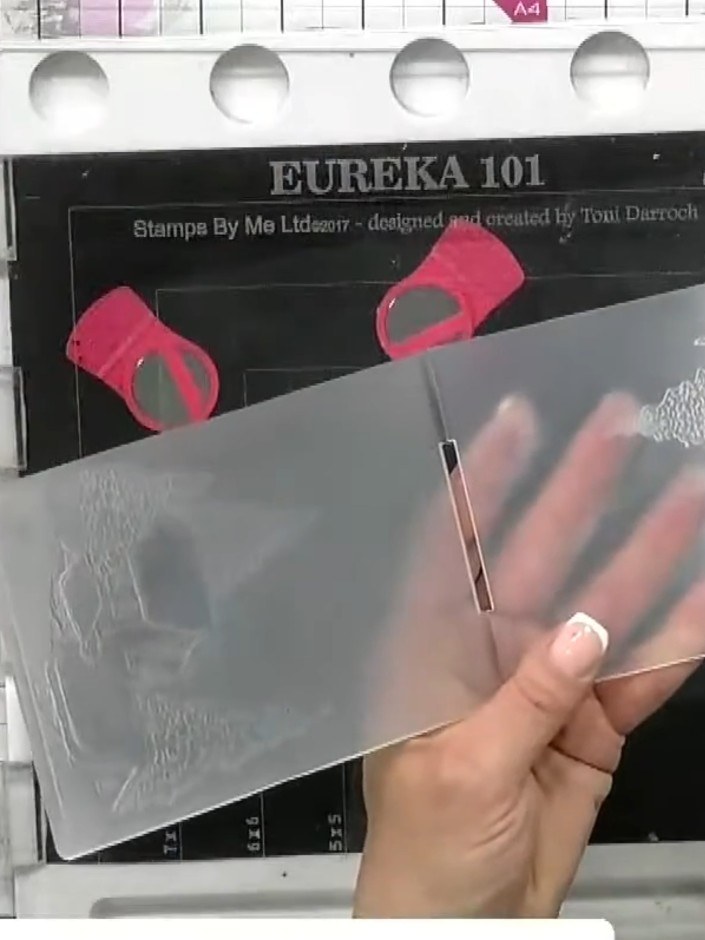
Open your embossing folder and feel the base with your fingers to identify which side creates the deboss (imprint) and which creates the emboss (raised texture). The base will have a slight raised area like a speed hump where the emboss pattern sits.
▶ watch this step (22:45)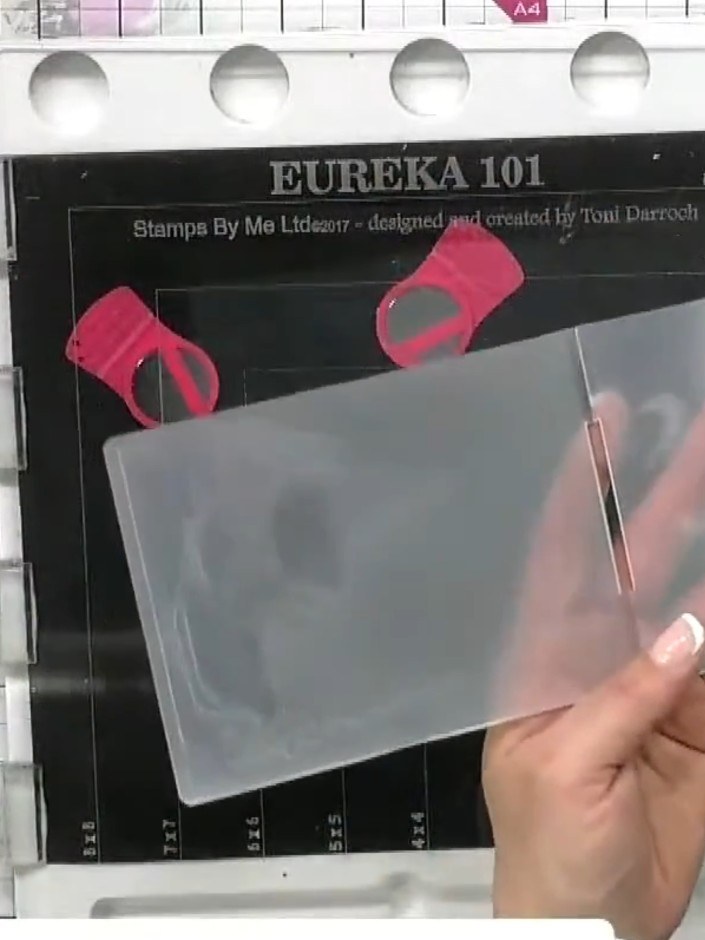
Run a piece of black card stock through your die-cutting machine using the embossing folder. Check your machine manufacturer's settings first to ensure the correct pressure for embossing.
▶ watch this step (23:00)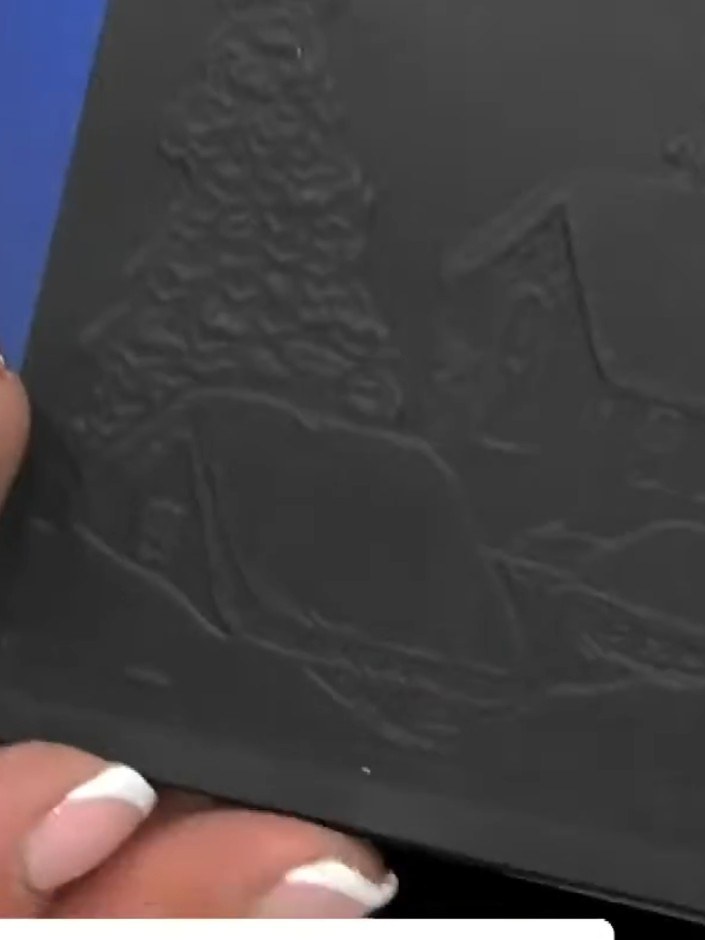
Examine the embossed design on the black card. The detail should be clearly visible despite the dark colour of the cardstock.
▶ watch this step (23:30)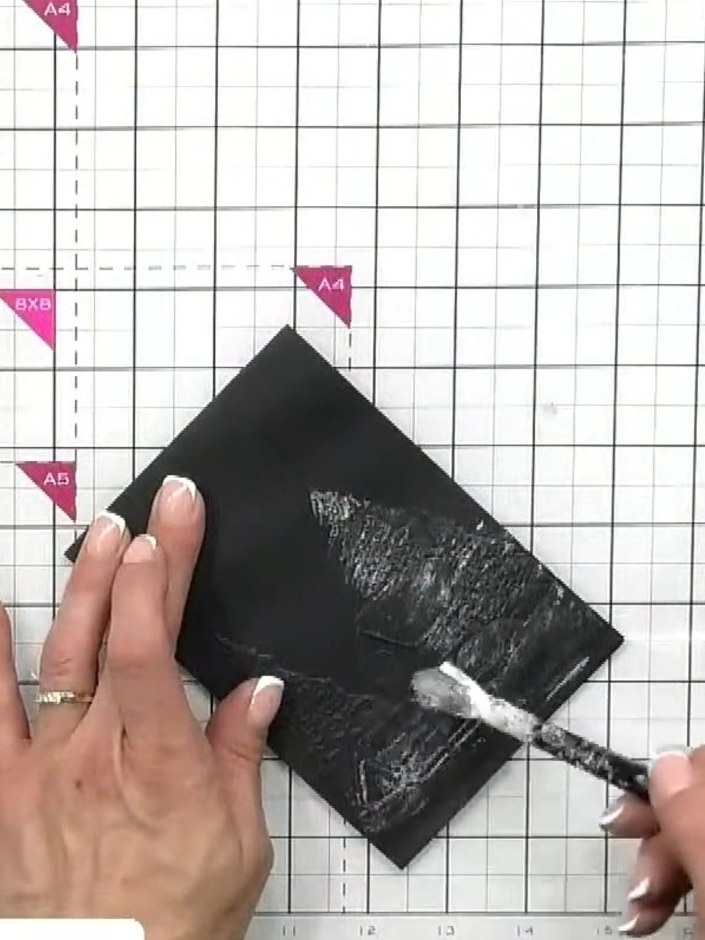
Apply white acrylic texture paste lightly over the embossed black card using a dry brush technique. Work with light strokes to create a subtle, snow-like effect without heavy coverage.
▶ watch this step (24:00)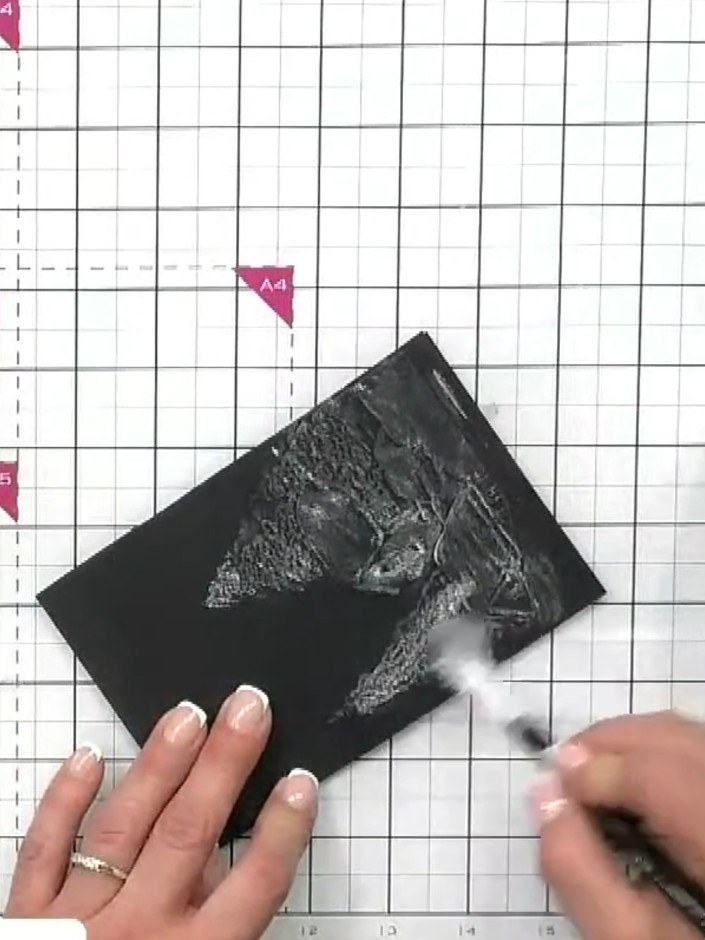
Build up the texture paste in layers across the embossed design, allowing each layer to create a snowfall effect. Work the paste into different areas of the card to add depth and dimension.
▶ watch this step (24:15)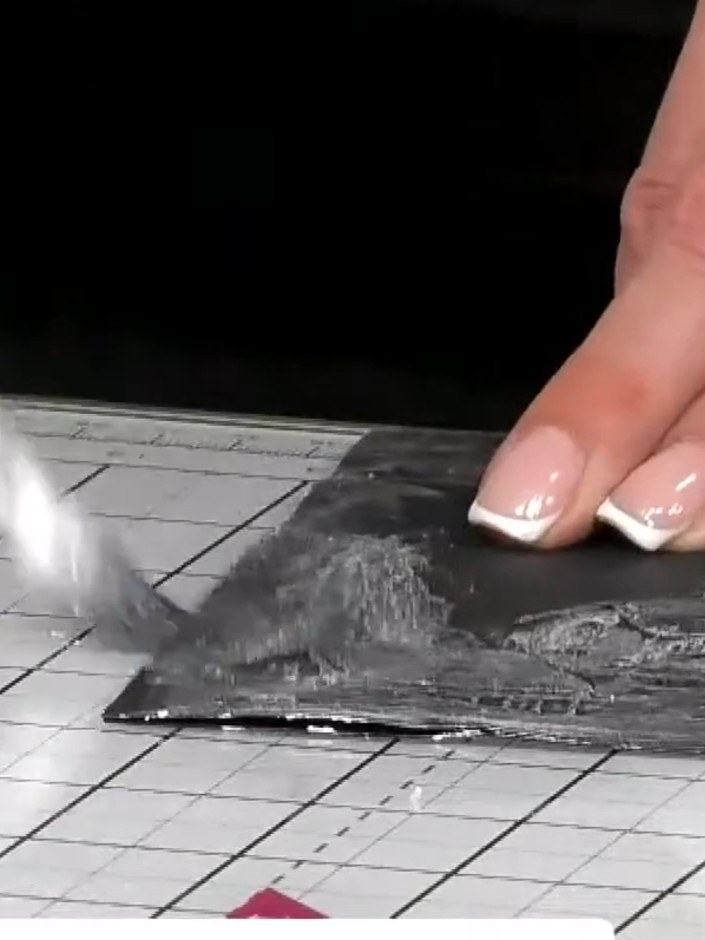
Once the white texture paste is dry, apply metallic acrylic paint over the textured surface using a brush or sponge, working the colour into the raised areas to add shimmer and dimension.
▶ watch this step (24:30)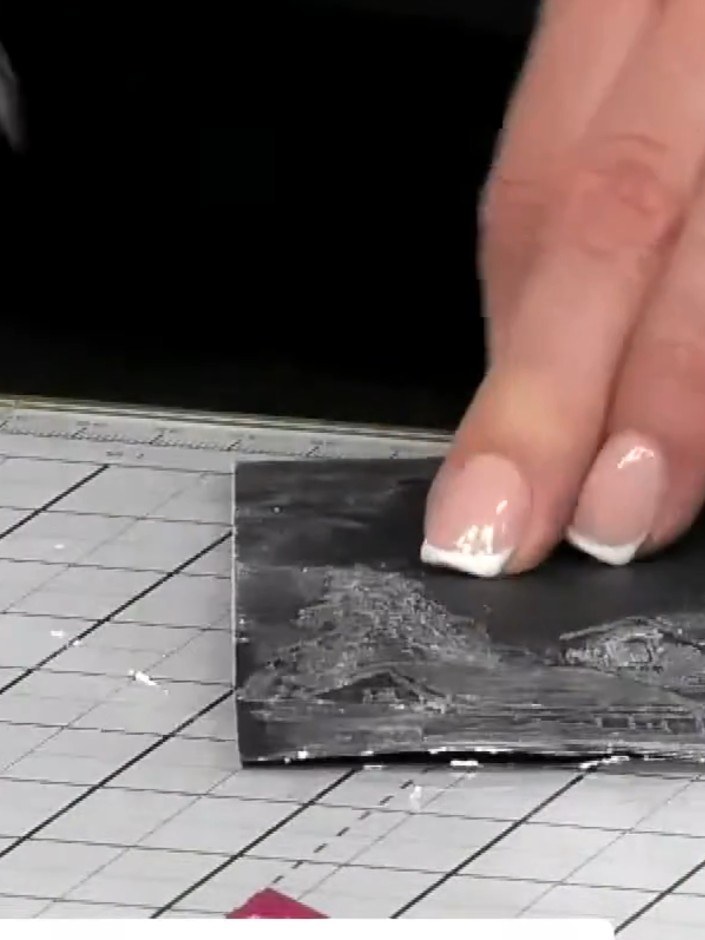
Add colour to the edges of the black card using ink pads to frame the embossed design. Choose colours that complement your metallic accents to create a cohesive finished piece.
▶ watch this step (24:45)Written up from the show itself. See every guide from our shows · free how-to guides · watch live on My Telly