Give your friends $10 off their first order!
Refer a FRIEND








A project from our live show THE THURSDAY DROP - Latest Products from Toni - Broadcast 15th October 2026 · 10/15/2026 · watch it from 1:02:45
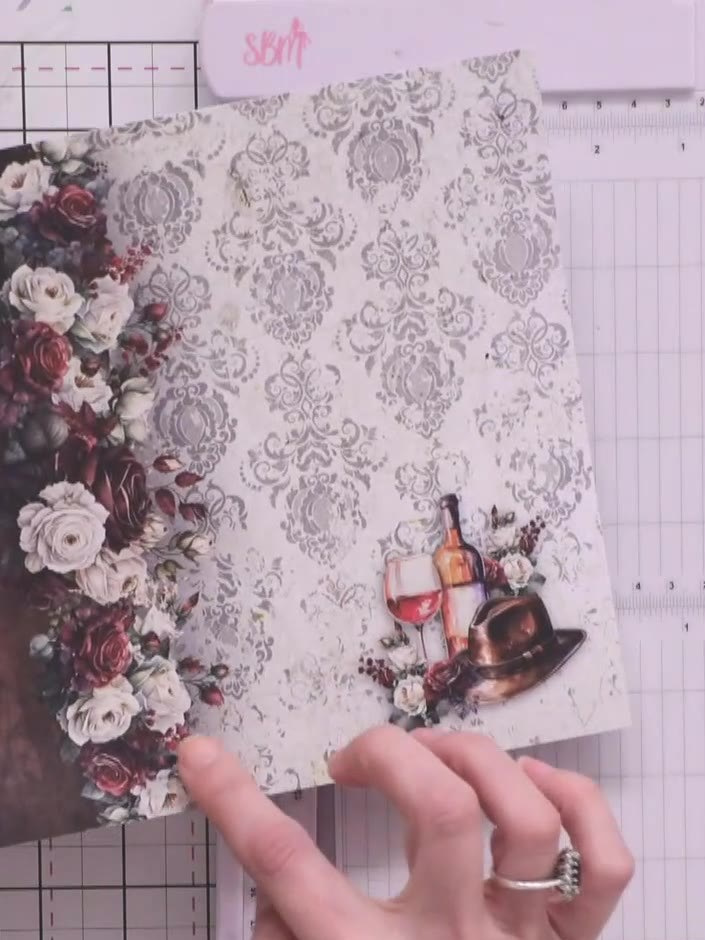
Create a handmade greeting card featuring a functional gift card wallet on the front with a decorative floral pocket panel down one side. The wallet opens to reveal space for gift cards or notes, finished with coordinating brown leather-effect papers and vintage floral patterns for a sophisticated, masculine aesthetic. This project combines paper folding, distress inking, and layered embellishments to create a practical yet beautiful card.
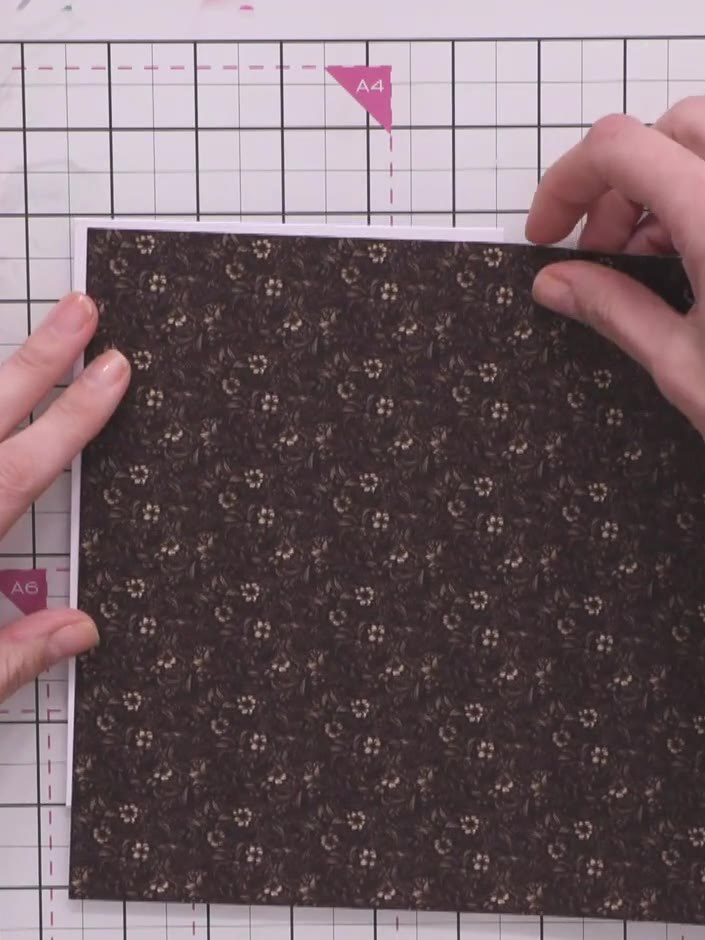
Cut a piece of brown floral patterned paper from the Tailored Threads collection. Trim it to size to fit your white card base using a ruler and trimmer.
▶ watch this step (1:03:00)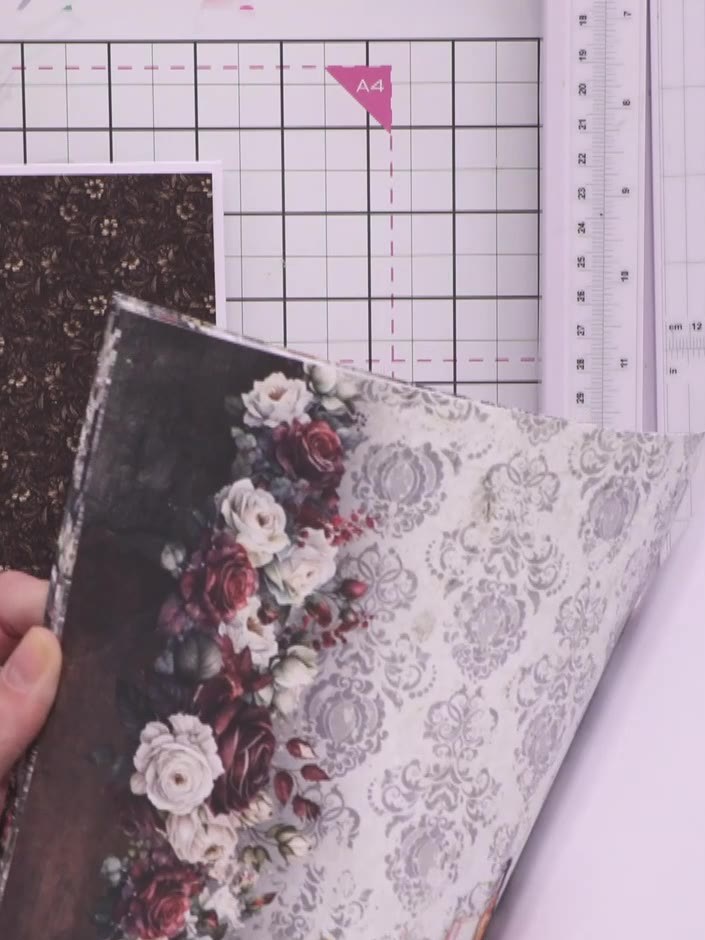
Fussy cut around the floral elements on the decorative paper, leaving the flowers loose and imprecise to create a decorative border effect. Cut away the excess paper whilst preserving the floral design.
▶ watch this step (1:04:00)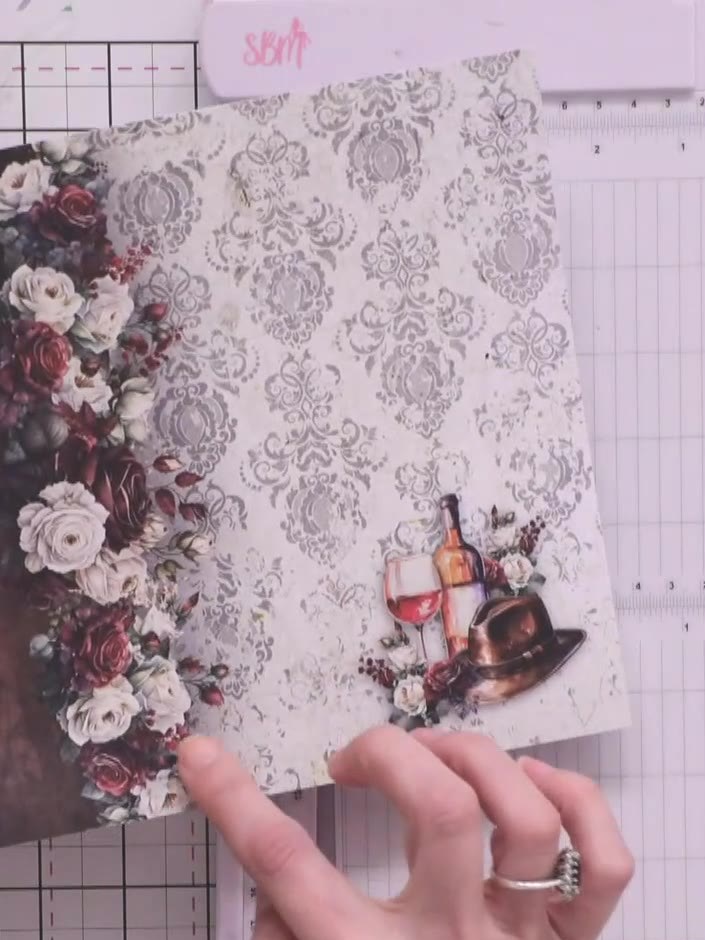
Distress the edges of your cut paper pieces using a vintage-coloured distress ink pad. Work around the perimeter of each piece to soften the white edges and create an aged effect.
▶ watch this step (1:06:30)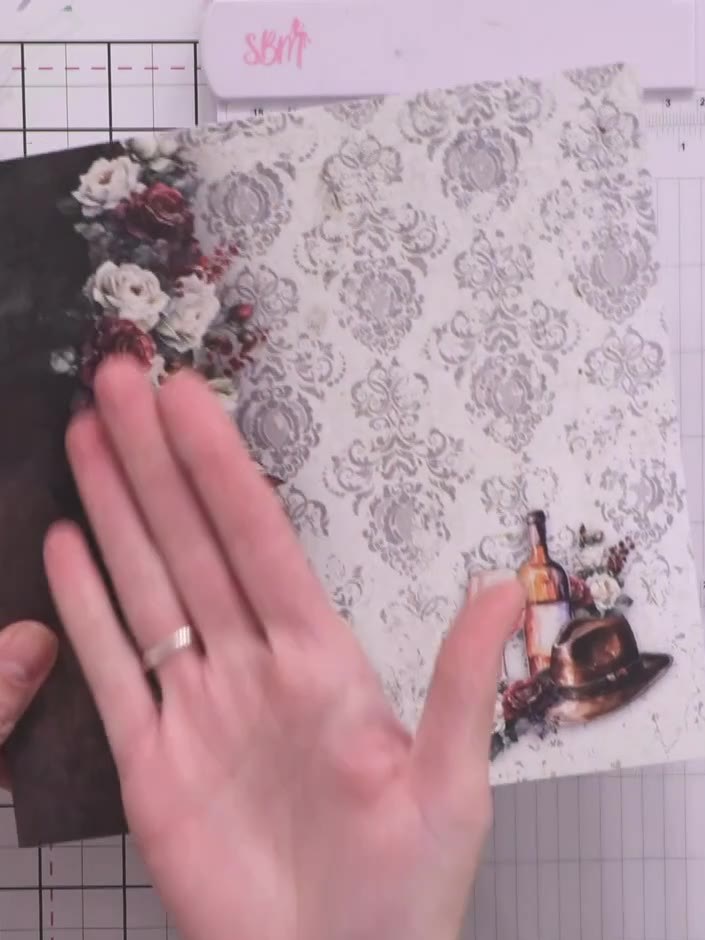
Die-cut the exterior wallet piece from the dark floral leather-effect paper using the larger die from the two-piece wallet die set.
▶ watch this step (1:09:30)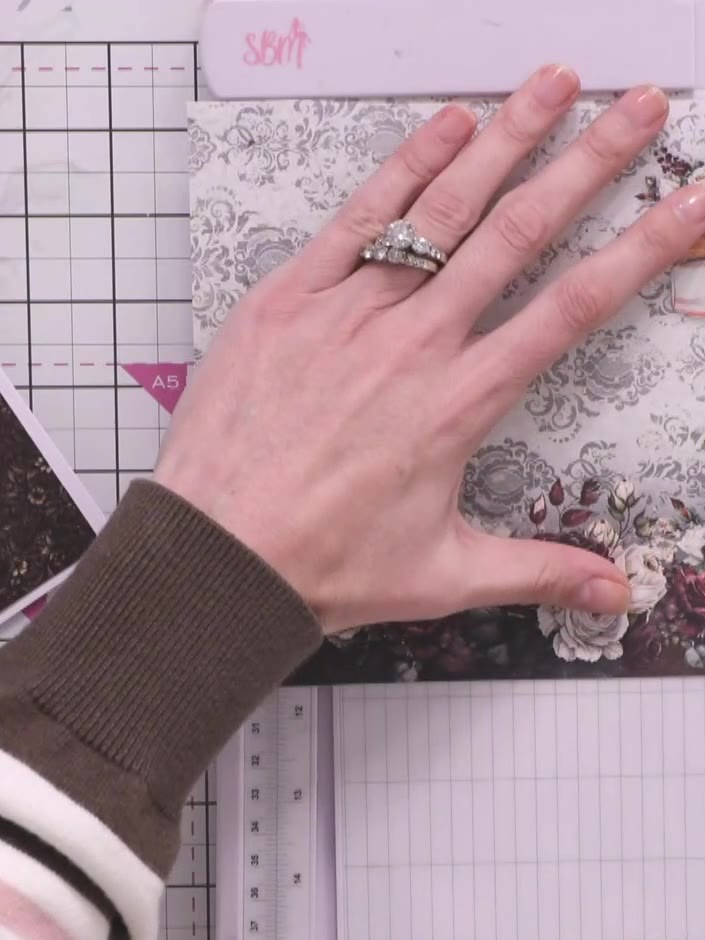
Die-cut the interior wallet panel from a coordinating shade of leather-effect paper using the same die set. Use the dark brown floral patterned paper for contrast with the decorative panel.
▶ watch this step (1:16:15)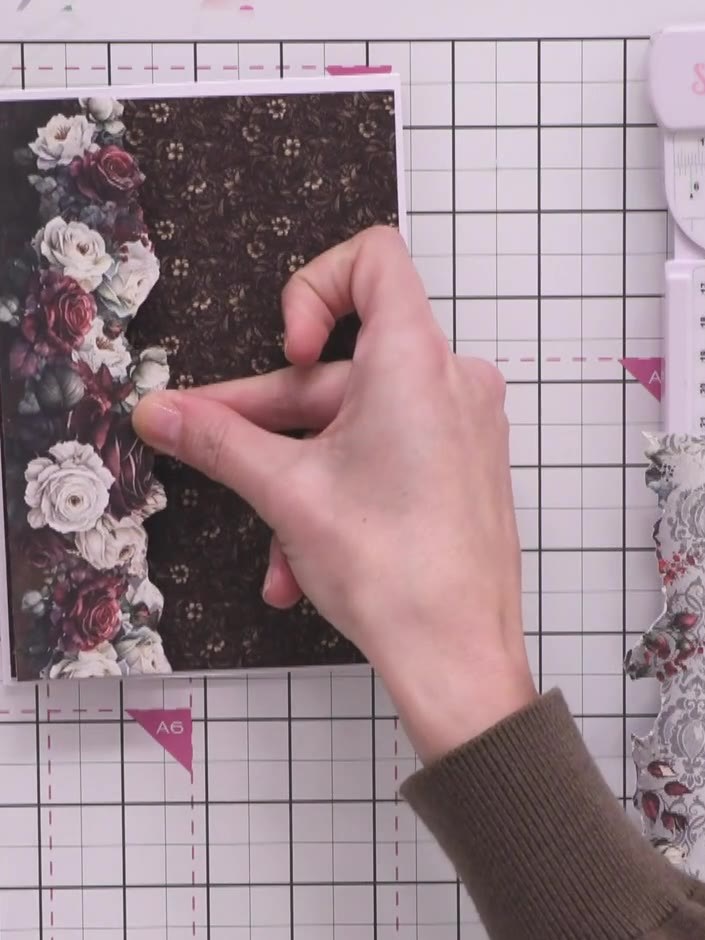
Die-cut the wallet closure piece from the contrasting leather-effect patterned paper, ensuring the embossed detail is captured. The closure piece should be cut from the darker floral design to contrast with the lighter damask pattern.
▶ watch this step (1:17:15)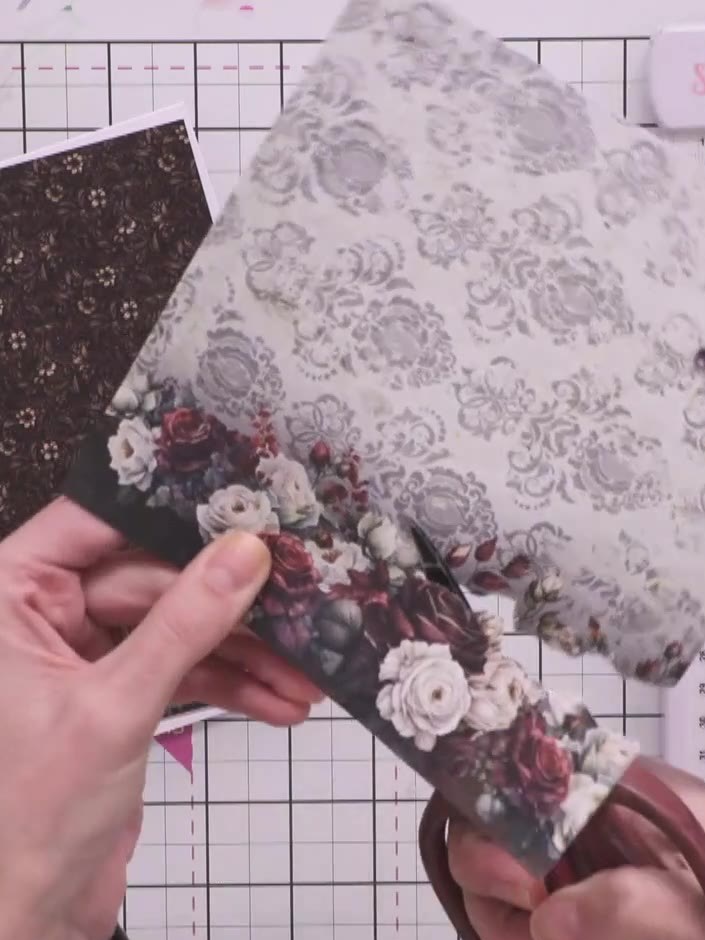
Die-cut a pocket piece from the dark floral patterned paper using scissors or a die-cutting machine. This piece will sit inside the wallet to hold gift cards or notes.
▶ watch this step (1:18:30)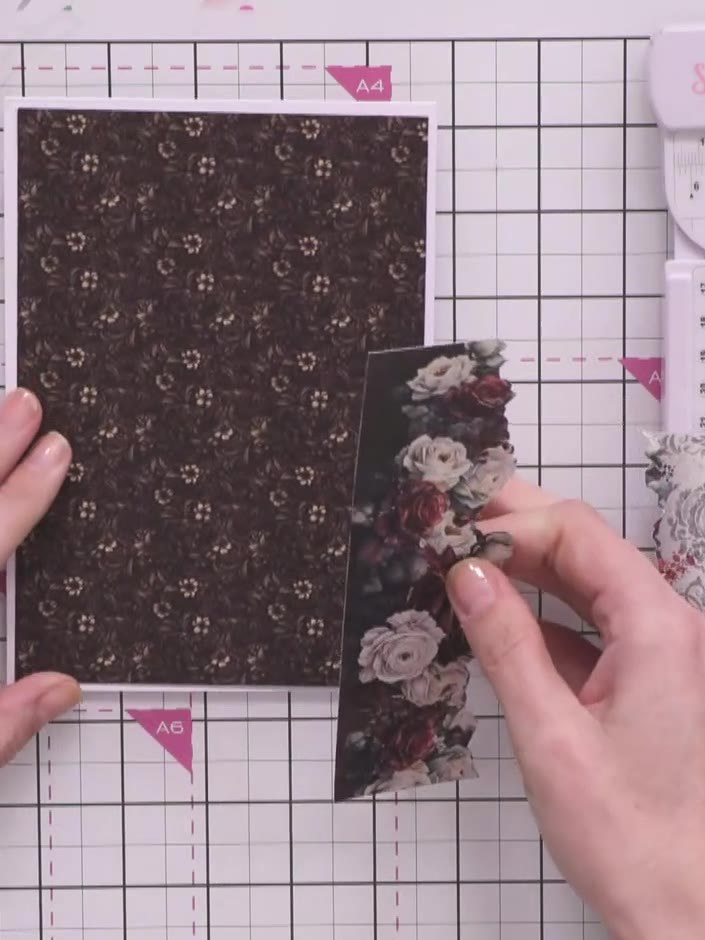
Assemble the wallet by adhering the interior panel (with the damask pattern) inside the exterior panel (with the dark floral pattern) using double-sided tape. Position the floral embellishment cluster at the top edge where the two panels meet.
▶ watch this step (1:22:30)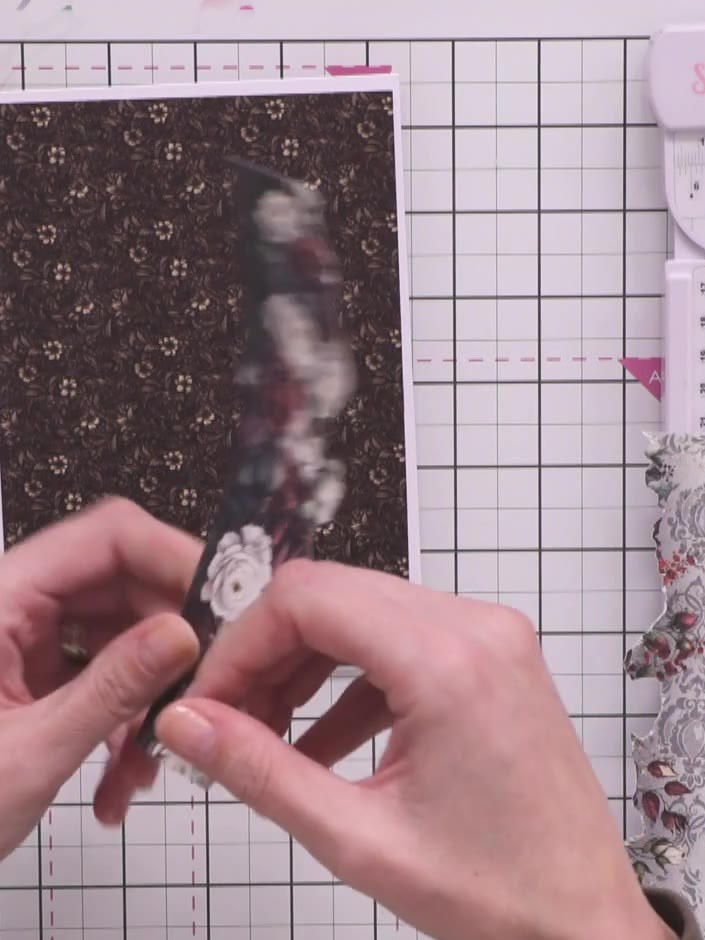
Attach the closure piece to the front of the wallet using glue. Position it so it can wrap around to hold the wallet closed securely.
▶ watch this step (1:26:15)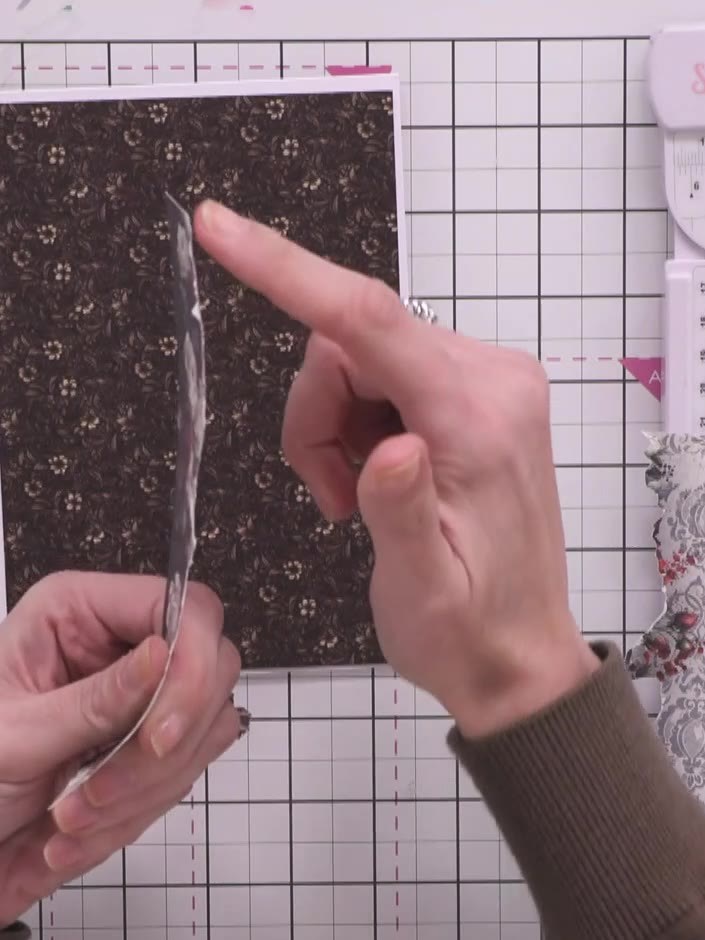
Adhere the dark floral back panel to the reverse of the wallet, curling it slightly as you attach it to add dimension and complete the wallet structure.
▶ watch this step (1:27:30)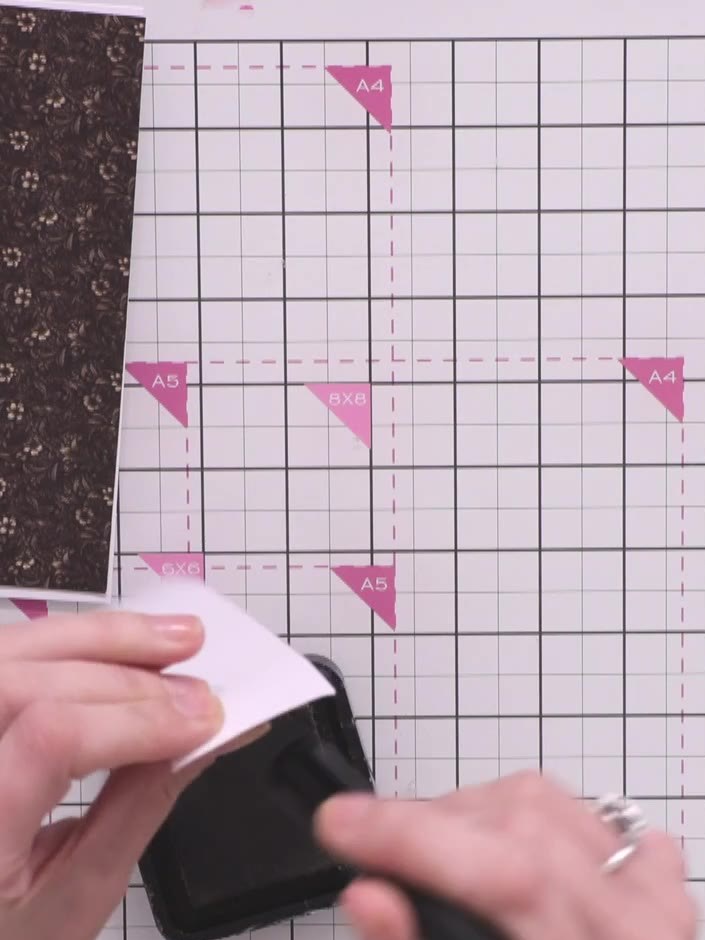
Punch or cut two circles from the painted mounts included in the bundle, choosing coordinating colours that tie in with your card's colour scheme.
▶ watch this step (1:28:15)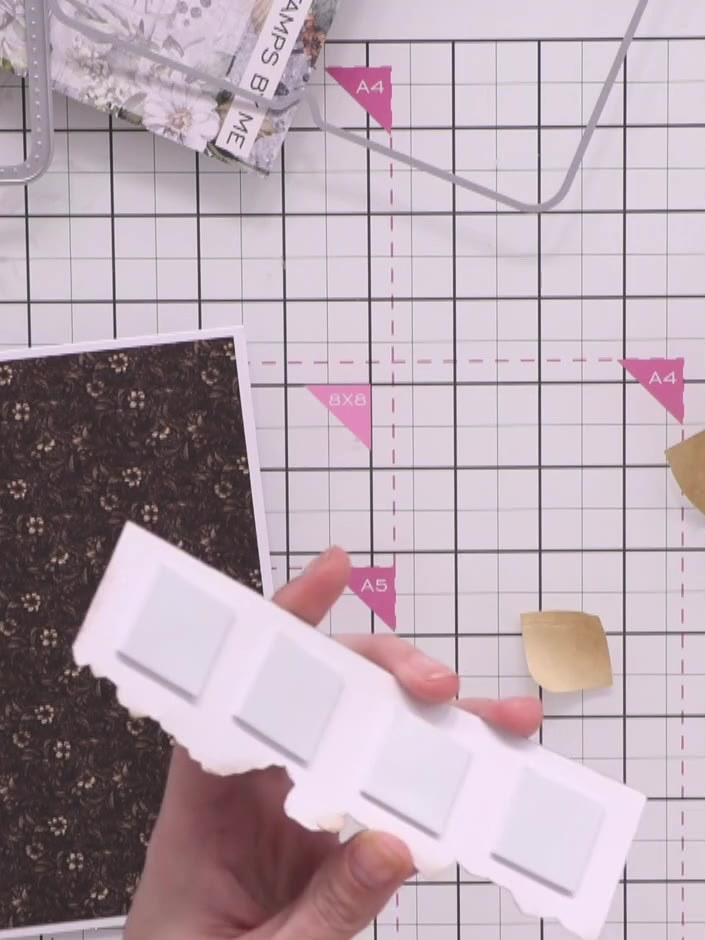
Mount the completed wallet onto your card base using white foam pads for dimension, positioning it prominently on the front of the card.
▶ watch this step (1:28:45)Written up from the show itself. See every guide from our shows · free how-to guides · watch live on My Telly
