Give your friends $10 off their first order!
Refer a FRIEND








A project from our live show CREATE AND CRAFT TV - Join Toni for her brand new SBM launch show 4 - broadcast 3rd Jan 2024 · 01/03/2024 · watch it from 17:00
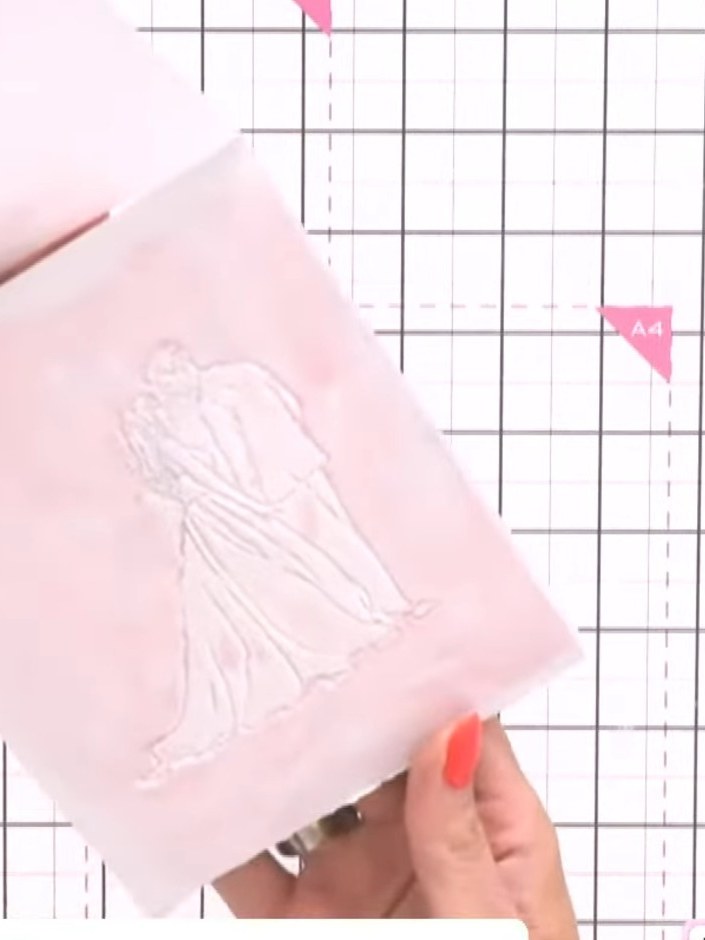
Create a romantic wedding card featuring an elegant bride and groom design with a beautiful watercolour spray effect. Using a 3D embossing folder inked in soft pink tones and sprayed with water, you'll achieve a delicate watercolour wash background. Layer both the embossed and debossed sides of the design to add depth and dimension to your finished card.
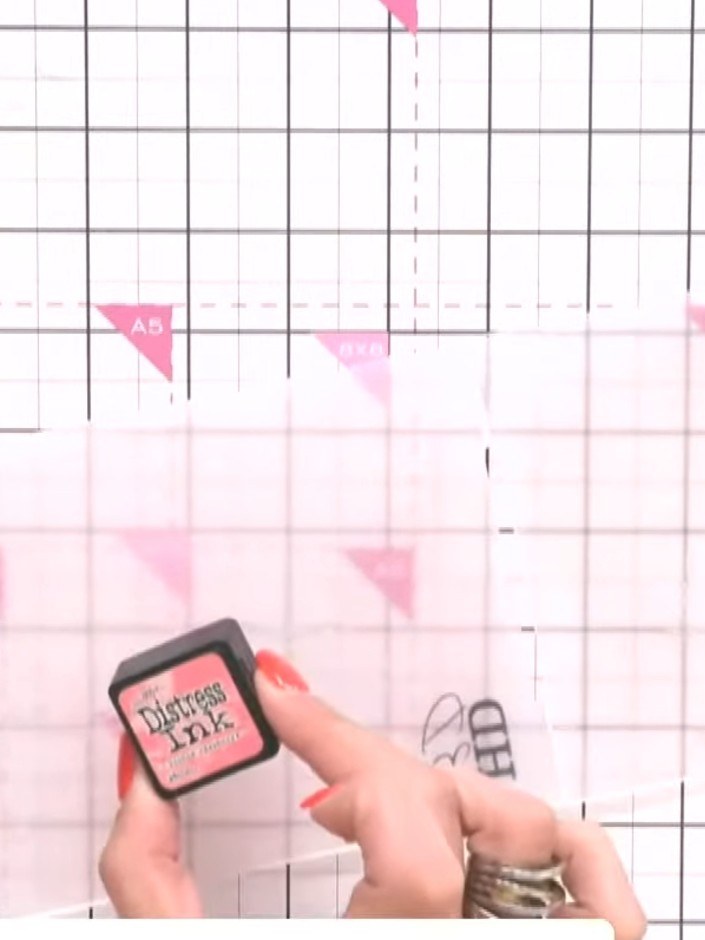
Using a sponge applicator, ink up the embossing folder with pale pink Distress Ink, applying it to the raised design areas of the folder.
▶ watch this step (18:15)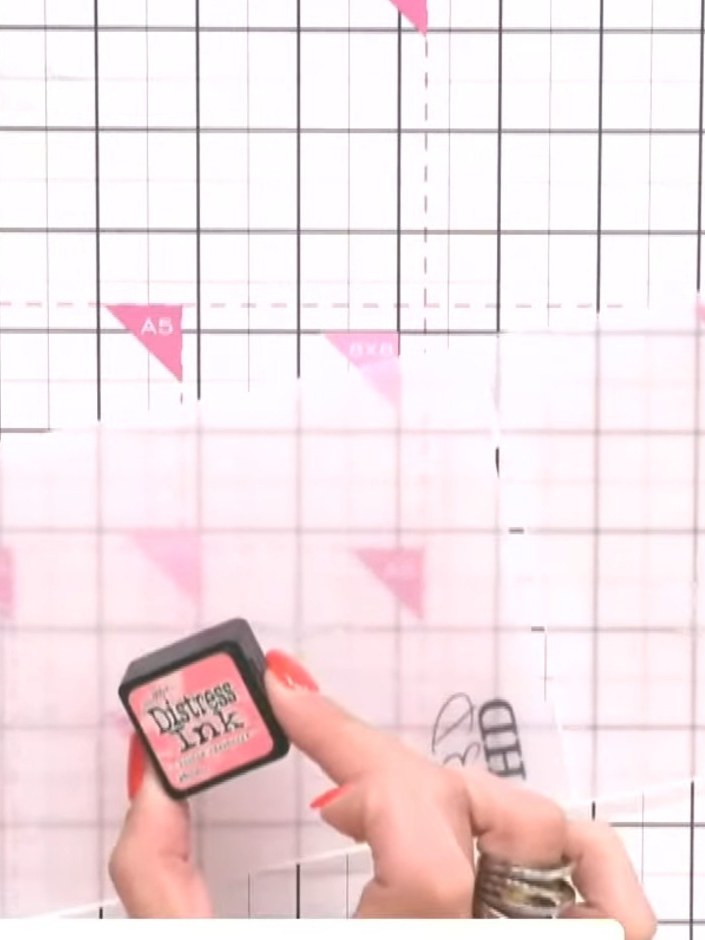
Run the inked embossing folder through your die-cutting machine with white cardstock. This will create the embossed pattern on your card panel.
▶ watch this step (18:45)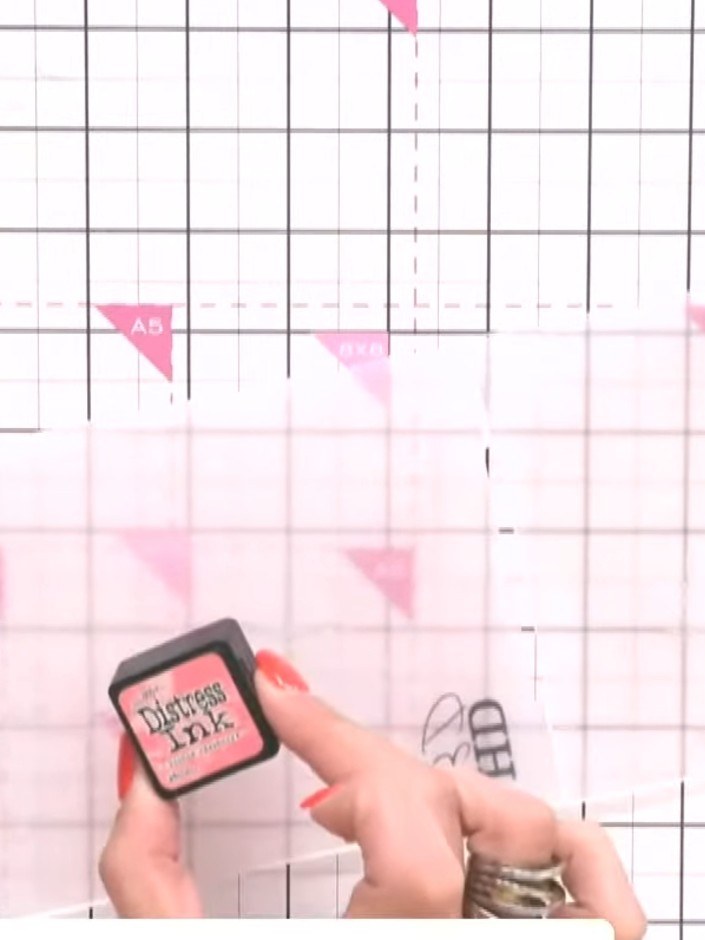
Spray the embossed design lightly with water using a spray bottle to create a watercolour effect. Hold the bottle at a distance and mist gently over the pink embossed image.
▶ watch this step (19:30)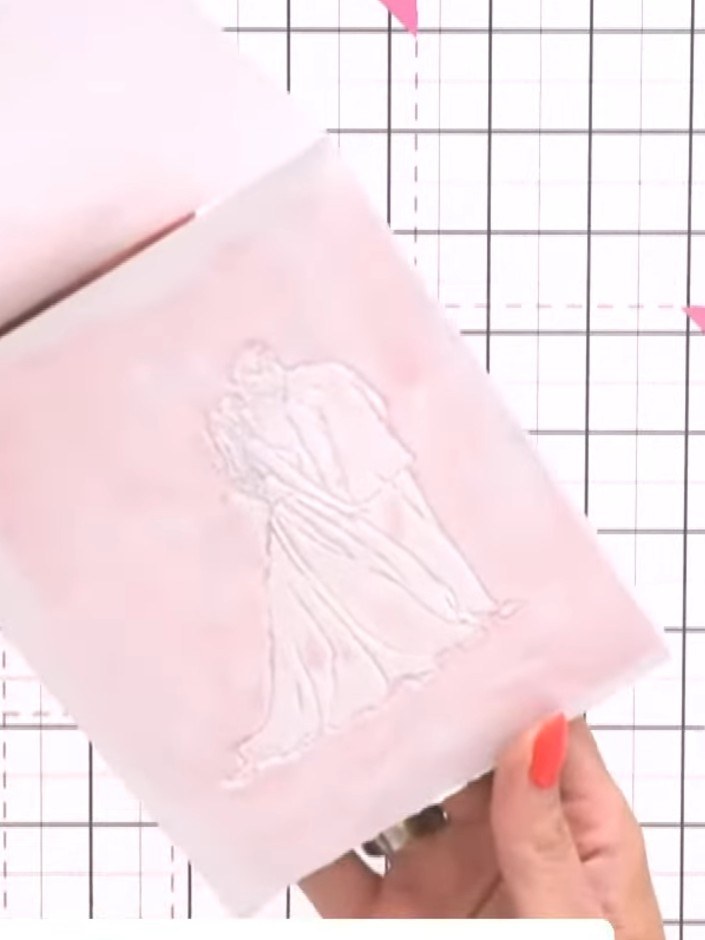
Run the embossing folder through the machine again with the design facing the opposite direction to create a debossed (indented) version of the image on the reverse side.
▶ watch this step (20:00)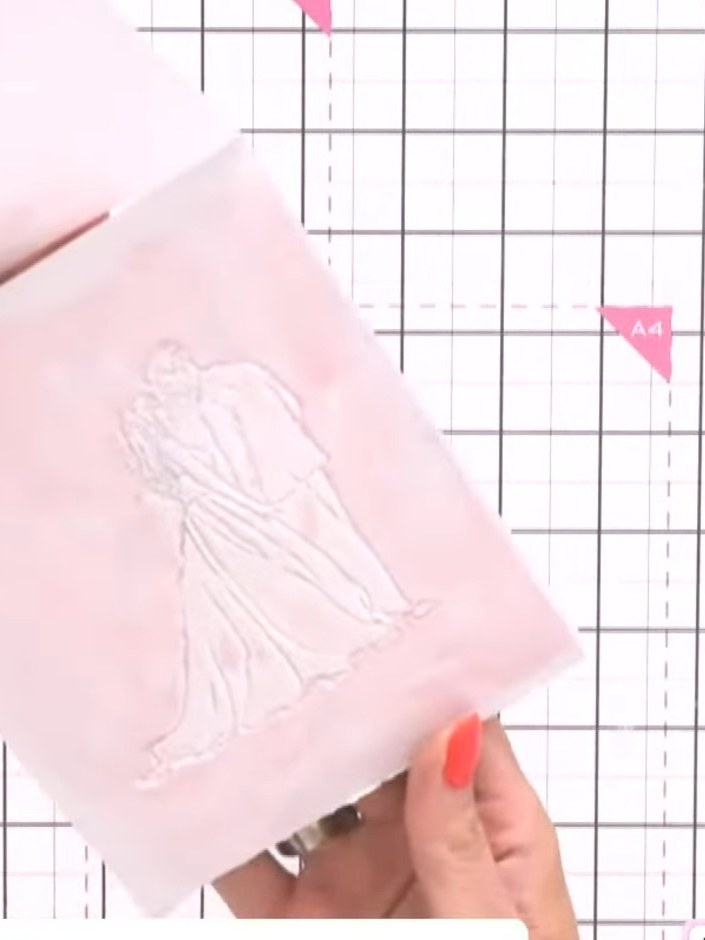
Ink up the embossing folder again using a darker raspberry pink ink pad on the reverse side to add more colour depth.
▶ watch this step (20:45)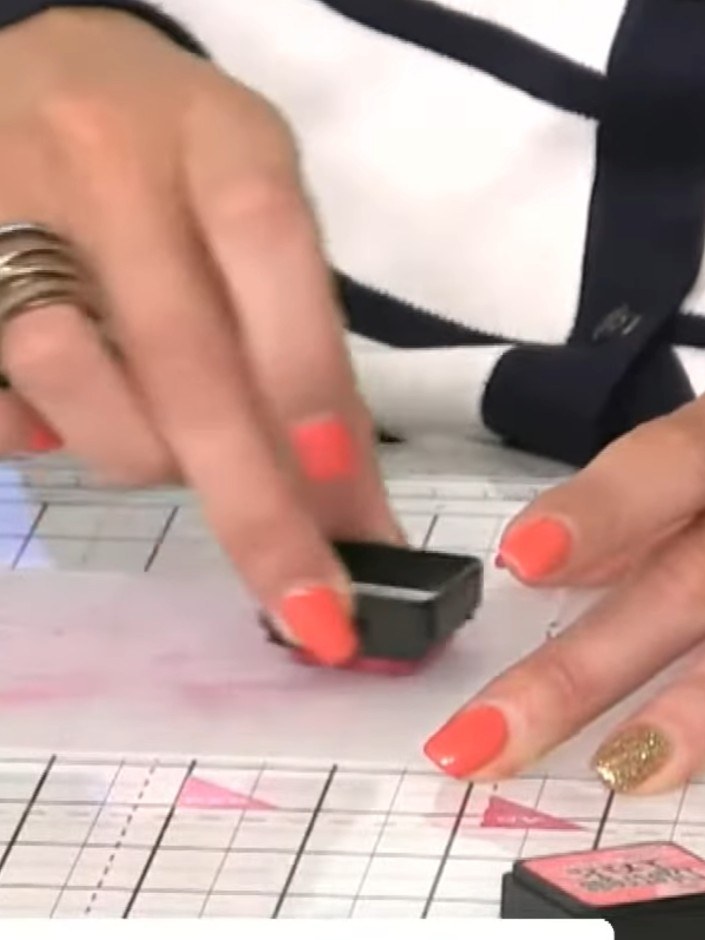
Lightly spray the darker inked card with water. Run the sprayed card through the embossing machine to create the embossed pattern.
▶ watch this step (21:15)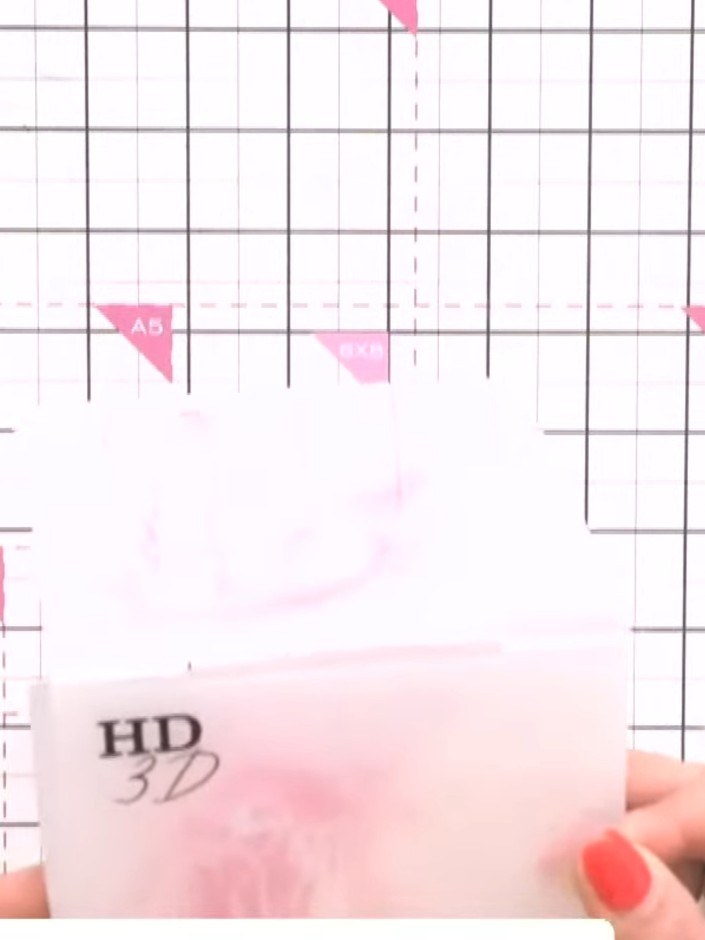
Examine both sides of the embossed card to see the raised (embossed) and recessed (debossed) effects. Choose which side you prefer to use as the front of your card.
▶ watch this step (21:45)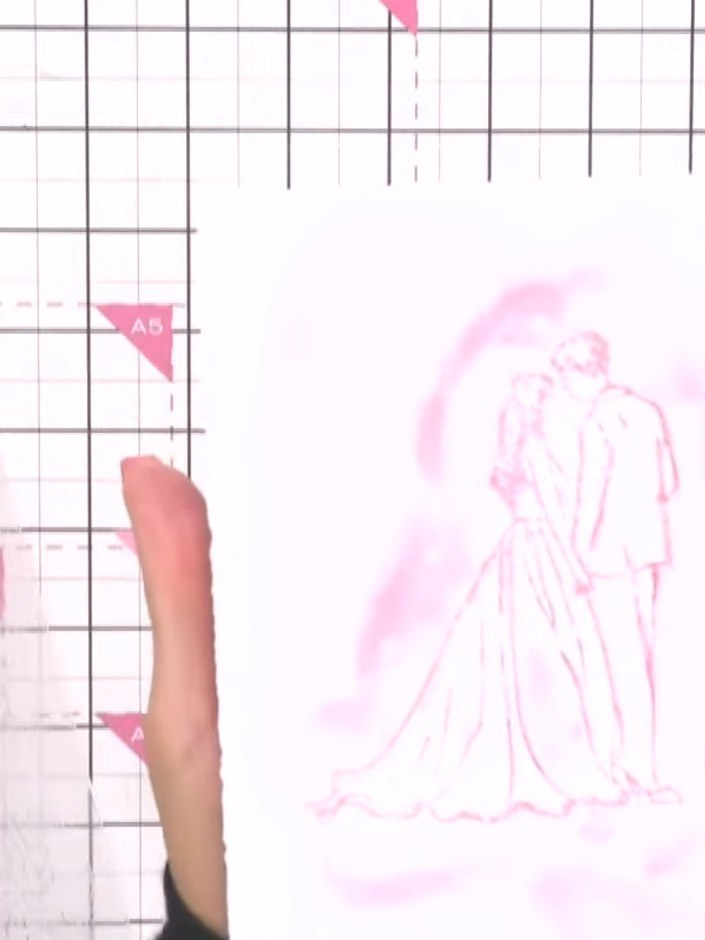
Mount the embossed design onto your card base using adhesive. Position the embossed panel centrally on the card front and press down firmly to secure.
▶ watch this step (22:45)Written up from the show itself. See every guide from our shows · free how-to guides · watch live on My Telly