Give your friends $10 off their first order!
Refer a FRIEND








A project from our live show CREATE AND CRAFT TV - Join Toni for her brand new SBM launch show - broadcast 8th Jan 2024 · 01/08/2024 · watch it from 44:00
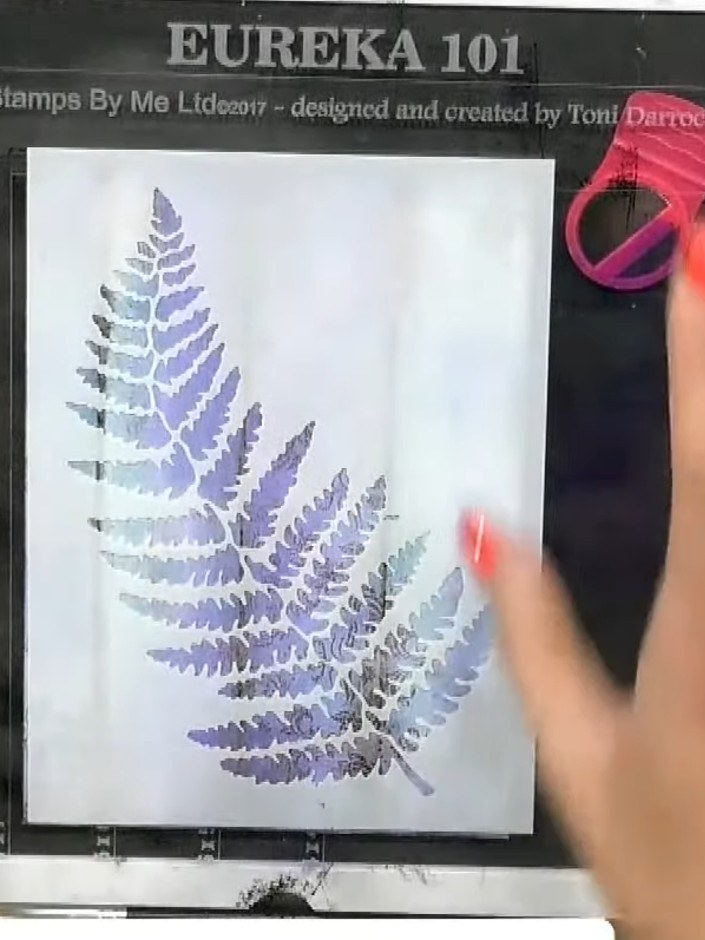
Create a stunning modern card featuring a delicate fern design with beautiful layered shadow effects. Using stencilling and ink blending techniques, you'll build up layers of blue and purple tones with white highlights on a textured background to achieve a sophisticated floating, feathered appearance. This artistic piece combines simple stamping methods with dimensional effects for an eye-catching result.
 Stamps By Me - Wistful Charm - 5 X 7 Stencil - Fern - 180723BSEE IT
 Stamps By Me - Wistful Charm - 7 X 7 Paper Pad 140623BSEE IT
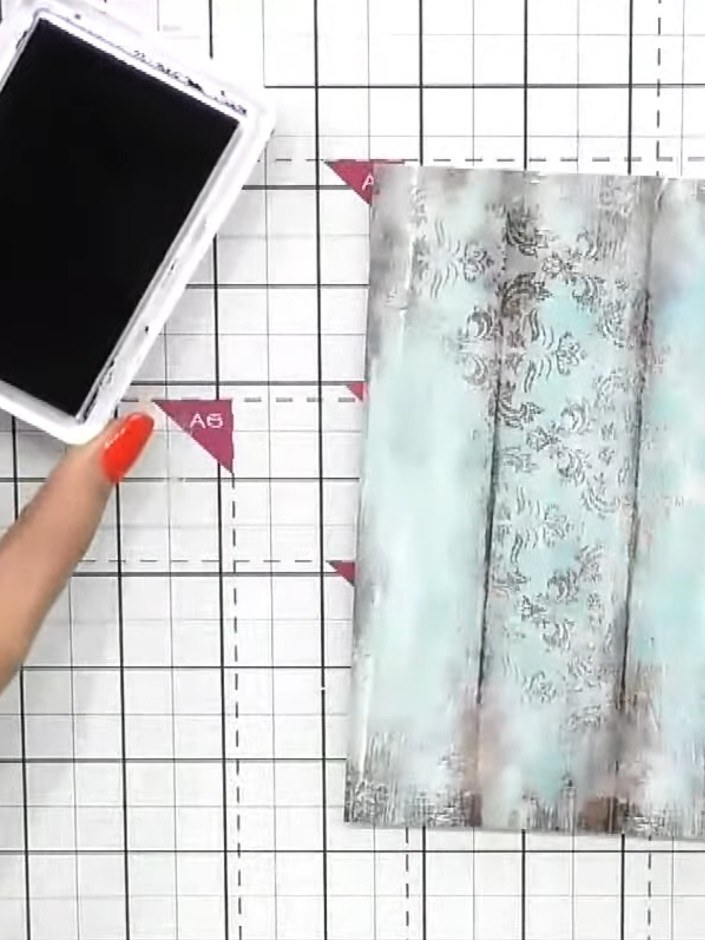
Cut a piece of textured paper from the Wistful Charm paper pad. Use blue and purple ink pads to swatch colour across the surface, creating a painted background effect.
▶ watch this step (44:30)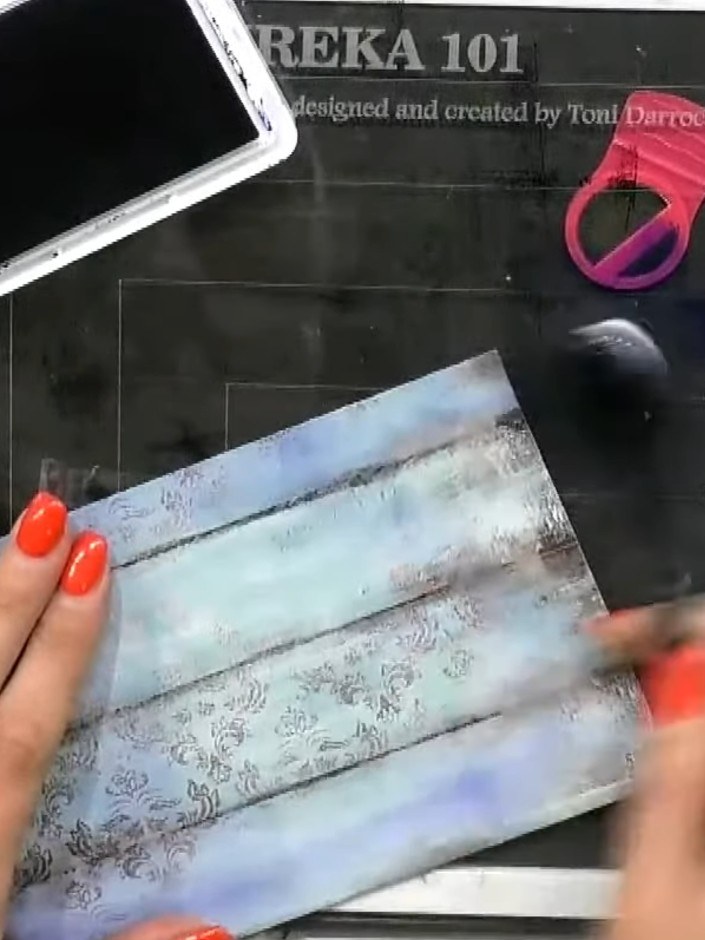
Use a brush to blend and drag the blue ink downwards across the paper, creating a gradient effect. Swipe the ink across large surfaces to achieve smooth coverage. Ensure you have a good white ink pad ready for the next step.
▶ watch this step (45:00)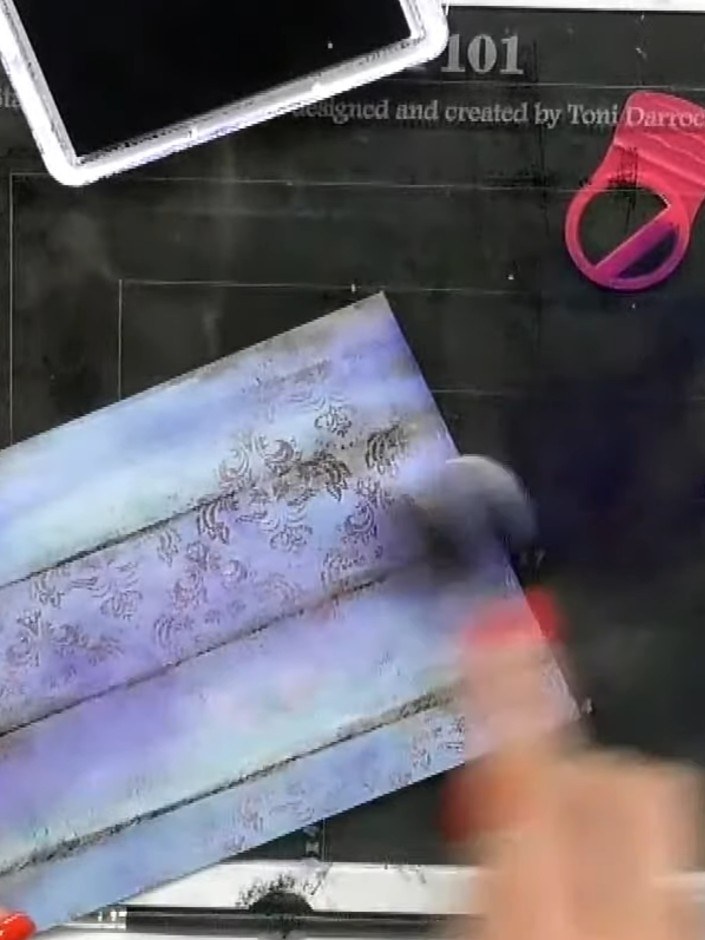
Apply purple ink from the Stamps By Me Ink Pad 'Brights' Collection to the background, blending it with the blue ink already on the paper. Use a blending tool to merge the colours together for a cohesive, gradient effect.
▶ watch this step (45:30)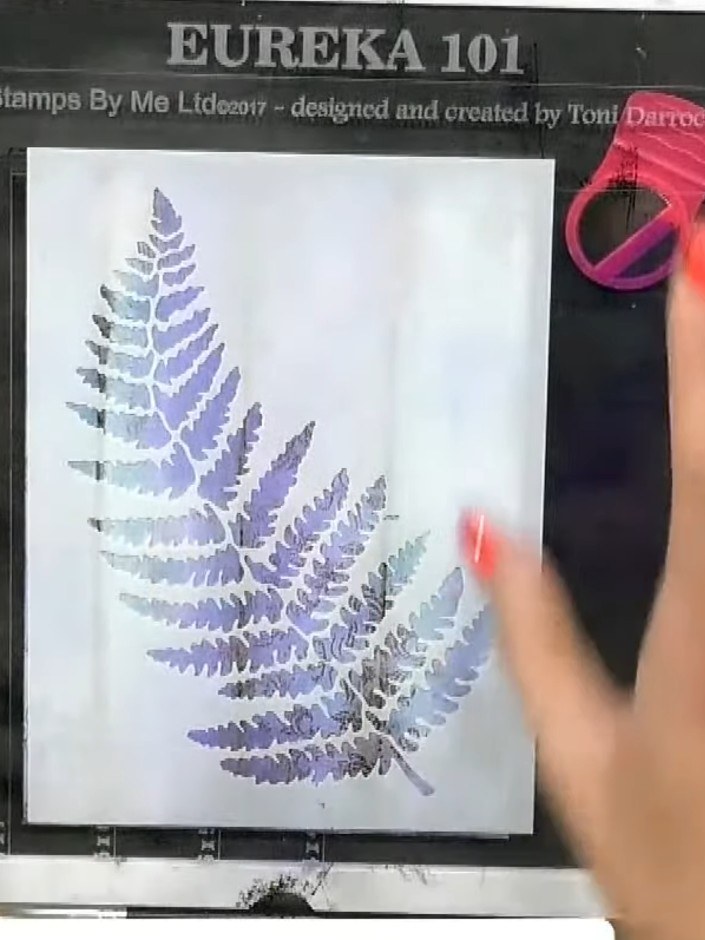
Position the fern stencil over the inked background. Using a blending brush or sponge, tap blue ink through the stencil to create the fern image on your card.
▶ watch this step (46:00)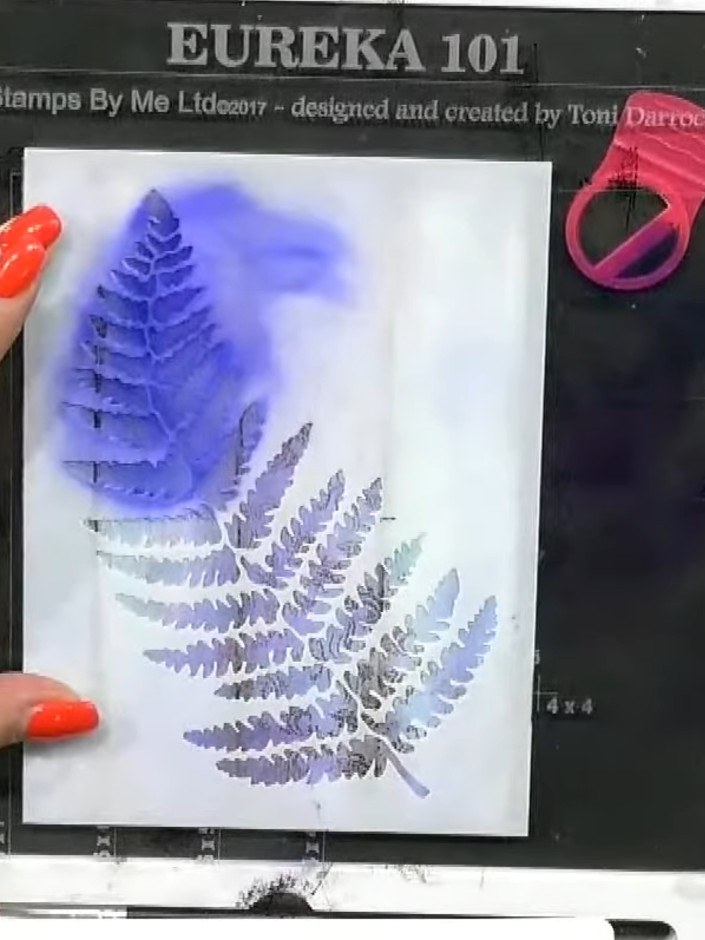
Carefully lift the stencil away from the card to reveal the layered fern design. Wipe the stencil clean on a cloth to remove any ink residue.
▶ watch this step (46:45)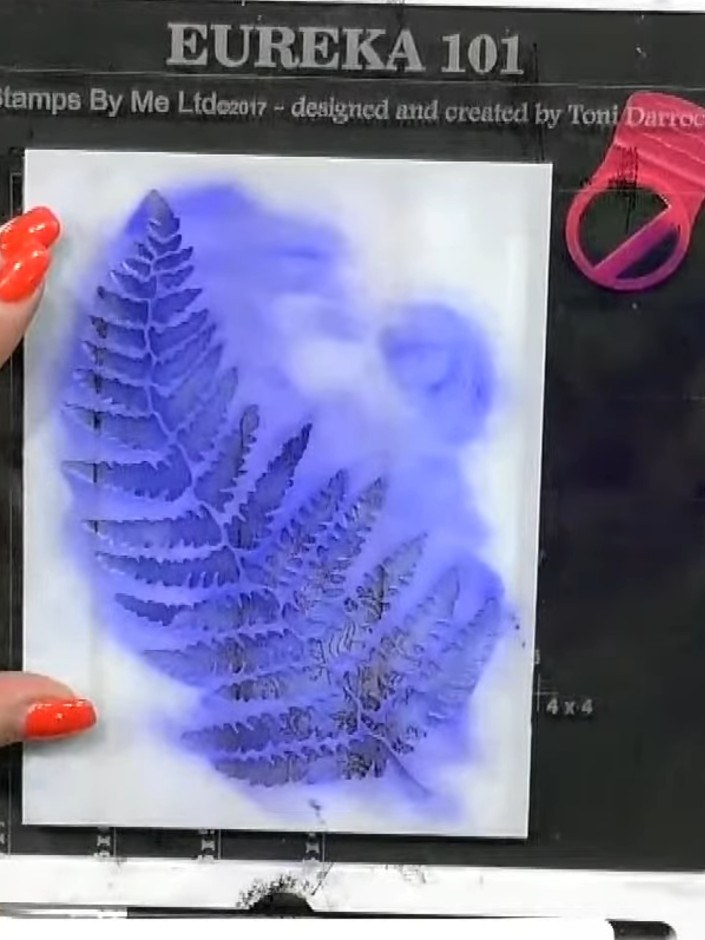
Reposition the fern stencil slightly offset from the original placement (moving it down, left, right or above) to create a layered shadow effect. Press the stencil gently onto the card to ensure it stays in place.
▶ watch this step (47:00)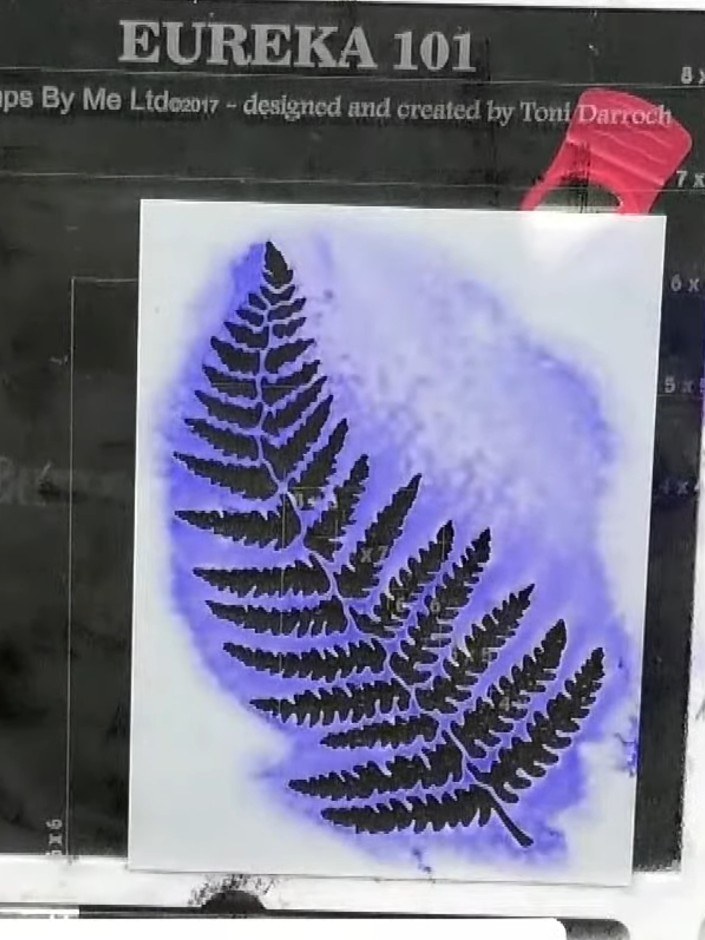
Position the fern stencil slightly offset from its original position on the card. Tap white ink through the stencil using a blending tool to create a ghostlike shadow effect around the blue fern.
▶ watch this step (47:30)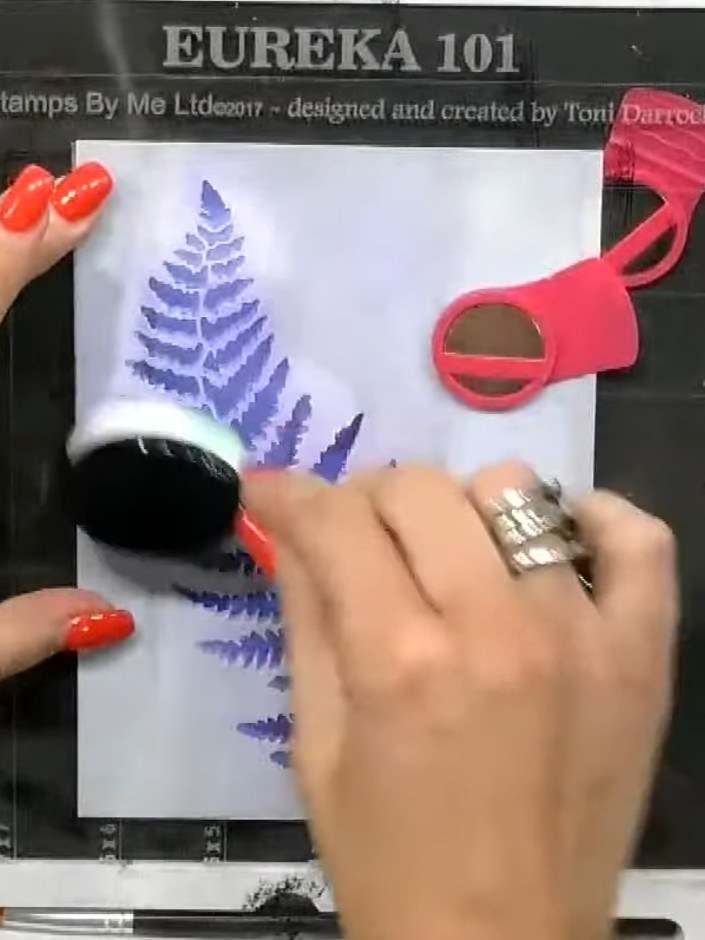
Use a clean brush to pounce additional white ink around the fern stencil to enhance the feathered, floating appearance and create a soft halo effect.
▶ watch this step (48:45)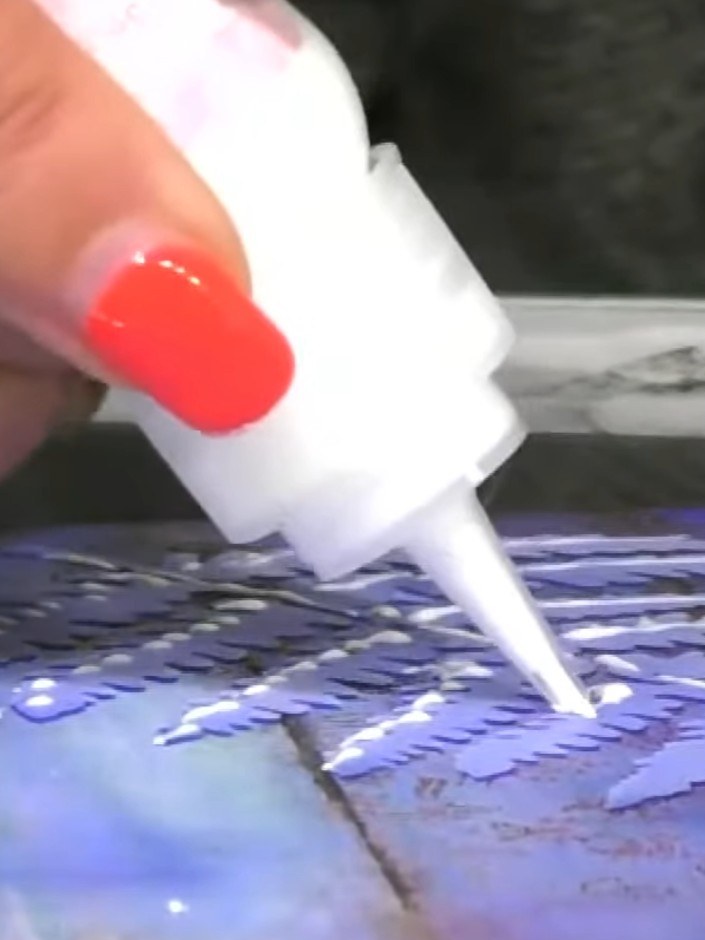
Apply clear glitter glue to the fern stencil design on your card. The glue dries clear and will add a subtle glass-like sparkle to the fern motif.
▶ watch this step (51:00)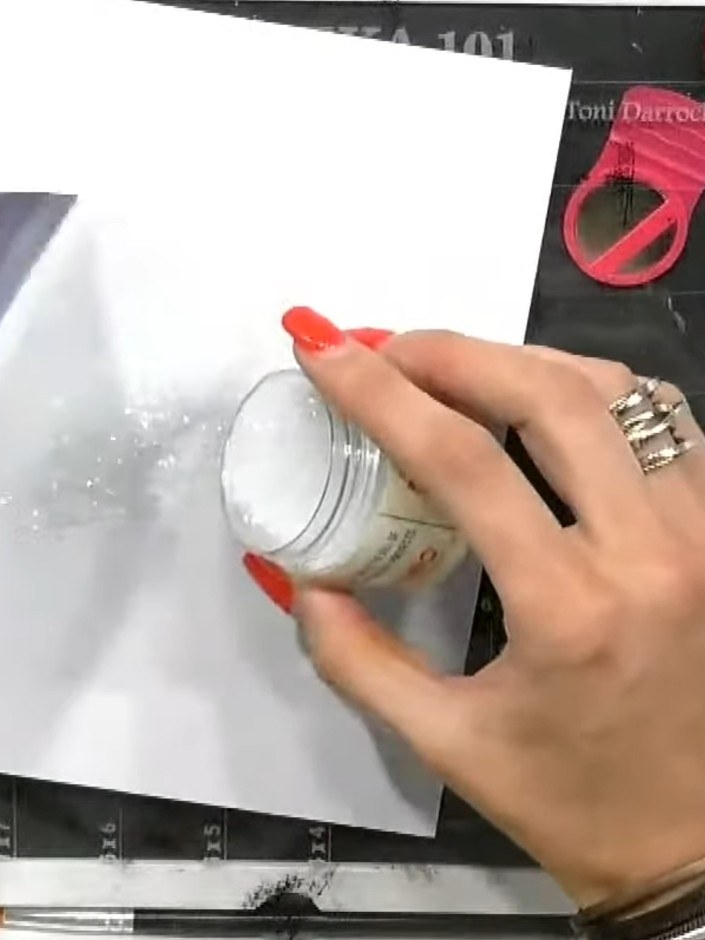
Allow the glue to dry completely. Once dry, adhere the finished layered fern piece to your card base to complete the card.
▶ watch this step (52:00)Written up from the show itself. See every guide from our shows · free how-to guides · watch live on My Telly