Give your friends $10 off their first order!
Refer a FRIEND








A project from our live show CREATE AND CRAFT TV - Join Toni for her brand new SBM launch show 3 - broadcast98th Jan 2024 · 01/09/2024 · watch it from 19:00
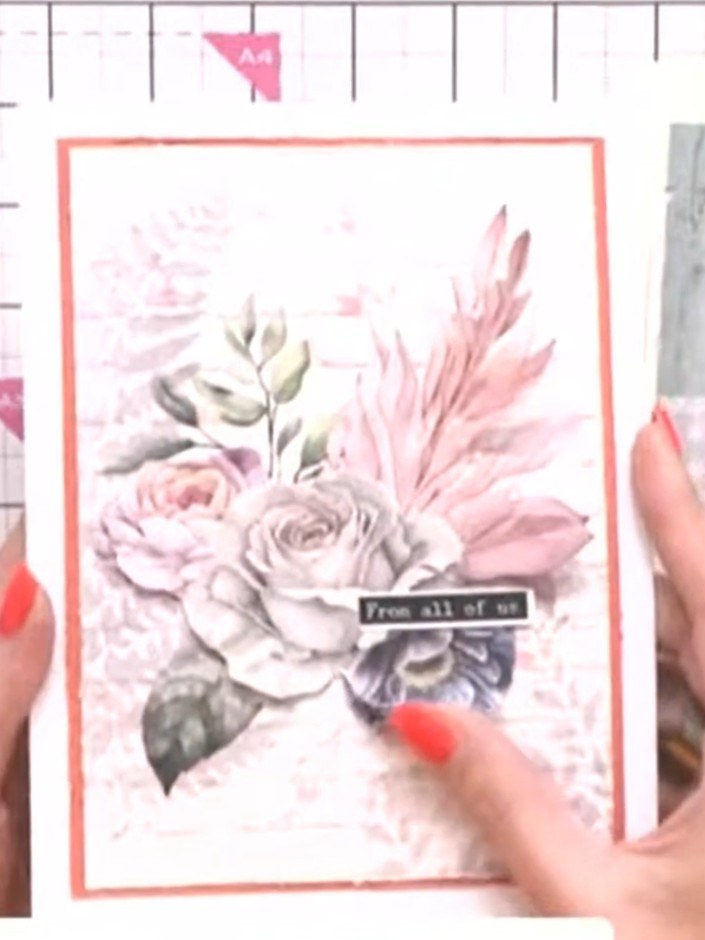
Create a beautiful layered card with a painted mount and embossed background detail. Add a coloured bird element and cluster fussy-cut flowers and greenery around it for a dimensional focal point. This elegant design combines soft colours with textured embossing for a sophisticated handmade card.
 Stamps By Me - Wistful Charm - 5 X 7 Stencil - Floral 180723CSEE IT
 Stamps By Me - Wistful Charm - 7 X 7 Paper Pad 140623BSEE IT
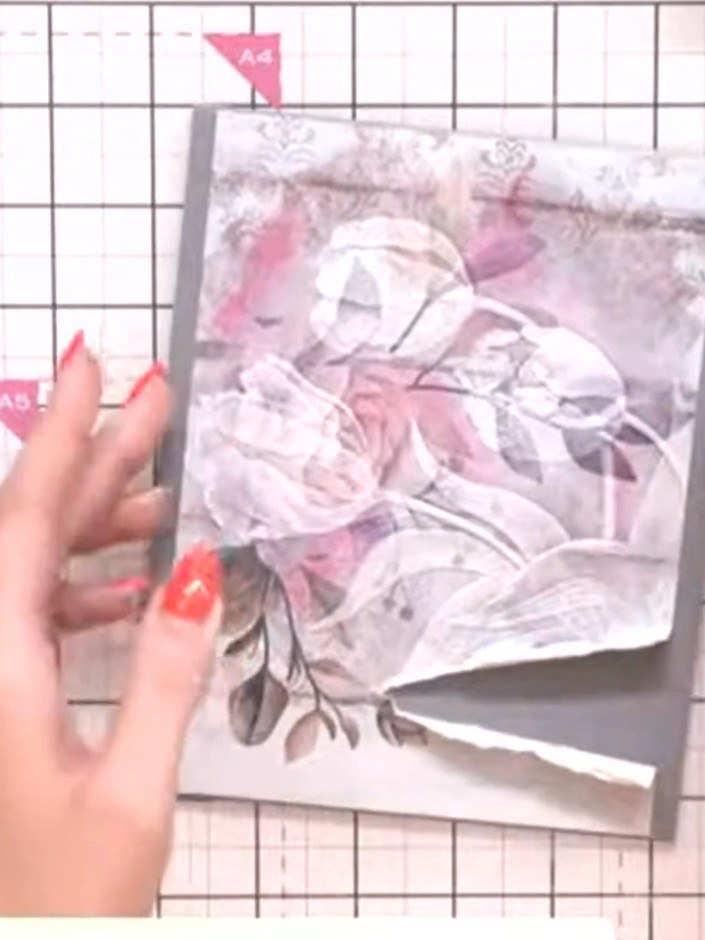
Position the printed acetate sheet from your stamp set over the painted mount to preview where you want to place the floral design. Move it around until you find the desired placement for the tulips and roses.
▶ watch this step (19:00)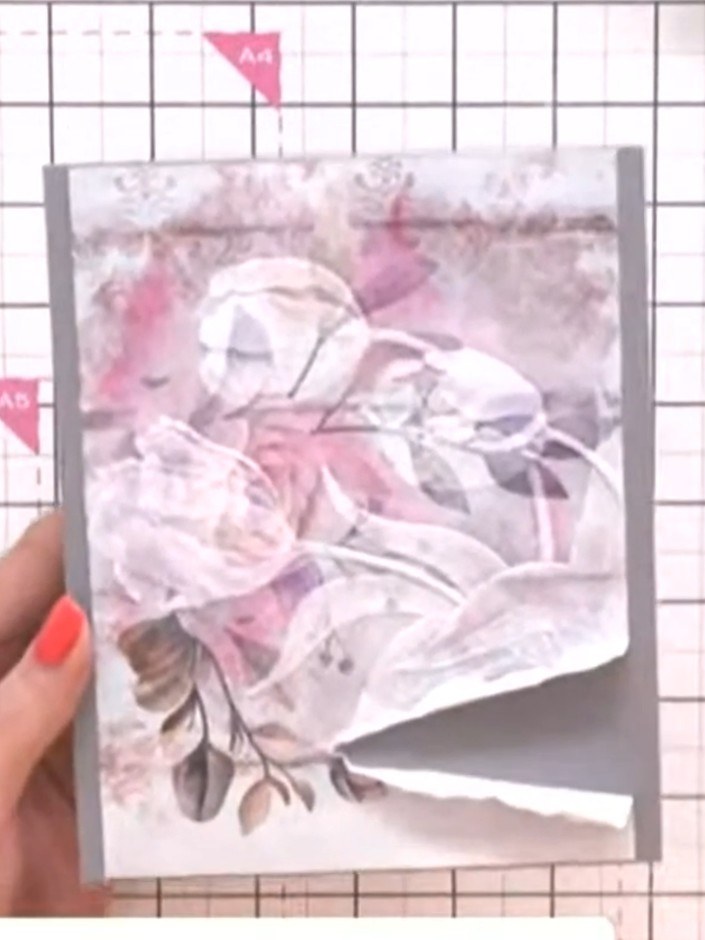
Position the bird stamp off to the side of the painted mount, placing it towards the lower right area of the floral design.
▶ watch this step (19:15)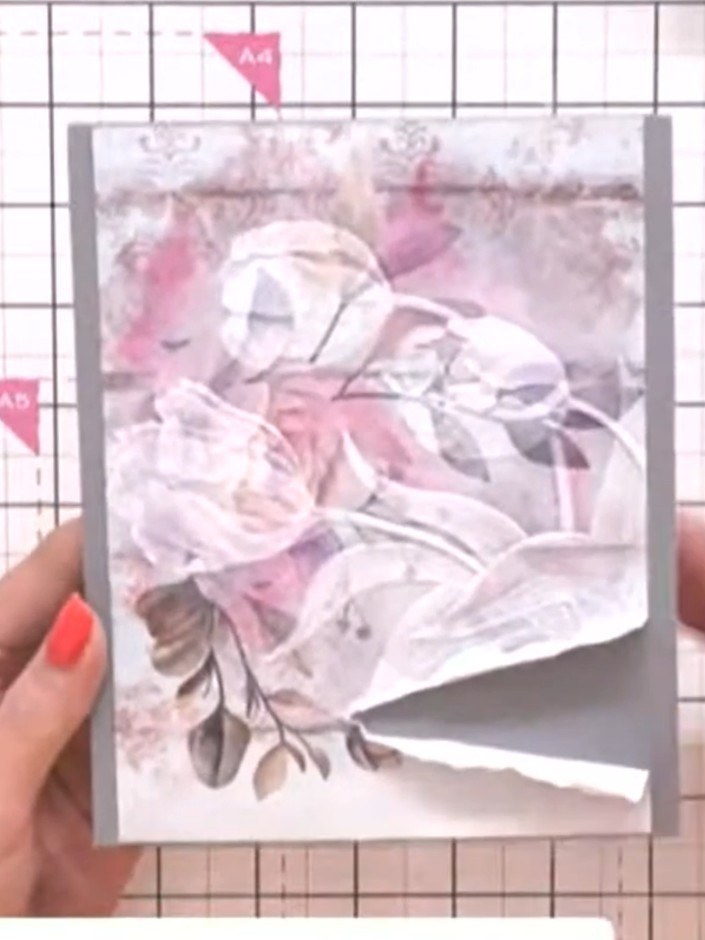
Apply sticky ink pad to the bird stamp, ensuring all detail is captured. Press the pad firmly across the entire stamp surface to pick up all the fine details of the design.
▶ watch this step (19:30)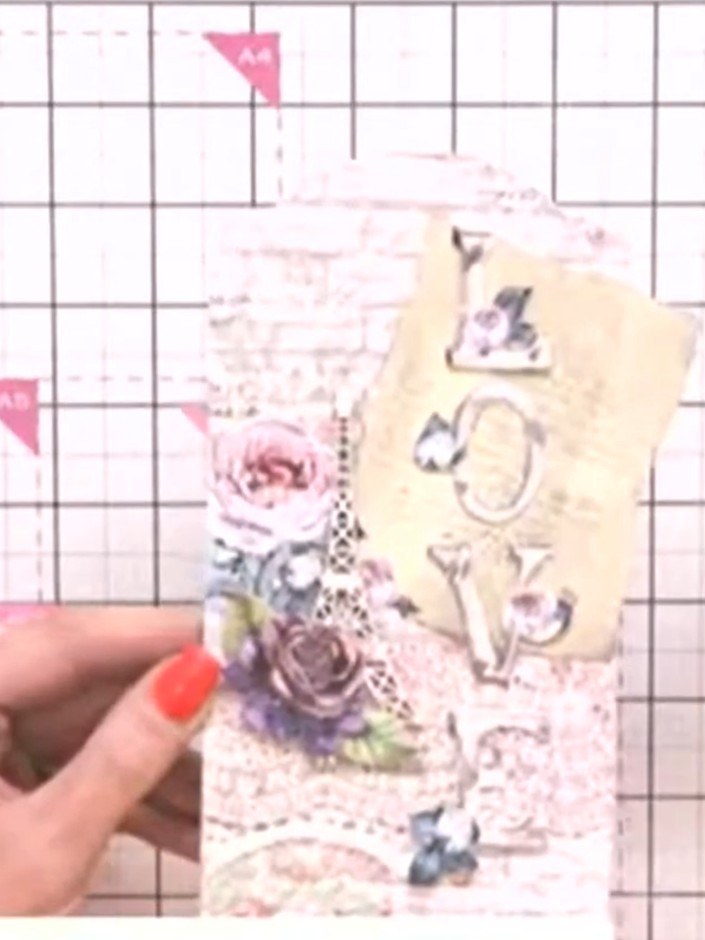
Stamp the bird image onto the cream painted mount using black ink. Position the bird stamp towards the upper portion of the mount.
▶ watch this step (19:45)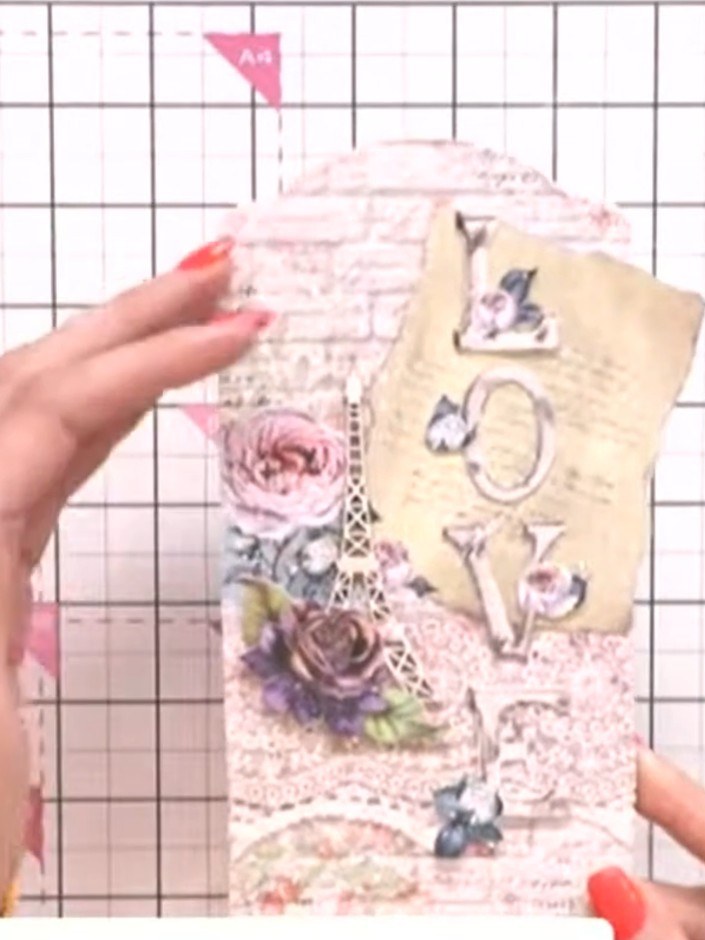
Sprinkle embossing powder over the wet stamped image on the background panel. Ensure the powder covers all the stamped areas evenly.
▶ watch this step (20:00)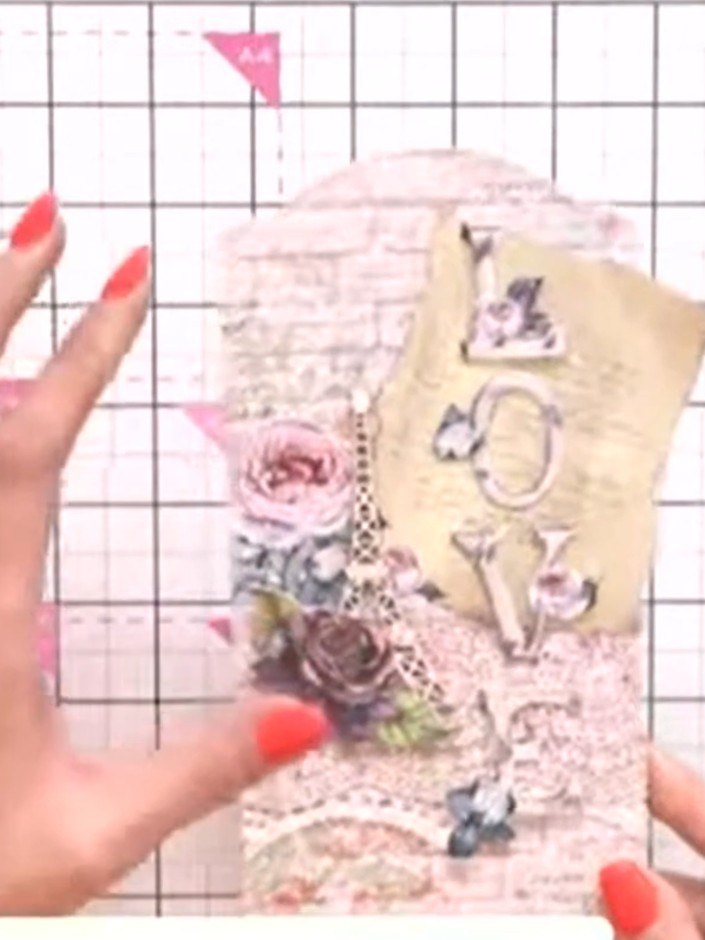
Heat set the embossing powder using a heat tool, moving it over the embossed areas until the powder melts and becomes shiny and raised.
▶ watch this step (20:15)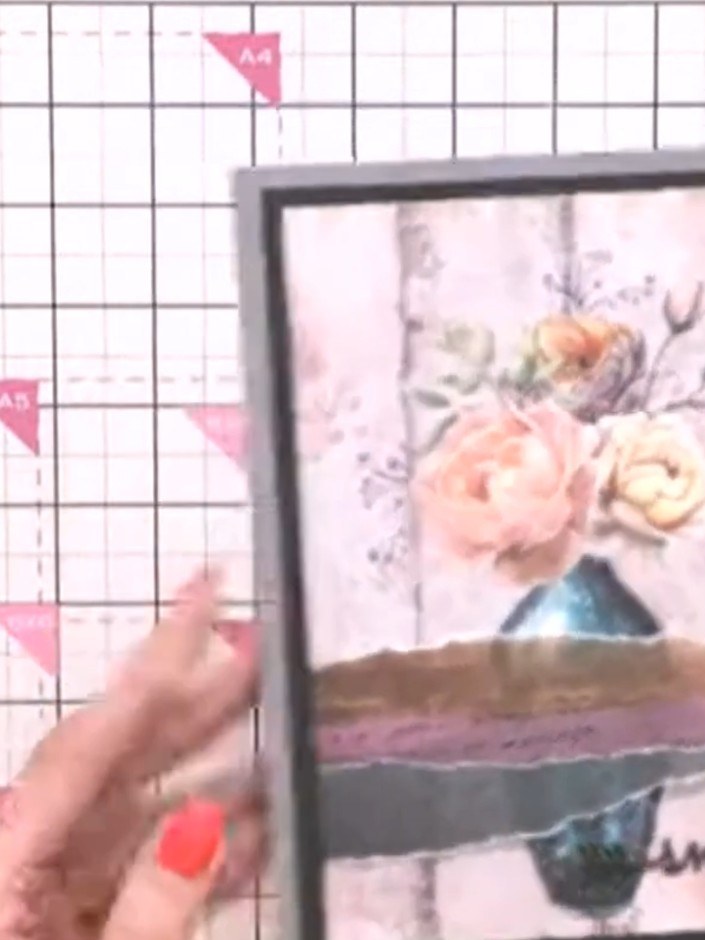
Add colour to the bird on the painted mount using ink pads. Apply teal ink to the body of the bird and red ink to accent areas such as the beak or breast.
▶ watch this step (20:30)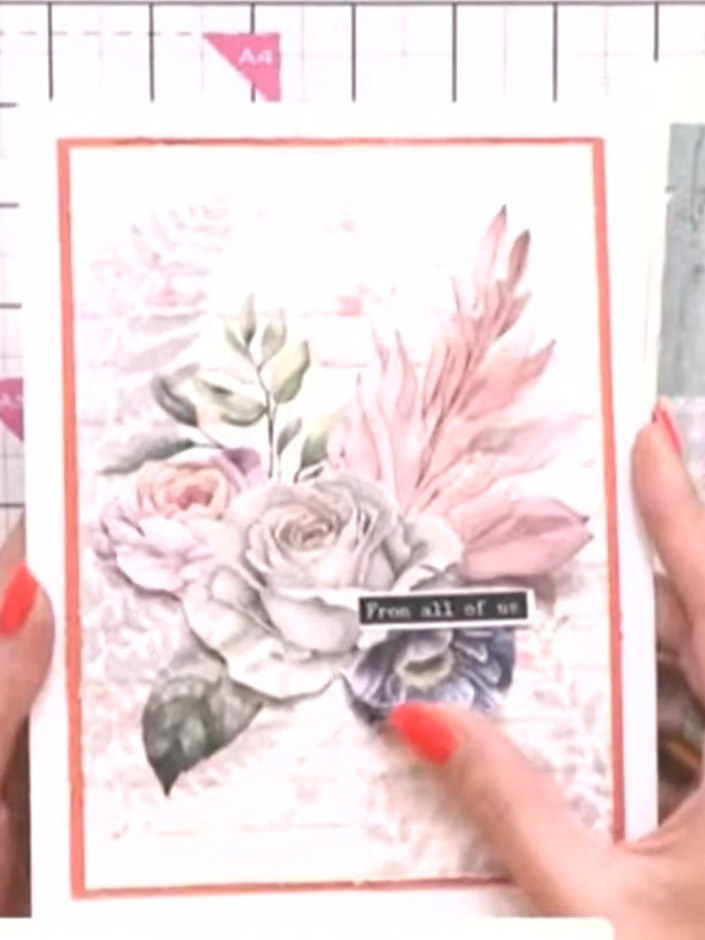
Fussy-cut flower and greenery elements from the Wistful Charm painted mounts. Carefully cut around the roses, leaves and other floral details to create individual embellishments for your card.
▶ watch this step (20:45)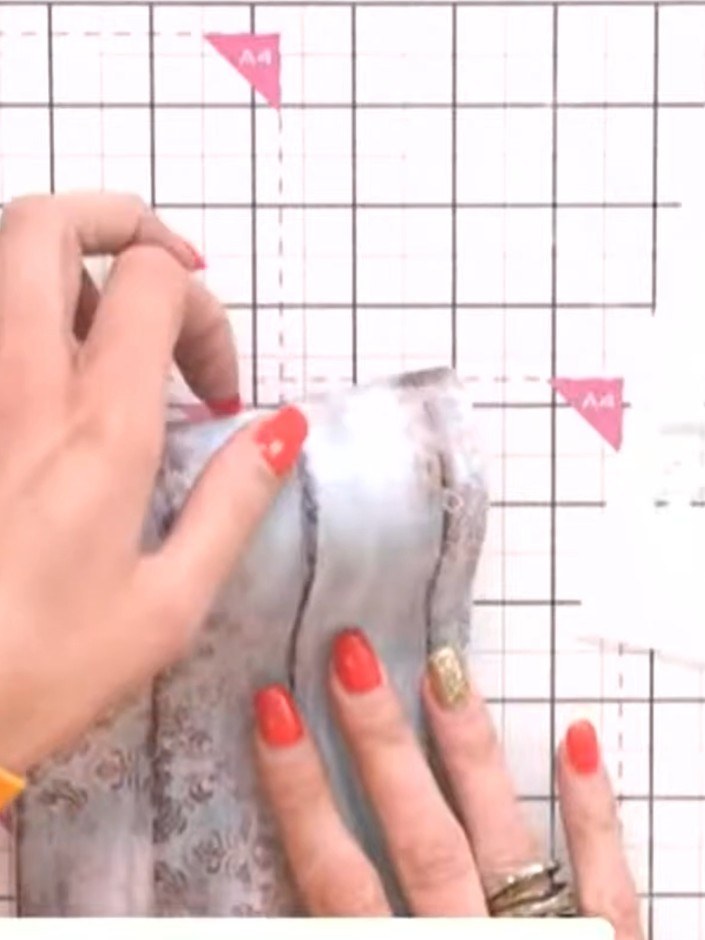
Attach foam pads to the back of the fussy-cut bird element to add dimension.
▶ watch this step (21:00)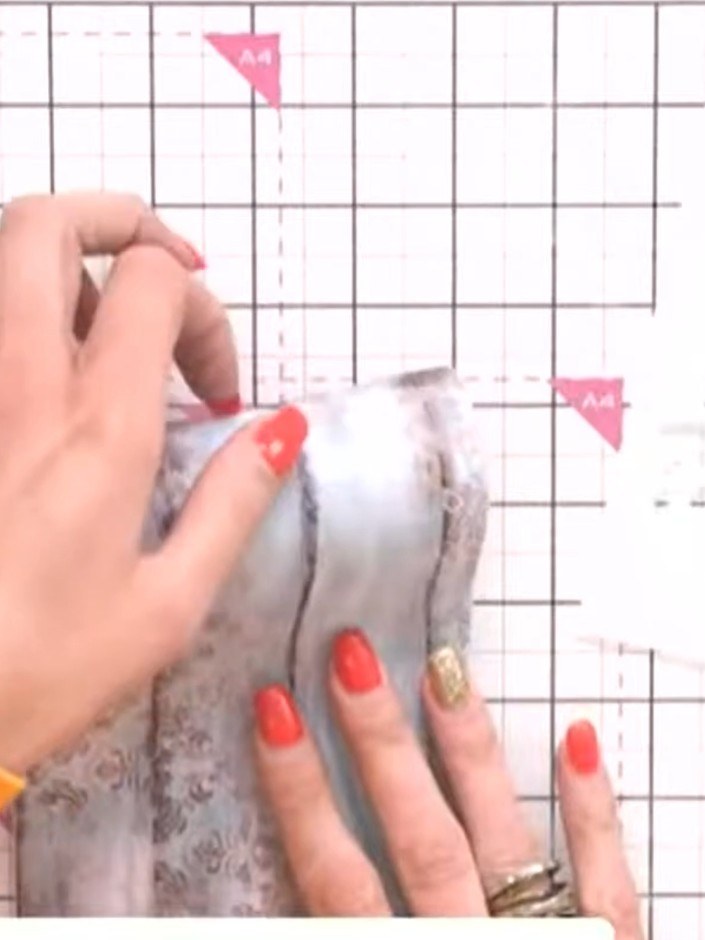
Position the bird motif on the painted mount using foam pads to add dimension.
▶ watch this step (21:15)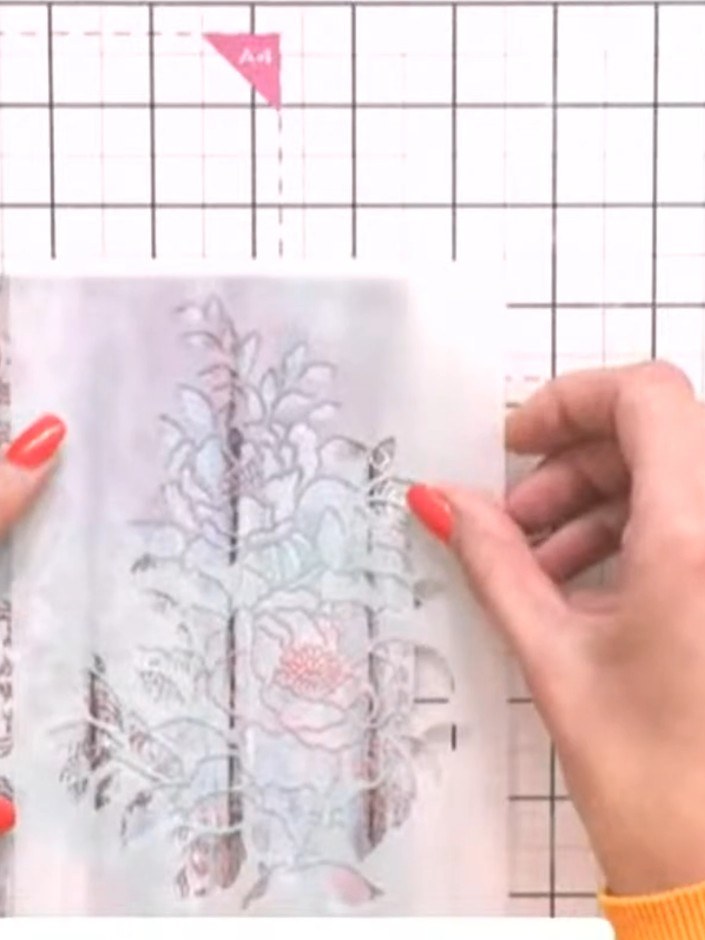
Glue the fussy-cut flowers and greenery around the bird to create a nest cluster, building up layers for dimension.
▶ watch this step (21:30)Written up from the show itself. See every guide from our shows · free how-to guides · watch live on My Telly